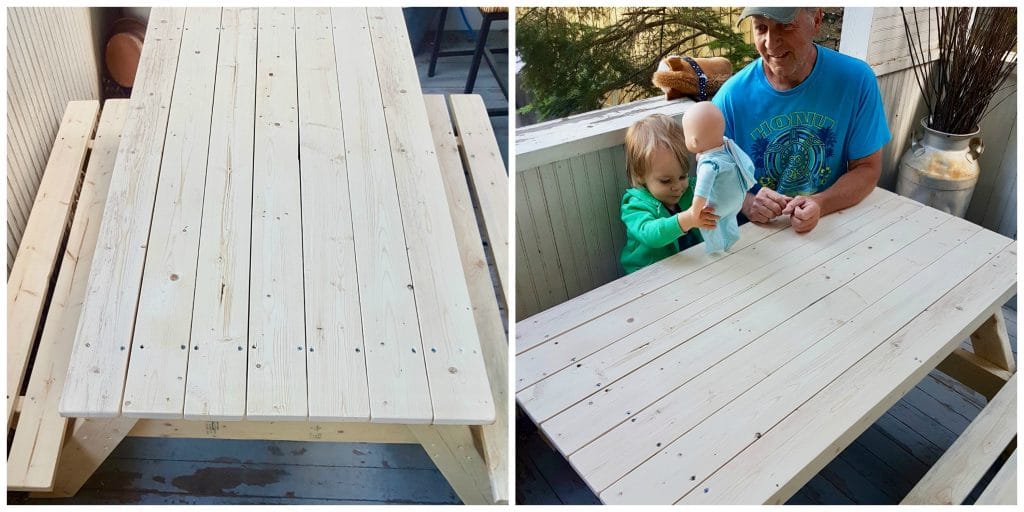
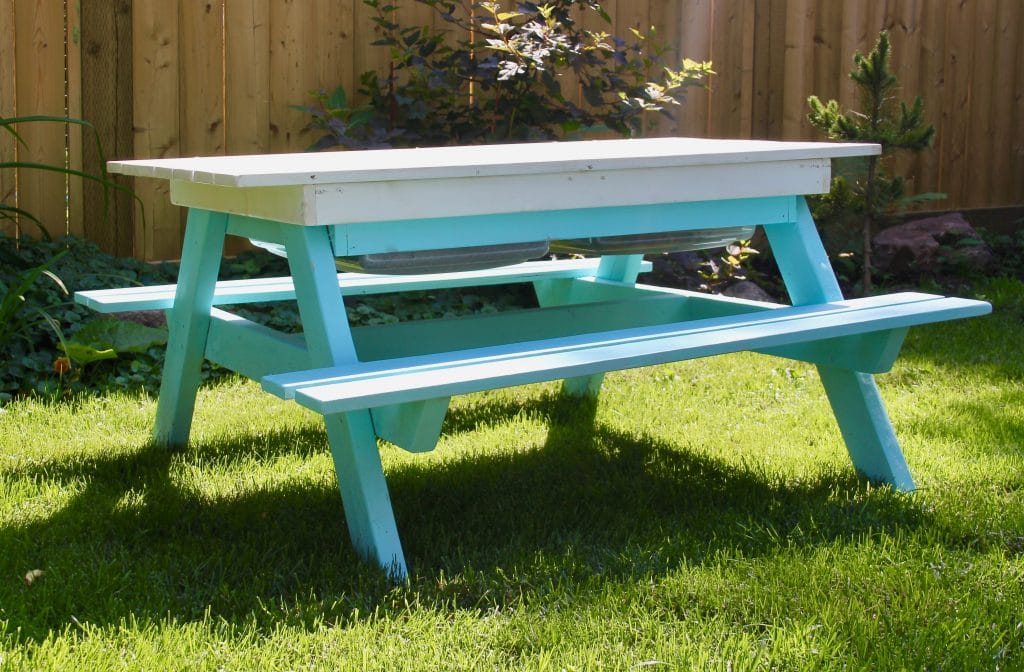
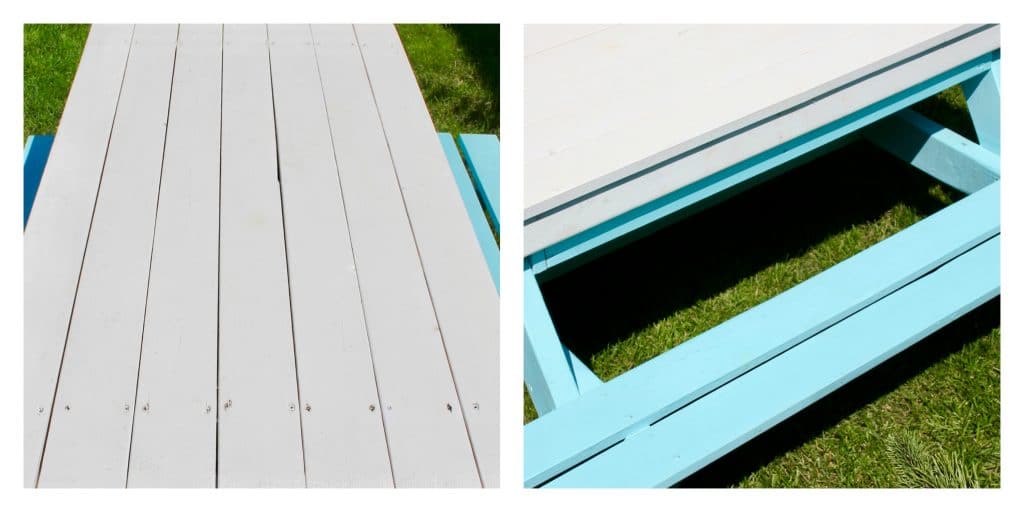
 My dad built our son Wyatt a beautiful sensory table this spring. At first glance, it’s a cute, kid-sized picnic table. But when you lift the lid, you discover a pair of engaging, attention-grabbing sensory bins with materials for Wyatt and his friends to touch, smell, see and hear. We all love it! Wyatt sits and plays at his table in the mornings while I have my coffee. It’s a perfect alternative to the TV.
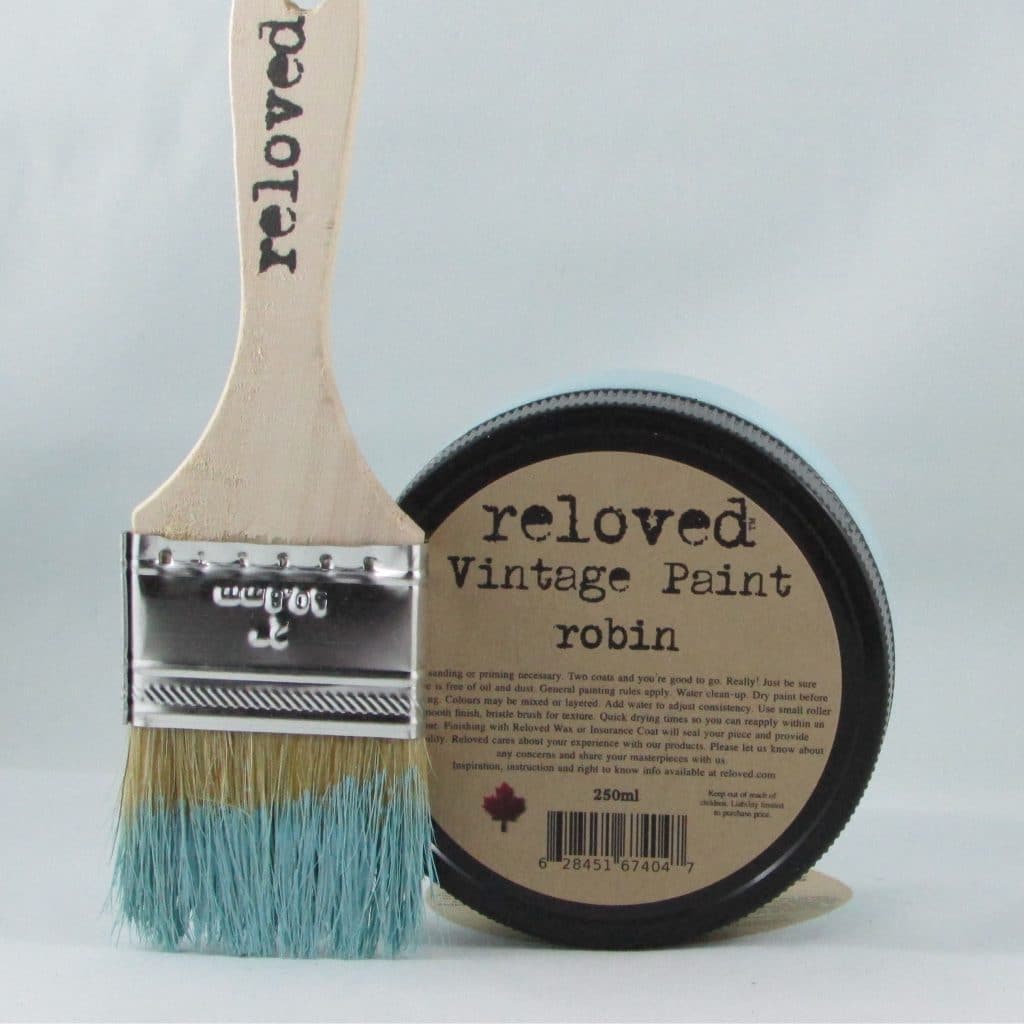
 After Dad constructed his amazing gift, we picked up some Reloved paint to add a splash of colour. I’m a huge fan of this Edmonton-based paint company. They create chalk and vintage paint that is reasonably priced (and you don’t have to heavily sand or prime your surface ahead of time).
Two coats (with a drying time of just 20 minutes in between!) and you’re good to go. Simple, inexpensive and local (which you know I love).
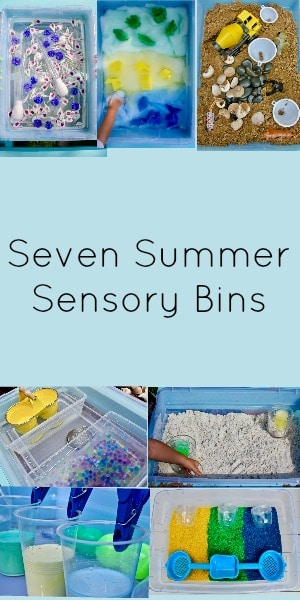
 I really wanted to keep Wyatt interested, entertained and maximize our use of this amazing learning tool, so we came up with seven different sensory bins to swap in and out of the table. Keep in mind: if you don’t have a table, you can use bins, a bowl, or the bath tub.
I picked up seven plastic bins with lids from Walmart for about nine dollars each. (The lids are key because you want to be able to stack the bins you’re not using in your garage or basement.) Then, I researched and planned out the themes for each bin, and composed my shopping list. I purchased the majority of the bin contents at The Dollar Store. You’ll find what you’ll need for each individual bin later in this post, but here’s my master list:
- Seven plastic bins with lids
- Three liquid water colours
- Four medium-sized bags of rice (I got mine at the Dollar Store for $1.50 each)
- Sand Shovels
- Three small plastic containers with lids
- Six paper plates
- Flower petals (I buy a bouquet and enjoy it for a few days inside my house, then pop it in this sensory bin. More bang for your buck!)
- Coloured clothes pins (I bought a big bag at The Dollar Store for $2)
- Two plastic turkey basters
- Optional: strainers, bowls, squeeze tubes
- One bottle of baby oil (592 ml)
- Eight cups of flour
- Two small containers of slime (I got mine at Scholar’s Choice)
- Five plastic cups (or two plastic cups and three small plastic containers)
- Over-sized Ziploc bag or large bowl
- Dish soap (I used this one)
- Animal-shaped sponges (Dollar Store)
- Hard toys for foam bin
- Two containers of cornstarch (Dollar Store)
- Water
- Two spray bottles
- Package of plastic dinosaur figurines, coloured balls, clothespins, and whatever other toys you want
- One bag of play sand (I got mine at Canadian Tire)
- One package of funnels (Dollar Store)
- One package of shells
- One package of rocks
- One package of safari toys
- Three packages of coloured water beads (I got mine here)
- Two medium-sized plastic storage containers (to fit inside your main bin)
- One small strainer
- Two mini galvanized buckets or plastic containers
The total cost for each bin (content included) was around $20, for a grand total of $140 for endless fun all summer long!
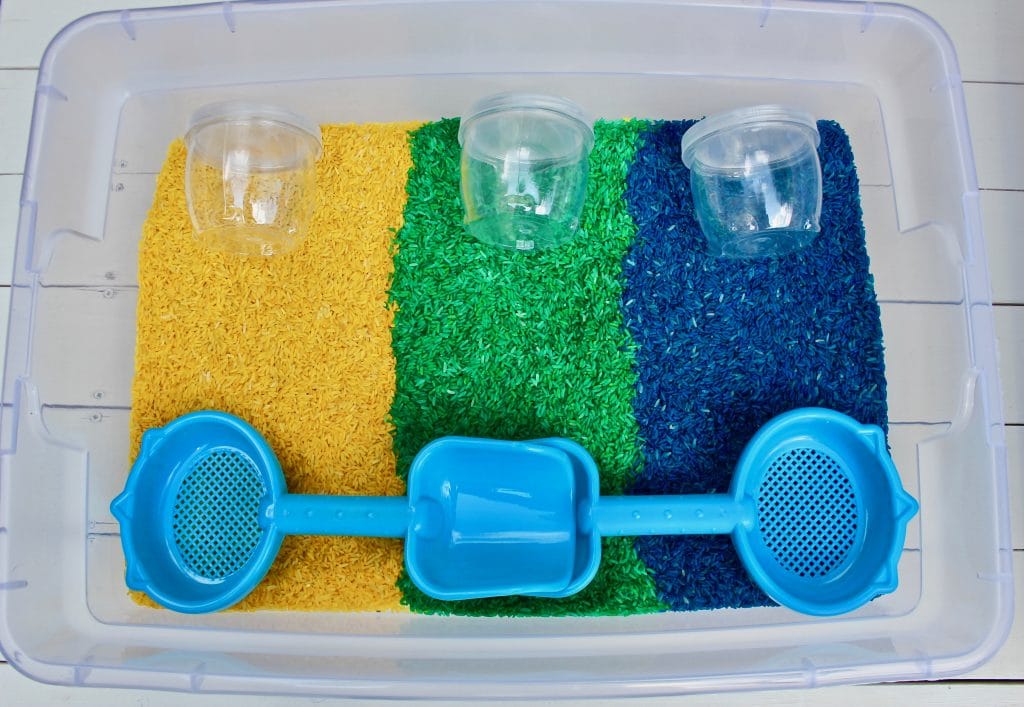
Coloured Rice
You’ll Need:
- Four medium-sized bags of rice (I got mine at The Dollar Store for $1.50 each)
- Sand shovels
- Liquid Water Colour
- Three small plastic containers with lids
- Six paper plates
Directions:
- Add one and 1/4 bags of rice to an old plastic bowl you don’t need anymore
- Add liquid colour (little bits at a time until you get the shade you want) and stir
- Divide onto two paper plates
- Rinse your bowl and repeat for the other two colours. Let the rice dry for 24 hours to ensure all the colour has been soaked up
 Play:
Play:
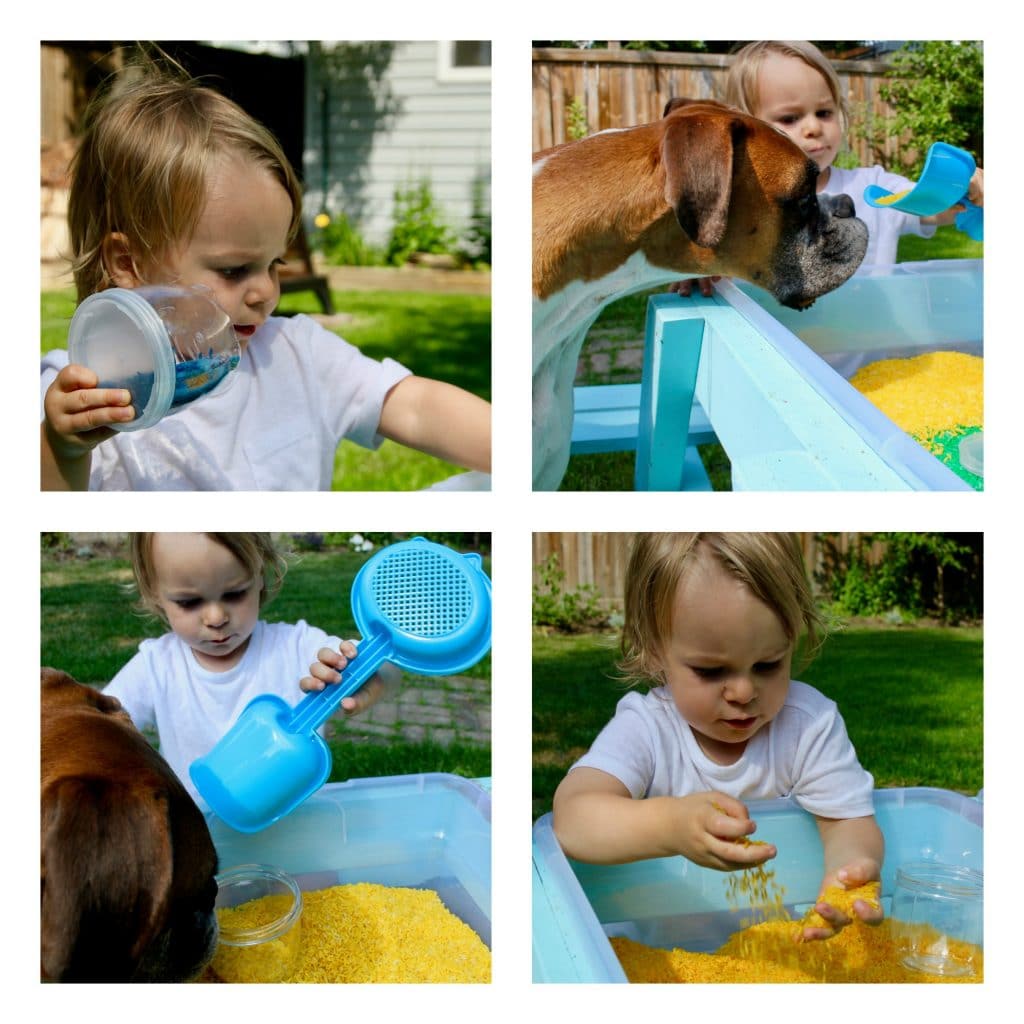
Kids will have fun learning colours and colour combos, digging through the rice with the sand toys, and pouring the rice into the containers to make shakers.
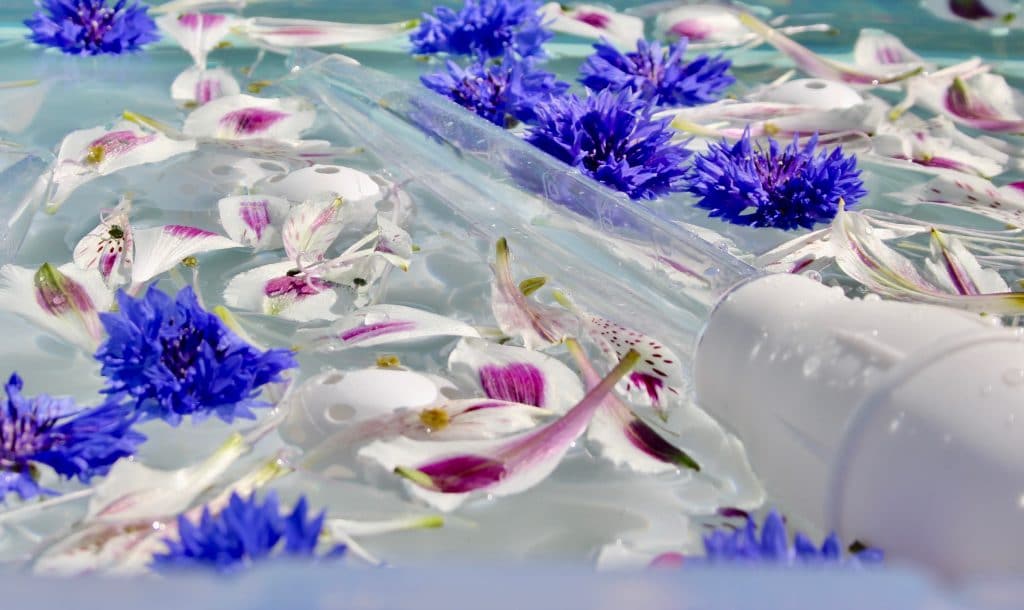
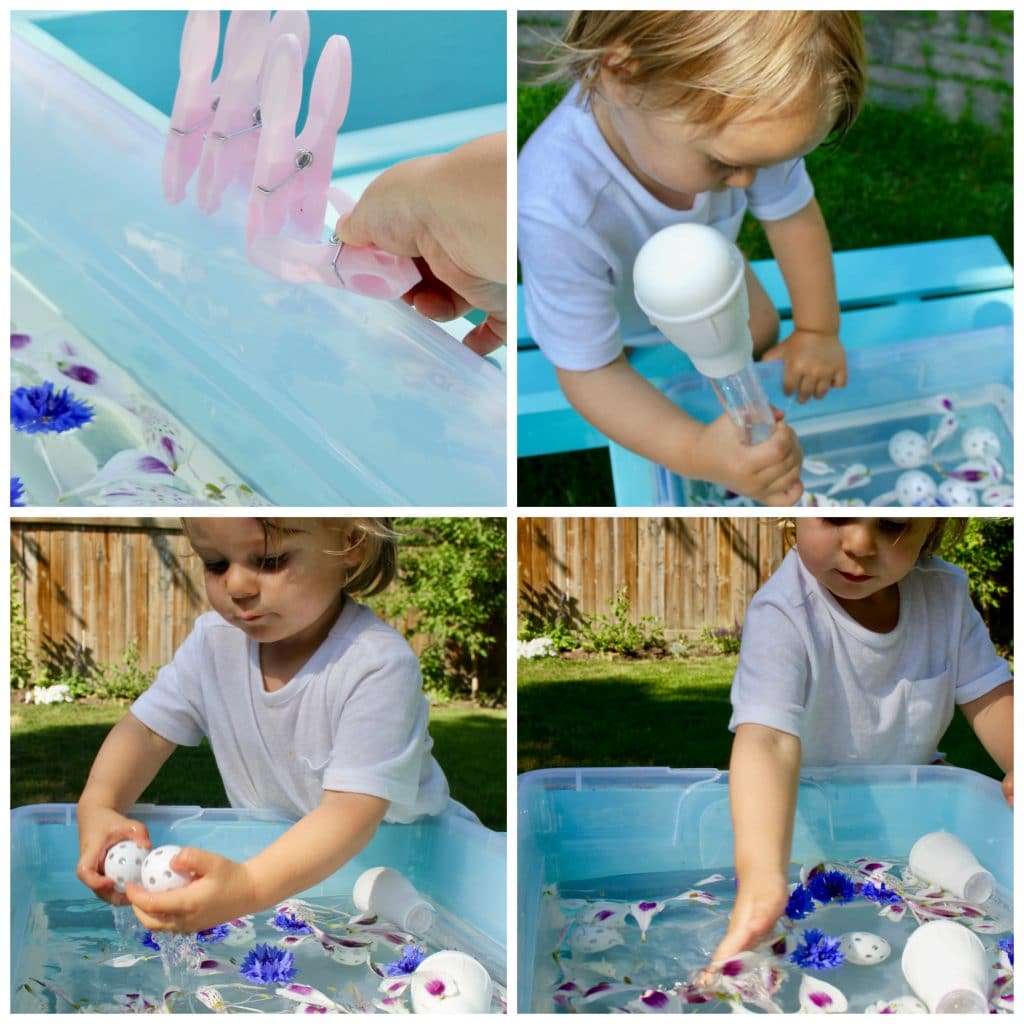
Flowers & Water
You’ll Need:
- Flower petals (This is a perfect way to squeeze more enjoyment out of a bouquet that’s near its end.)
- Coloured clothes pins (I bought a big bag of them at The Dollar Store for $2)
- Two plastic turkey basters
- Optional: strainers, bowls, squeeze tubes
Directions:
- Pour water in your bin
- Detach petals from stems and put into the bin
- Add in your toys and clip your coloured clothes pins to the side
 Play:
Play:
Your kids can fill the basters with water to squirt into the bin (or at each other!), feel the flowers on their little fingers, or pinch the petals with the clothes pins (this is great for focusing on fine motor skills). The water adds that extra element of feel and fun!
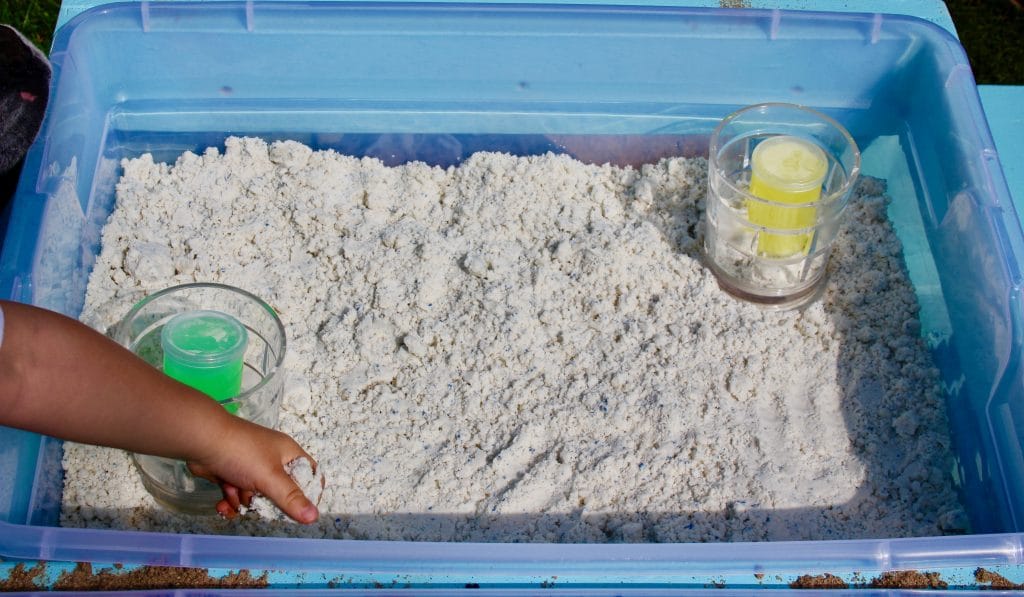
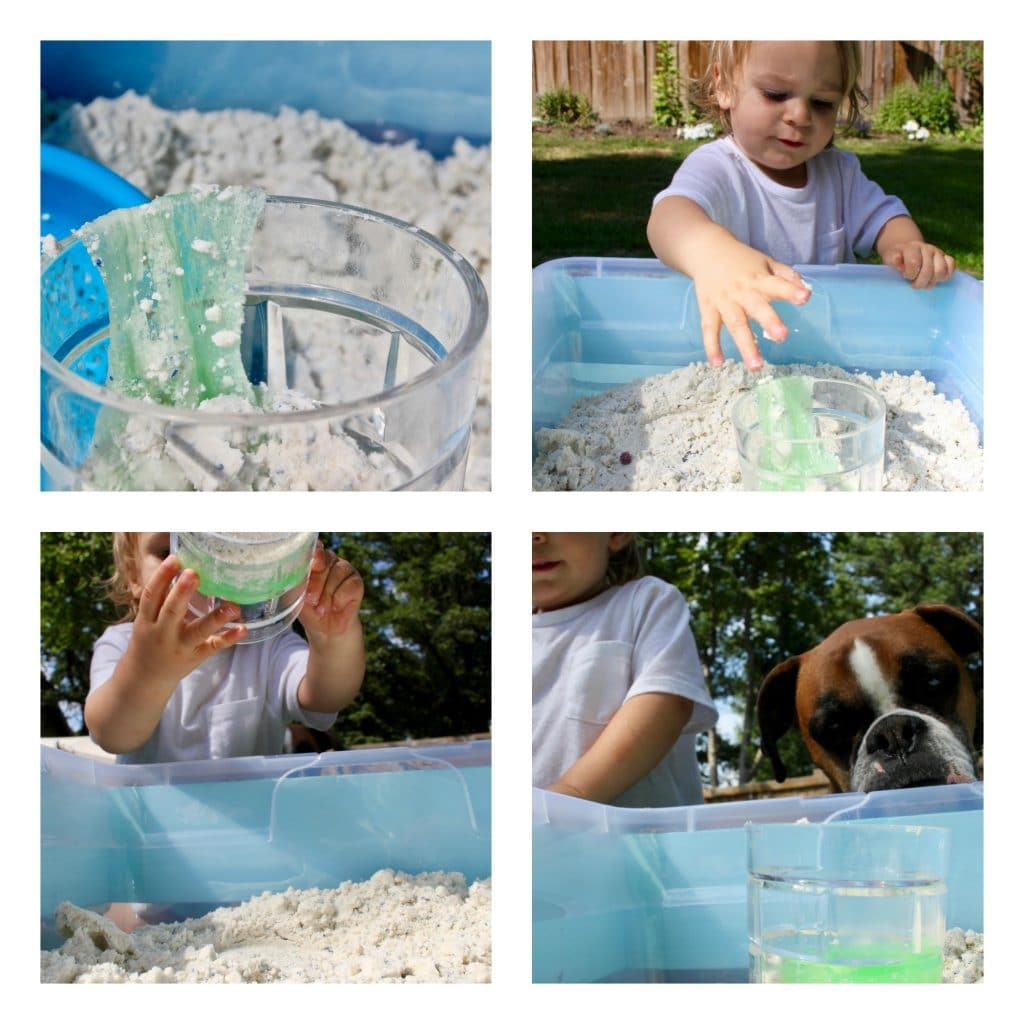
Moon Sand Slime
You’ll Need:
- One bottle of baby oil (592 ml)
- Eight cups of flour
- Two small containers of slime (I got mine at Scholar’s Choice)
- Two plastic cups or containers
- Over-sized Ziploc bag or really big bowl
Directions:
- Pour flour into your bowl or bag
- Add in baby oil and knead
- Once the oil is really worked into the flour, pour into your bin
- Drop slime into your cups or containers and place in the bin
 Play:
Play:
Wyatt loves dumping the slime back and forth between the bin and the cup. The texture of the sand is really soft and squishy. You can also add sand toys, strainers, or figurines.
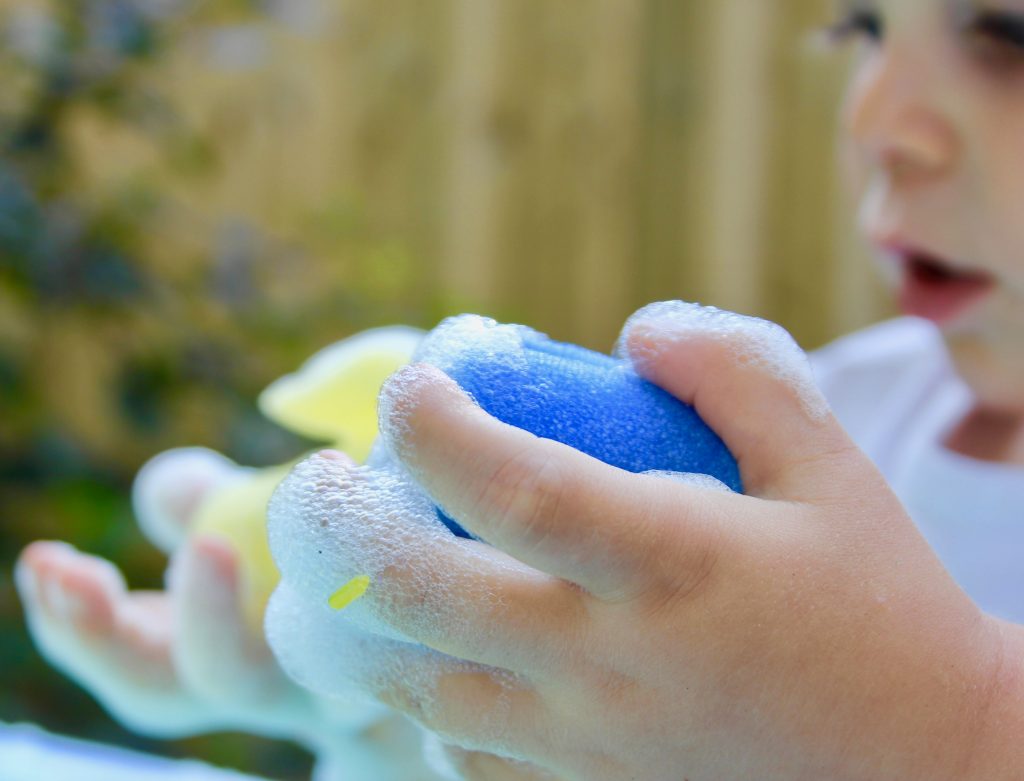
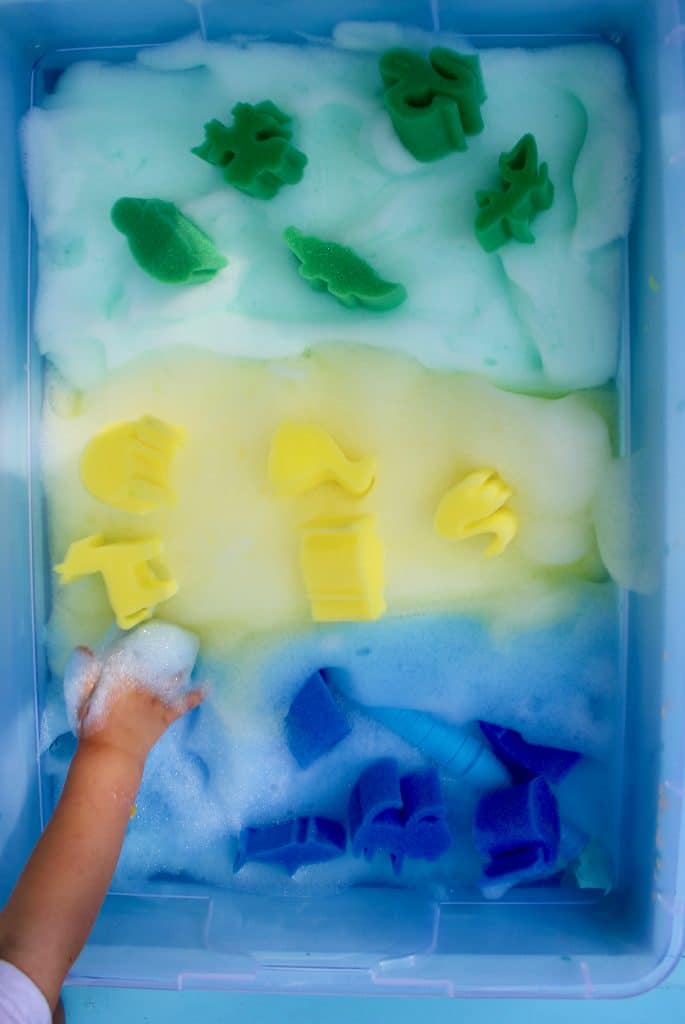
Coloured Fun Foam
You’ll Need:
- Liquid Water Colours
- Dish soap (I used this one because of the great smell)
- Animal-shaped sponges (The Dollar Store)
- Toys
Directions:
- Pour two tablespoons of dish soap into a bowl
- Add a 1/4 cup of water and mix with the soap
- Drop in the liquid water colour and mix. Add colouring until you get the shade you want
- Pour contents into your mixer and mix on high for two and a half minutes until the contents start to form peaks
- Pour foam into the bin and repeat steps for the other two (or however many) colours
Note: This bin needs to be made right before play to ensure utmost longevity. The suds will be done in about an hour.
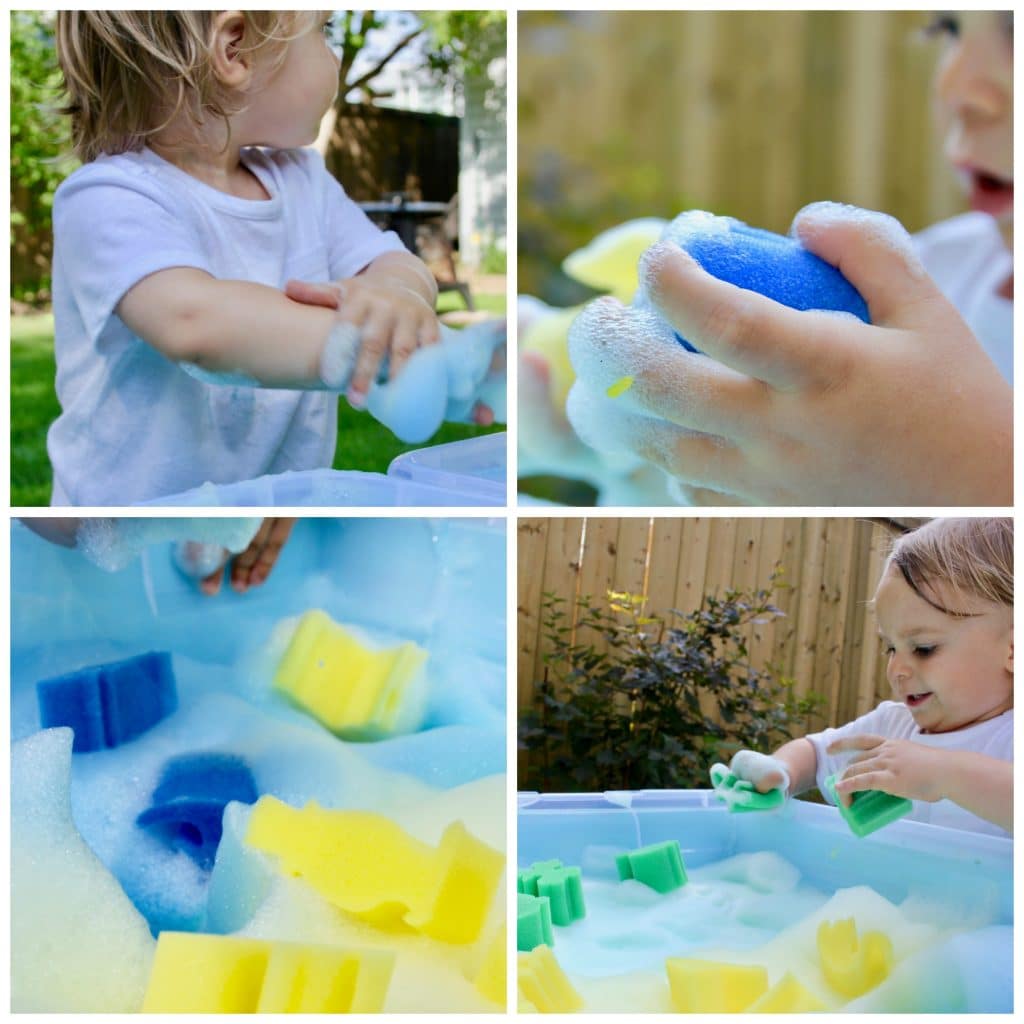
Play:
Wyatt loved rubbing the foam in between his hands. This is a great opportunity to explore colour matching. Feel free to go with toys harder than foam to create a more significant contrast of weights and textures among the foam.
Cornstarch Goo
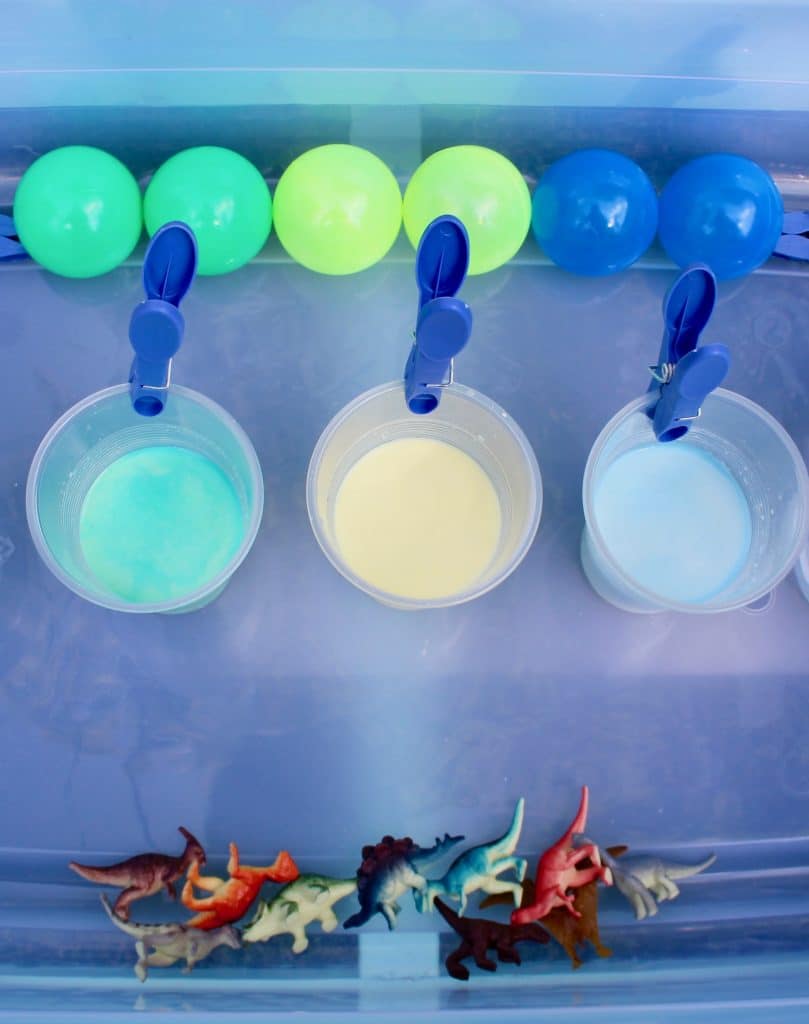
You’ll Need:
- Three plastic cups
- Two containers of cornstarch (The Dollar Store)
- Tap water
- Liquid water colour
- Two spray bottles
- Package of plastic dinosaur figurines, coloured balls, clothespins and whatever other toys you want
Directions:
- Pour one cup of cornstarch into a bowl
- Slowly add 1/4 cup of water into your cornstarch, stirring consistently
- Drop in liquid water colour until you get the shade of colour you want
- Transfer contents from your bowl to your plastic cup
- Repeat steps above for your other two colours
- Place cups with cornstarch goo in your bin
- Add in your toys and clothespins
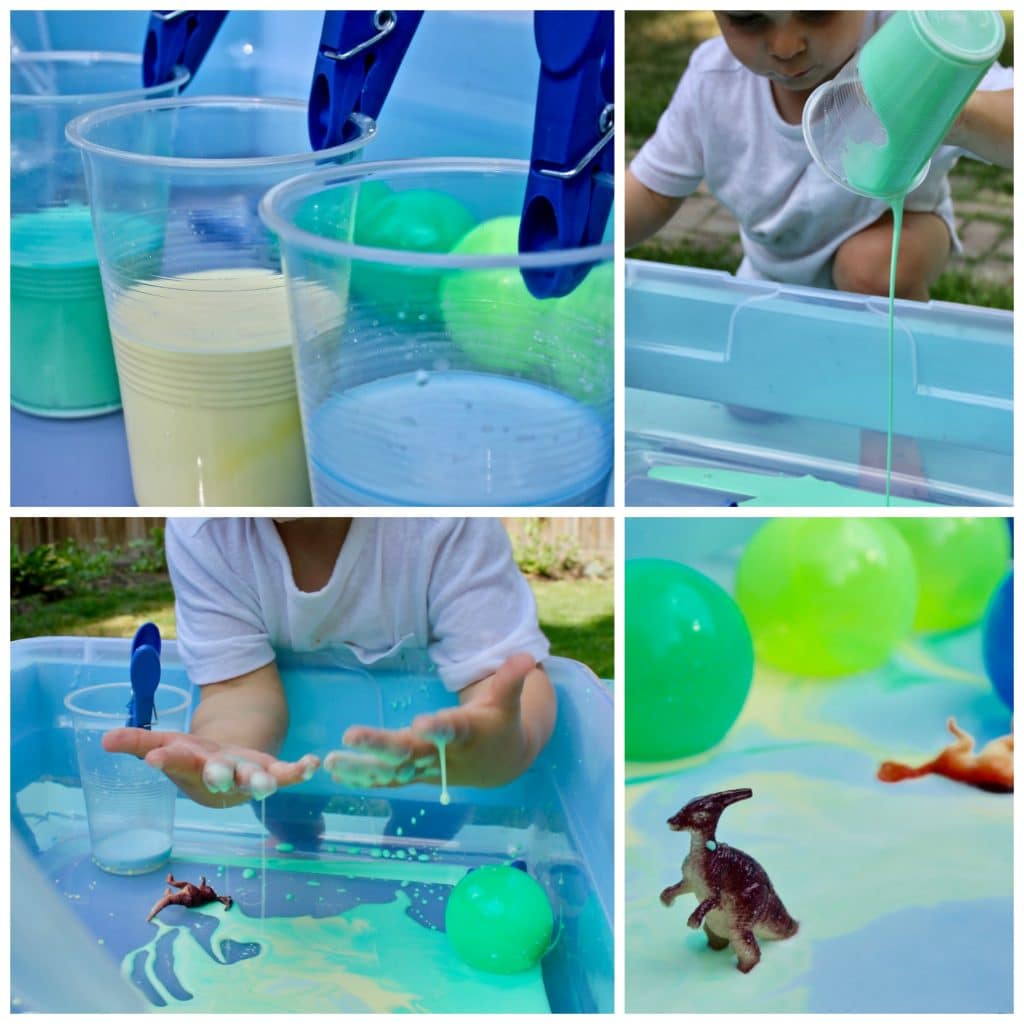
Play:
This goo is so versatile! Your little one will have a blast pouring it into the bin, running her hands through it, and sticking her toys in it. If you hold the goo tightly or let it sit, it turns to a solid. When you use your water bottles to spray the goo, it turns back to a liquid. This was our most favourite bin!
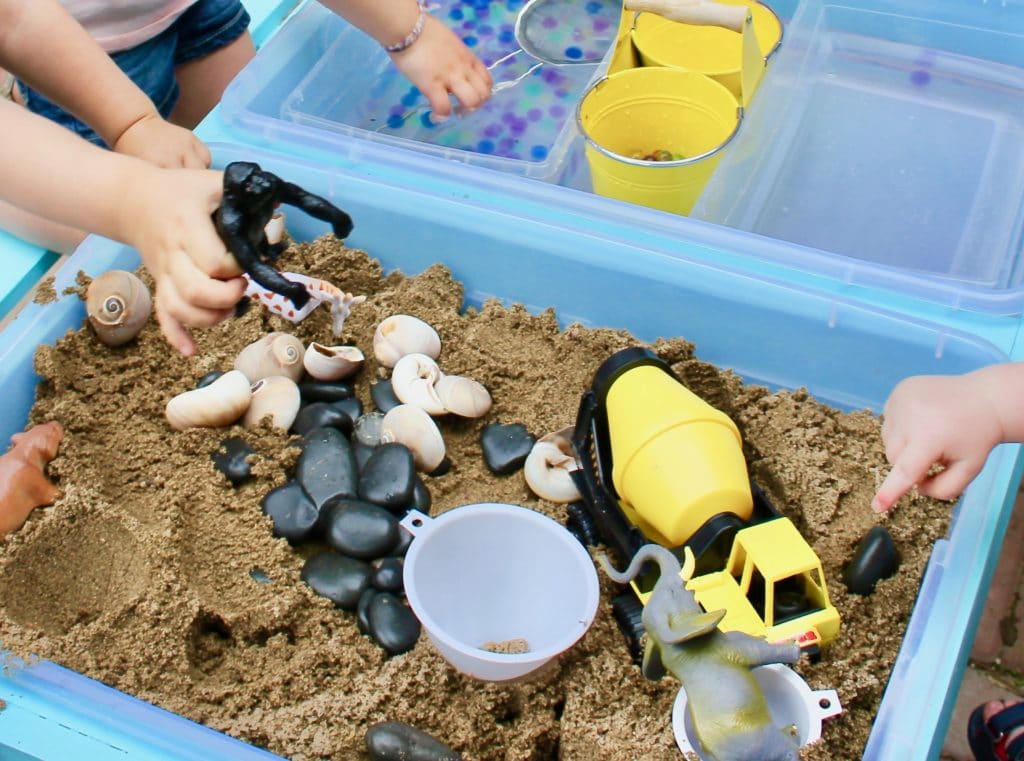
Sand & Toys
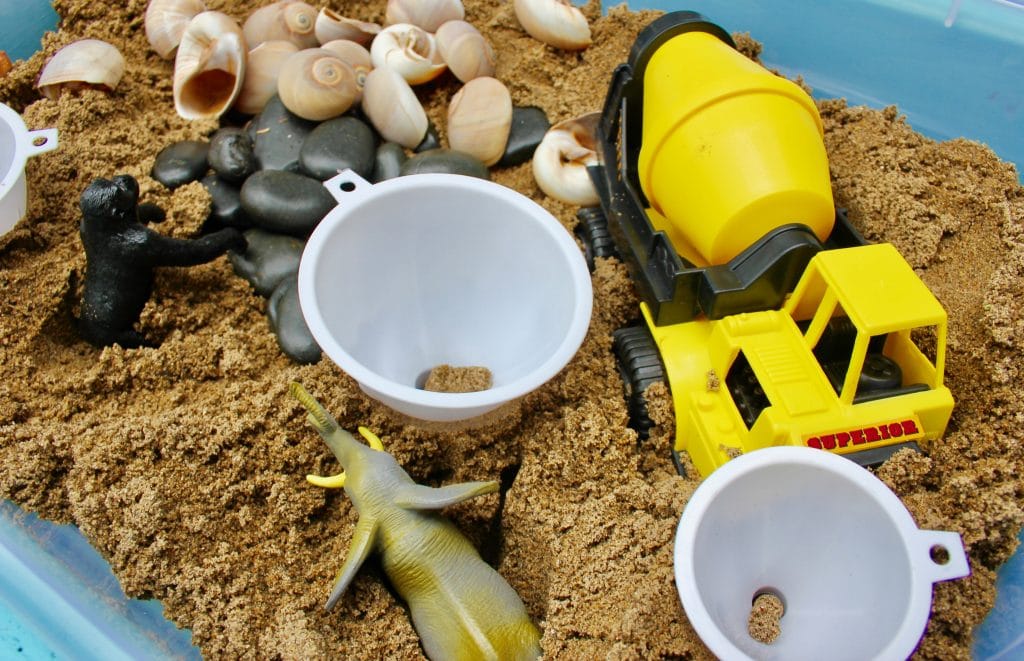
You’ll Need:
- One bag of play sand (I got mine at Canadian Tire)
- Package of funnels (The Dollar Store)
- Package of shells
- Package of rocks
- Package of safari toys
Directions:
- Pour sand into your bin
- Add in your toys, rocks, sand, and funnels. (You can use different options per play session. This allows something new and fresh for your little ones every time they open the bin.)
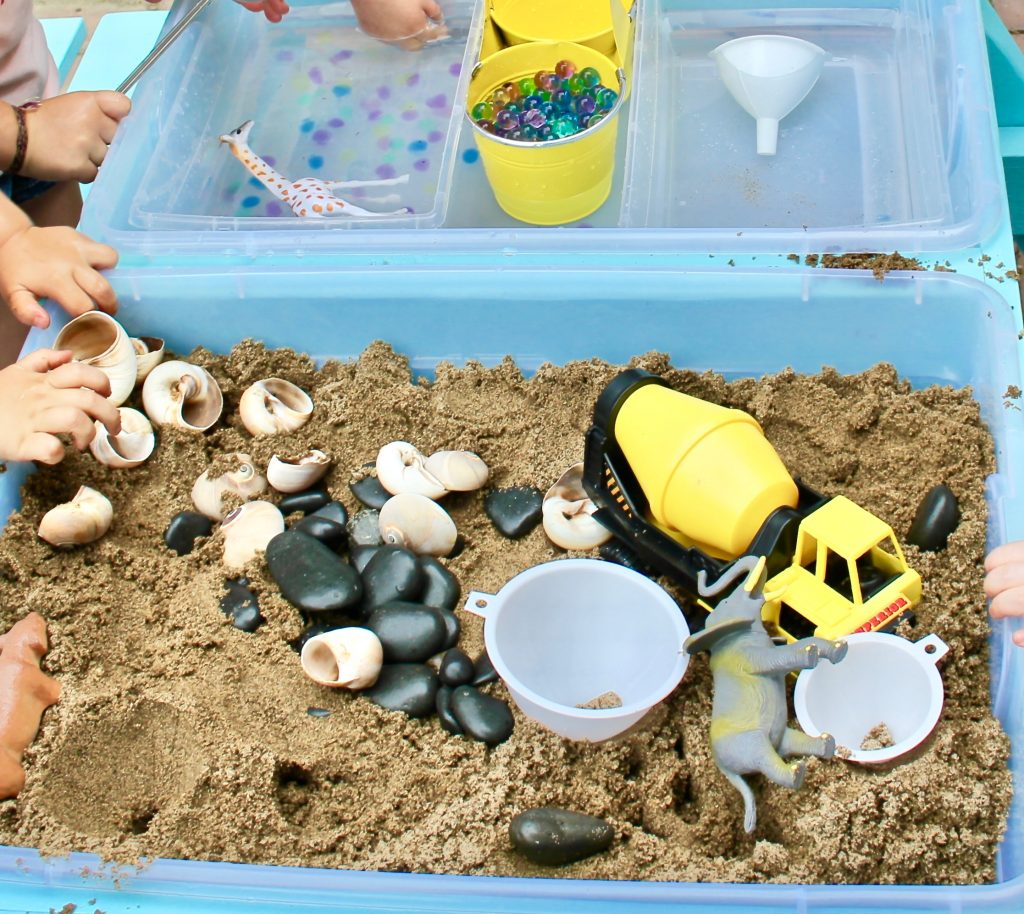
Play:
Wyatt and his friends loved pouring sand through the funnels, using the shells to scoop sand, and pressing the safari animal toys into the sand. The great thing about this bin is you can pop the lid on when you’re done, and it’s already set to go for next time.
Water Beads
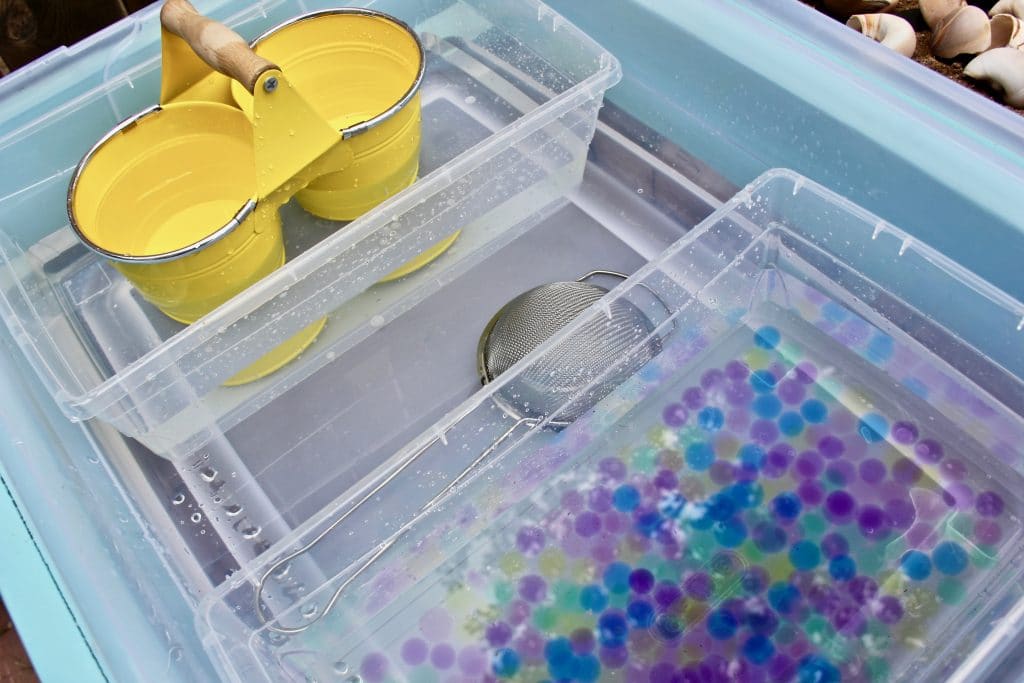
You’ll Need:
- Three packages of coloured water beads (I got mine here)
- Two plastic storage containers
- Strainer
- Two mini galvanized buckets or plastic containers
- Water
Directions:
- Fill your bin half-full
- Place beads into one plastic storage container
- Add in your strainer and mini buckets
Play:
Watch the beads expand when added to water, then shrink when removed from water. Wyatt and his friends loved using the strainer to scoop up beads from the water before dumping them into the mini buckets. One package of beads last for a few play times. After that, it’s good to dump the old beads and crack open a new package.
Pin it so you don’t forget!
I hope this idea brings your family so much fun and joy through the summer months!
xx


Great ideas Kari! You provided excellent activities to expose Wyatt to various sensory mediums. The bins you created use materials that are easily accessible & affordable.
Thanks Elaine! I’m glad you like it. 🙂