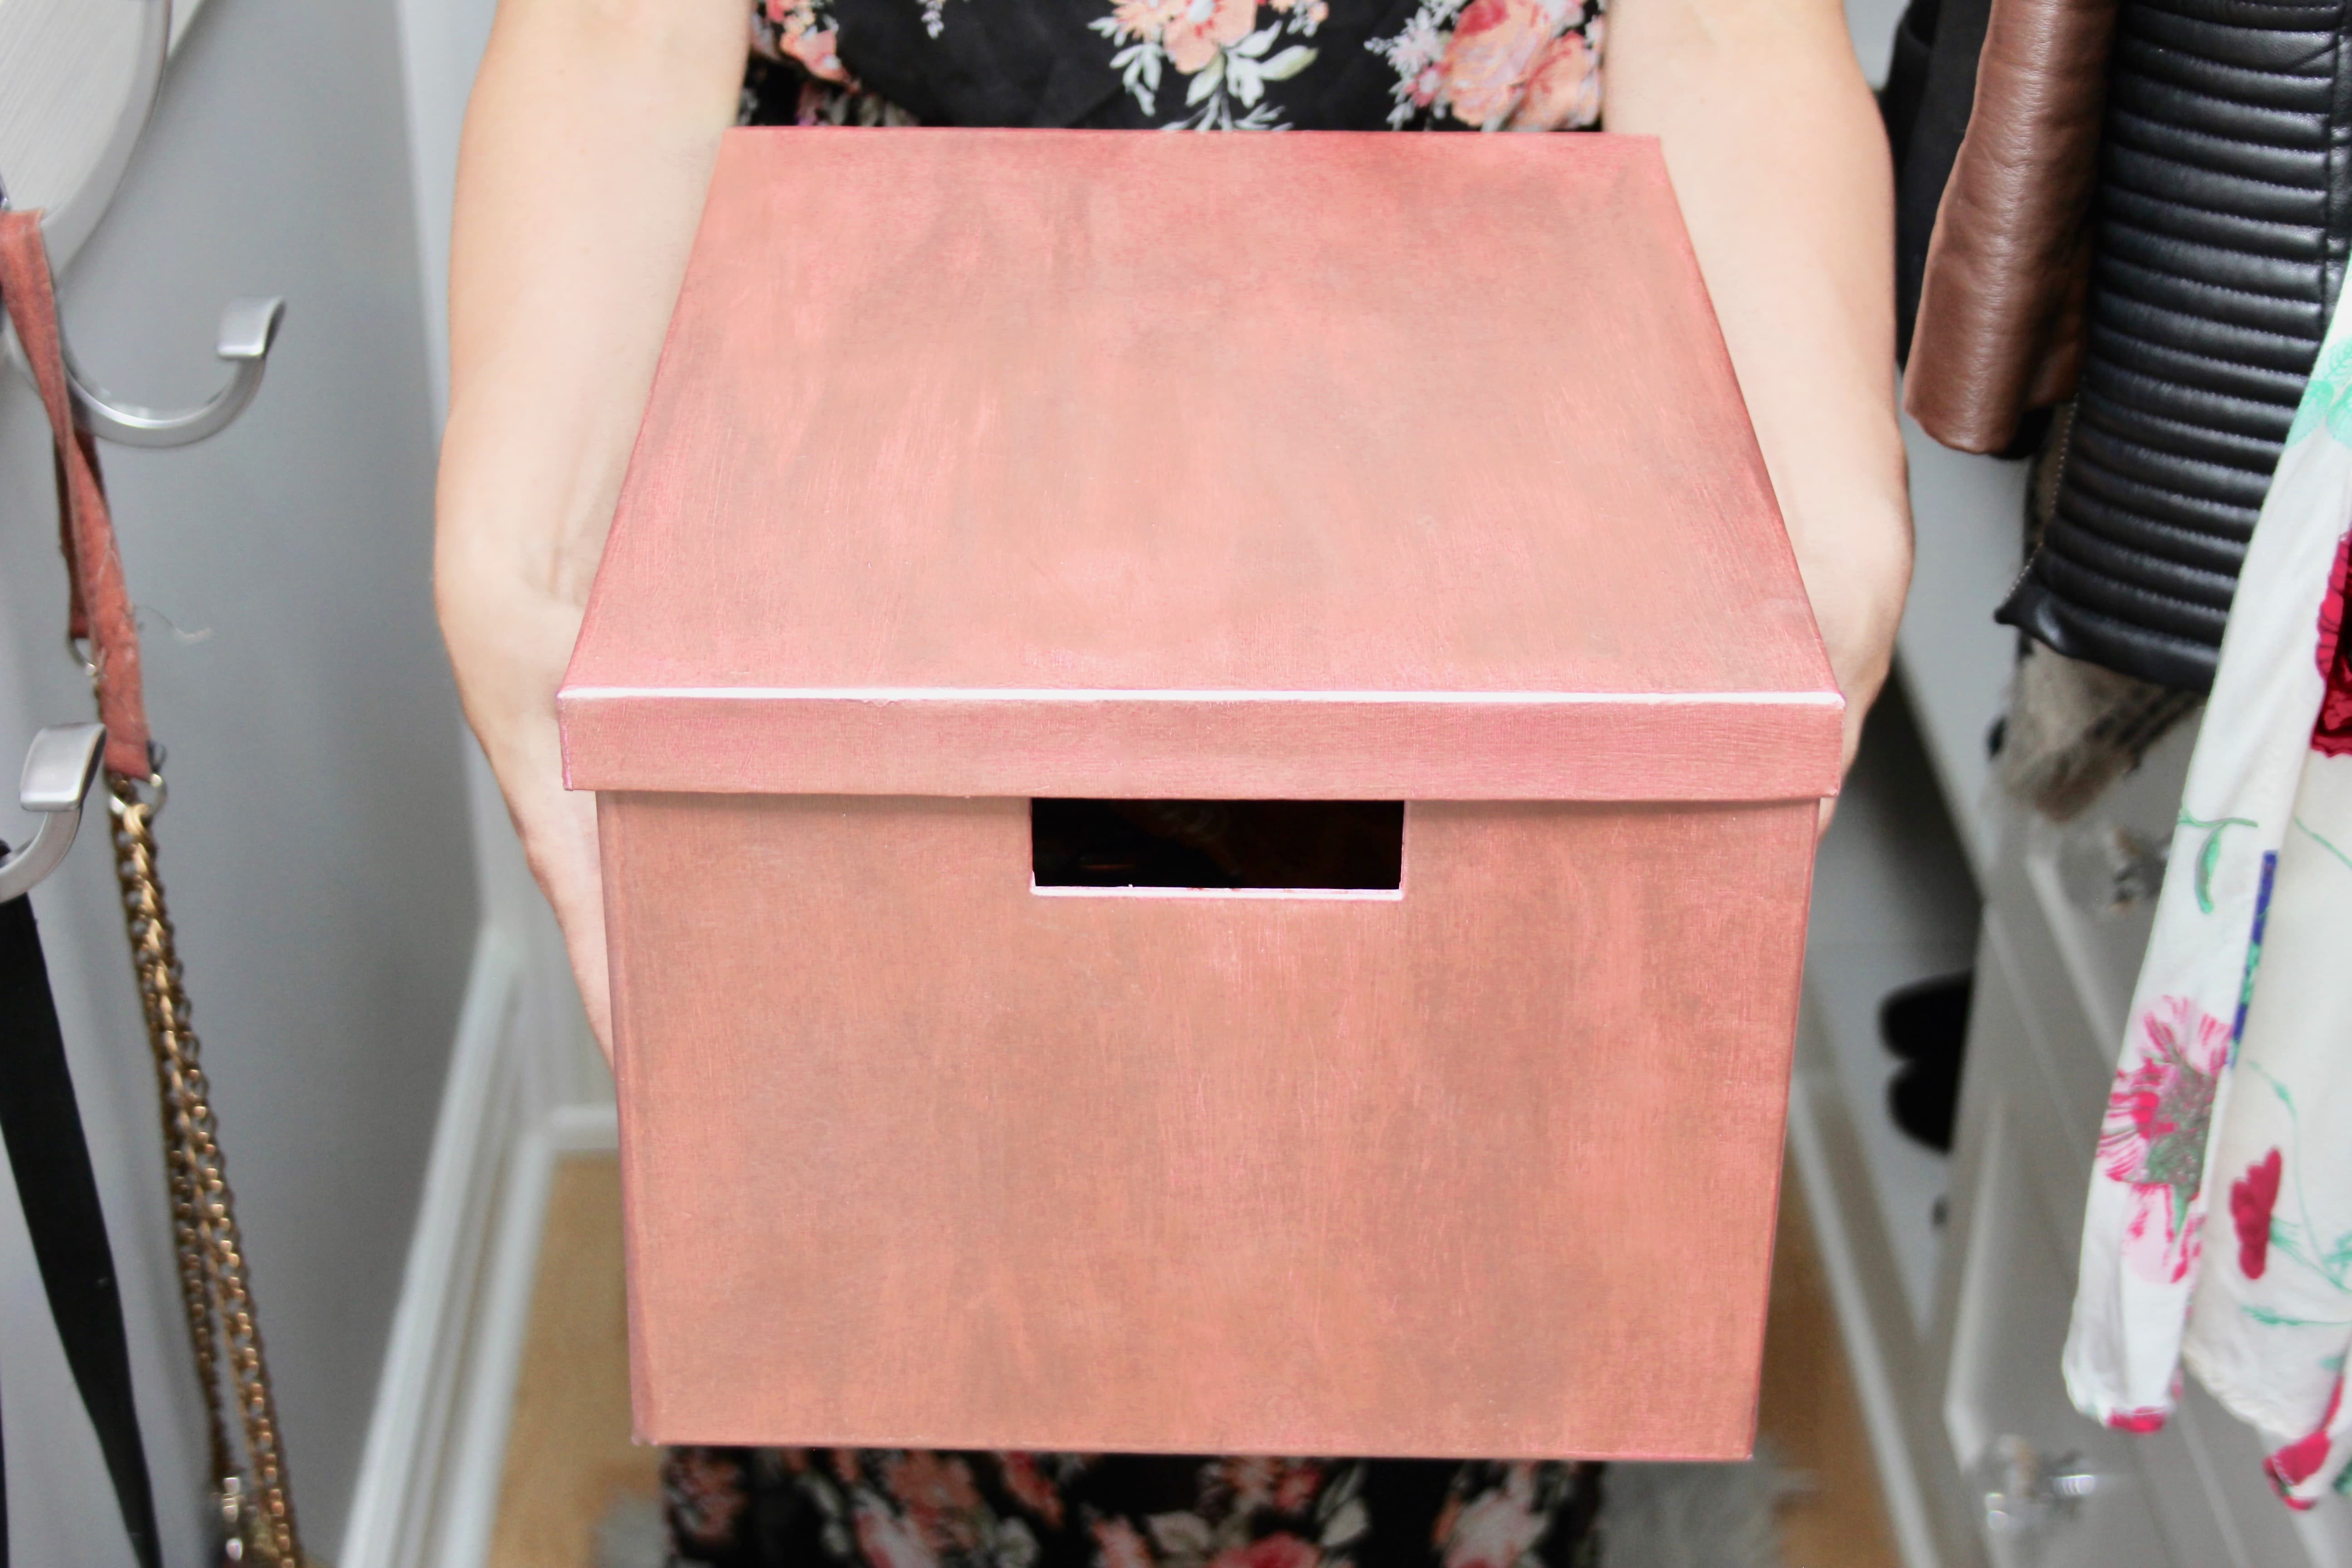
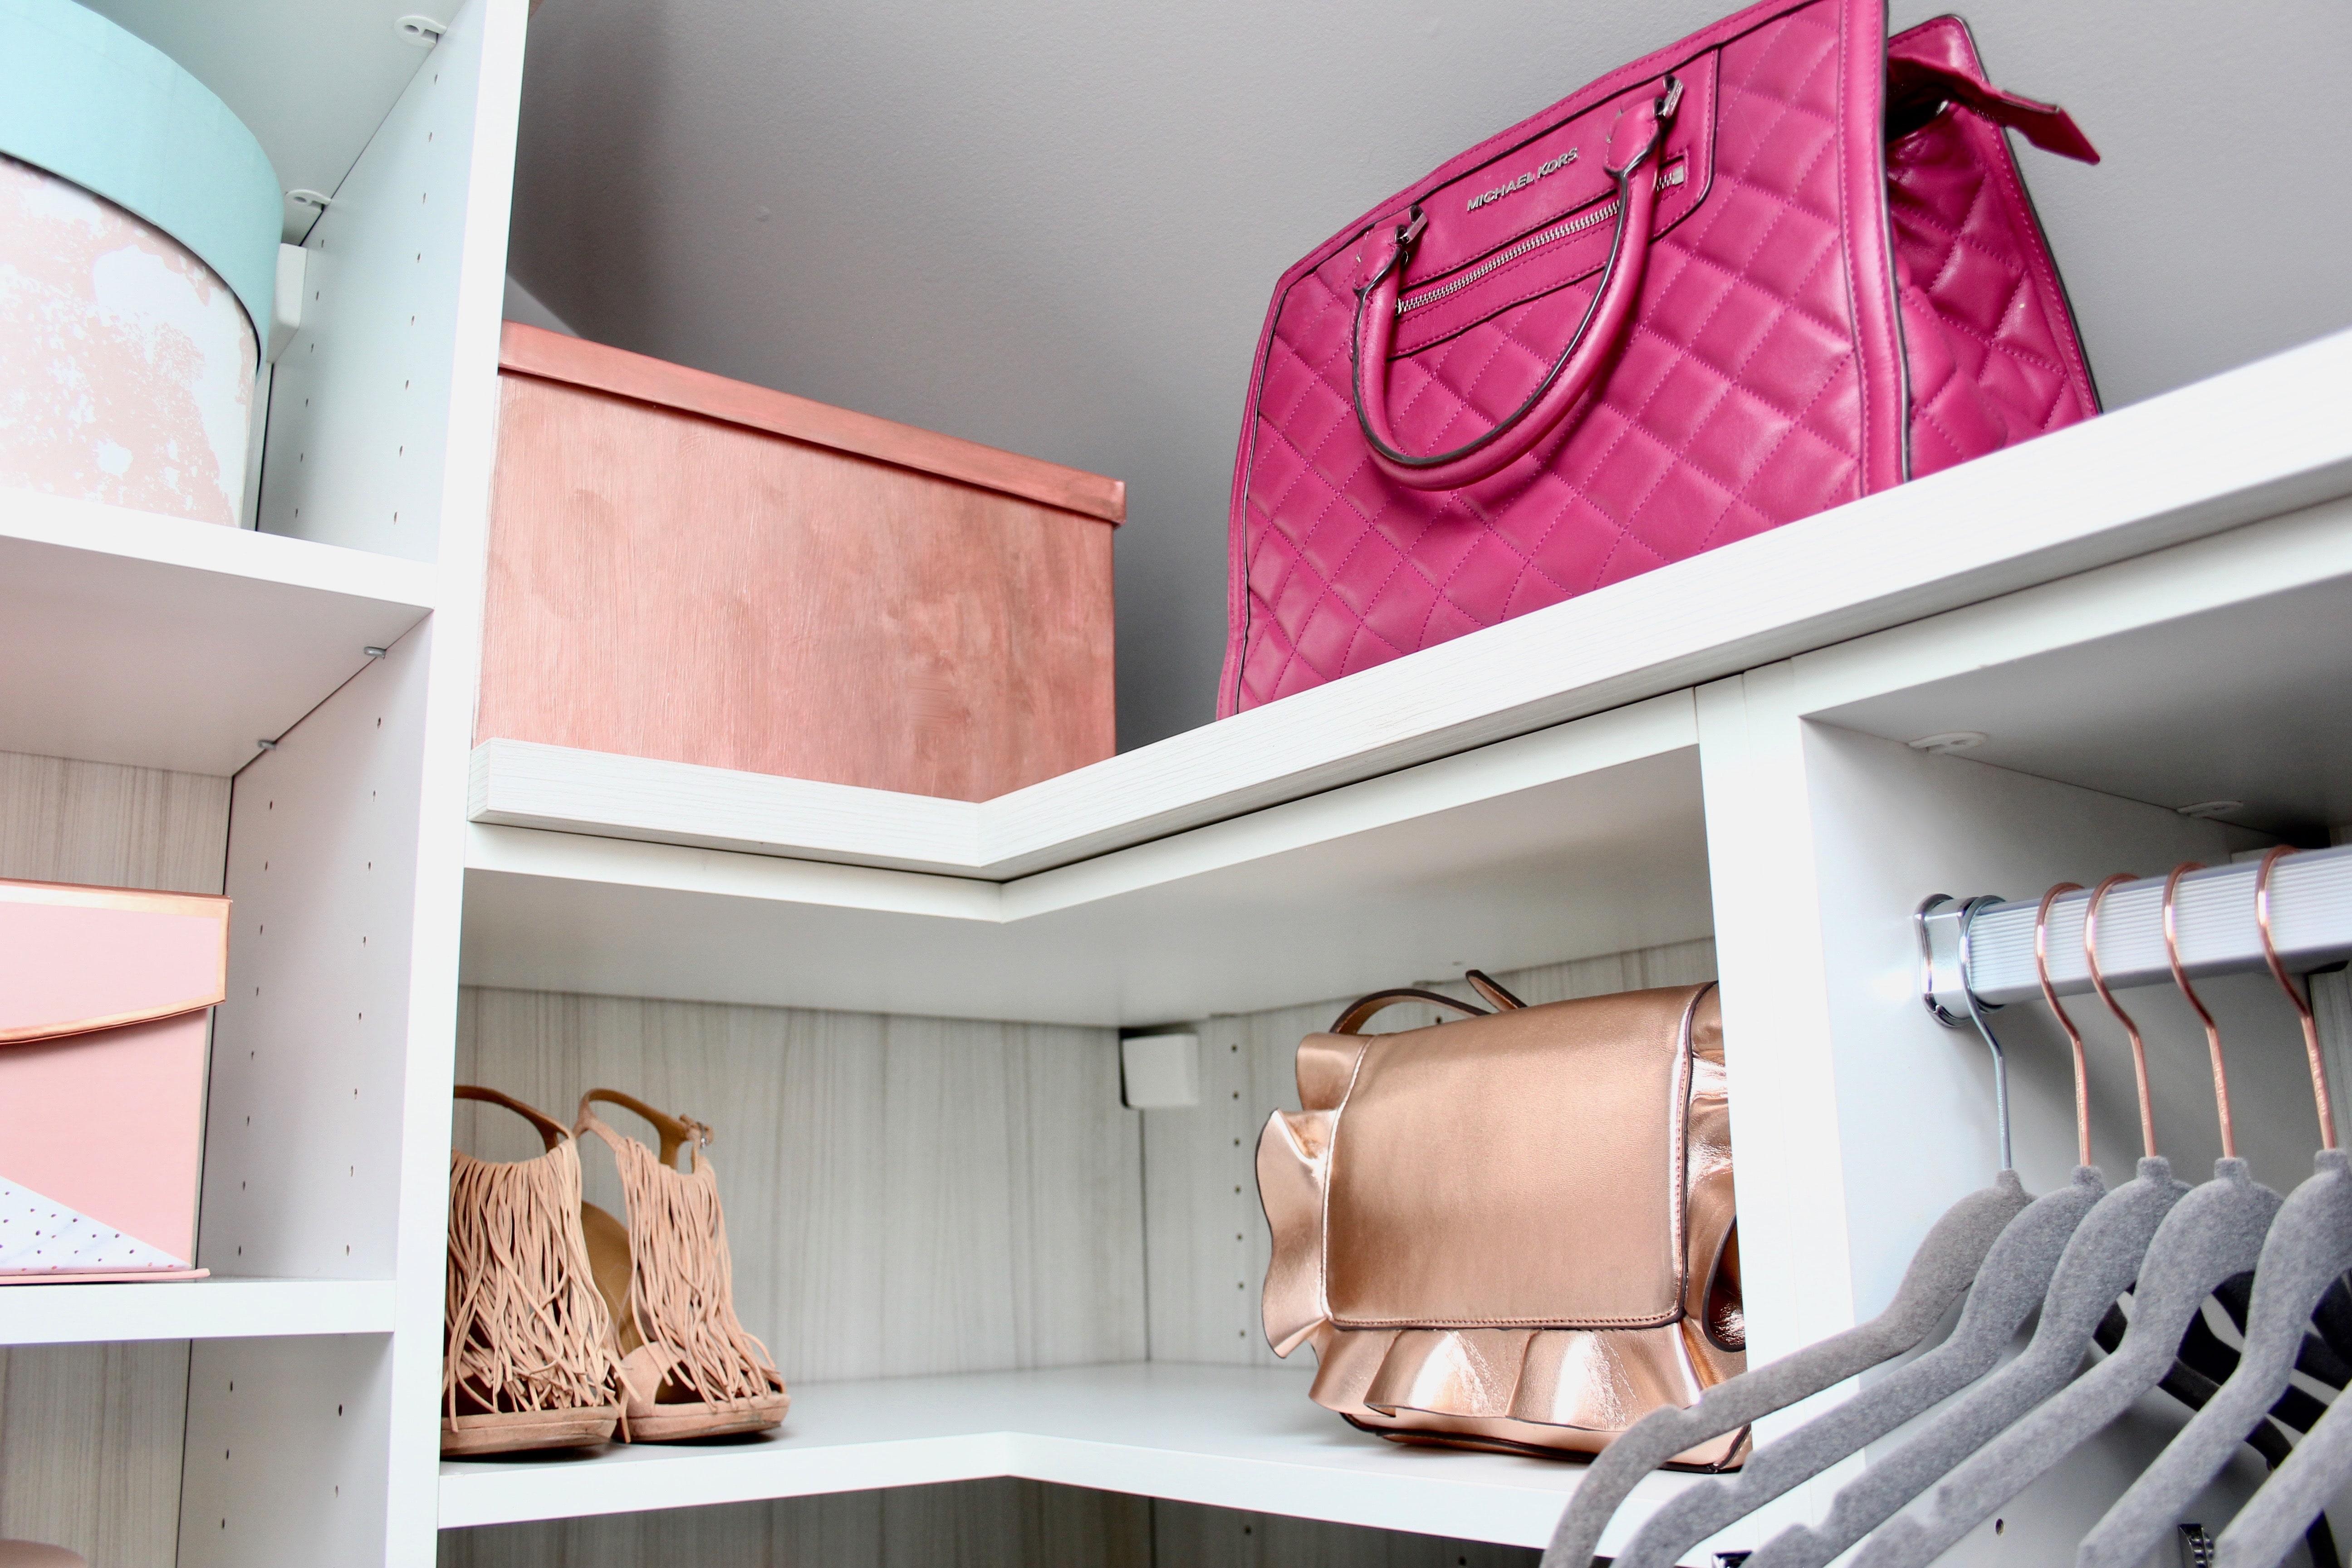
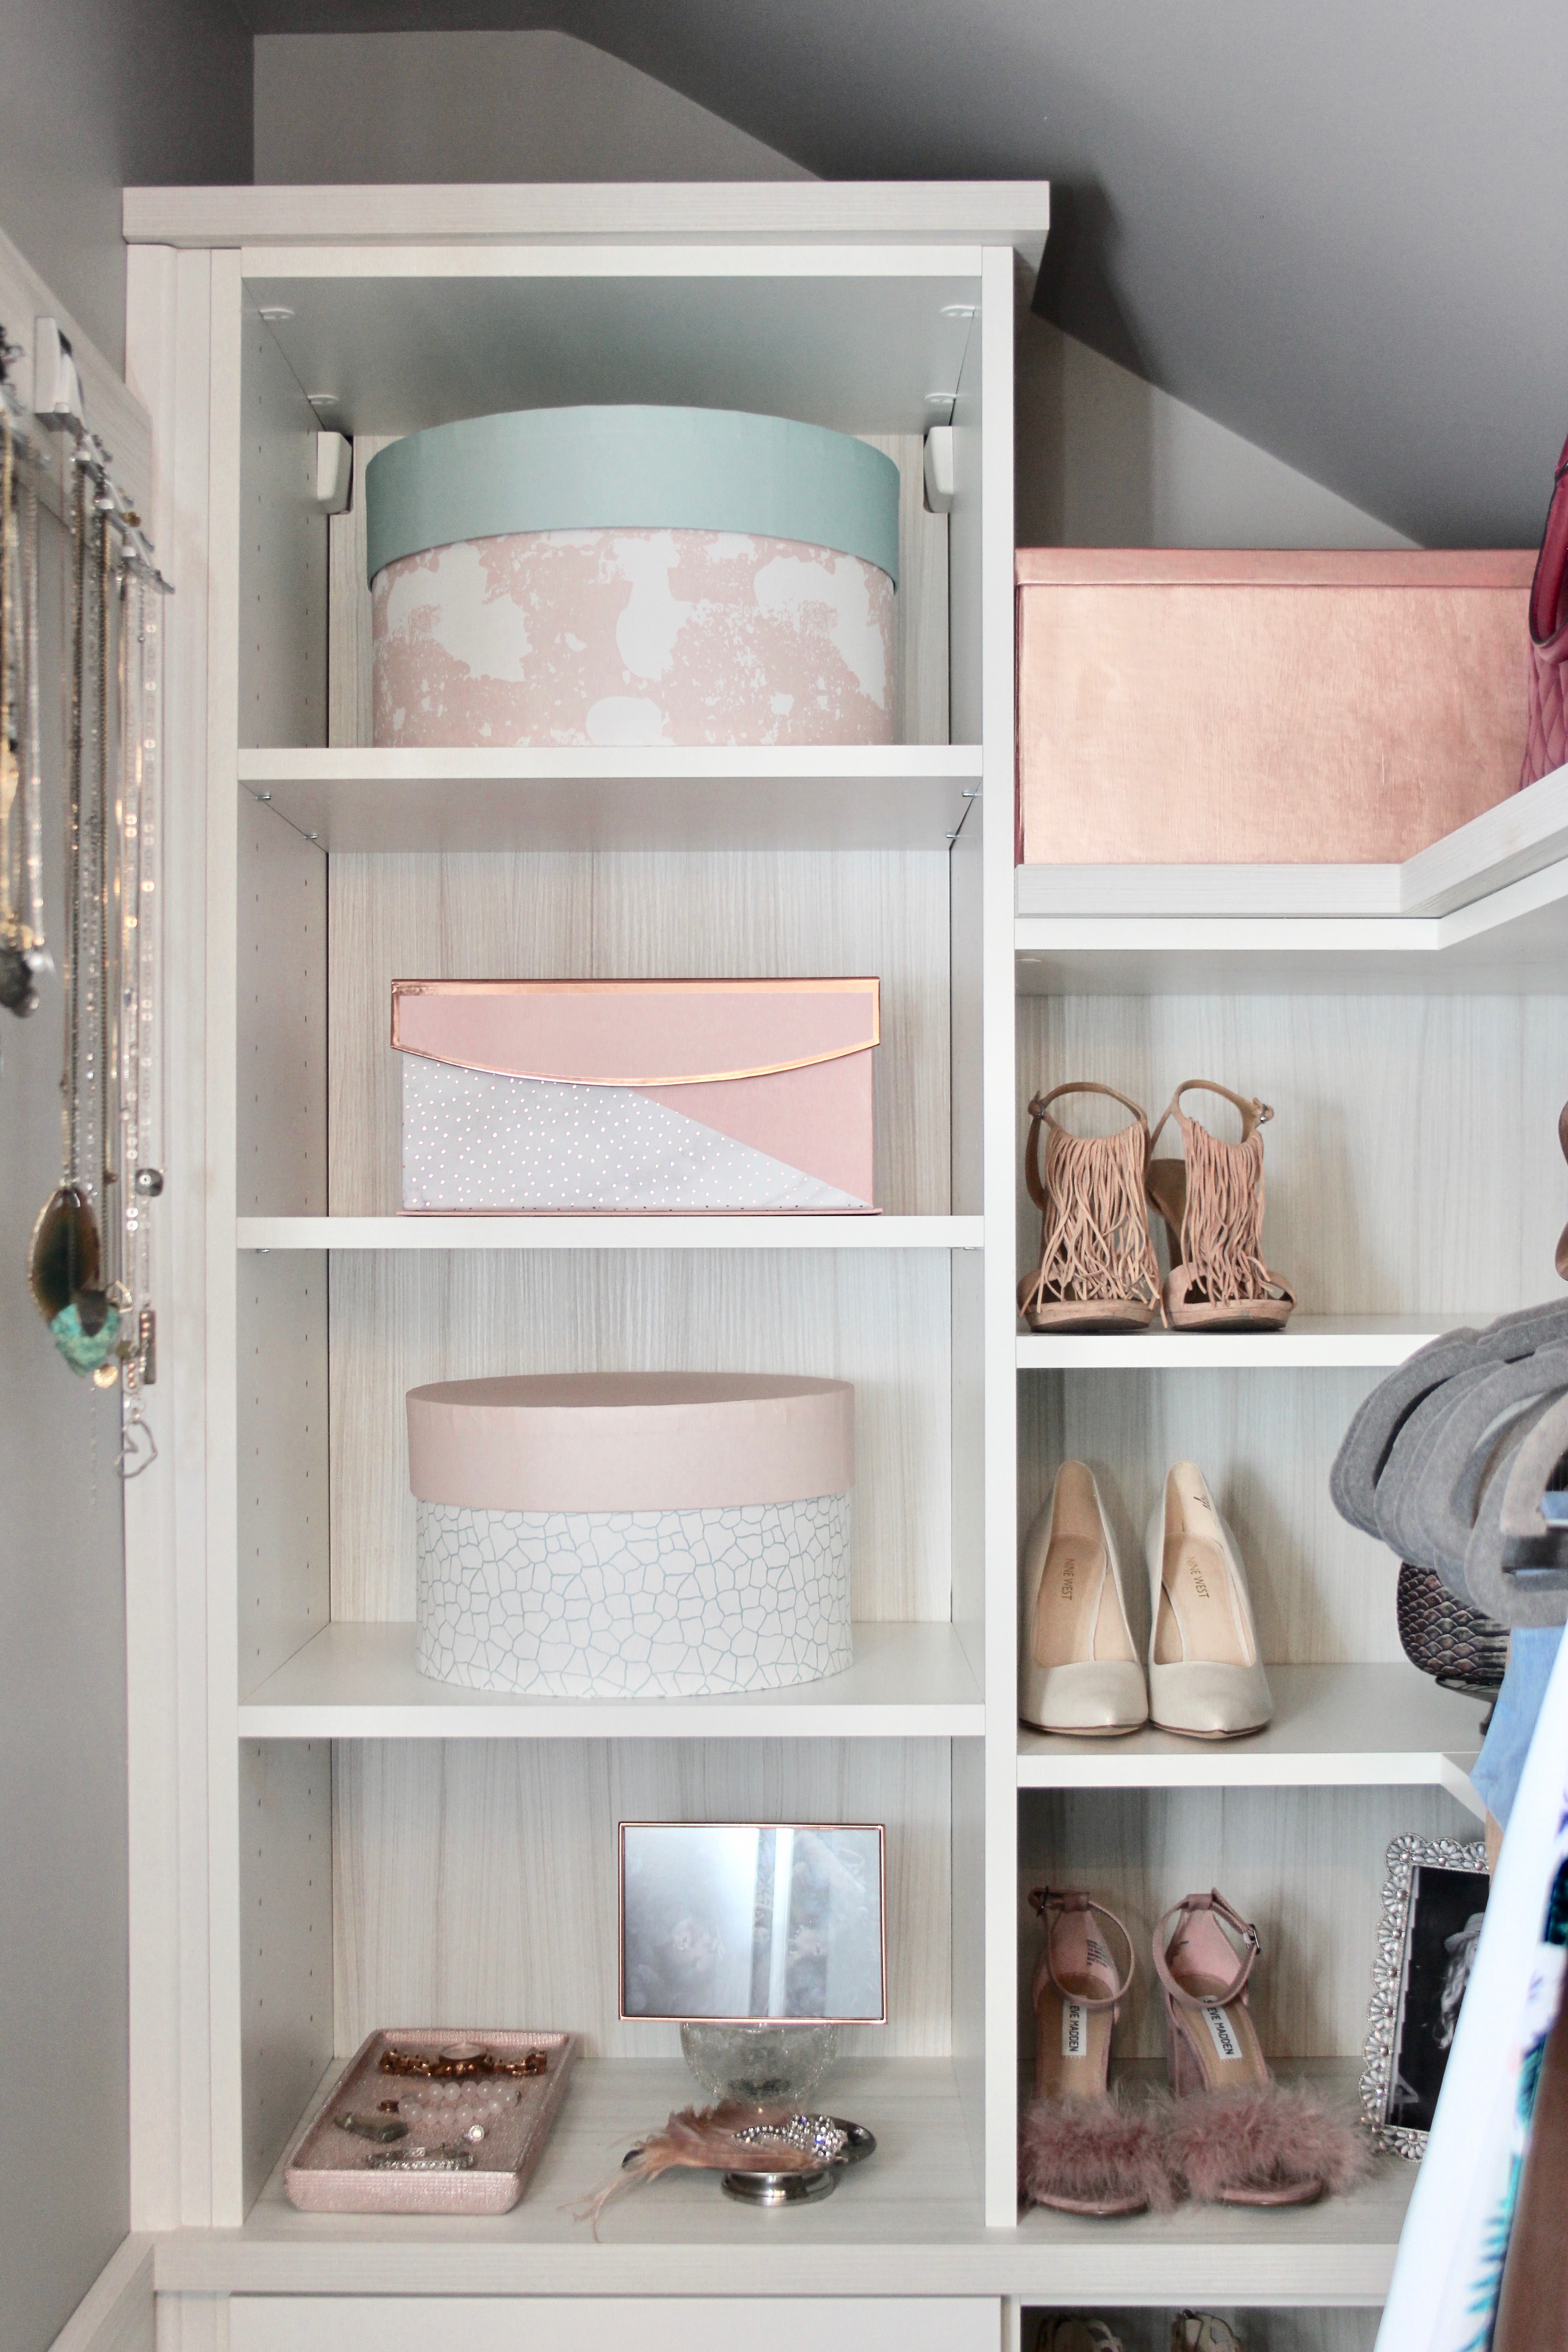
 When I was working with California Closets to design my new dream closet, I knew I had to integrate my favourite colours. You know, the colours you feel most connected to? The ones that bring you happiness? Rose gold is one of my favourites, so I wanted to incorporate it into my new space. I really wanted a pop of colour to compliment the white and light grey closet design. Storage boxes seemed like a good place to start, however I had a heck of time finding one in rose gold. The only ones I came across were available online for $100 or more, and would take a few weeks to arrive. I knew I had to do it myself to get exactly what I envisioned…so I did.
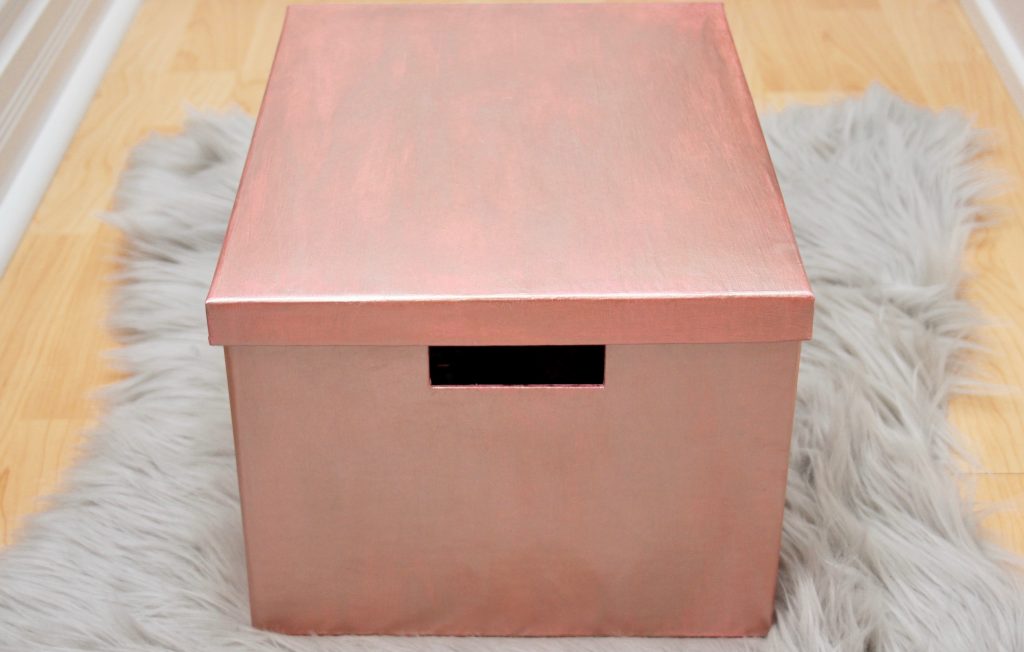
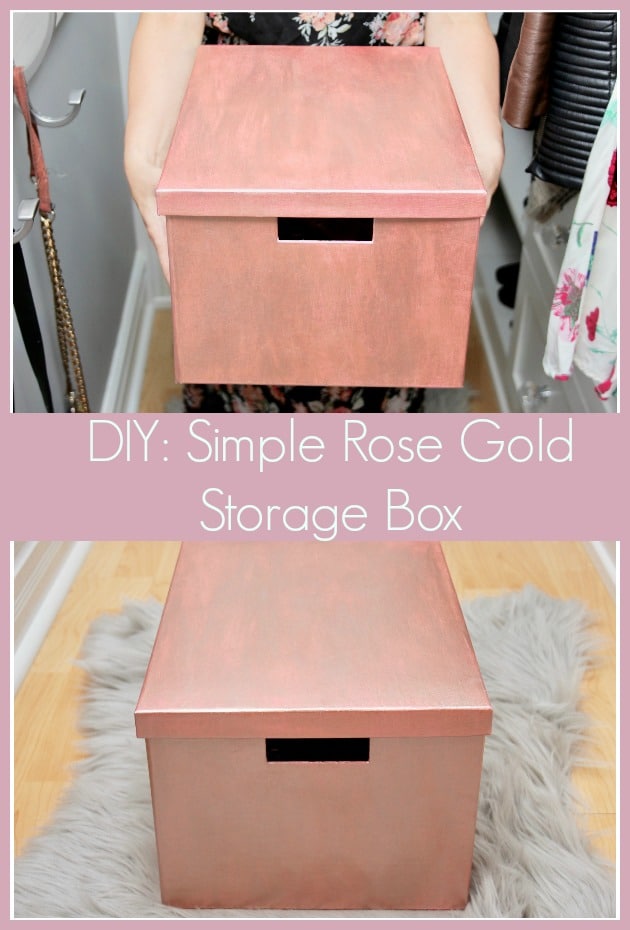
Rose Gold Storage Box
Cost: $25
Time Investment: a few hours (including breaks for paint drying, and enjoying a drink on your patio).
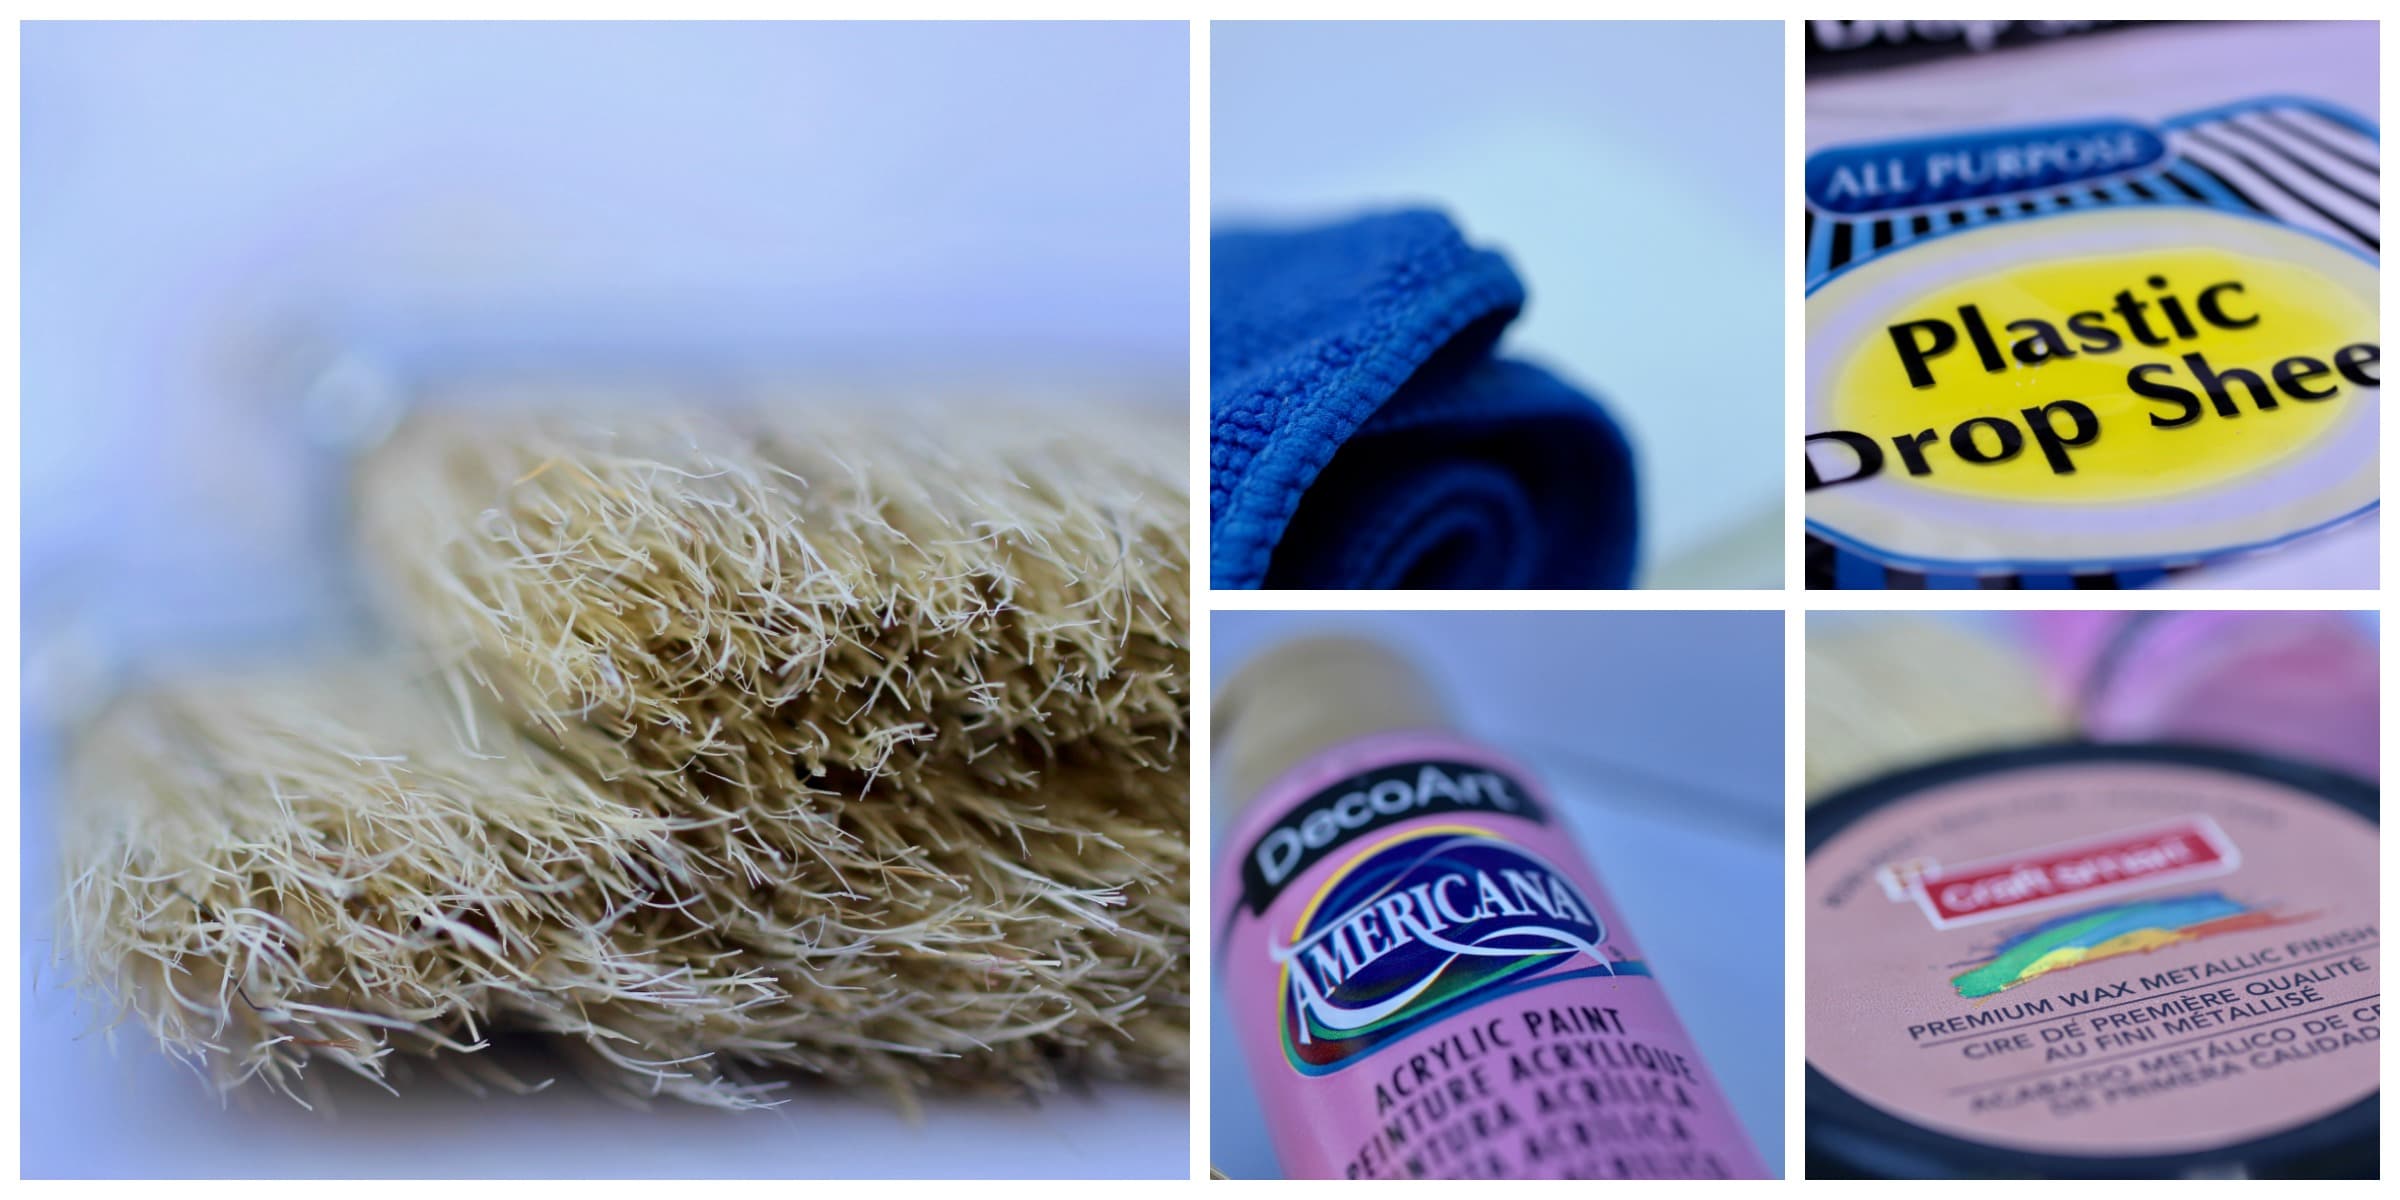
What You’ll Need:
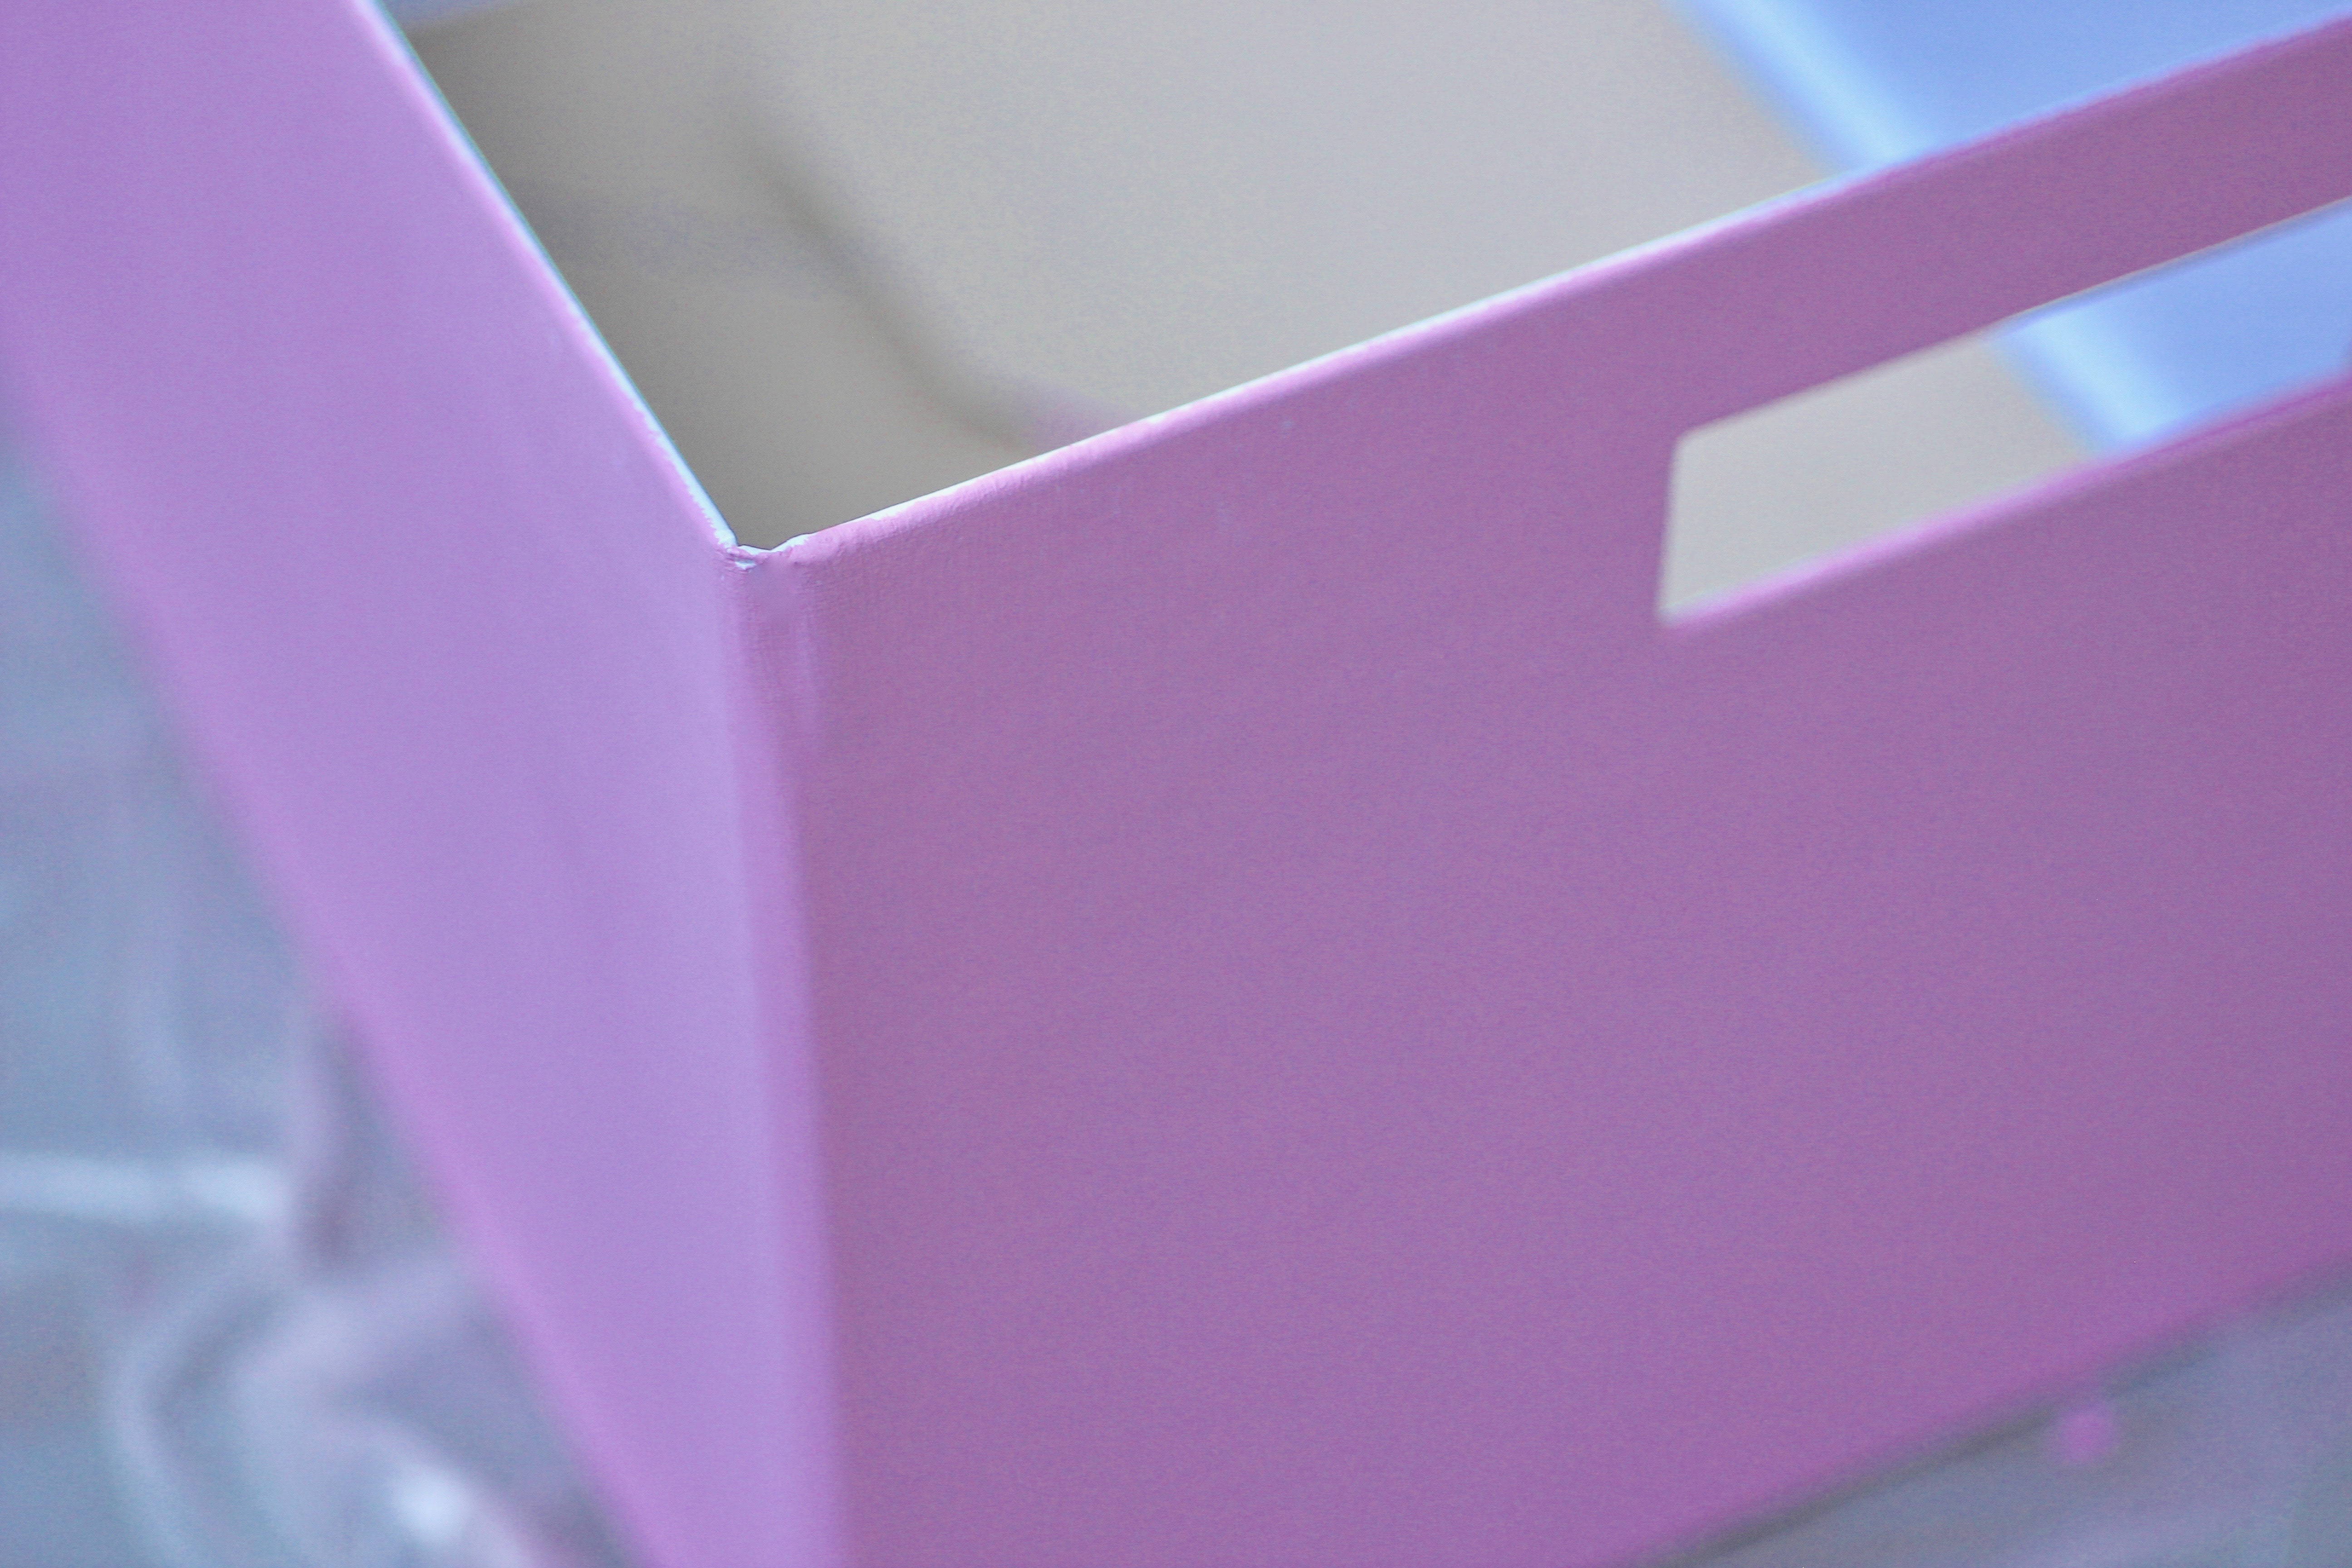
- Any medium-sized cardboard box (I got mine for $4.99 at Ikea)
- Craft Smart Premium Wax Metallic Finish in Rose Gold
- DecoArt Acrylic Paint in Baby Pink
- 2 inch chip brush
- Old cloth
- Plastic drop sheet (I got mine for $1 at the Dollar Store)
 Directions:
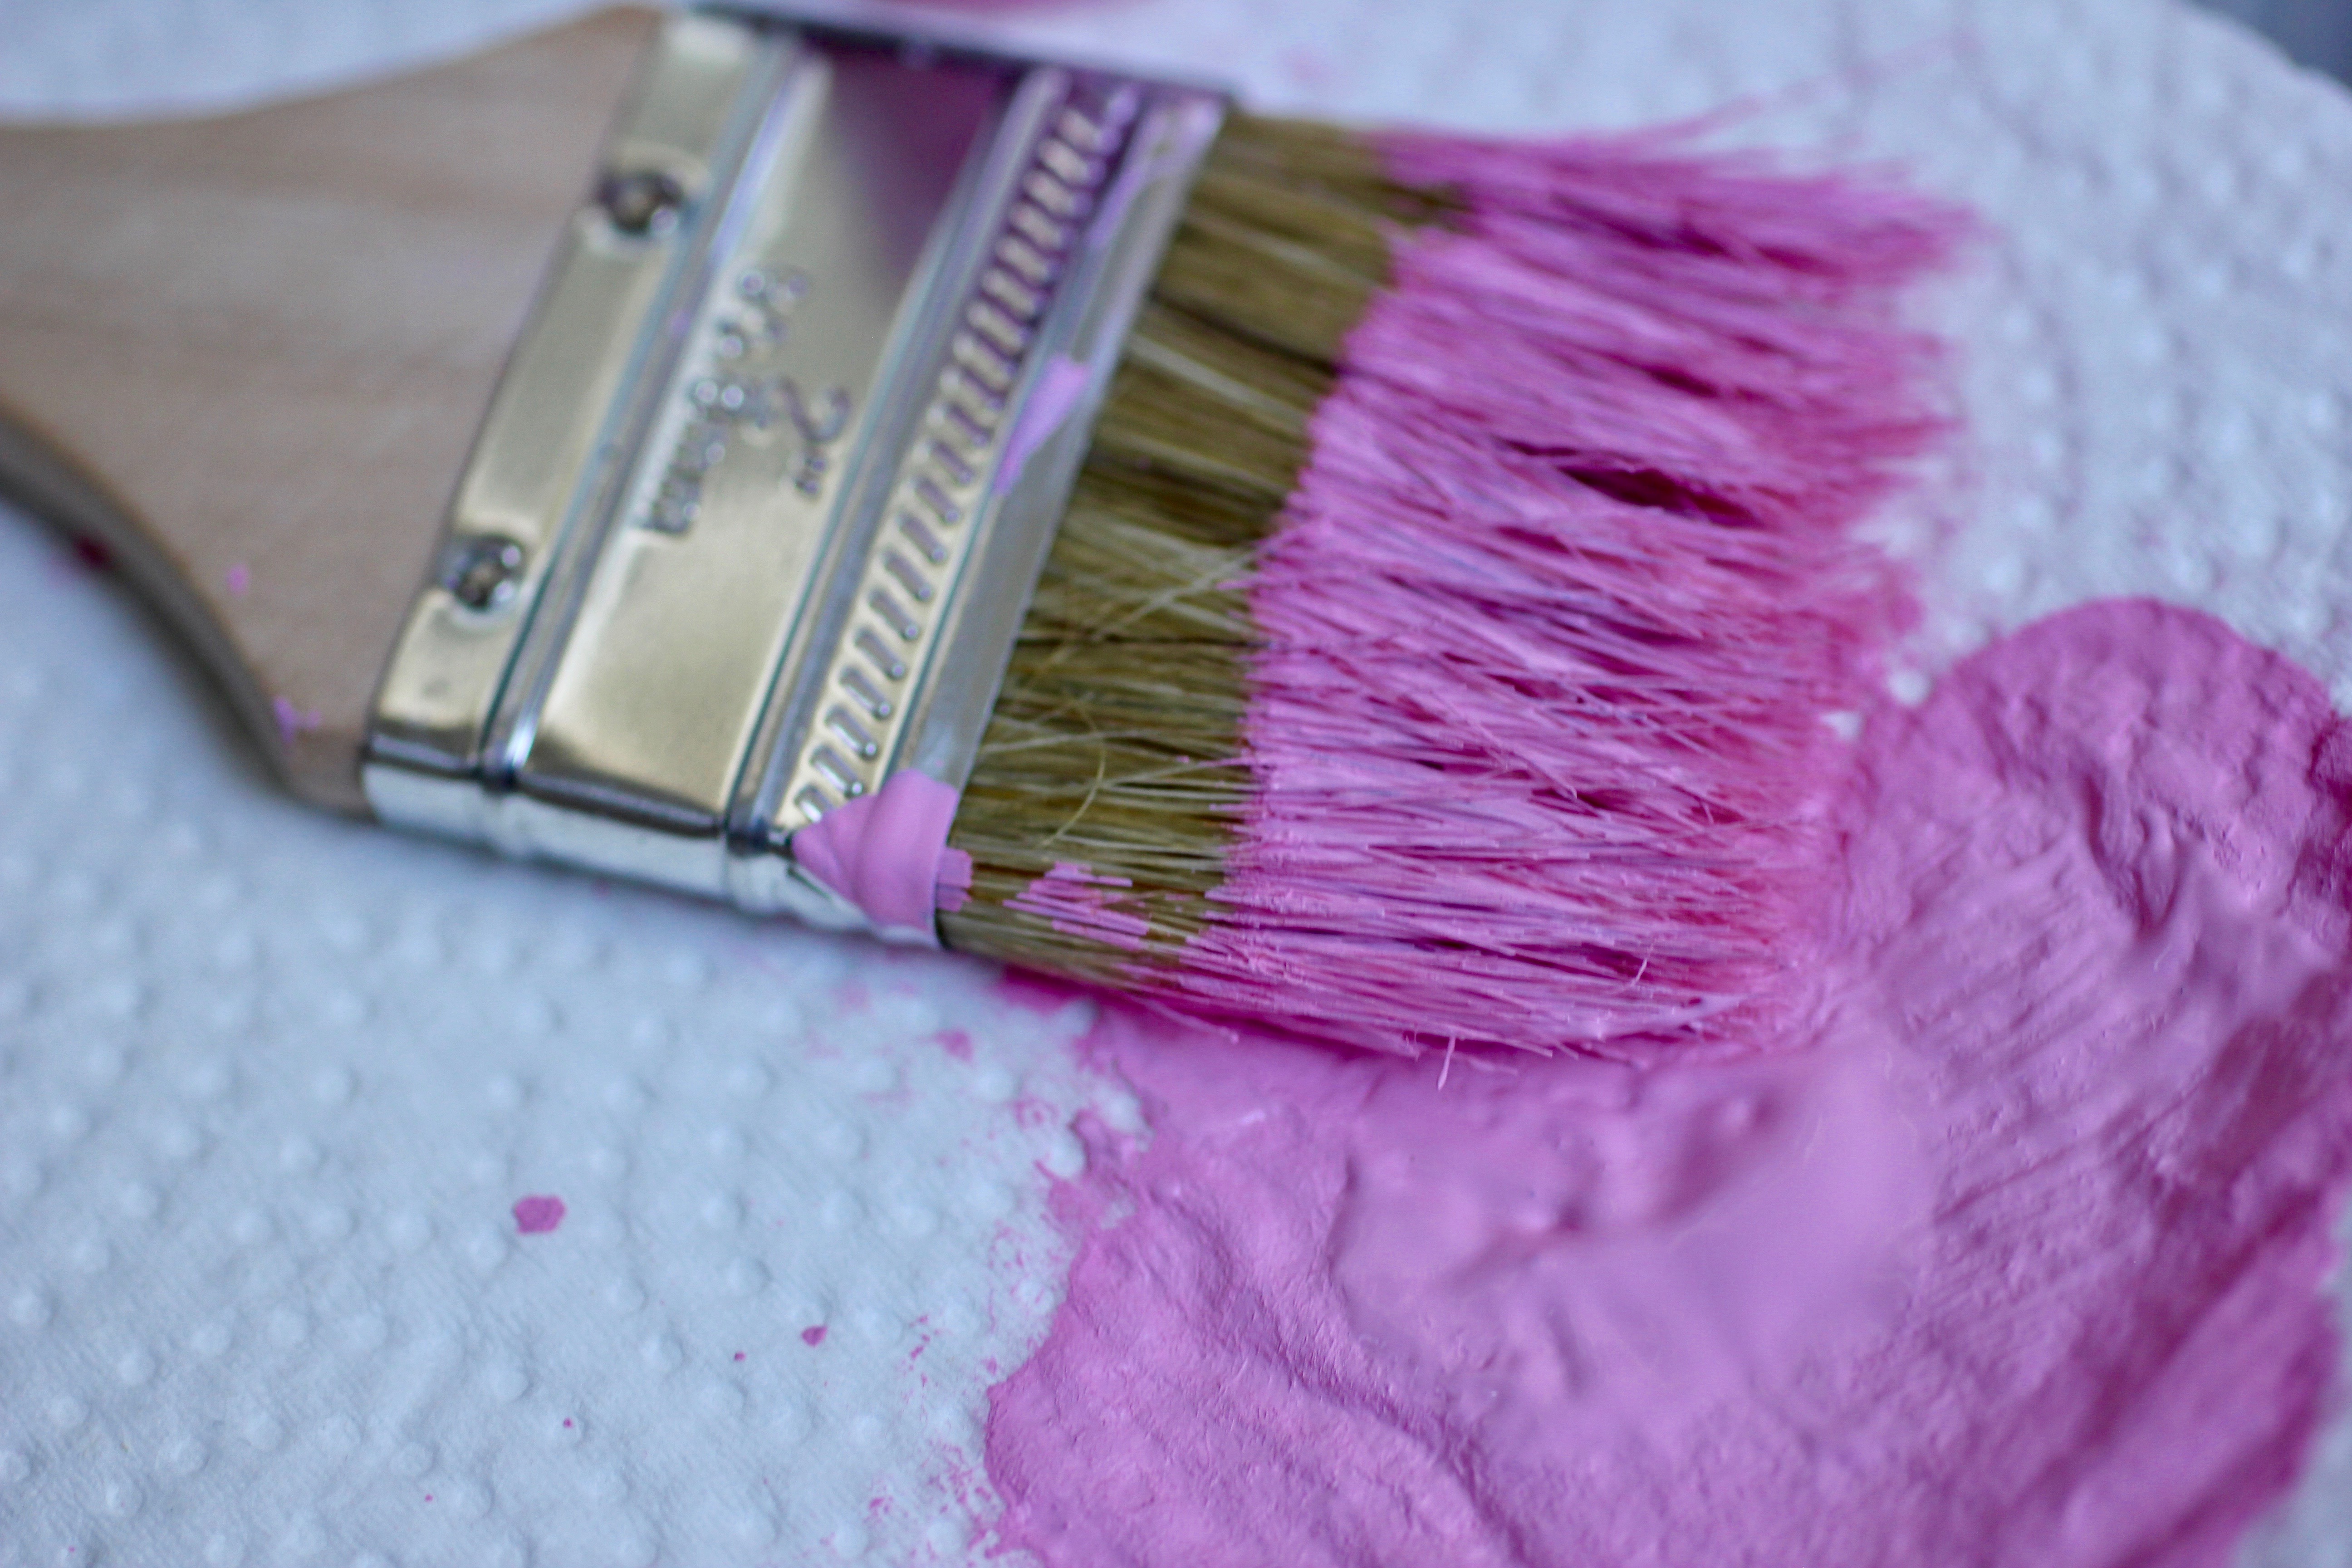
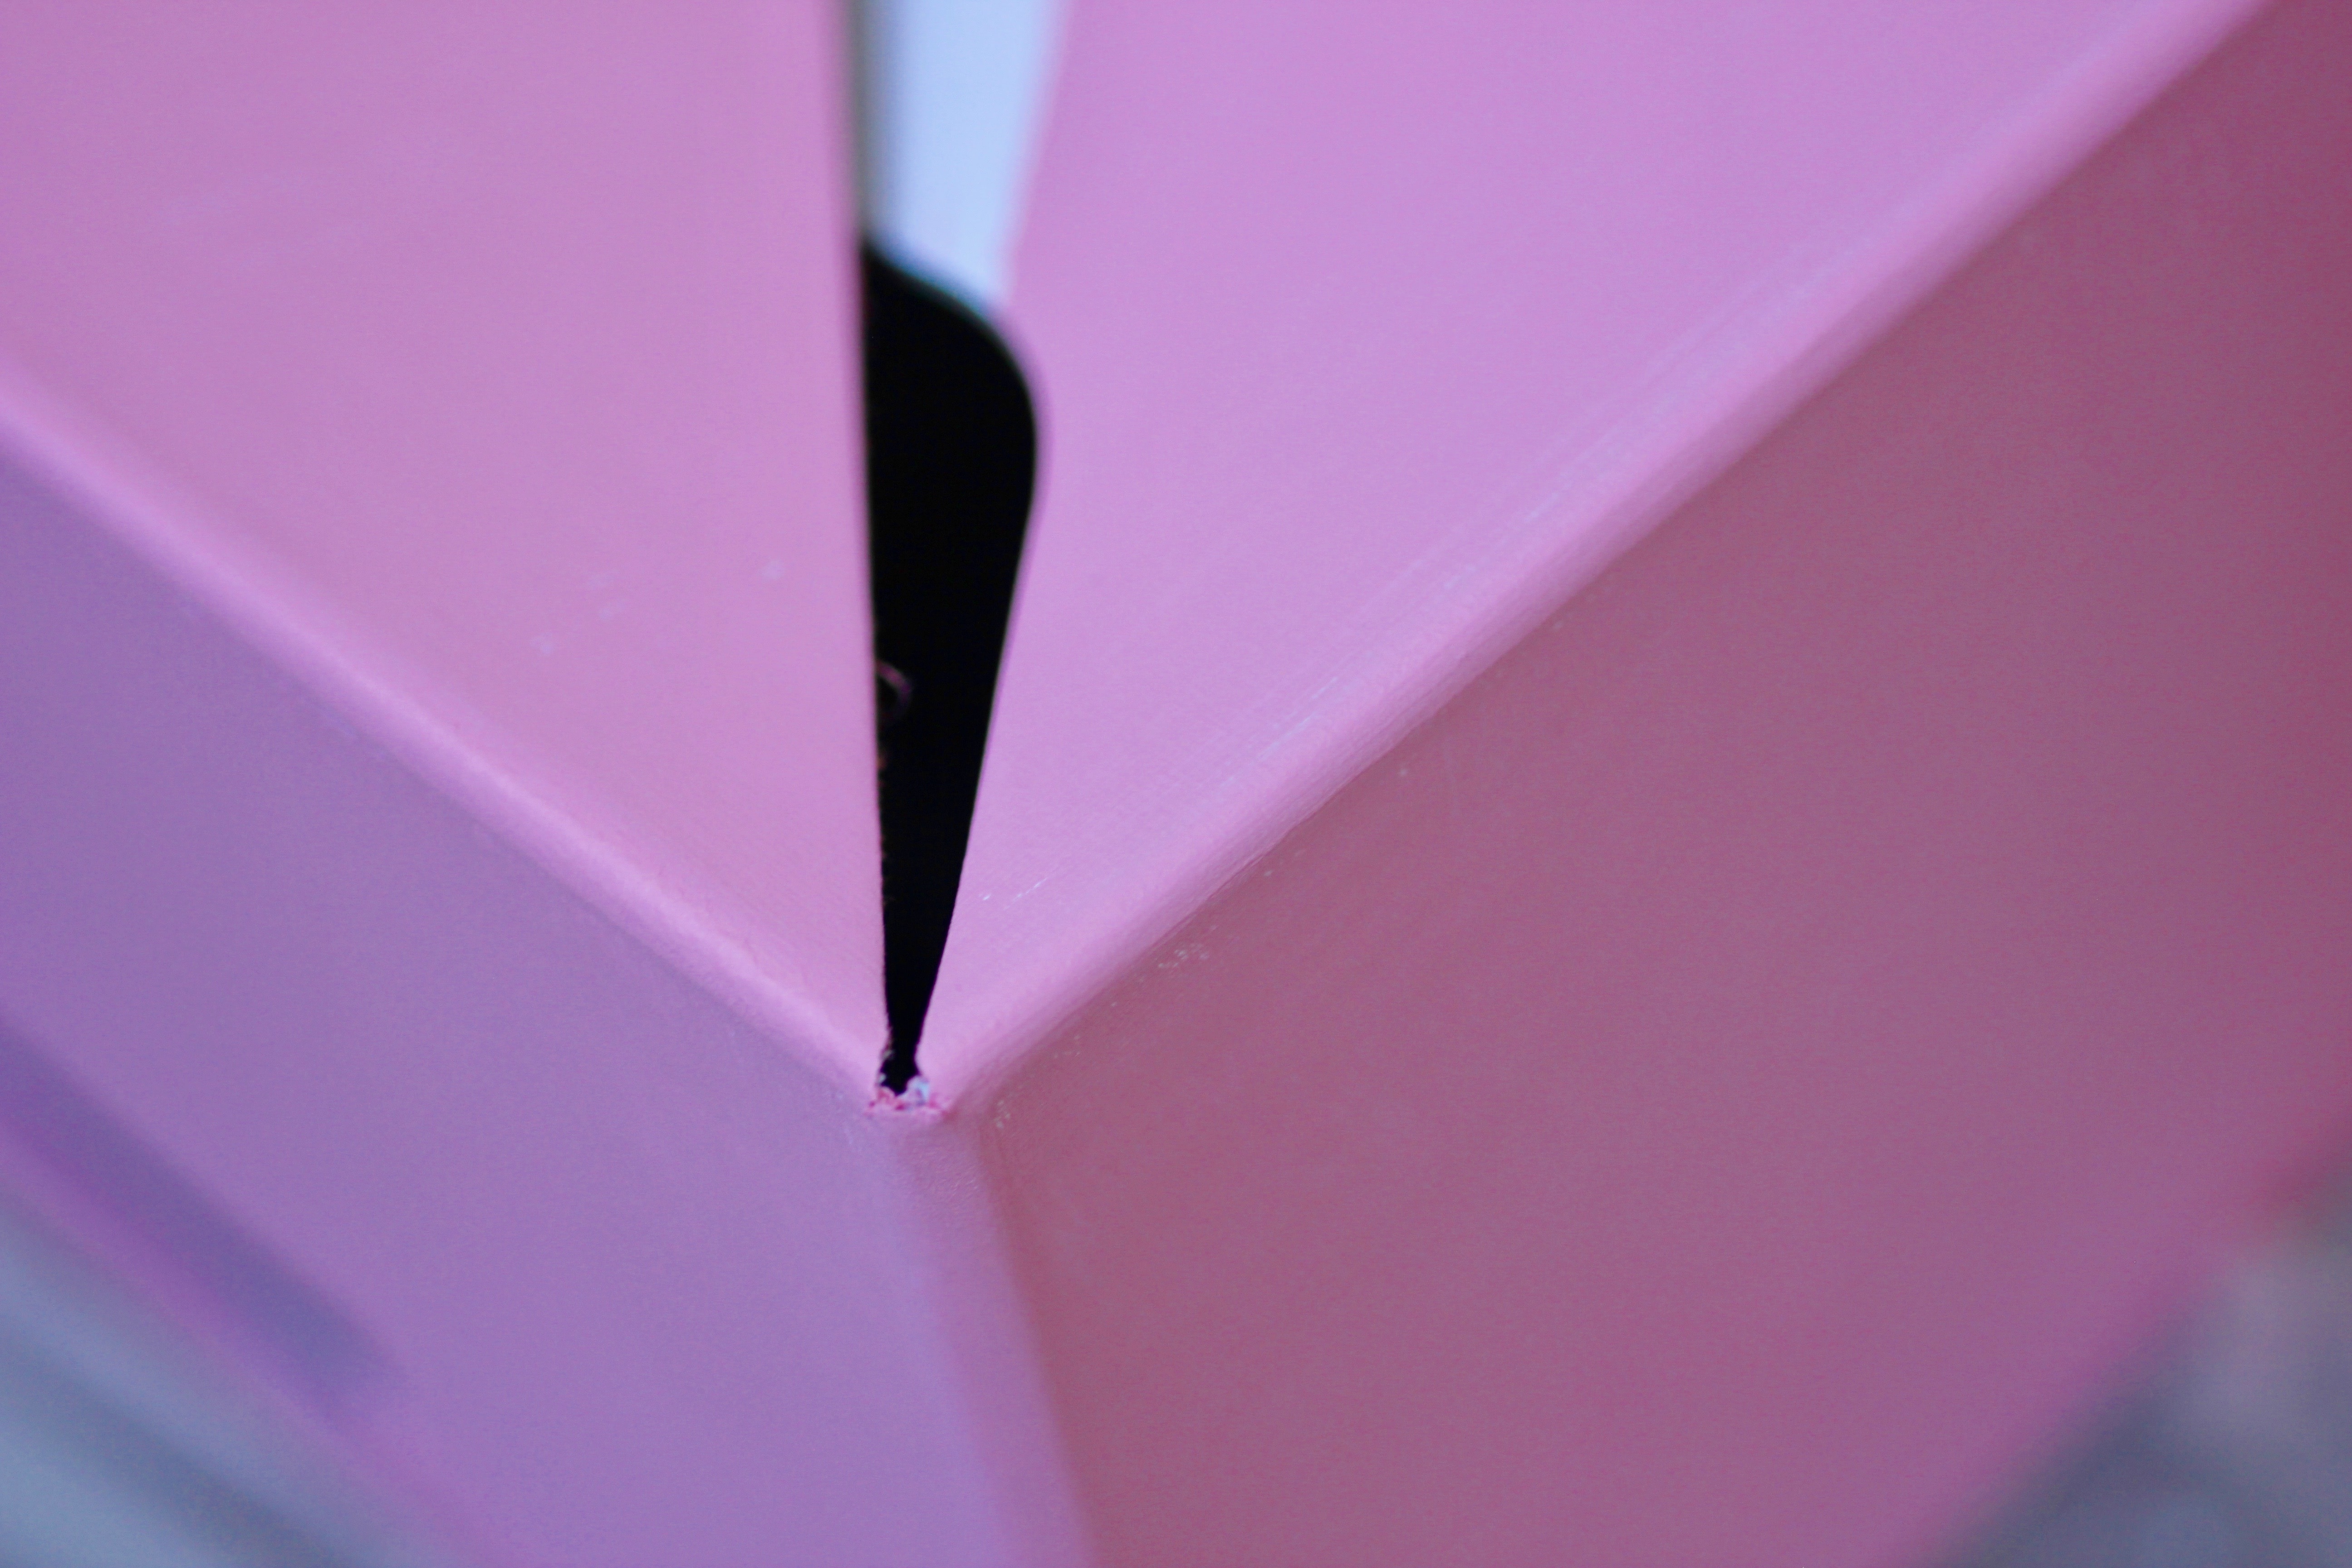
Lay out your plastic sheet and get painting! First, coat the box with DecoArt Acrylic Paint in Baby Pink and let it dry for about an hour. You likely don’t have to wait this long but I did just to be safe. It only took one coat to get the colour I was looking for, but feel free to add another.
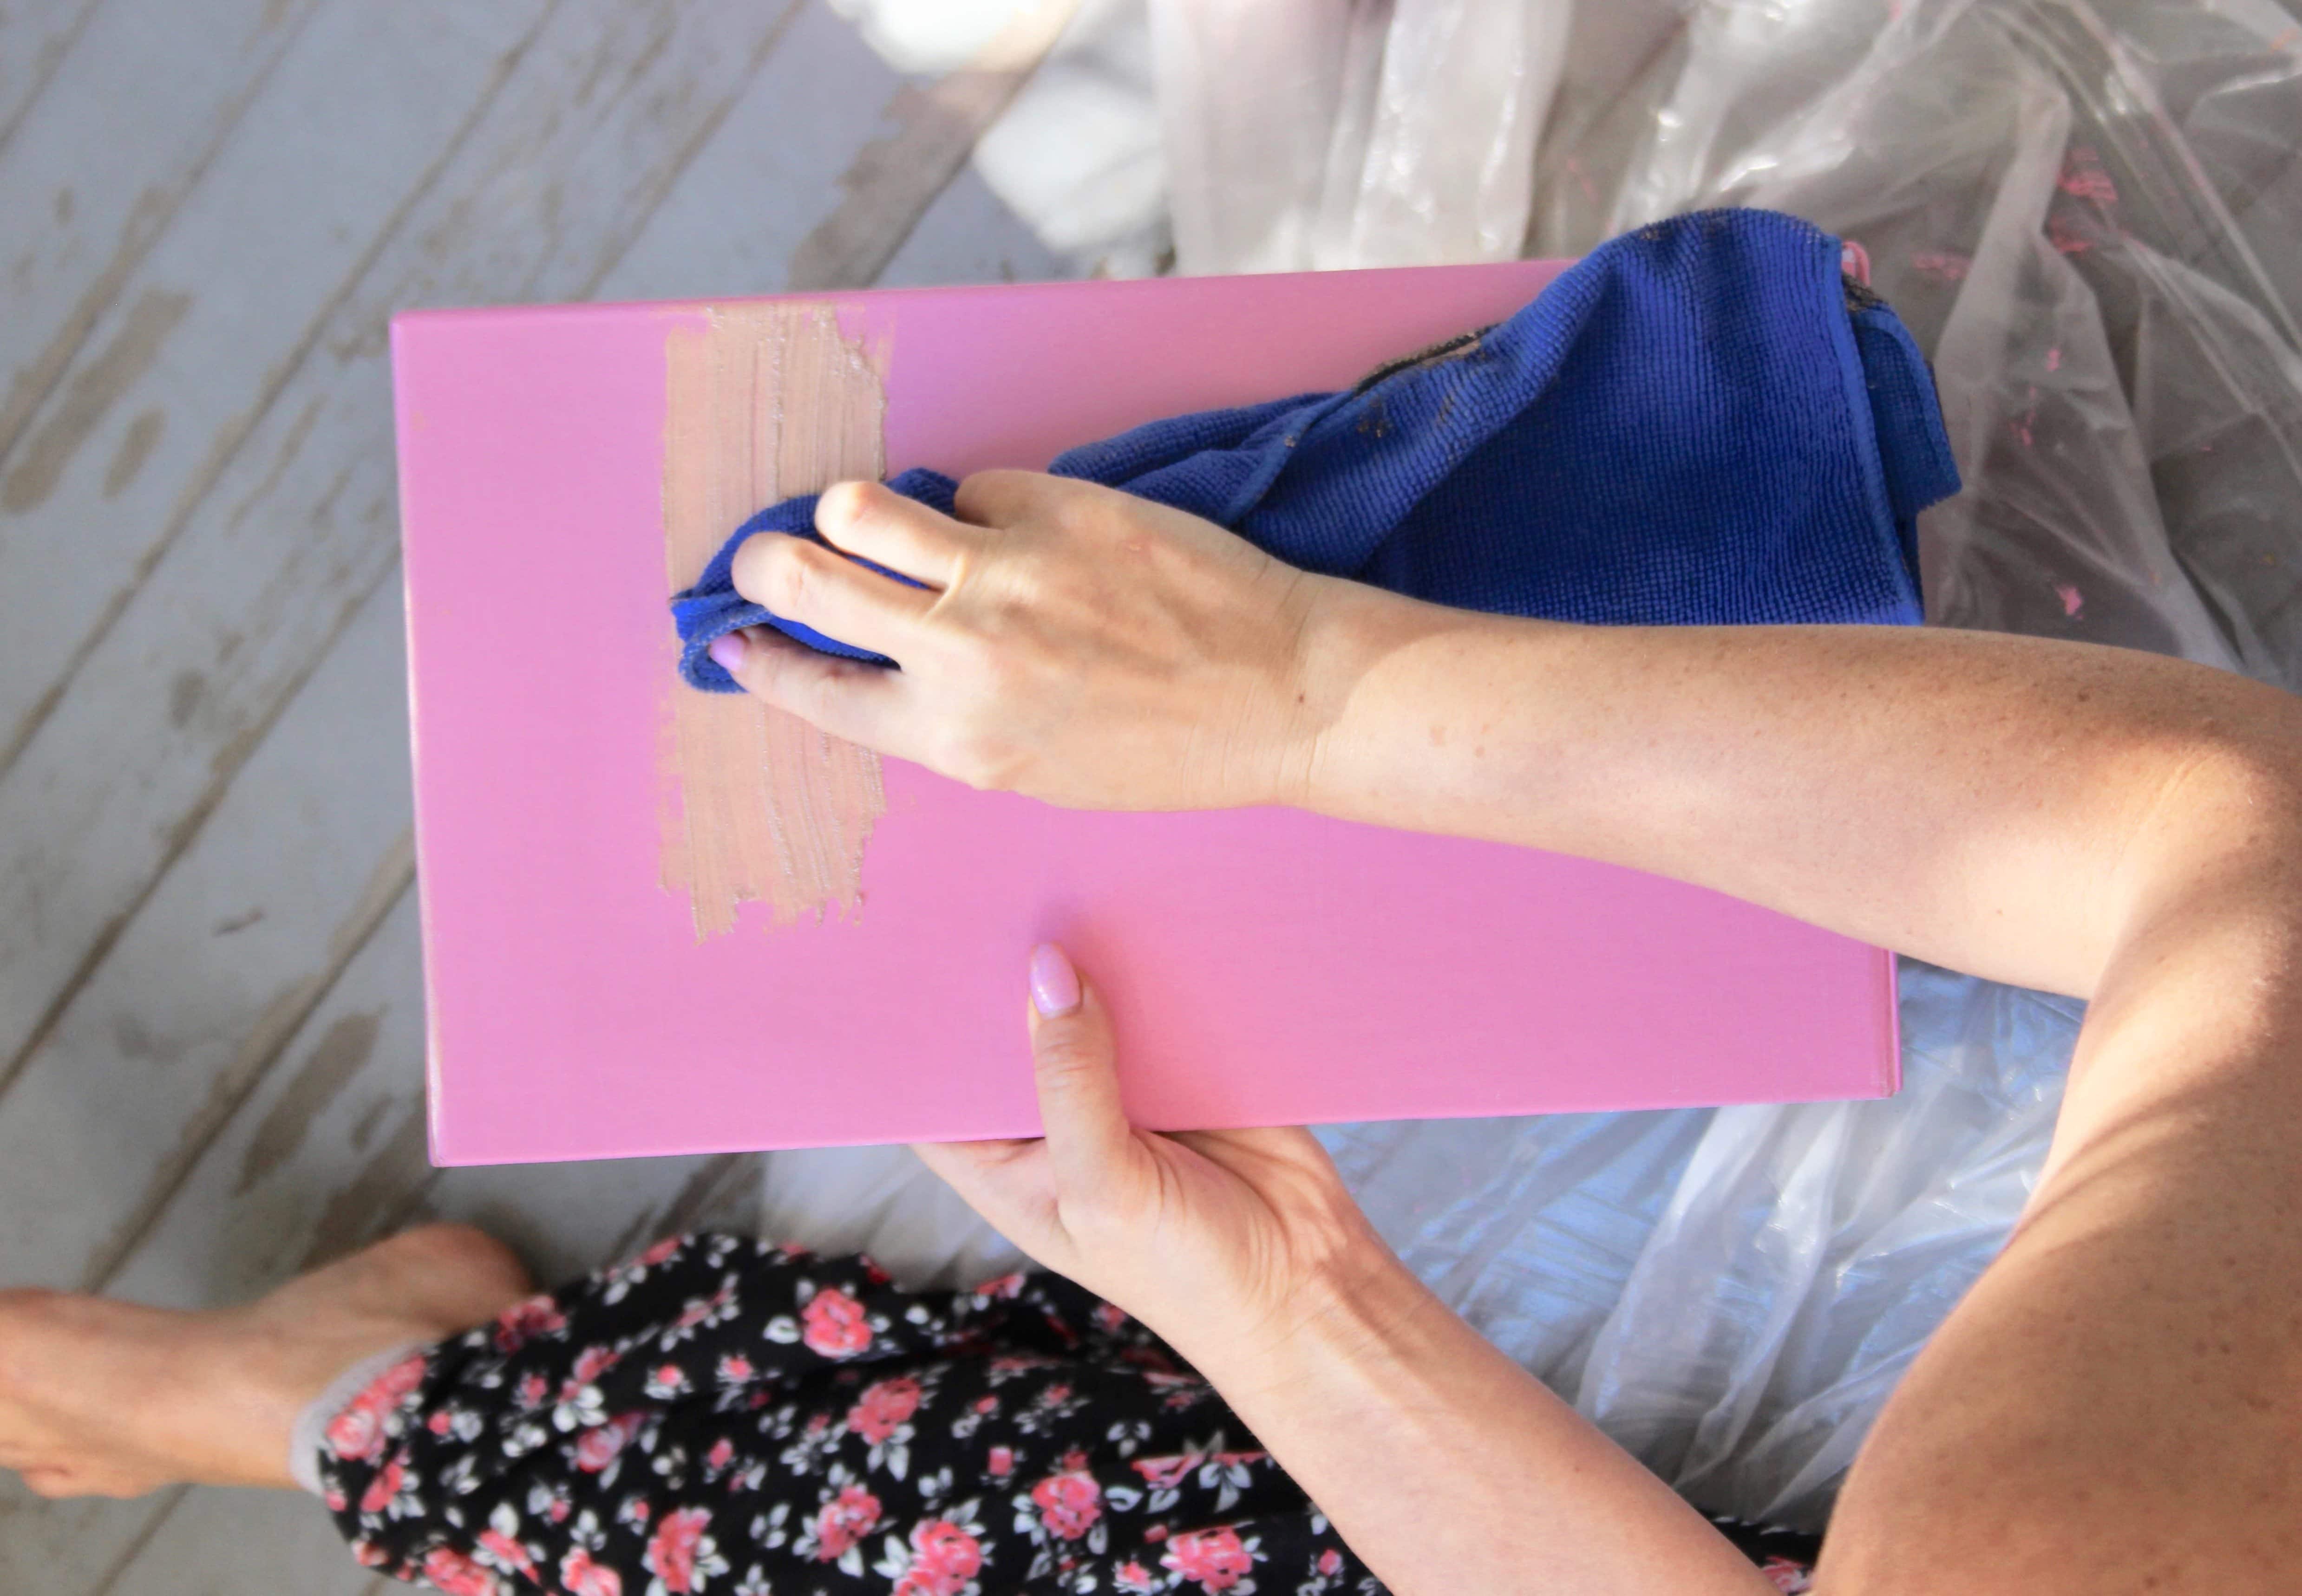
 Next, grab an old cloth and wipe on your Craft Smart Premium Wax Metallic Finish in Rose Gold. I used almost the entire container for one box. There really is no incorrect way to apply this but I found a circular motion worked best.
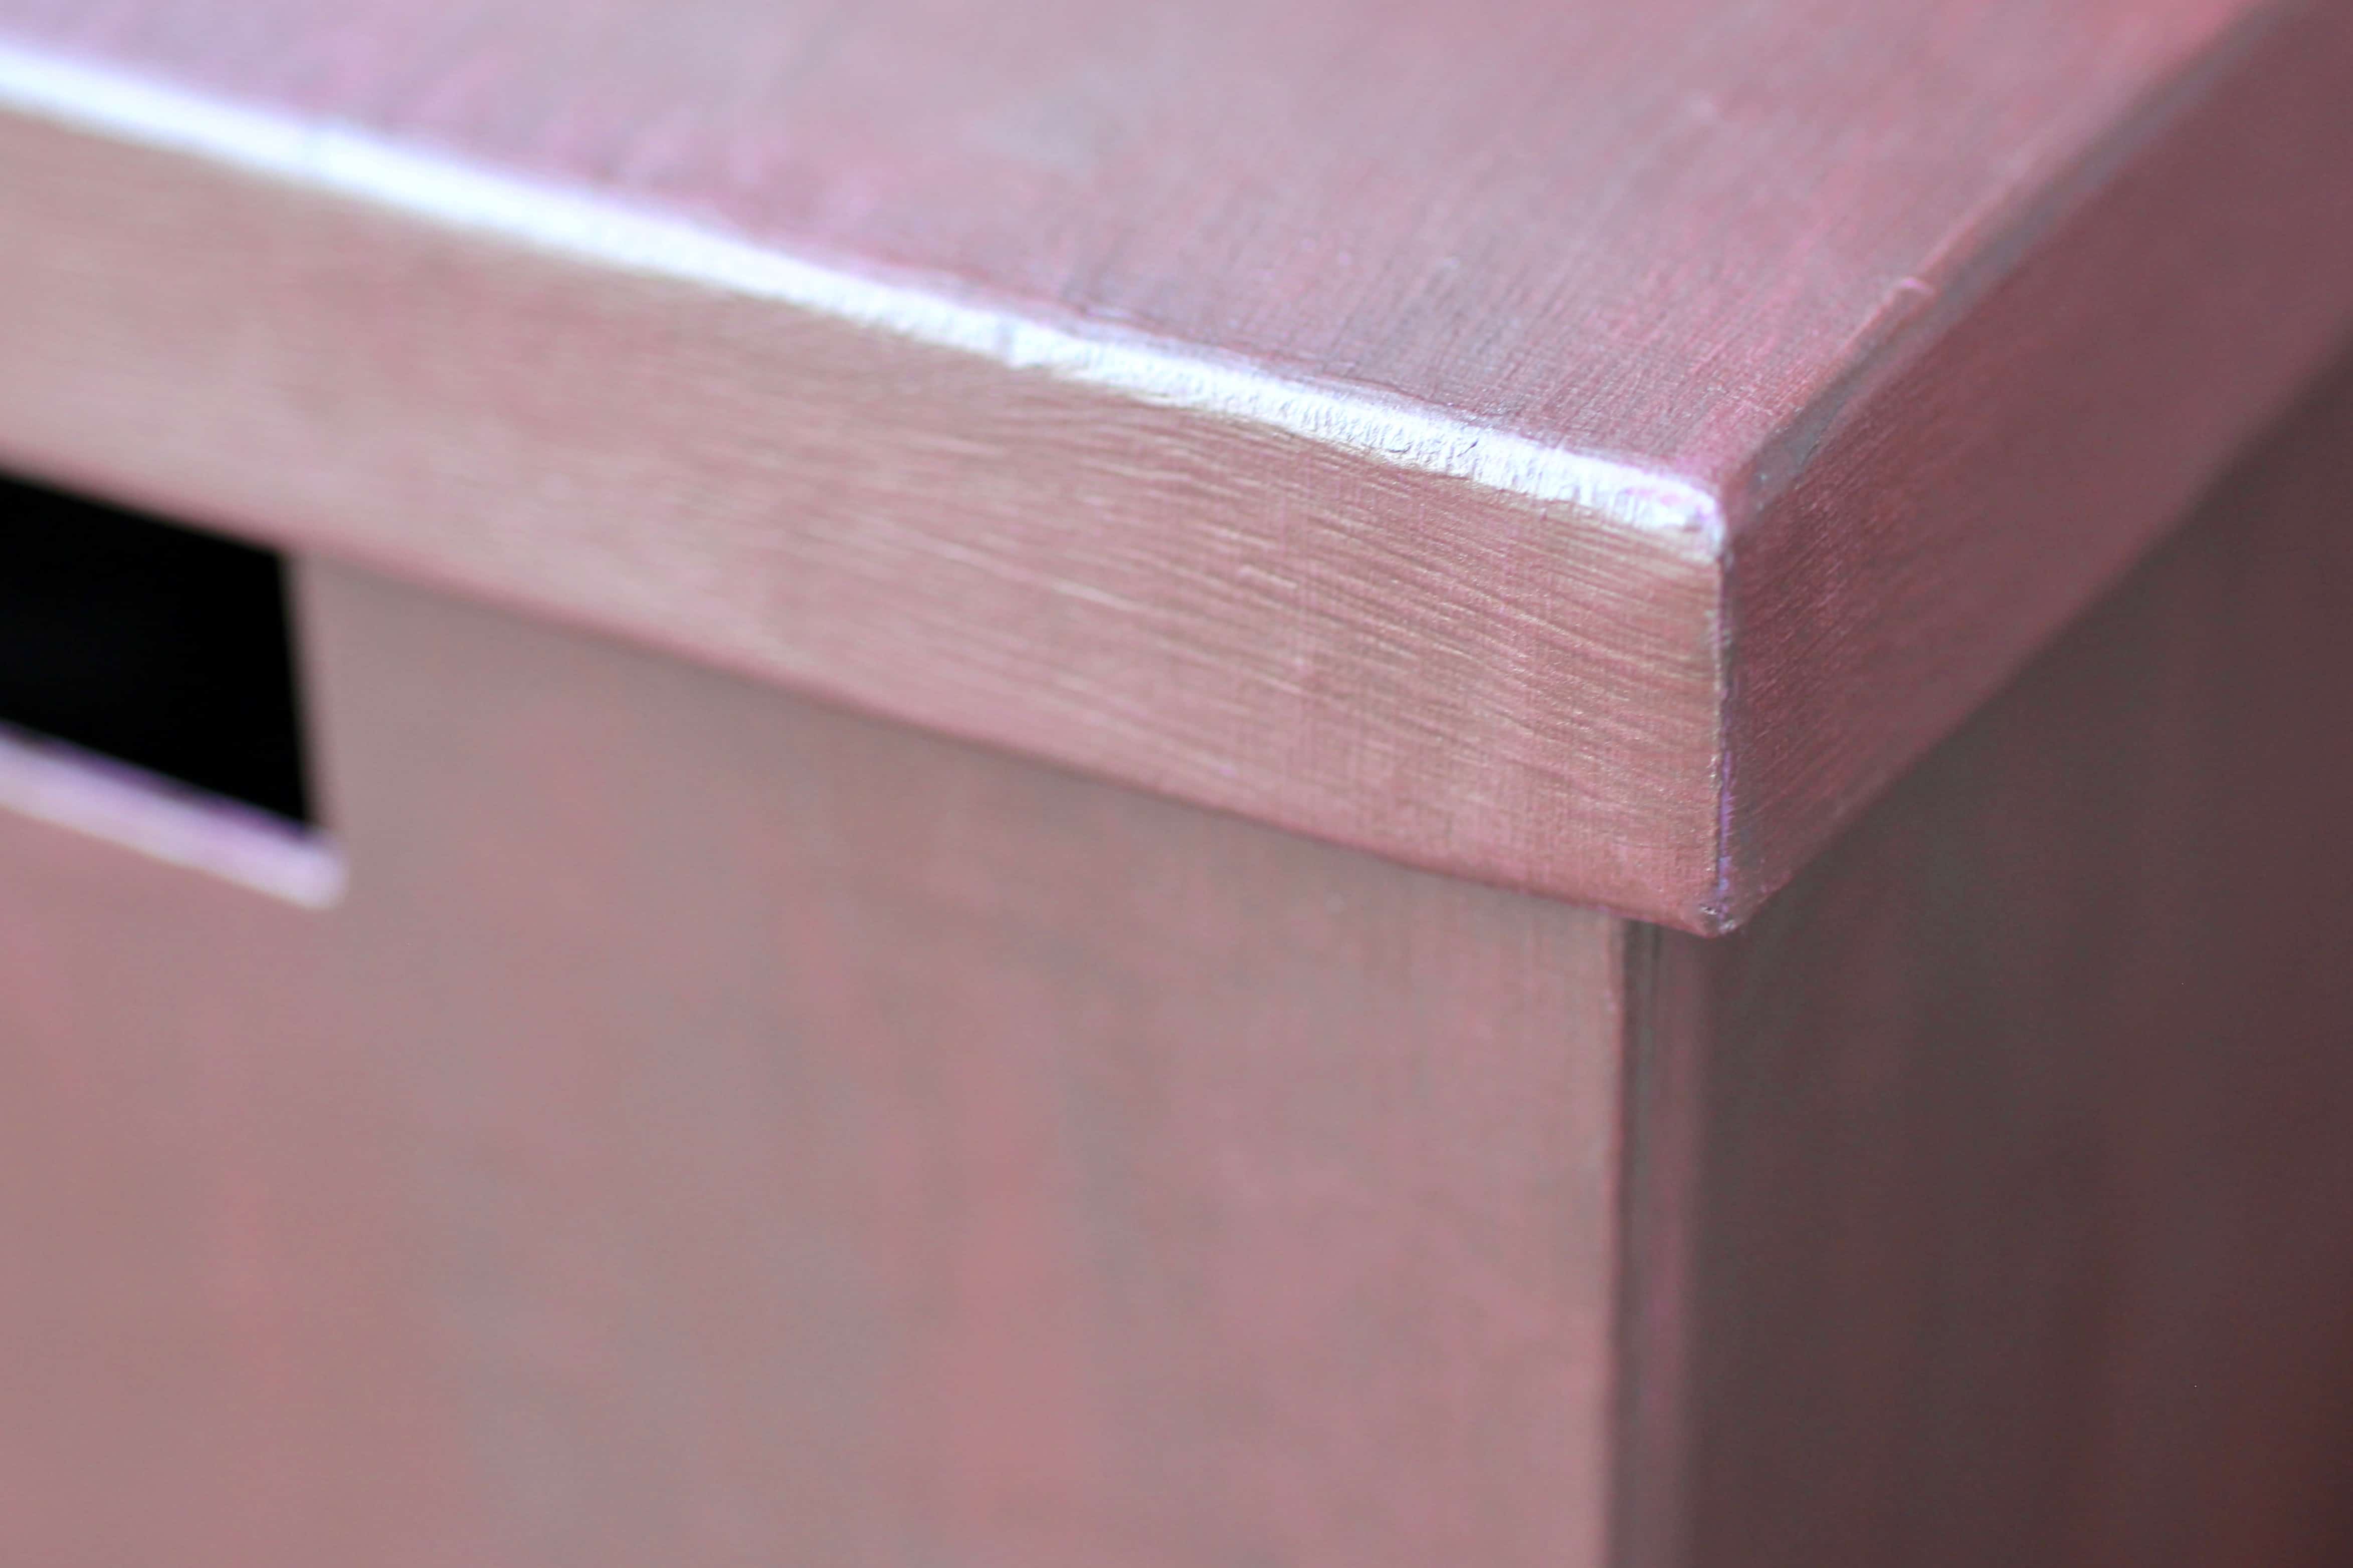
 The metallic lustre dries really quickly (an hour or so), but just to be sure, I left it overnight before filling the box with my things and placing it in my closet. I found the Metallic Lustre really toughened up the box and made it feel more durable and better quality. You can spray a varnish on if you want to increase longevity. I love how it turned out!
Don’t forget to ‘Pin’ it for later!
Check out a few more of my projects here.
xx


Leave a Reply