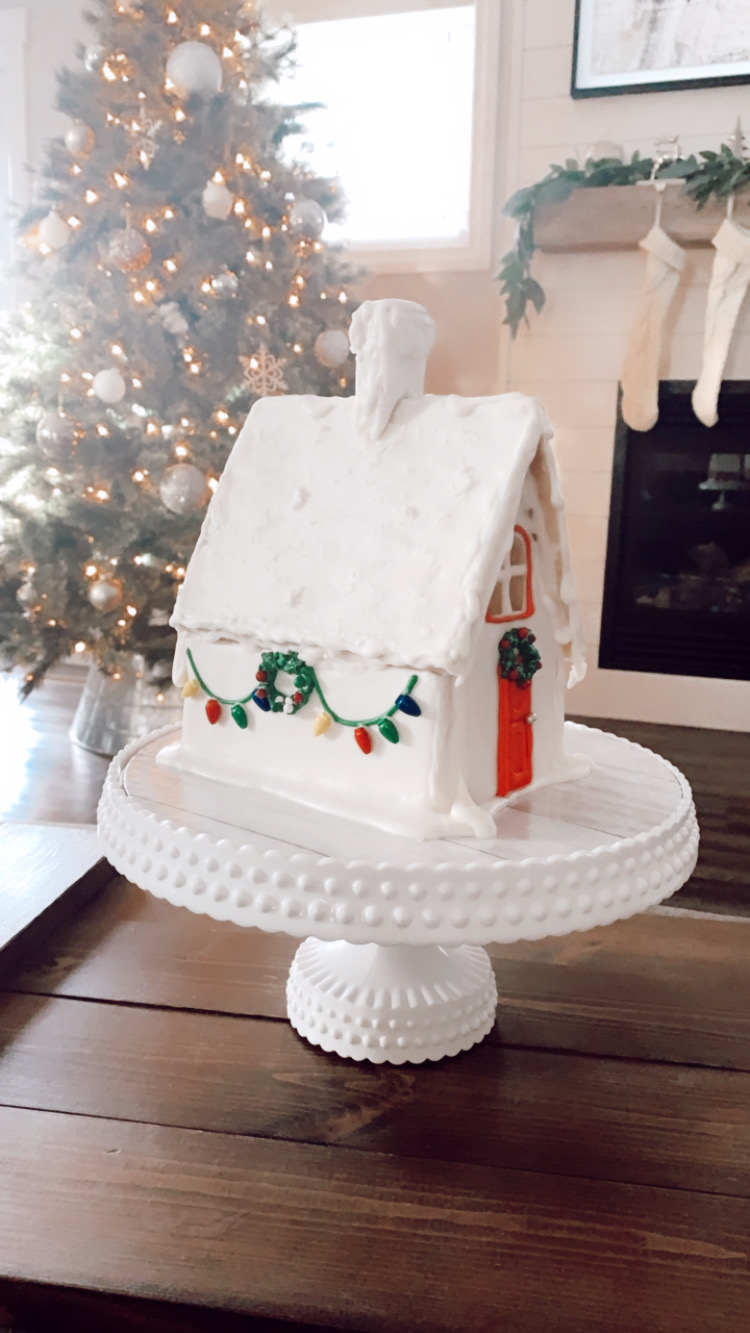
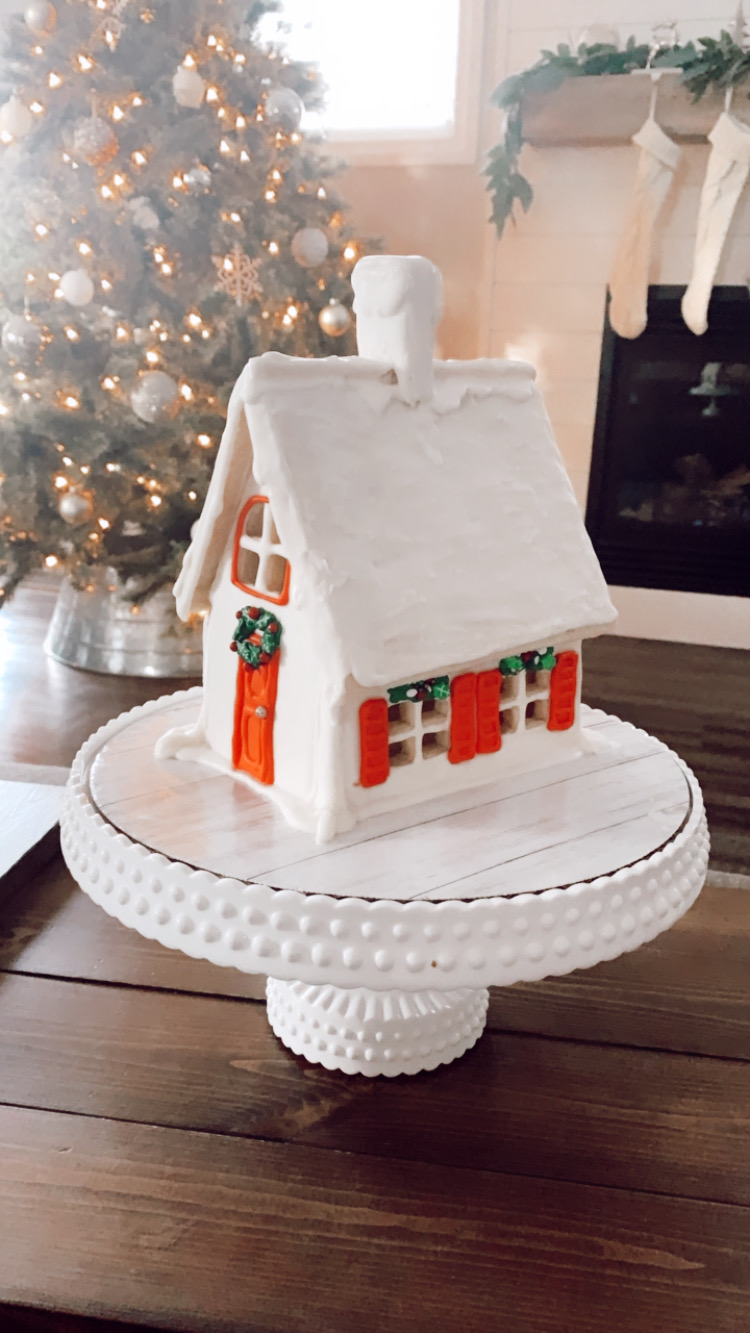
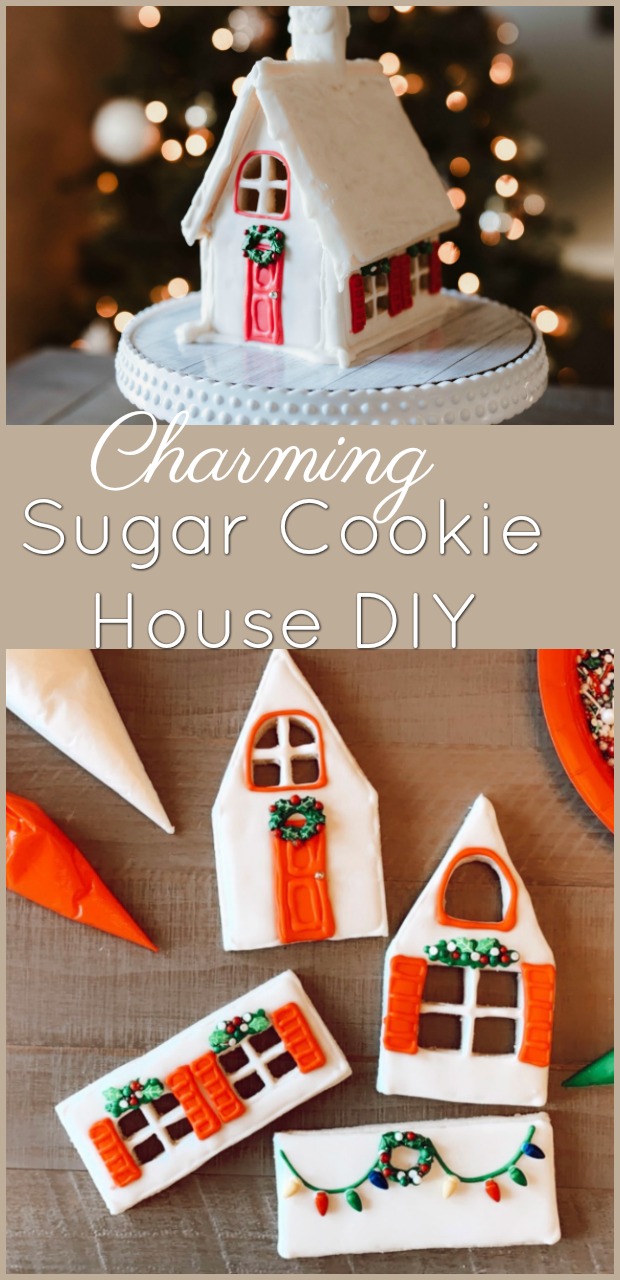
The envy of all the other cookie houses – it’s the Charming Sugar Cookie House!
Made using a tried, tested, and true Sugar Cookie and Royal Icing recipe.
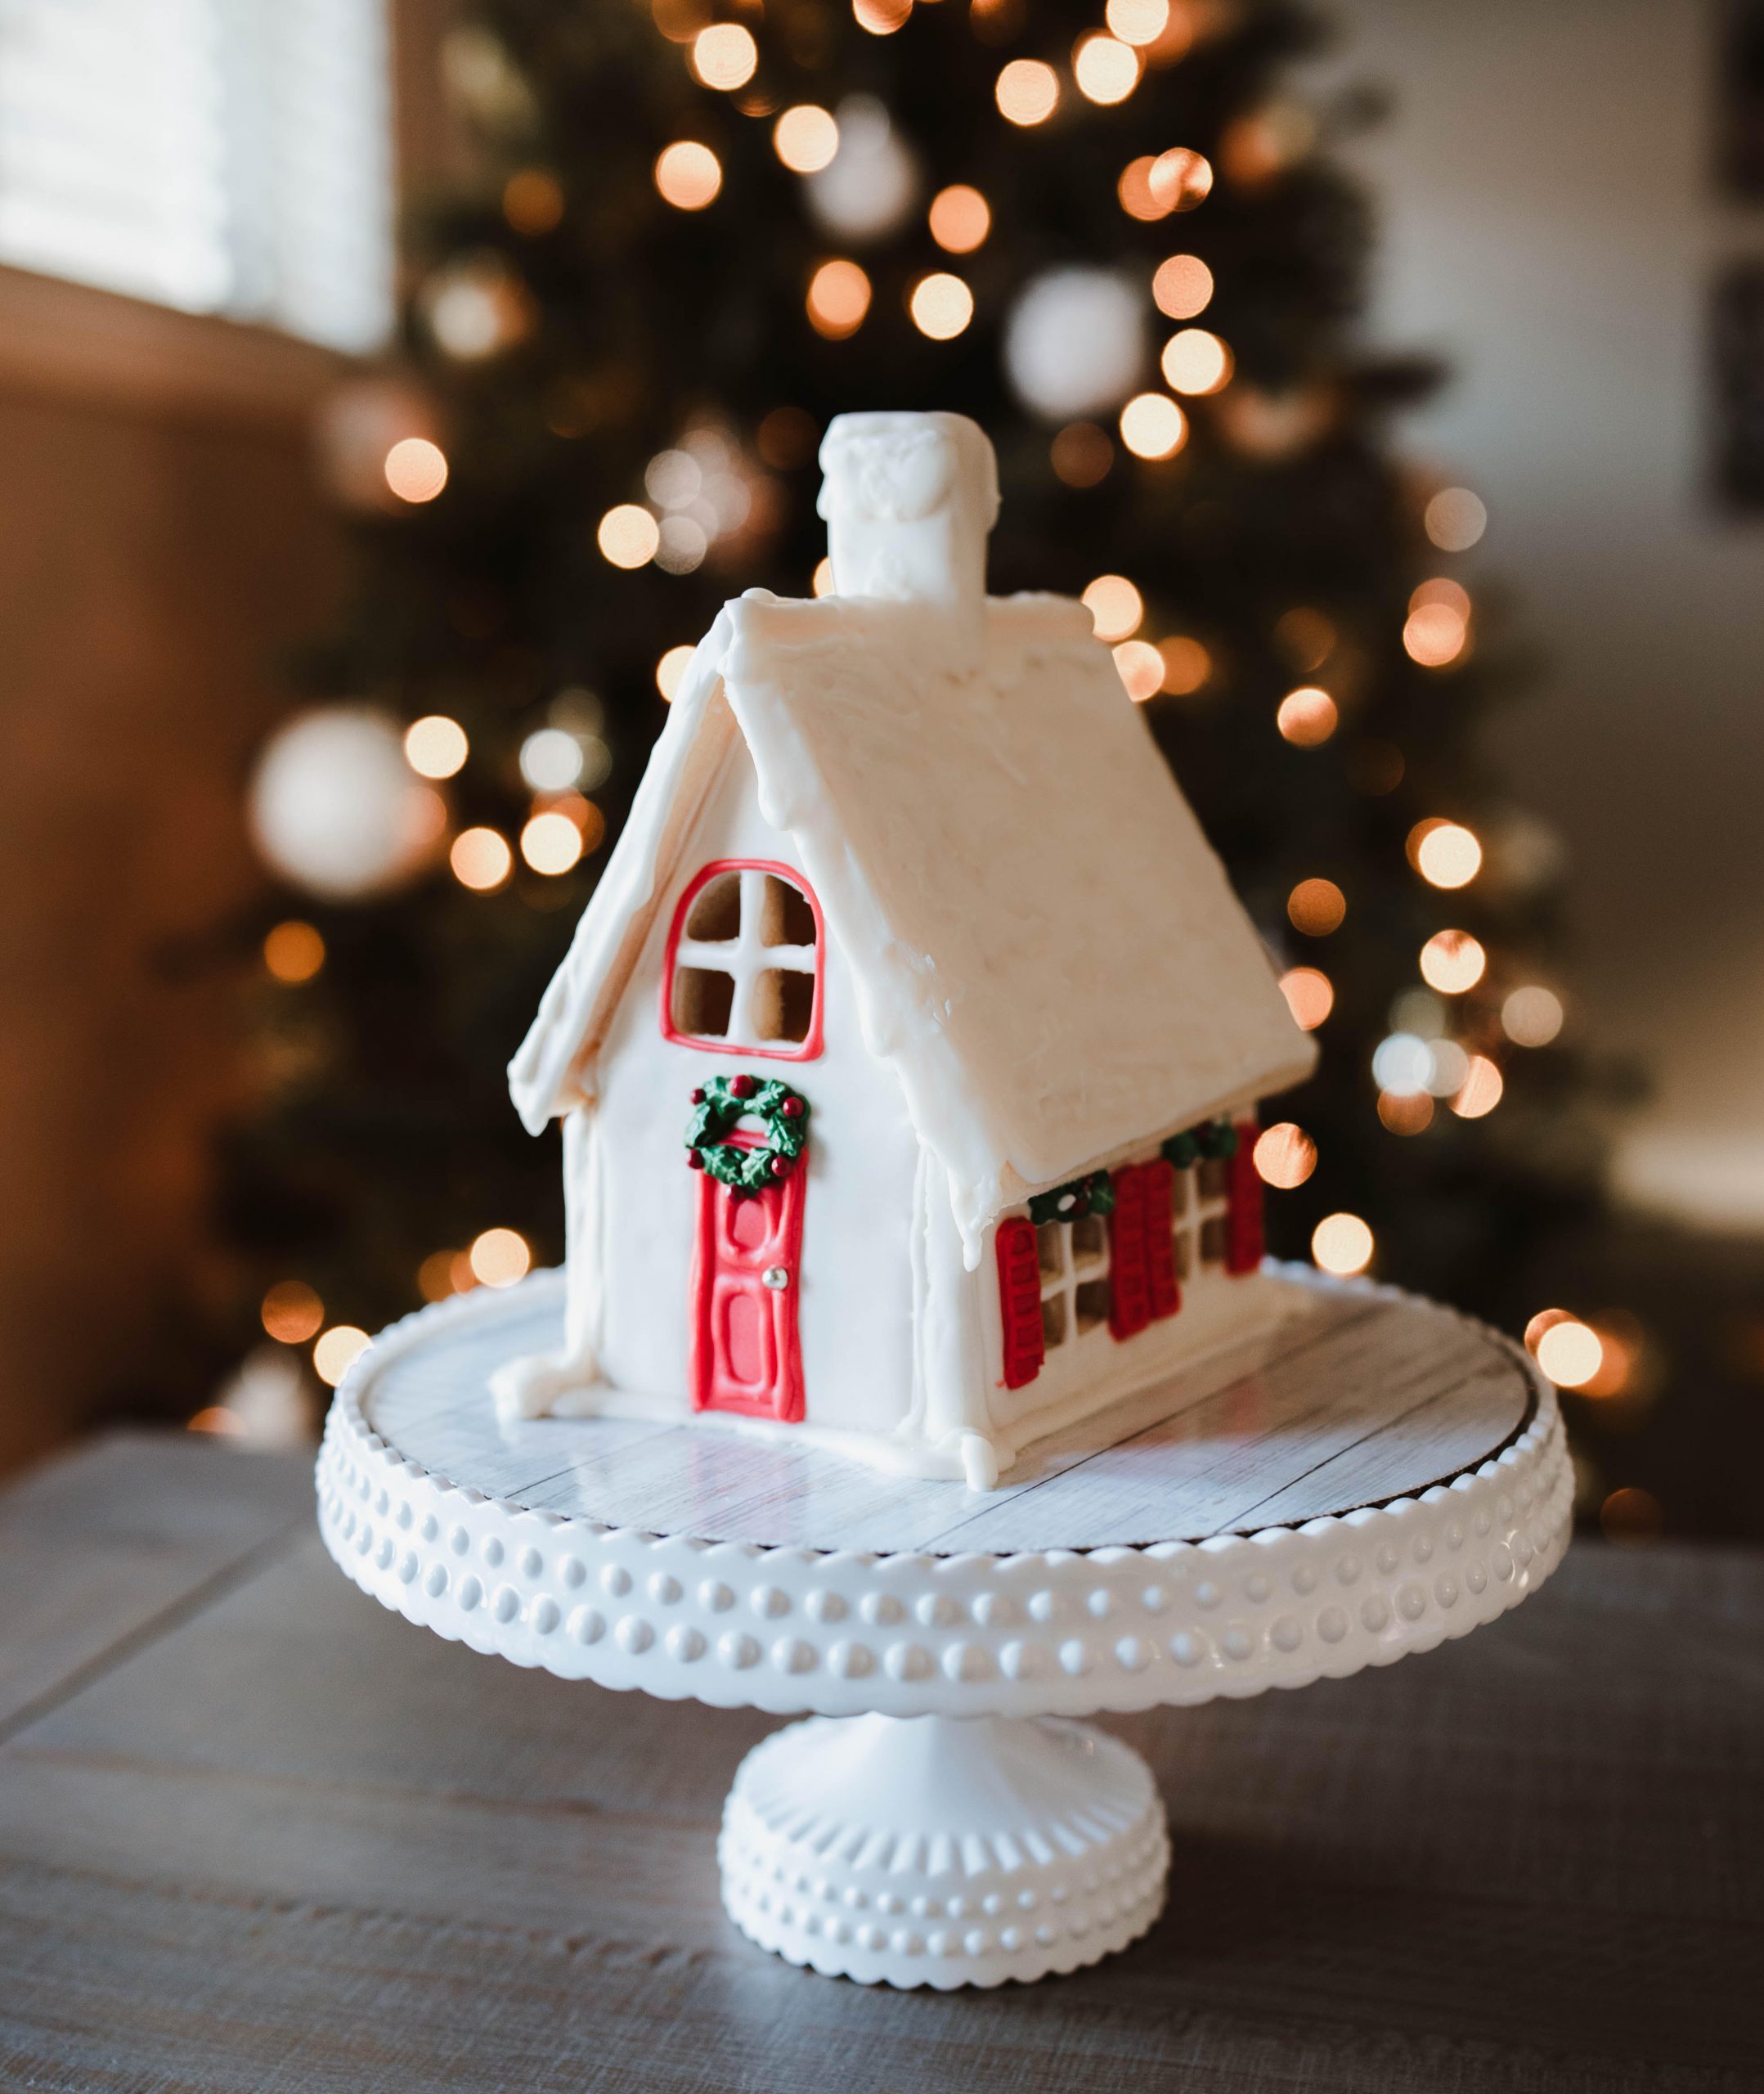
The moment I watched my friend Amy make this sugar cookie house on her Instagram Stories, I knew she needed to come on over to KariSkelton.com and share her how-to! Amy and I have been friends for twenty years, and we both share a love for DIYs, crafting, and home decor. I’m constantly in awe of her creativity, and I’m so thrilled she agreed to share her Charming Sugar Cookie House DIY with us. I’m going make one of these at some point before Christmas and we would love to see your creations too!
 Sugar Cookies
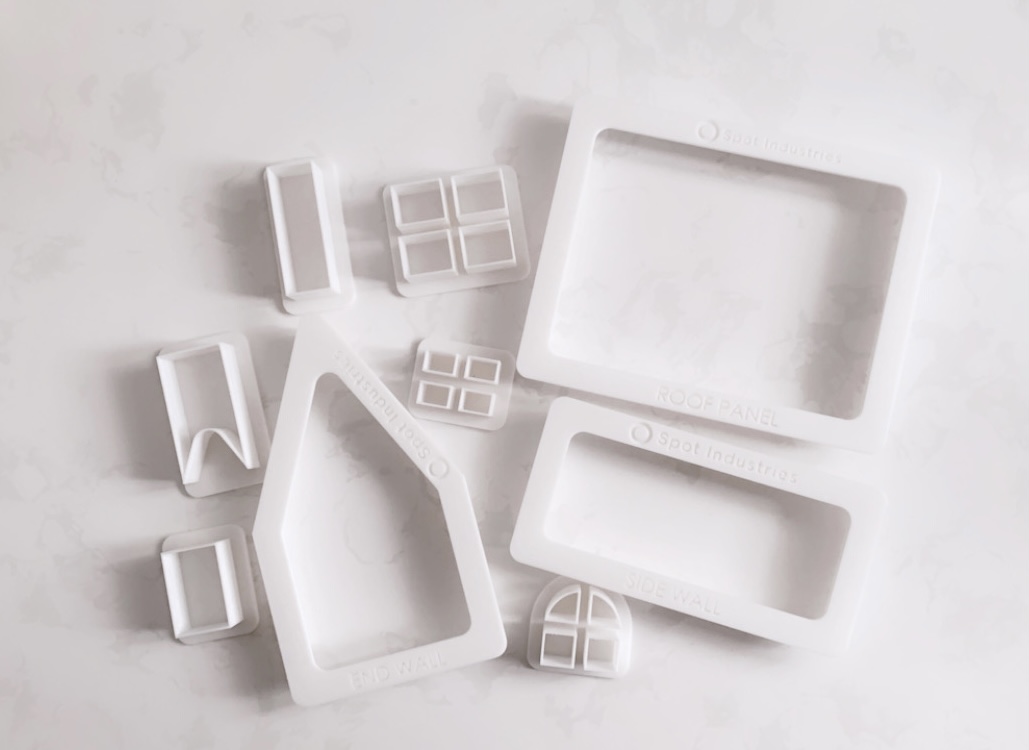
I doubled my regular Sugar Cookie recipe to be sure I’d have enough dough for all my pieces, knowing I’d have to make them a little thicker than a regular cookie (so my house wouldn’t come crumbling down!). The links to shop my cutters (from a Canadian Etsy shop) and access the gingerbread house template are below:
Shop cutters here | Print gingerbread house template here
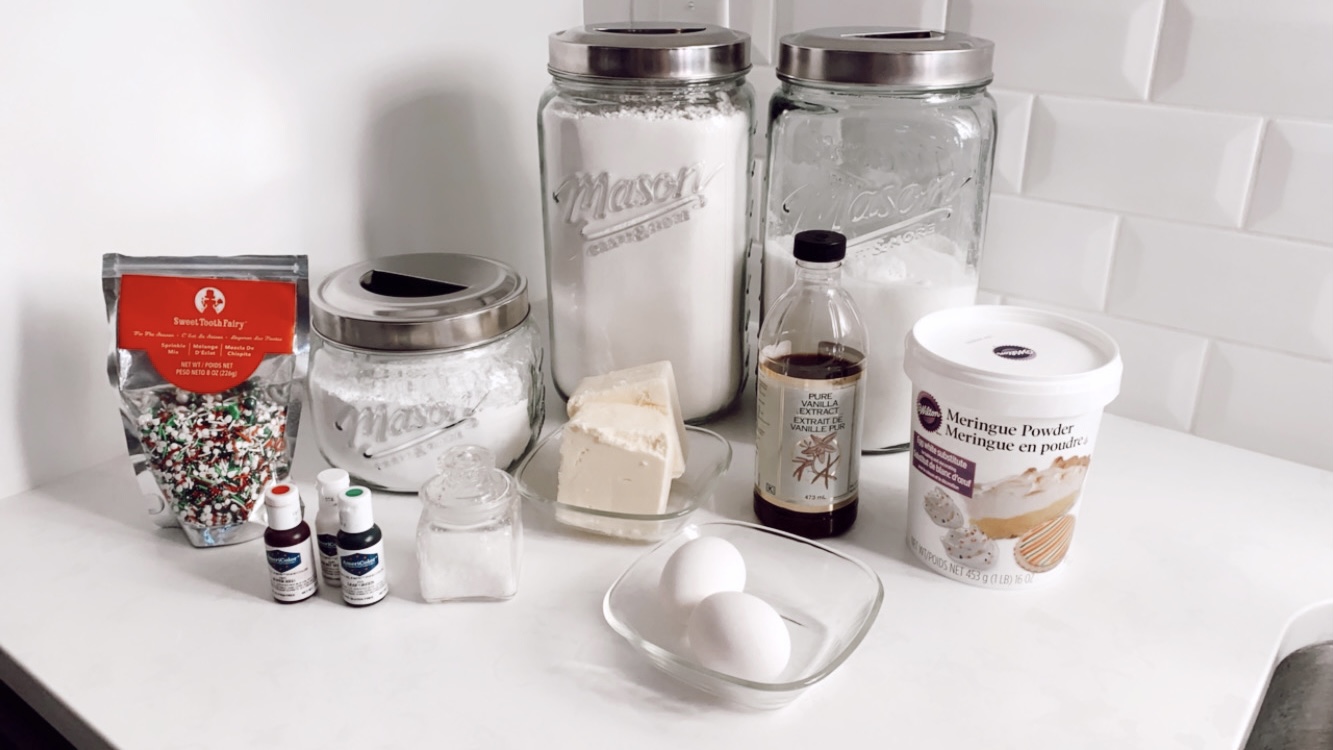
You’ll Need:
- 1.5 cups unsalted butter
- Two cups granulated sugar
- Two egg
- Two tsp vanilla extract
- One teaspoon salt
- Five cups all-purpose flour
 Directions:
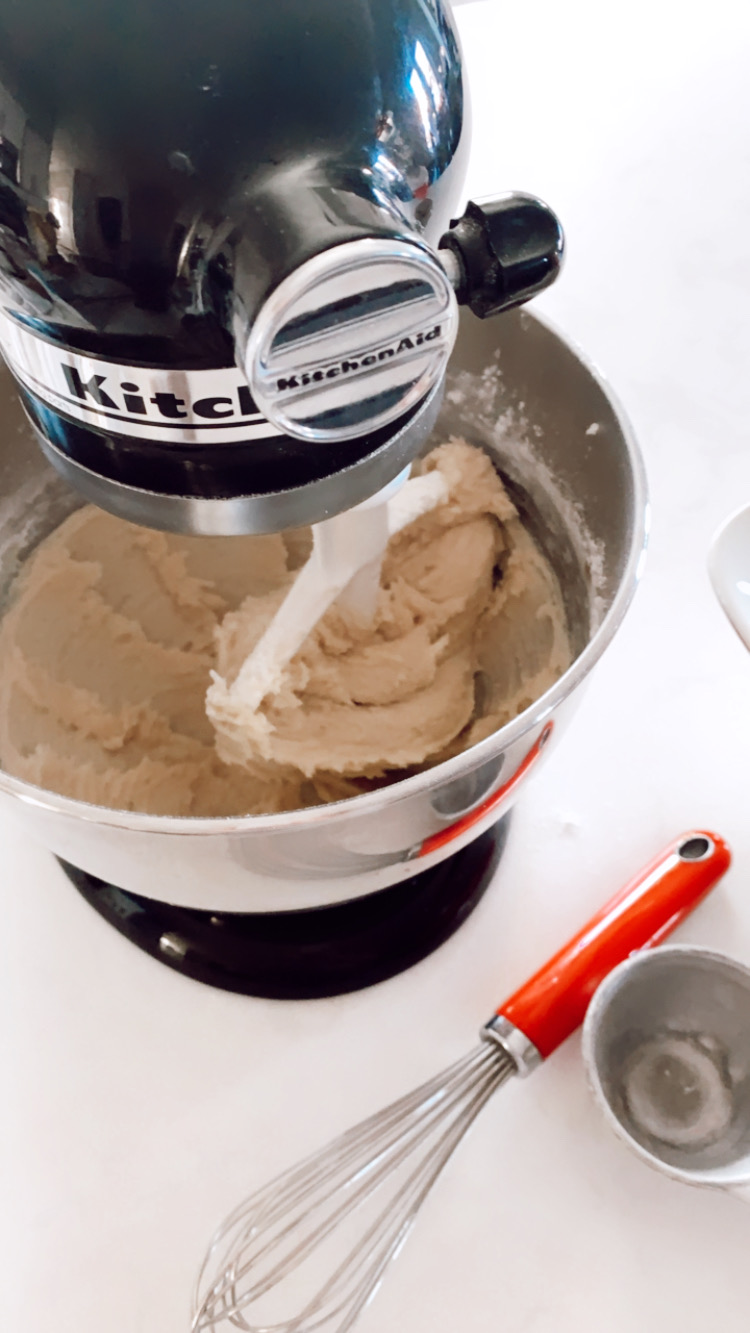
- Mix butter in a stand mixer at medium speed for 1-2 minutes until the colour lightens slightly.
- Add sugar and mix at medium speed until creamy.
- Add egg and vanilla. Mix at medium speed until combined.
- In a separate large bowl, whisk flour and salt together.
- Add flour mixture 1/2 cup at a time to wet ingredients and mix at low speed until combined.
- Repeat until the dough comes together and sides of the bowl are clean. (You may not need all the flour).
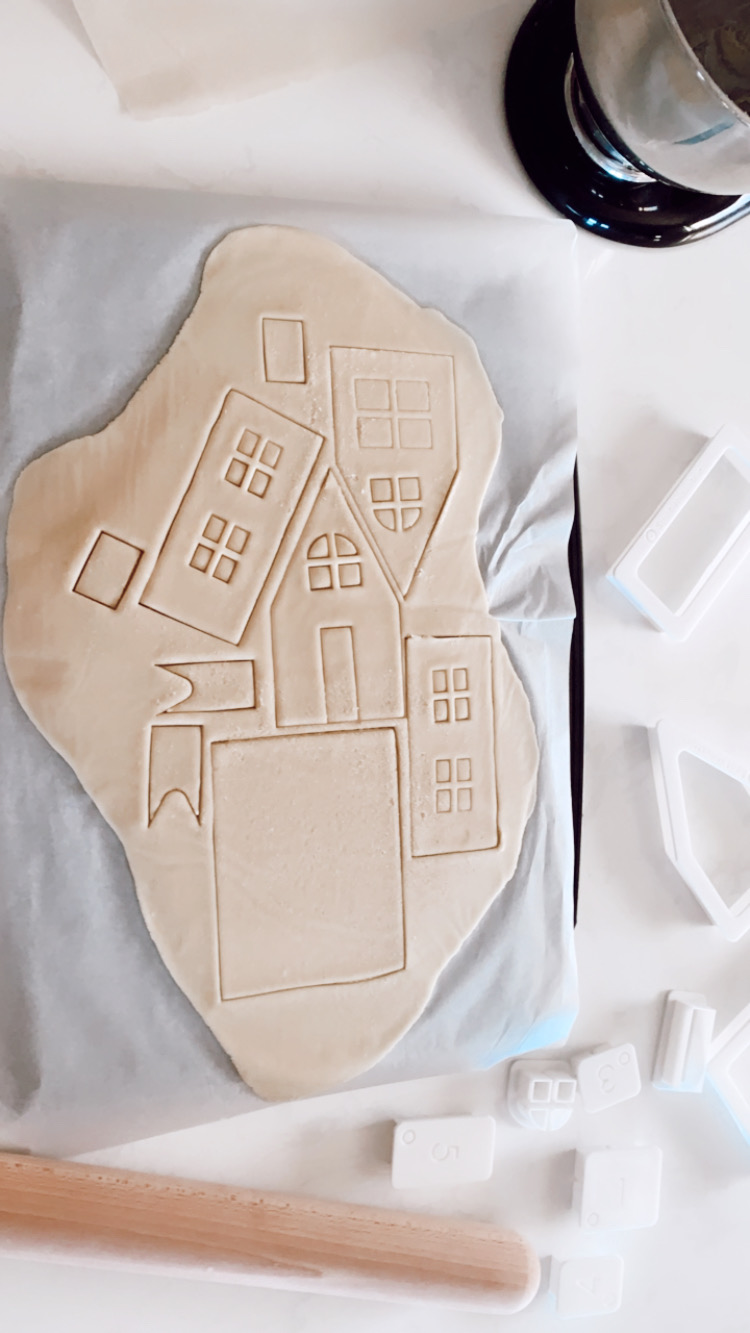
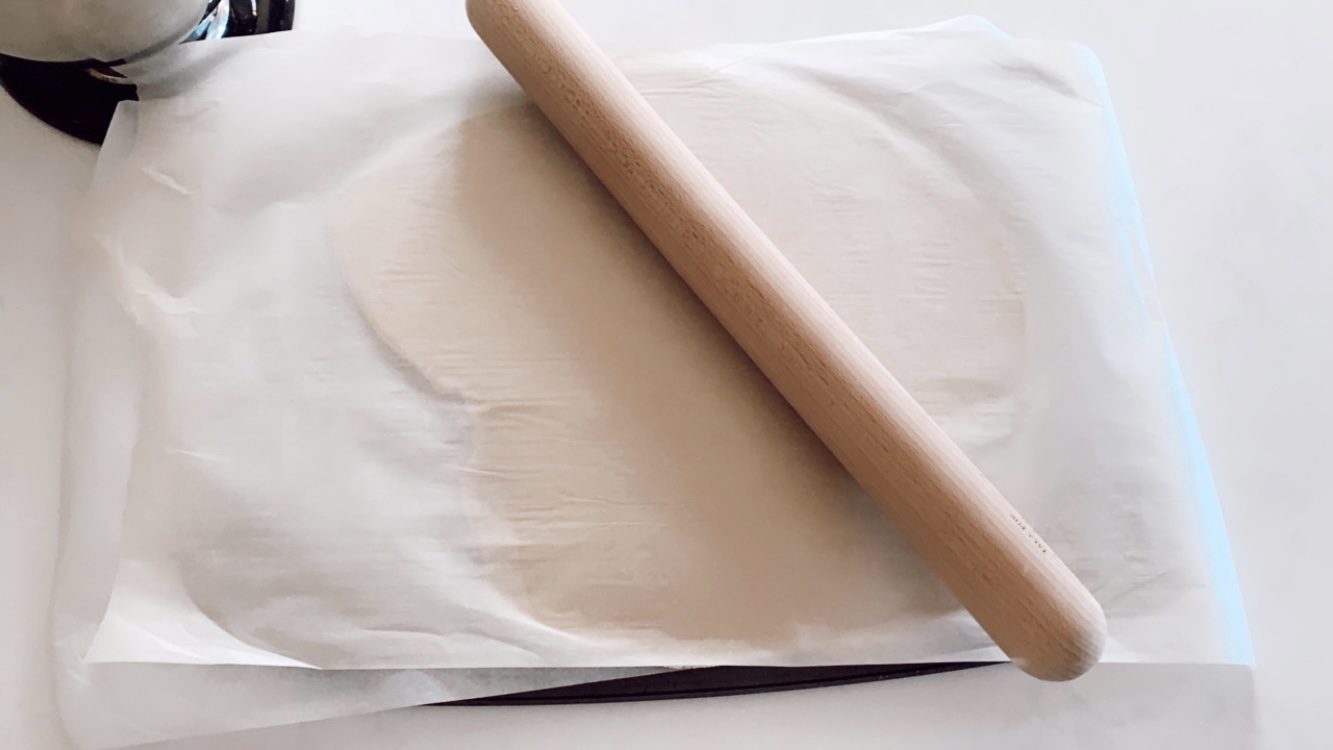
- Roll the dough out between two pieces of parchment paper, place it on an upside-down cookie sheet and pop it into the fridge for about 10-15 minutes to cool.
- Preheat your oven to 350.
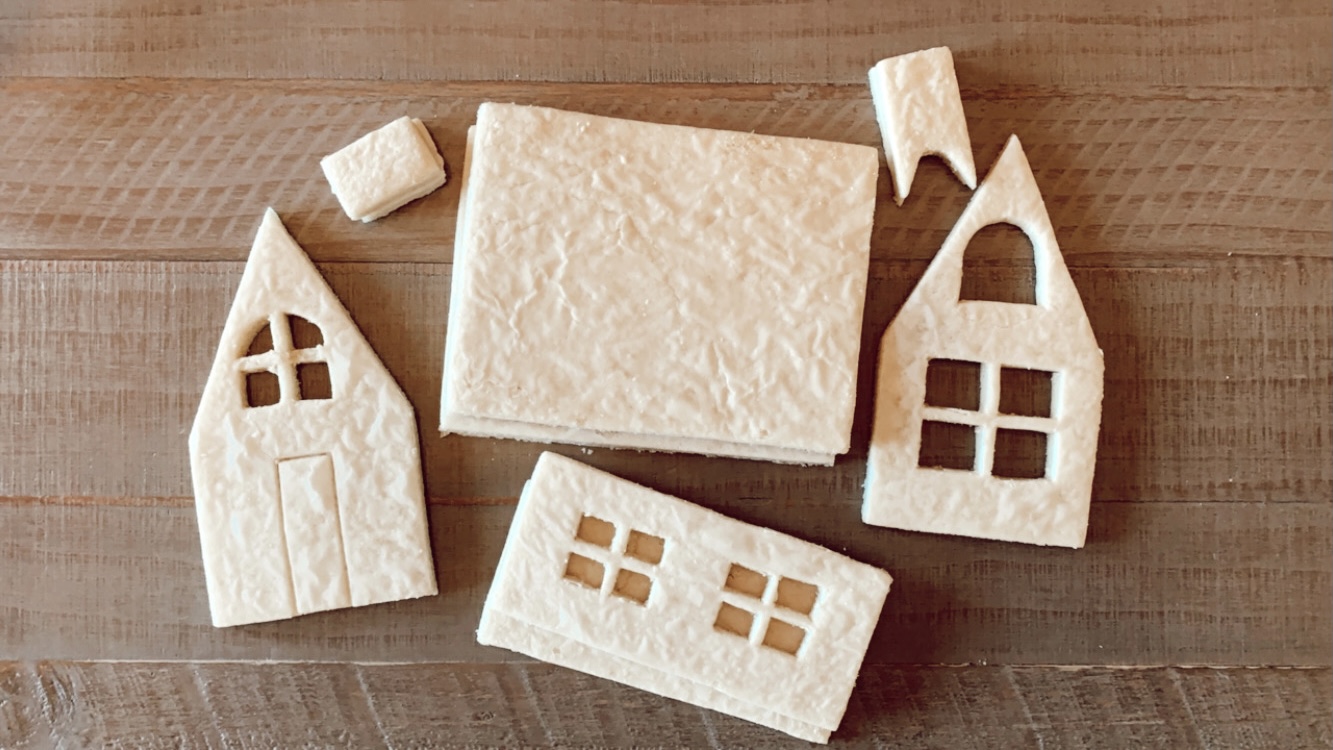
- After the dough is chilled cut out two side walls, two roof panels, two end walls, and two chimney pieces leaving the cutouts in the surrounding dough so it doesn’t expand.
- Use the window and door cutters where you want them on the wall panels. (only indent the door so you know where to ice it).
- Put them in the oven for 12 minutes, rotating the pan around at the halfway point. (Each oven varies so just be sure to take them out if you notice any edges turning brown)!
- Once out of the oven use a knife to cut along all the edges again and to pry out the small window panes while the dough was still warm. Then let it cool before taking all the excess dough away from your shapes. While the pieces cool, make your icing.
 Royal Icing Ingredients
- Four tbsp meringue powder
- Six tbsp warm water
- Four cups powdered sugar
- One tsp vanilla
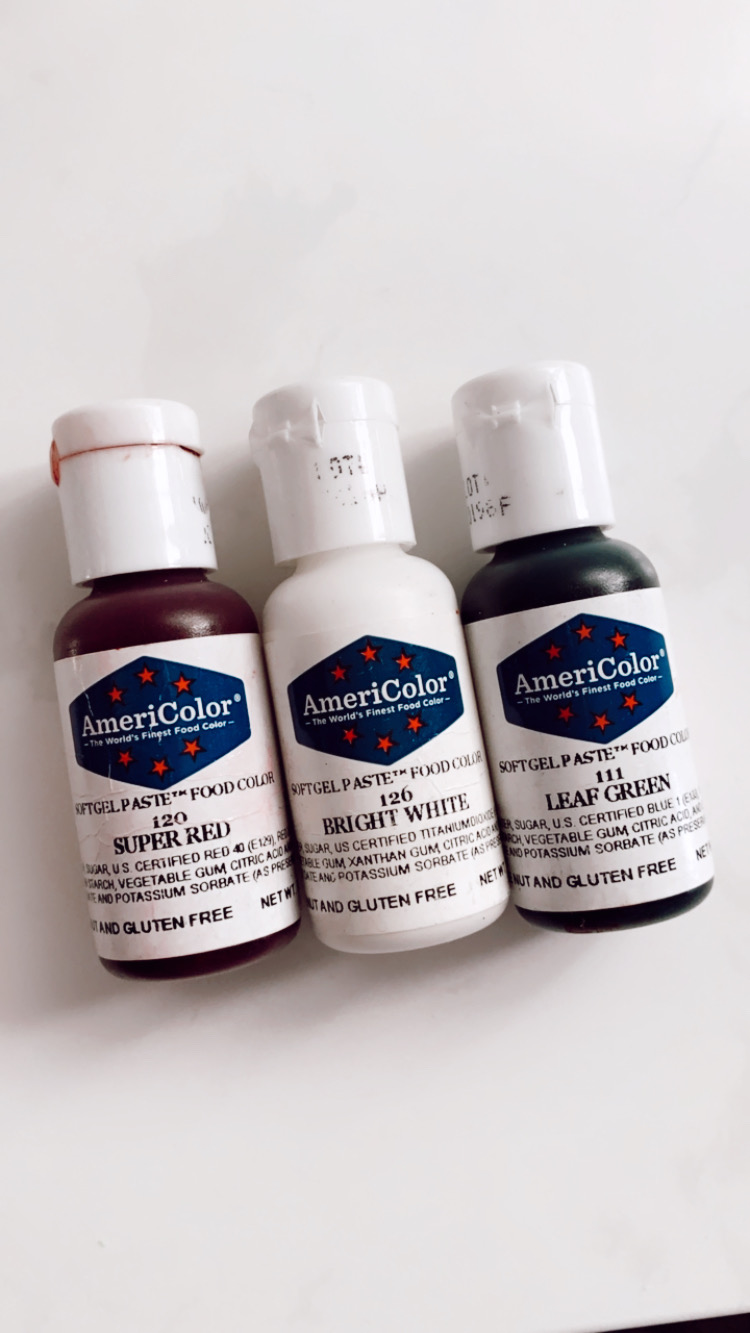
- Gel food colouring (I used white, red, and green. It’s not necessary to use white but it will give your house that bright white look).
Royal Icing Directions:
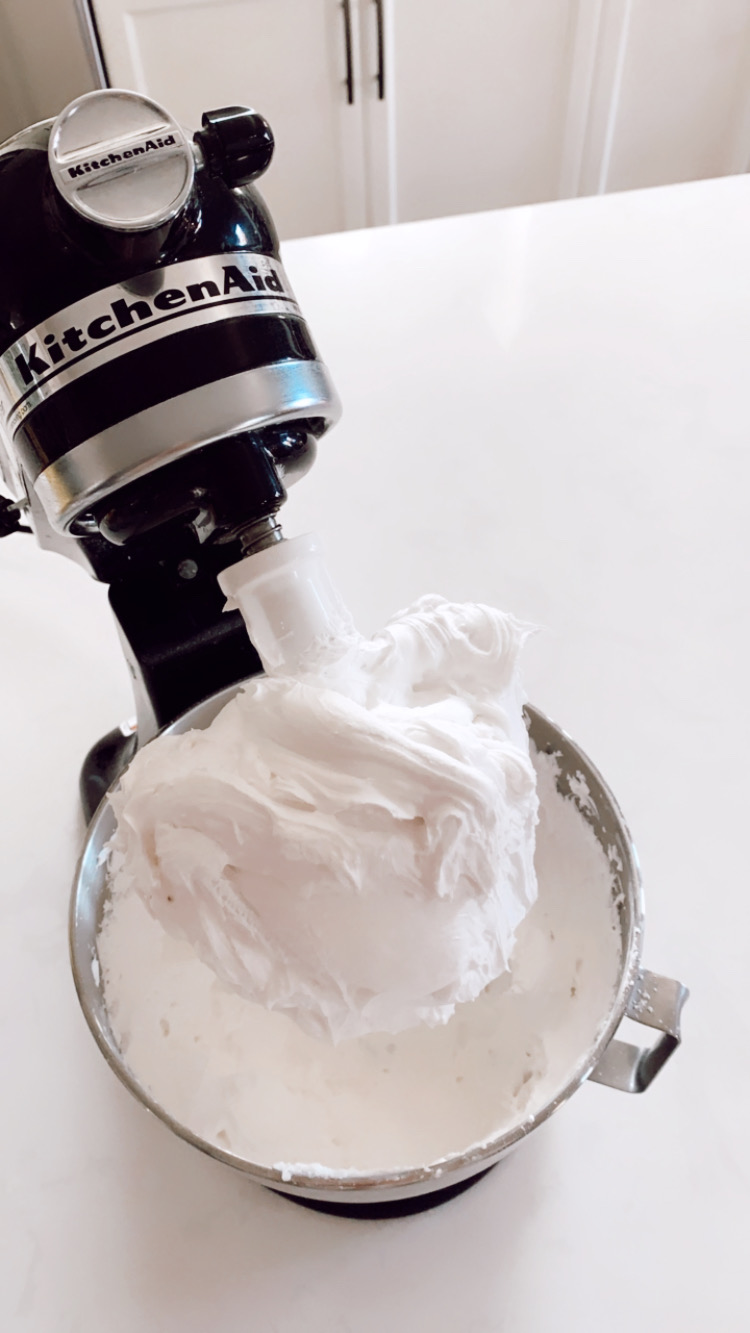
- In your mixer, whisk together meringue powder and water for several seconds until it reaches foam-like consistency.
- Add powdered sugar, increase speed to medium and beat for about 10 minutes, until stiff peaks form.
- Divide the white icing into 3 bowls. Add colouring a few drops at a time until you reach your desired colour. (A damp paper towel can be placed over the bowls to prevent crusting over while you prepare your colours.)
- From here you will add water in 1/2 tsp increments until you reach your desired consistency.
(To determine what the consistency is, run a knife through the icing and count how many seconds it takes the line to disappear).
– Piping consistency: used to outline the cookie prior to flooding it. Also used for details on the cookie
– Flooding consistency: used to fill the areas of the cookie - Scoop icing into tipless bags. Tie the top of the bag in a knot or use a clip/band.
Click here to watch the breakdown of Royal Icing Consistency
For this sugar cookie house, I bagged half of the white icing once it got to piping consistency for the outline of my cookies and as my construction glue, then added more water until it got to flooding consistency to fill in my cookies. For the red and green icing I used only piping consistency, resulting in four bags of icing total.
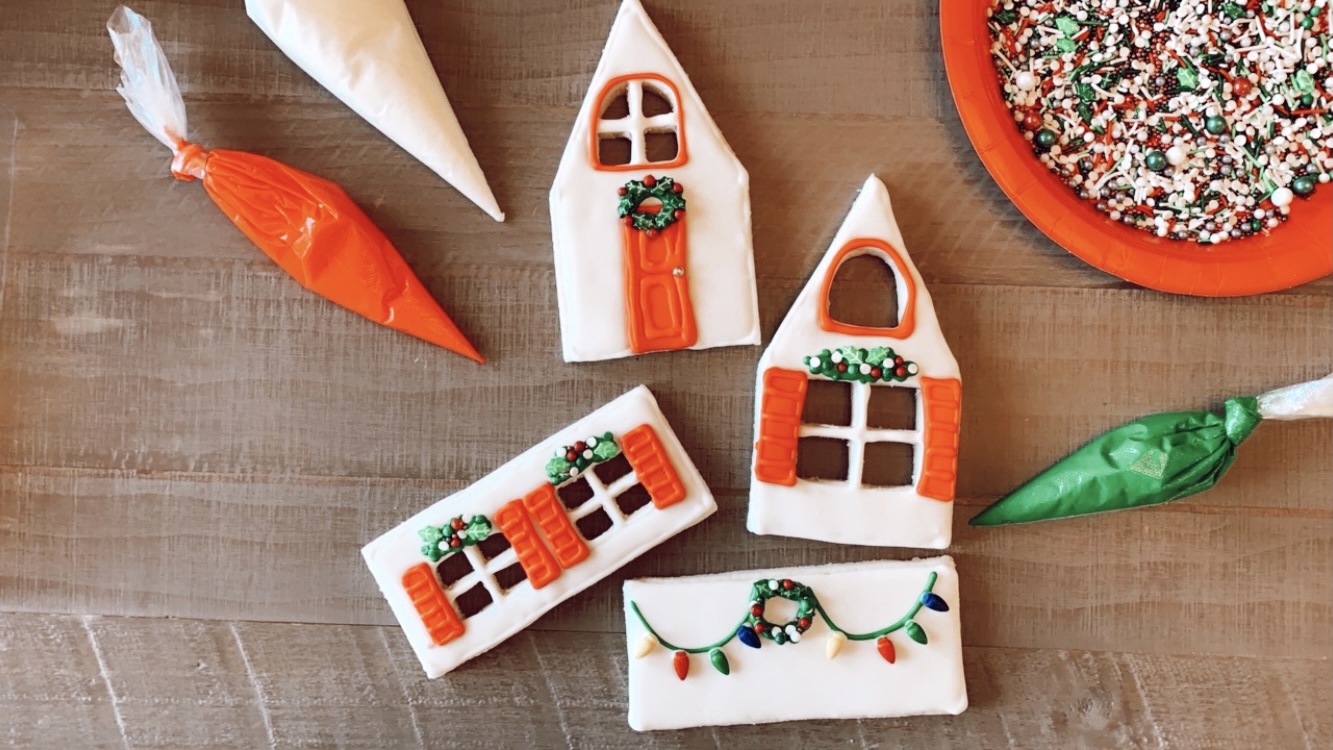
- After your cookies are outlined and flooded with white icing, leave the icing to set. You’ll know the area is dry enough to start on the details when it crusts over and loses its shine.
- Then, start on your door and shutters. Once those are dry, start to detail. (Waiting until the icing dries helps make that nice 3D effect).
- Once the door and shutters dry, start on your wreath and garland detail. Before those dry, pop on some cute holiday sprinkles.
- Then let all the pieces dry completely before attempting to construct your house.
This next step took a lot of patience, four hands, and a few soup cans (lol) to hold up the structure until it hardened enough to stay up on its own. I used the remainder of the white piping icing as glue as I put each wall together and once those set I attempted the roof, and finally the chimney. Once it was all holding together I added some more to look like snow and ultimately hide any flaws in my construction.
 Photos: Amy Johner Photography
I would love to see your finished product! Be sure to tag me on Facebook, Twitter, and Instagram.
Pin this to your Christmas Treats board and follow me on Pinterest here!
Other Posts You’ll Love:
xx
Charming Sugar Cookie House DIY
Ingredients
- 1.5 cups Unsalted butter
- 2 cup Granulated sugar
- 2 Egg
- 2 tsp Vanilla extract
- 1 tsp Teaspoon salt
- 5 cups All-purpose flour
Royal Icing
- 4 tbsp Meringue powder
- 6 tbsp Warm water
- 4 cups Powdered sugar
- 1 tsp Vanilla
- Gel food colouring
Instructions
- Mix butter in a stand mixer at medium speed for 1-2 minutes until the colour lightens slightly.
- Add sugar and mix at medium speed until creamy.
- Add egg and vanilla.
- Mix at medium speed until combined.
- In a separate large bowl, whisk flour and salt together.
- Add flour mixture 1/2 cup at a time to wet ingredients and mix at low speed until combined.
- Repeat until the dough comes together and sides of the bowl are clean. (You may not need all the flour).
- Roll the dough out between two pieces of parchment paper, place it on an upside-down cookie sheet and pop it into the fridge for about 10-15 minutes to cool.
- Preheat your oven to 350.
- After the dough is chilled cut out two side walls, two roof panels, two end walls, and two chimney pieces leaving the cutouts in the surrounding dough so it doesn't expand. Use the window and door cutters where you want them on the wall panels. (only indent the door so you know where to ice it). Put them in the oven for 12 minutes, rotating the pan around at the halfway point. (Each oven varies so just be sure to take them out if you notice any edges turning brown)!
- Once out of the oven use a knife to cut along all the edges again and to pry out the small window panes while the dough was still warm. Then let it cool before taking all the excess dough away from your shapes. While the pieces cool, make your icing.
Icing Your House
- In your mixer, whisk together meringue powder and water for several seconds until it reaches foam-like consistency.
- Add powdered sugar, increase speed to medium and beat for about 10 minutes, until stiff peaks form.
- Divide the white icing into 3 bowls.
- Add colouring a few drops at a time until you reach your desired colour. (A damp paper towel can be placed over the bowls to prevent crusting over while you prepare your colours.)
- From here you will add water in 1/2 tsp increments until you reach your desired consistency. Piping consistency: used to outline the cookie prior to flooding it. Also used for details on the cookie- Flooding consistency: used to fill the areas of the cookie.
- Scoop icing into tipless bags. Tie the top of the bag in a knot or use a clip/band.
- After your cookies are outlined and flooded with white icing, leave the icing to set. You’ll know the area is dry enough to start on the details when it crusts over and loses its shine.
- Then, start on your door and shutters. Once those are dry, start to detail. (Waiting until the icing dries helps make that nice 3D effect). Once the door and shutters dry, start on your wreath and garland detail. Before those dry, pop on some cute holiday sprinkles. Then let all the pieces dry completely before attempting to construct your house.
- Use the remainder of the white piping icing as glue to put each wall together and once those set ice the roof in place, followed by the chimney. Once together, add some more to icing look like snow (and ultimately hide any flaws in your construction).


Leave a Reply