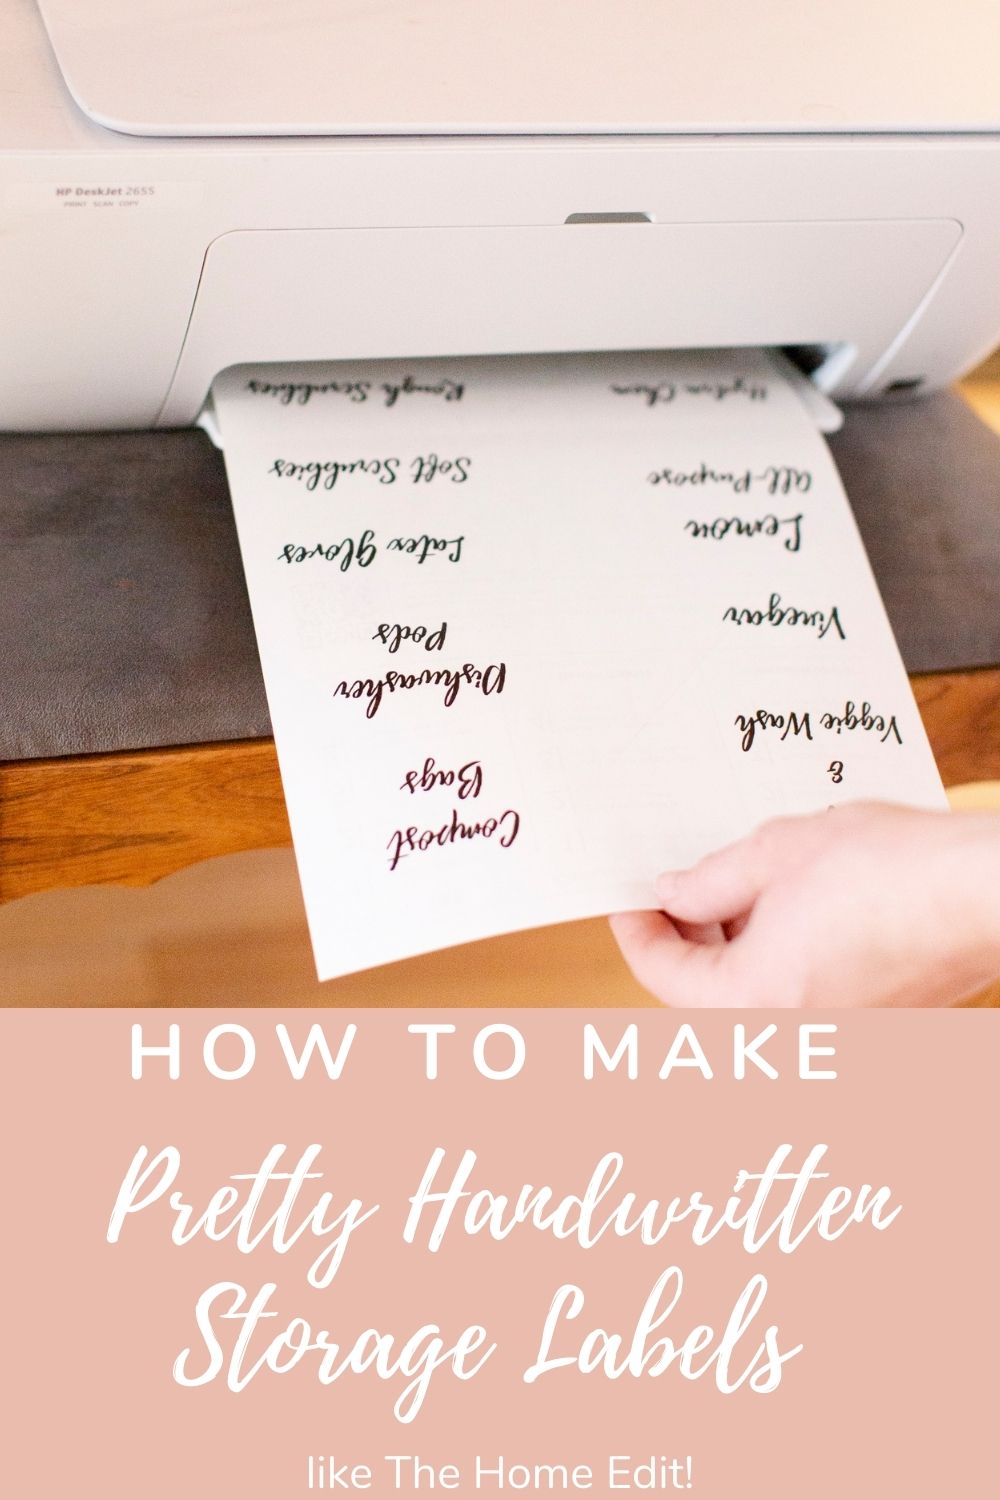
An easy and inexpensive way to recreate those pretty handwritten storage labels from The Home Edit!
Have you been going to town on home organization as I have lately? I just finished our Under the Kitchen Sink project and detoxing and organizing my closet. When you’re done here be sure to check out:
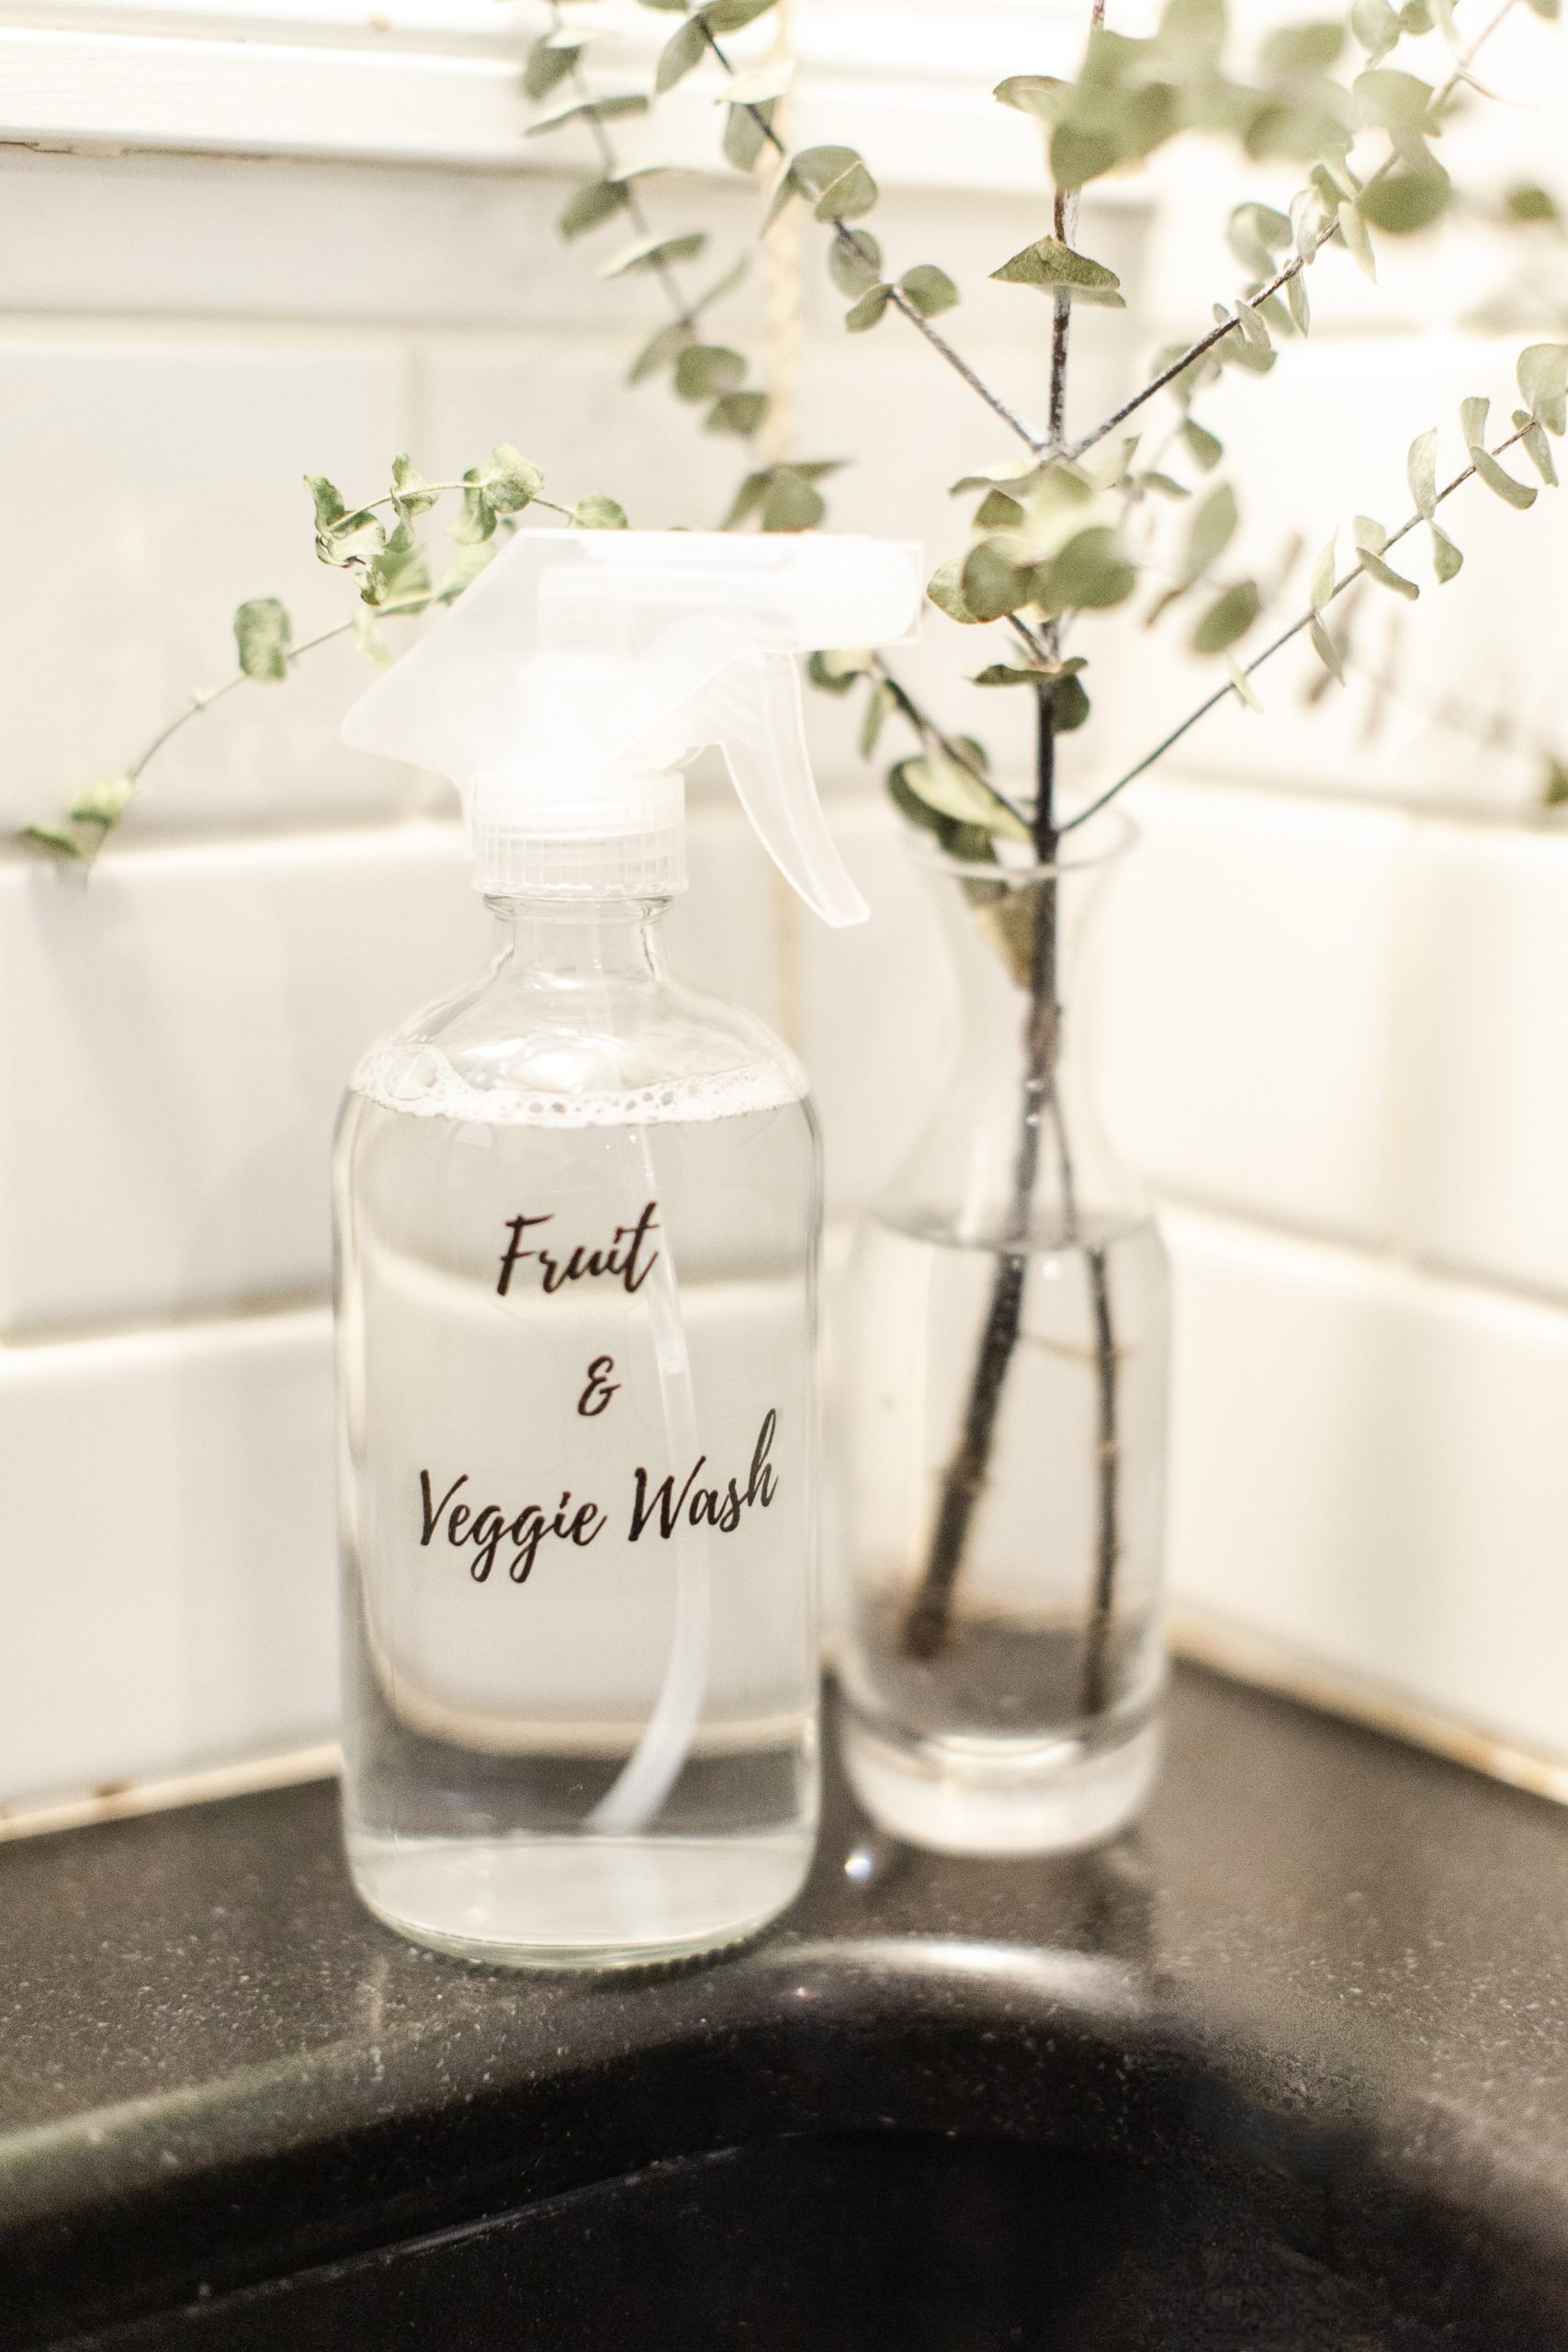
I’m a big believer that when everything has its place, there’s a better chance of things staying organized. A huge part of that is labelling. The Home Edit has the prettiest handwritten storage labels. You can customize and order them straight from their website. I’ve purchased a few in past and will say the quality is fantastic and the customer service was awesome. However, creating similar ones on your own is SO easy, and definitely more cost-effective.
My last label order from The Home Edit was $44 for three custom labels with shipping. I cringed at the cost when I hit ‘Complete Purchase’. The method I’m going to show you will cost about $20, and will give you about 65 labels (depending on the size of your font). Start the car!!!
 You’ll Need:
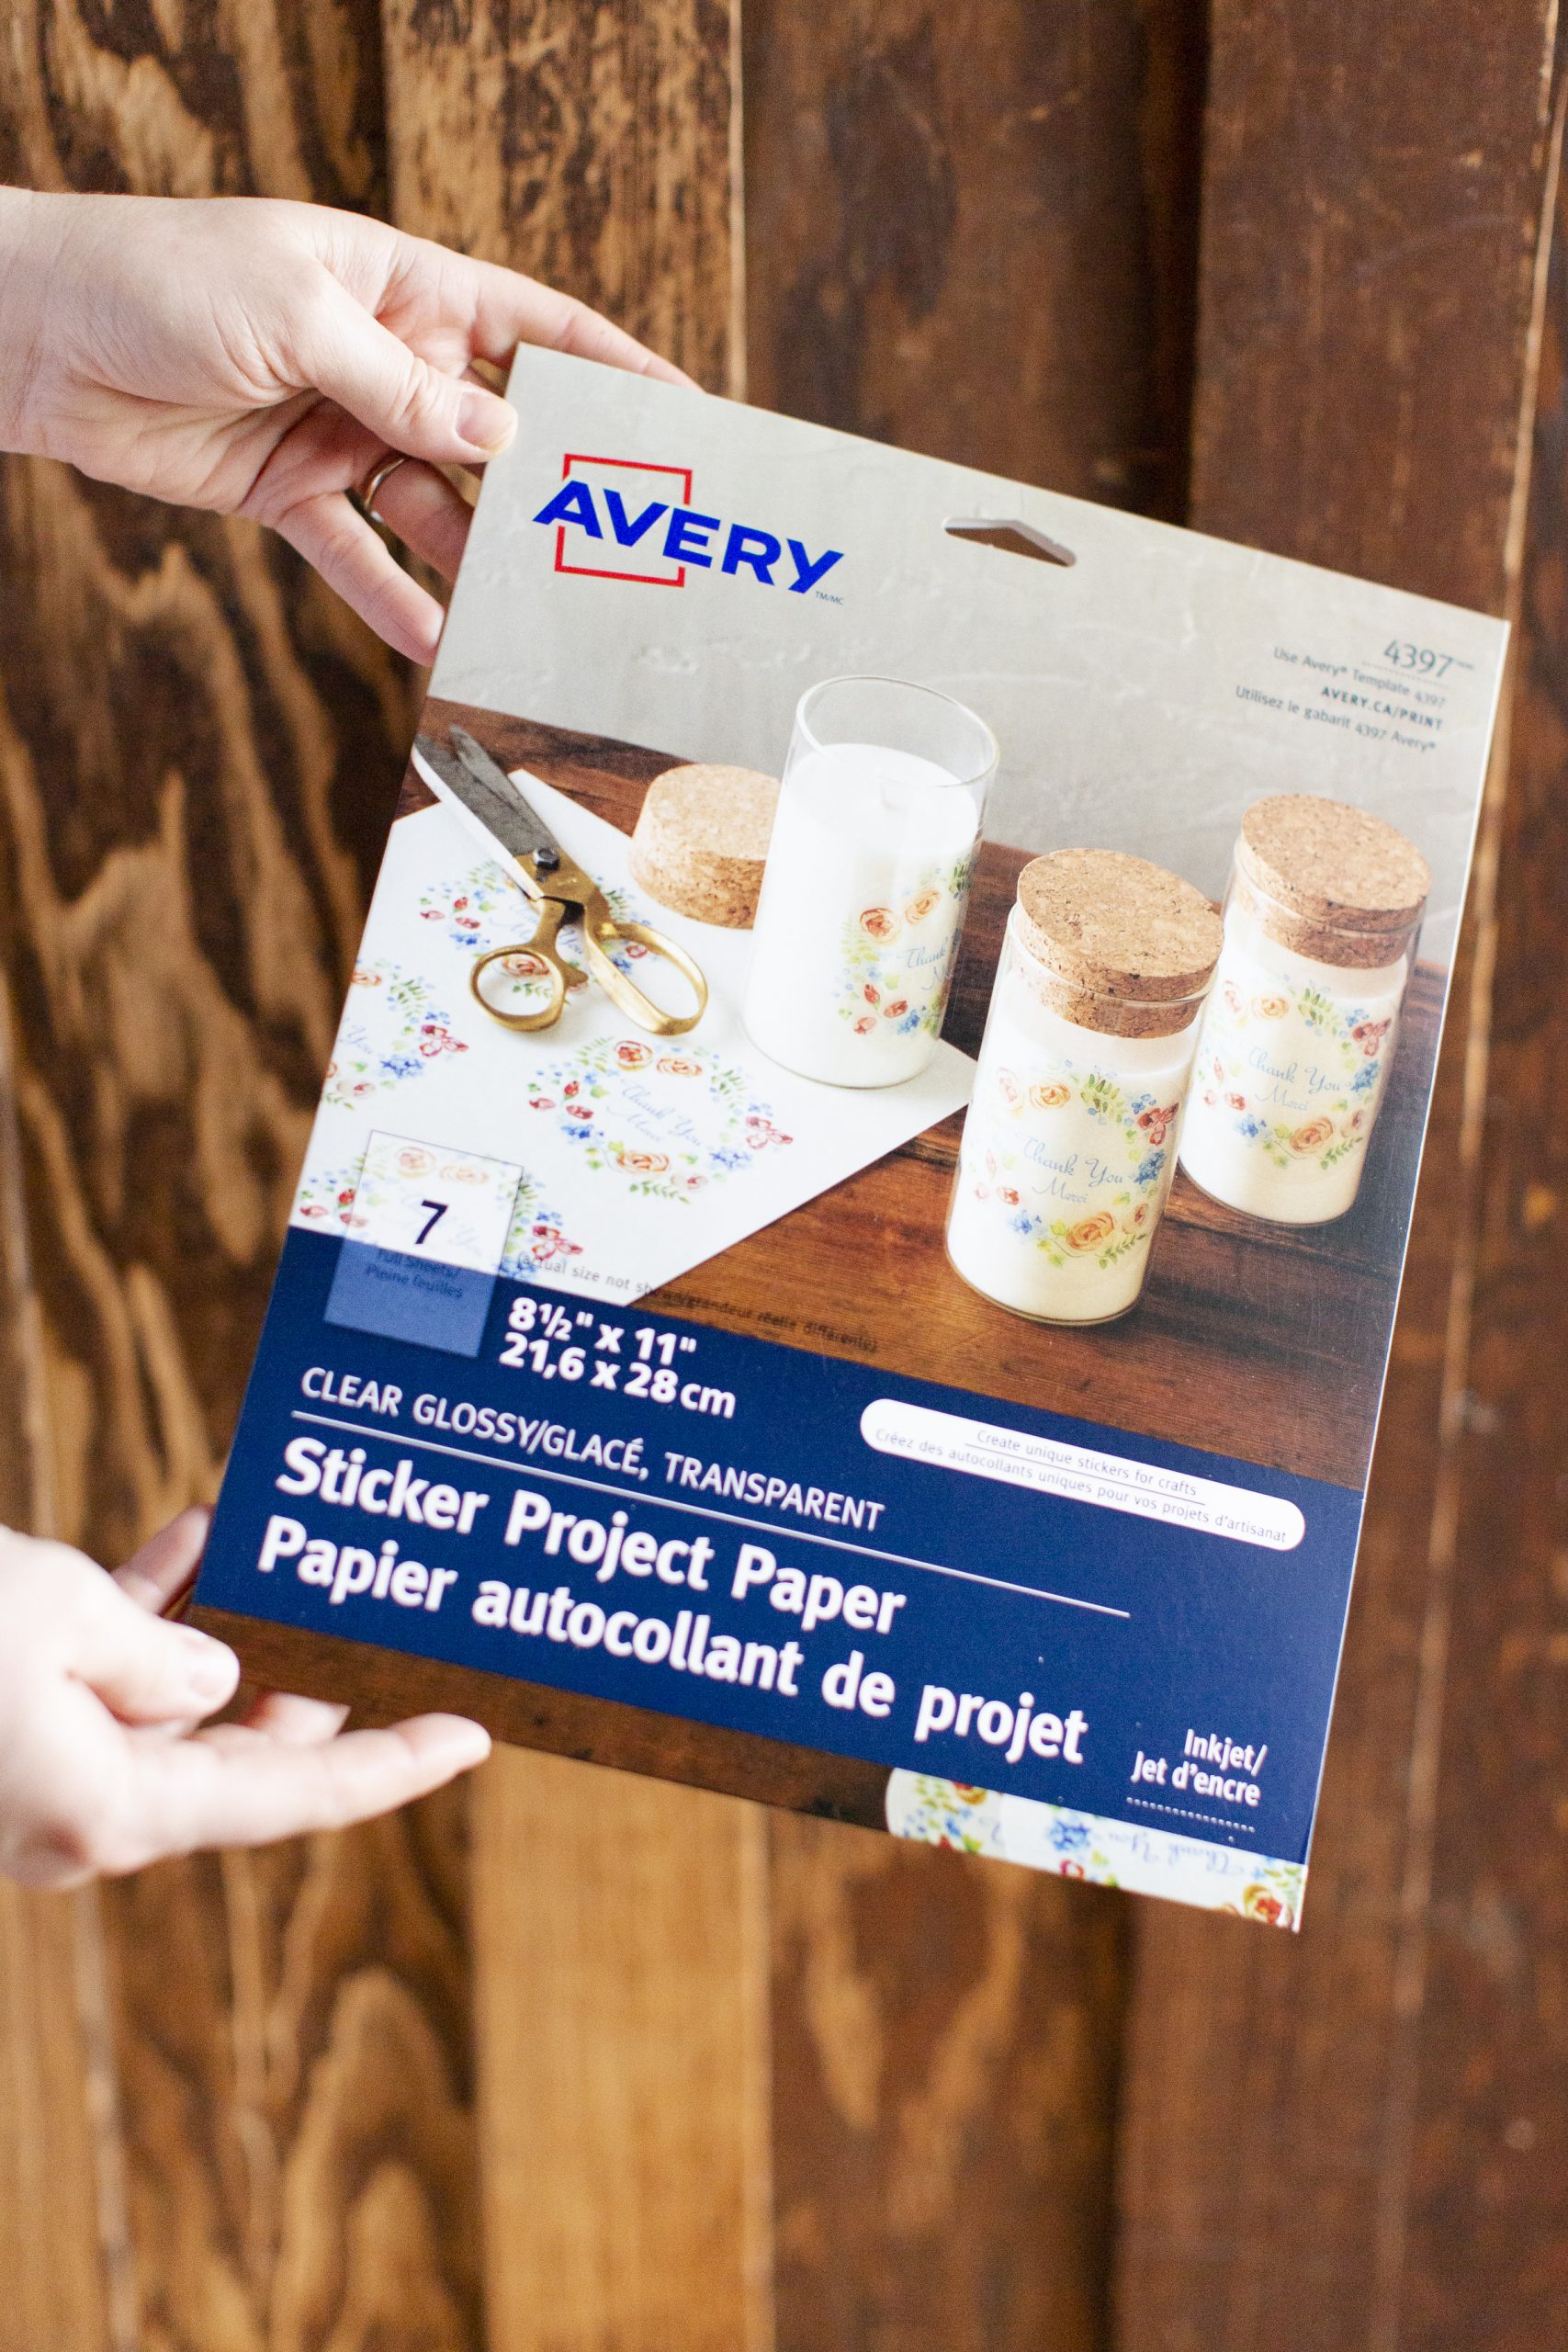
- Avery’s Sticker Project Paper (clear)
- Inkjet Printer (most printers are Inkjet)
- Scissors
- Clear Sealant (if you want to make them water-resistant)
 The Font
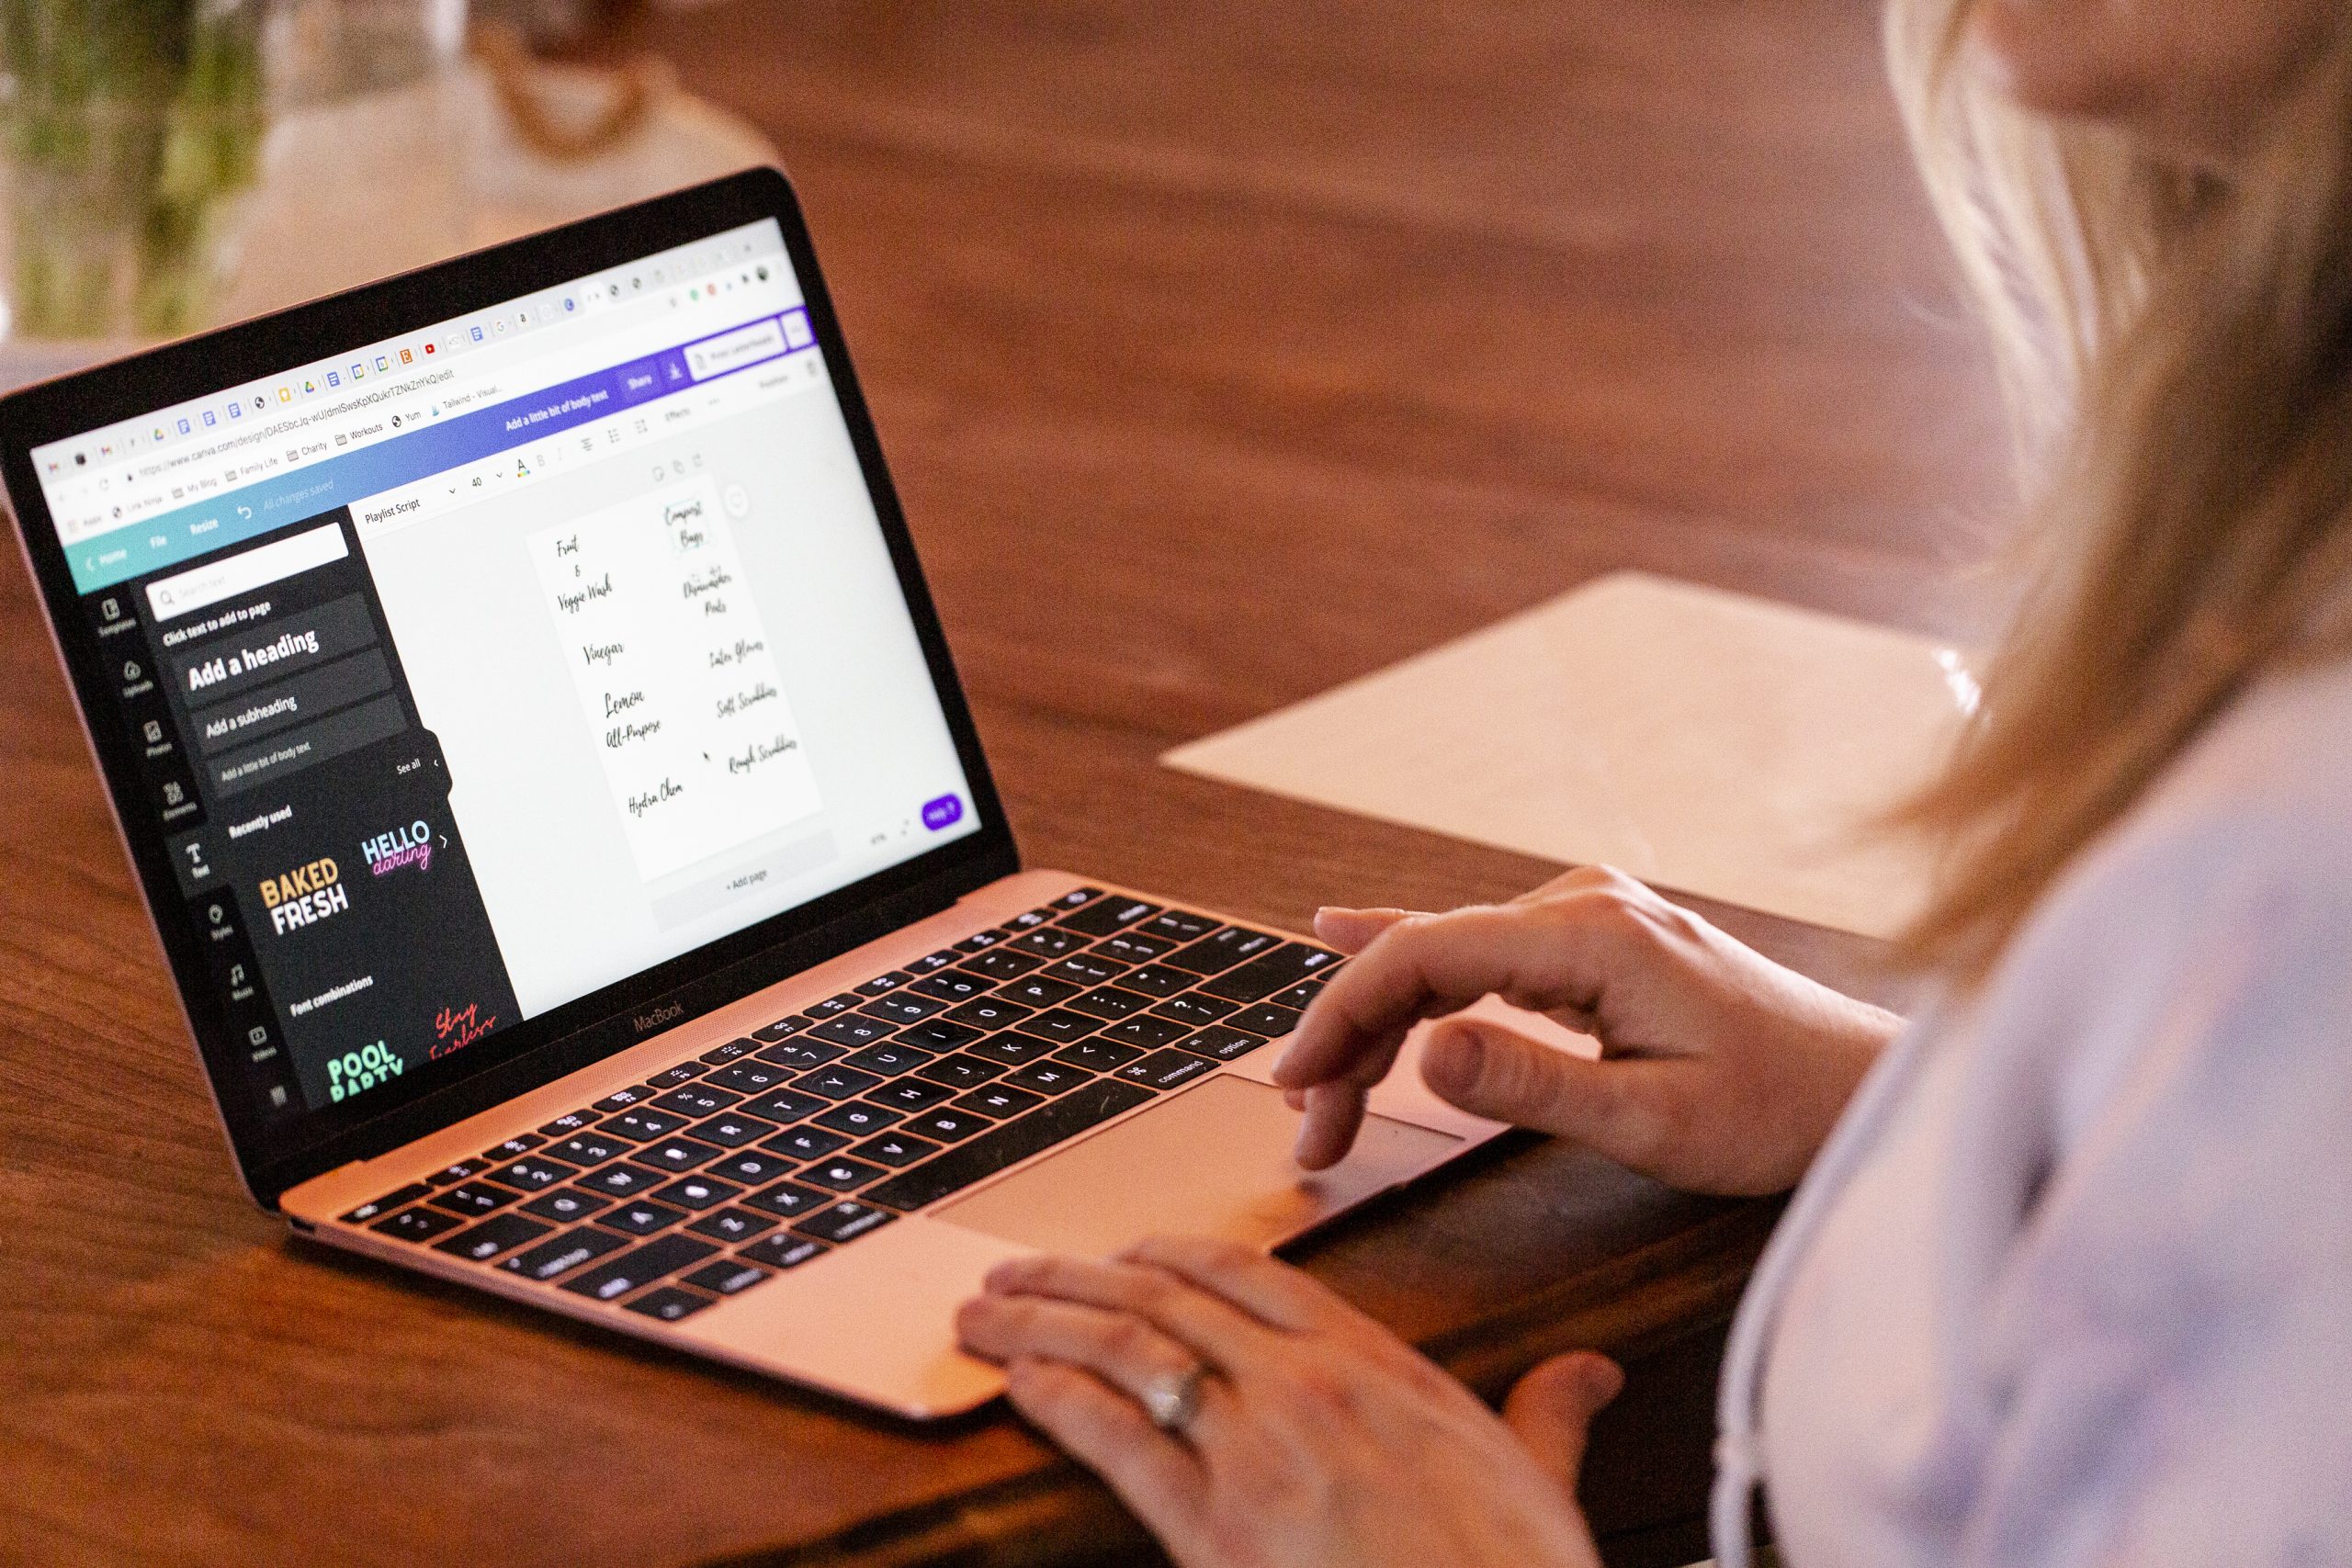
I searched and tested out dozens of fonts, and this one is close to perfect. It’s called Playlist Script, and I found it on Canva – a free graphic design tool I use almost every day. Canva allows you to create social media graphics, design presentations, posters, and so much more. Canva’s basic account is free, but take a spin around the Pro account (that’s what I have). At $17 a month, it may be a worthwhile investment for your business.
You can, of course, use whatever word processor you work with, and find a similar font there (Broken Heart is another pretty font). Avery also has an online design program with a whole bunch of templates you can choose from.
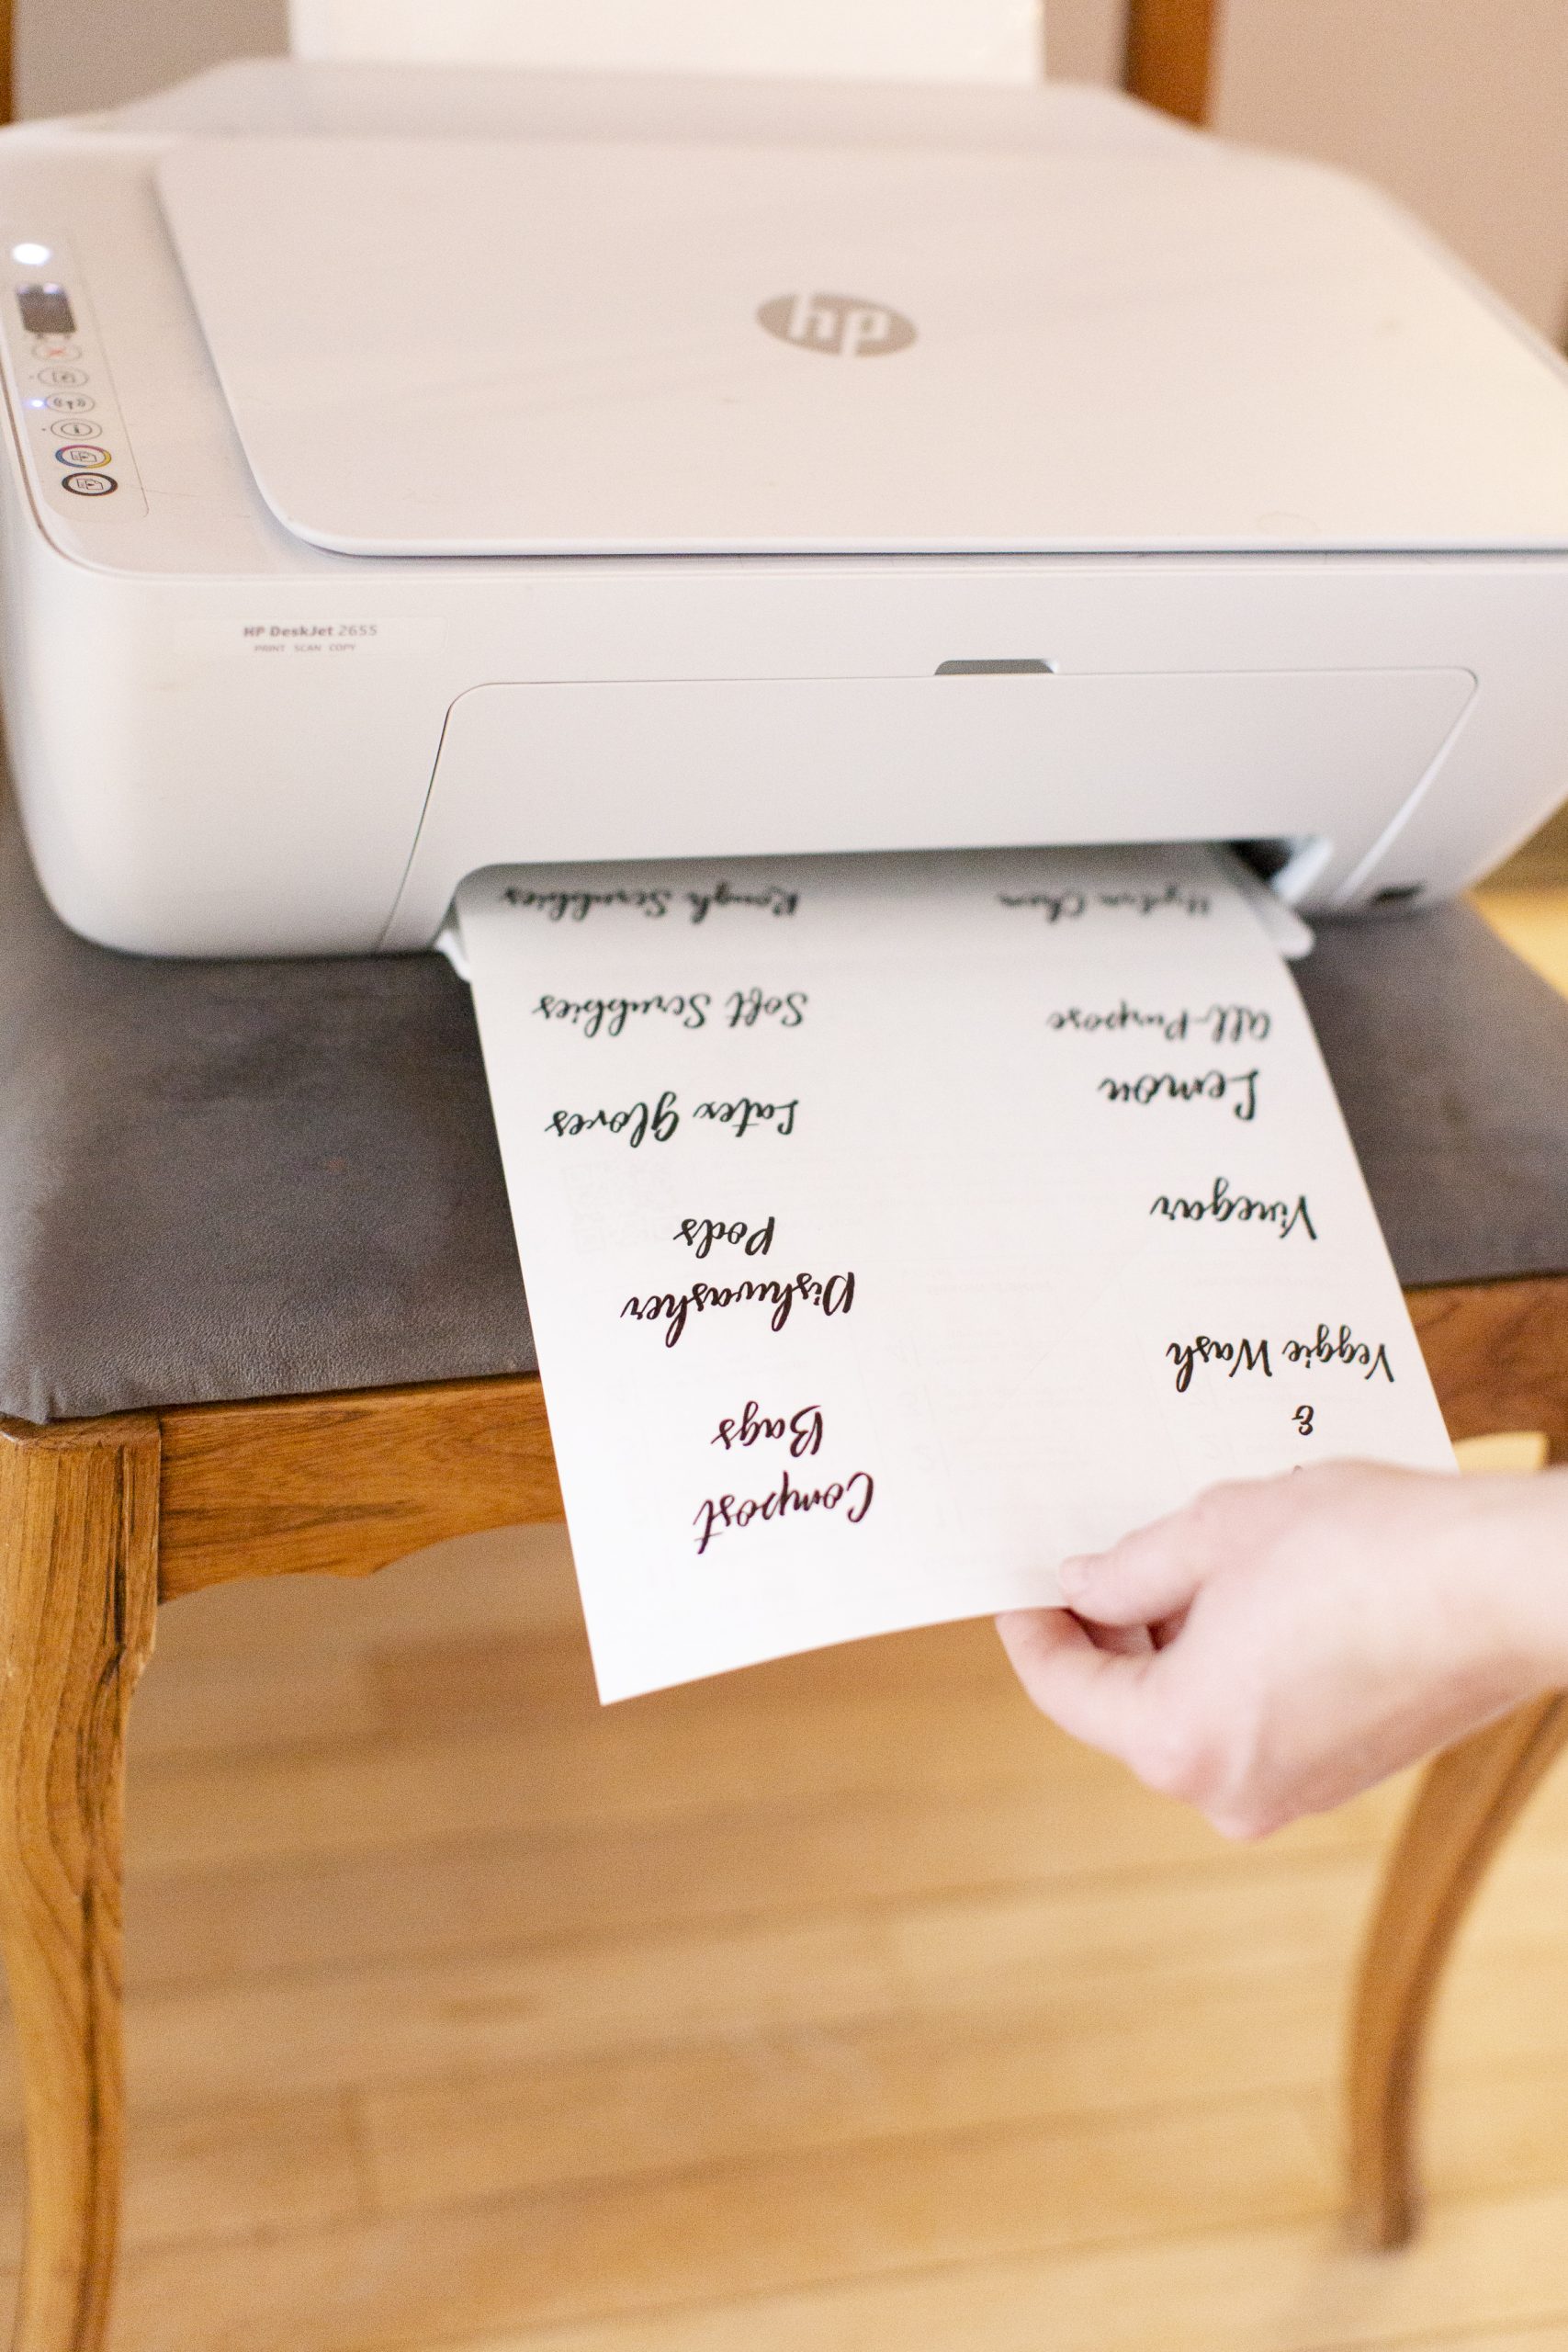
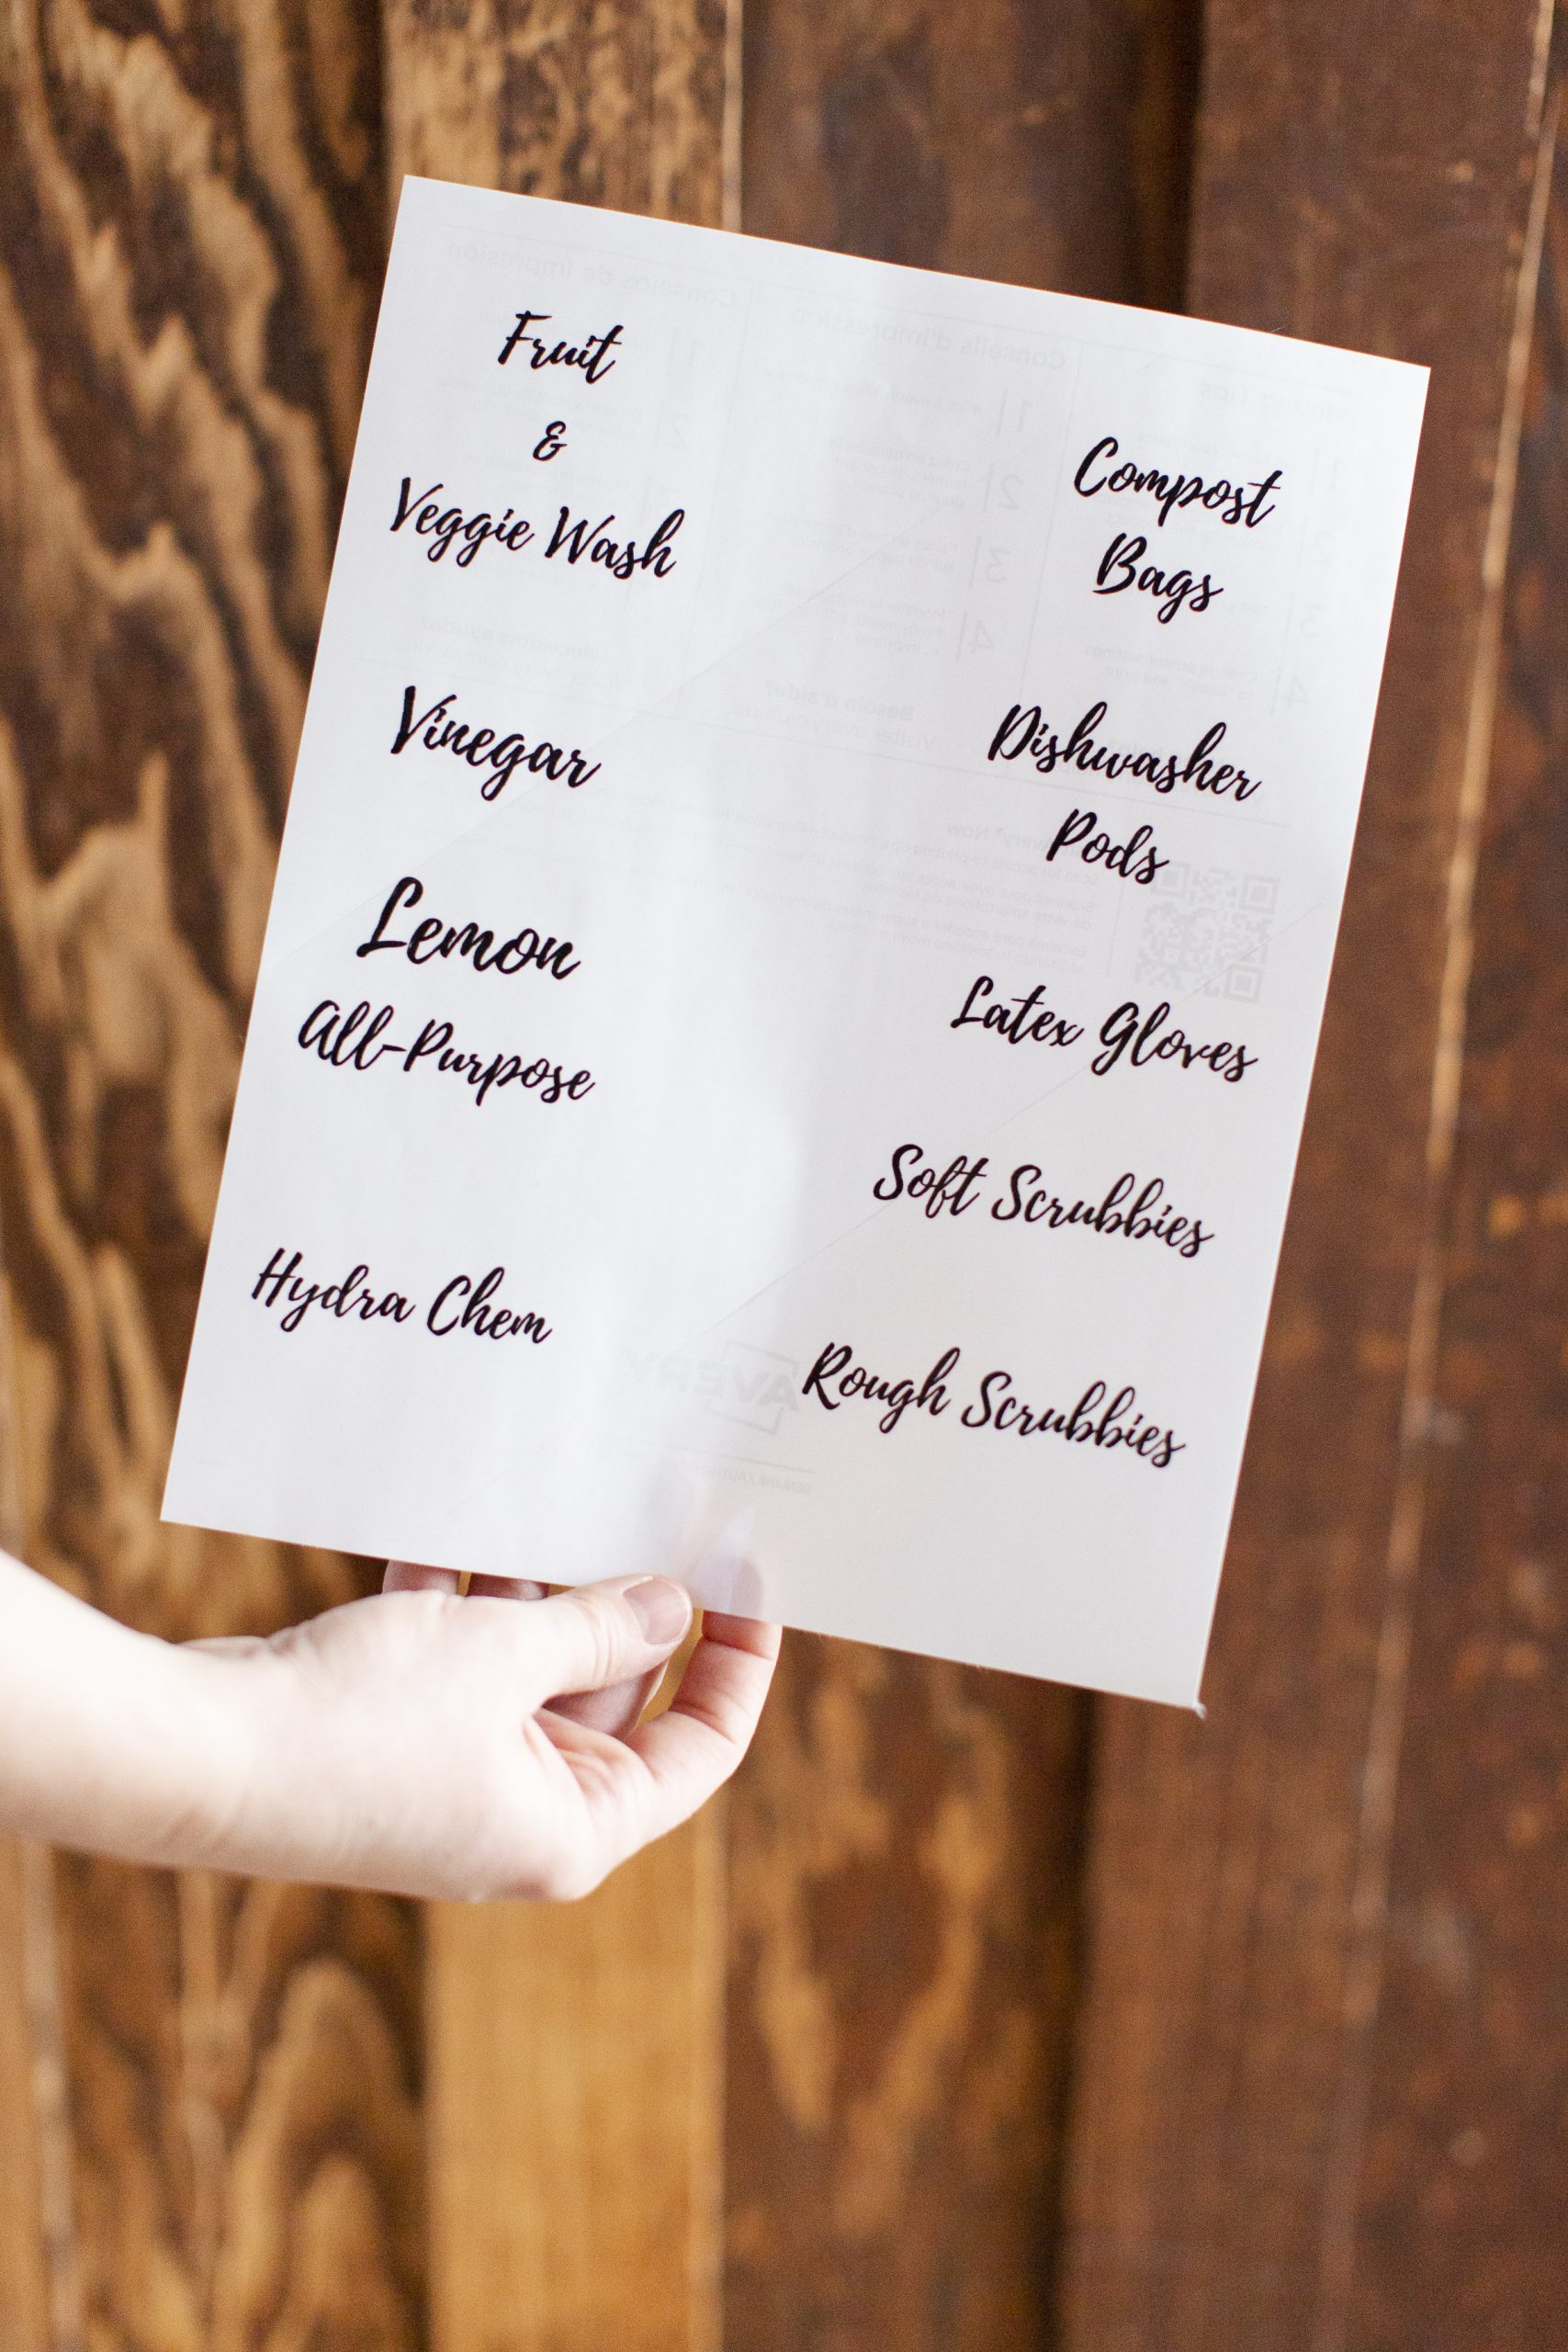
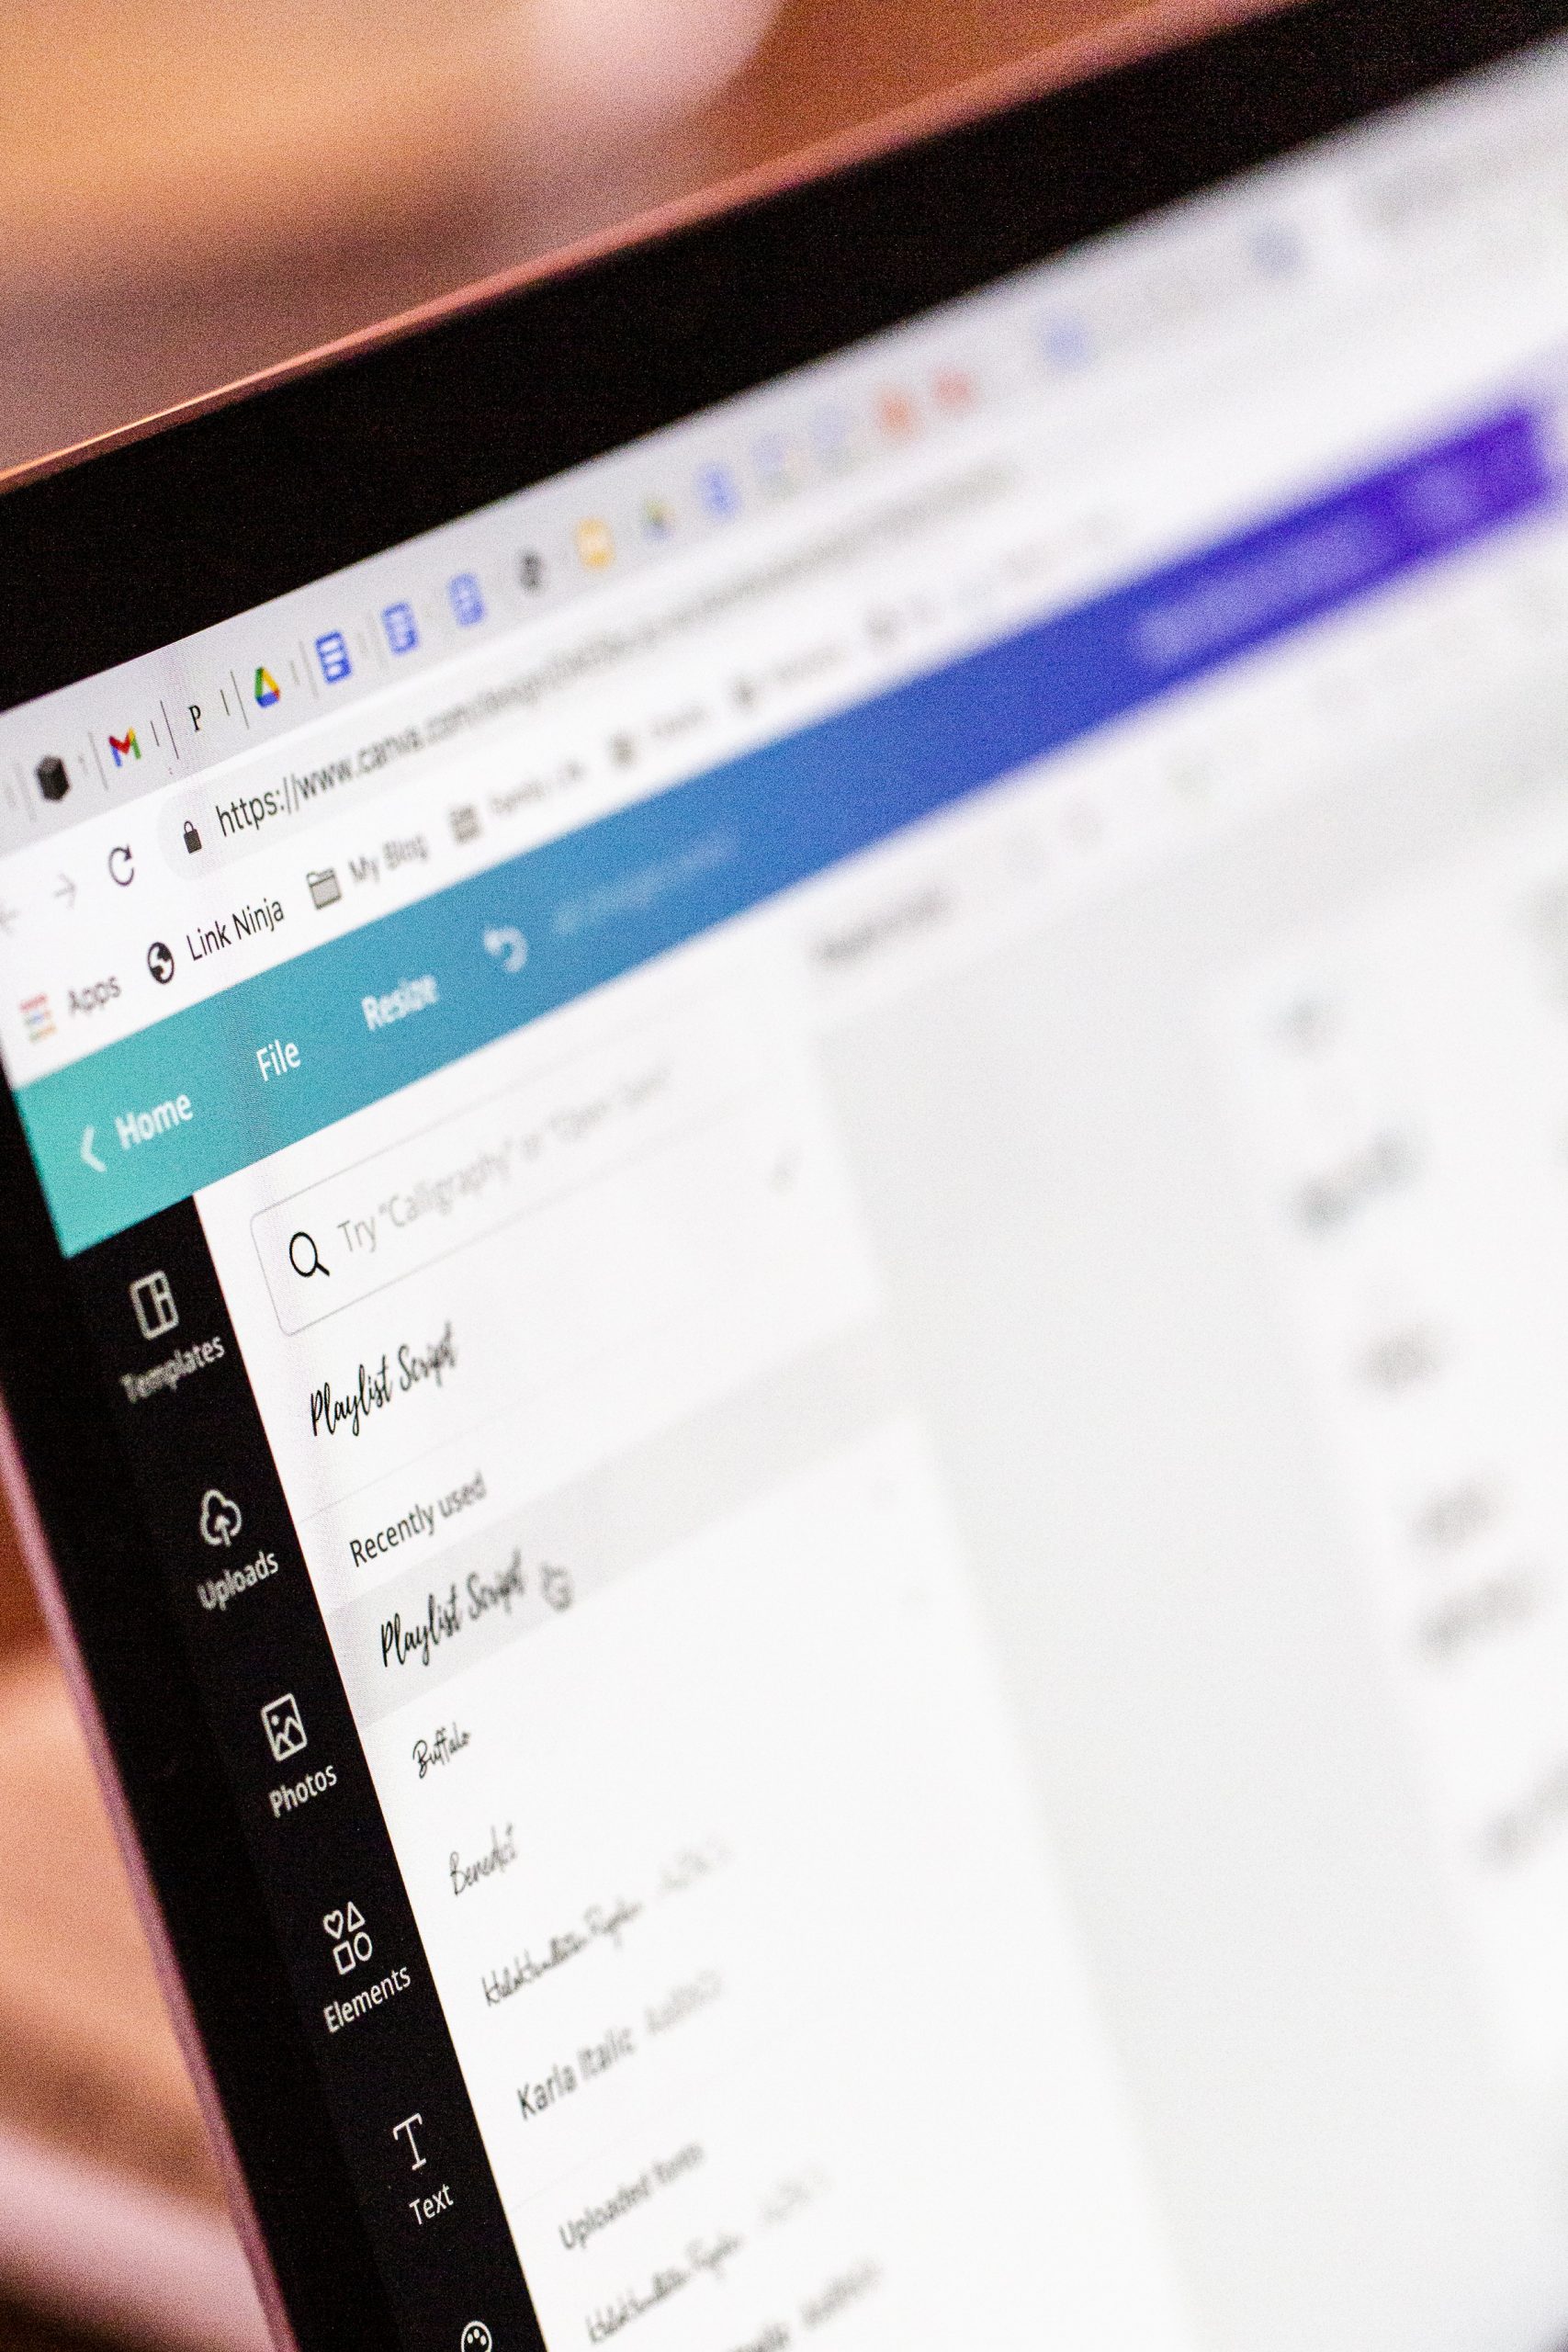 Once you create your free account on Canva, tap ‘Create a Design,’ then choose ‘Letter’. Next, on the left-hand side of the page, tap ‘Text’. After that, click ‘Add a Heading,’ and choose your font (Playlist Script) from the bar above your design with a font size of 40. Fill your sheet with the labels you want, and load your inkjet printer with your Avery Sticker Project Paper.
*Before you start your project, take a tally of things around the house you want to label, and try to fill the sheet as best you can. I made the mistake of doing this afterward, and ended up using more project paper than I should have.
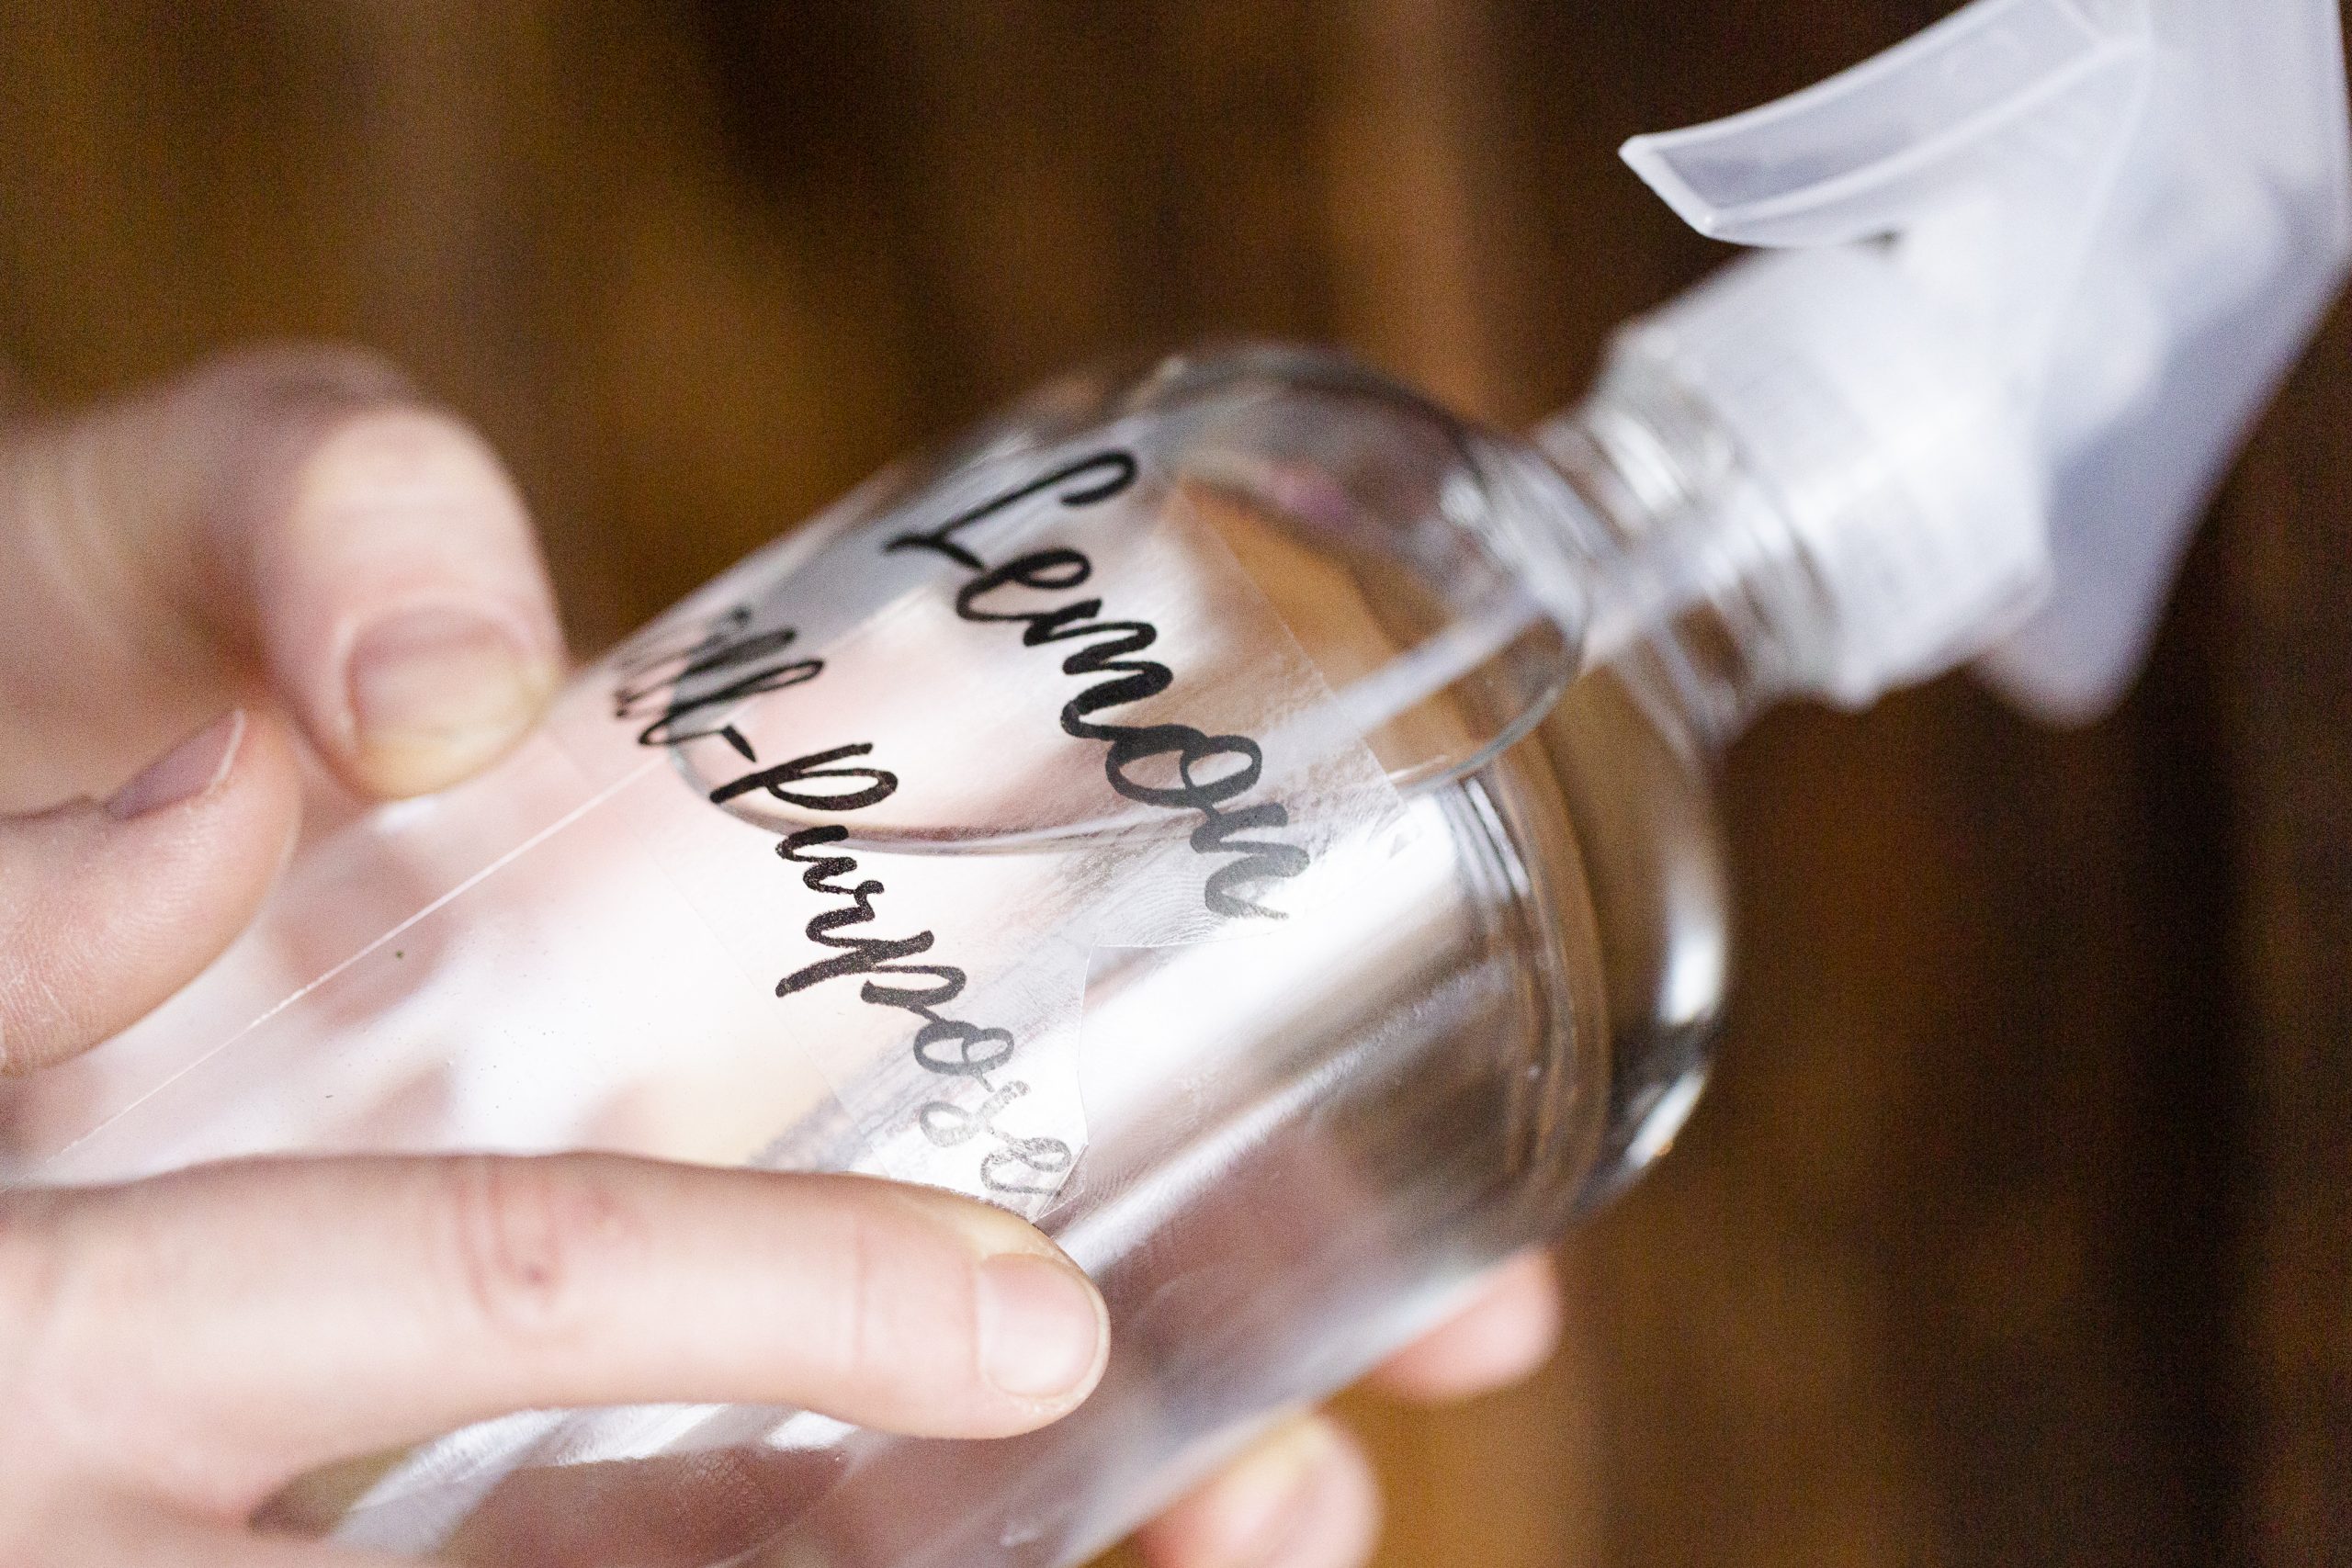
 Let the labels dry for a good ten minutes before peeling them off and sticking them to your containers, etc. When you do stick them on, make sure to rub your thumbs over the entire sticker label to get it perfect. The labels work best on glass, paper, or plastic. Note: these are not waterproof. If you’re using them in an area where they may get wet or you’re planning on washing the bottles over time, you can waterproof them with a clear sealant like this.
That’s it! Ask any questions in the comments below.
 photos: Dallas Curow
Pin this to your Home Organization boards and Follow me on Pinterest here!
Other Posts You’ll Love:
xx

I’ve always used the memory/guess method but it’s time to label. When my daughters help out in the kitchen it’s not fair to have unlabelled containers. Thanks for the nicely detailed method. I’m on it!
Can’t wait to see it! It’s so easy and so satisfying. 🙂
Thanks for the tip. Would these work in memory albums as headers? Or storylines? And do you think the ink will fade, smudge, rub off? I have a laser jet, but found the ink smudges off the glossy paper labels. Looking for longevity. Great ideas!
Are Memory Albums like scrapbooks? I think it would work! Not sure longevity with other labels but it appears when done on the Avery Sticker Paper it works well. Time will tell but no signs of fading so far. The key is to really let the ink dry before rubbing it on. Hope it goes well!
Can you print in white?
Hey! Yes! I can’t speak to any other method but if you’re doing it exactly this way, you can. Just change the colour of the font in Canva. Let me know if you need any other help!
Wondering about the stickers. Do I need to cut them to size or are they pre-cut (and if so, how will I know the distances)? Thanks!
I would play around on regular paper first so you don’t waste your sticker paper. It’s kinda trial and error with size, depending on where the sticker is going. Once they come out you’ll cut them. I hope that helps!