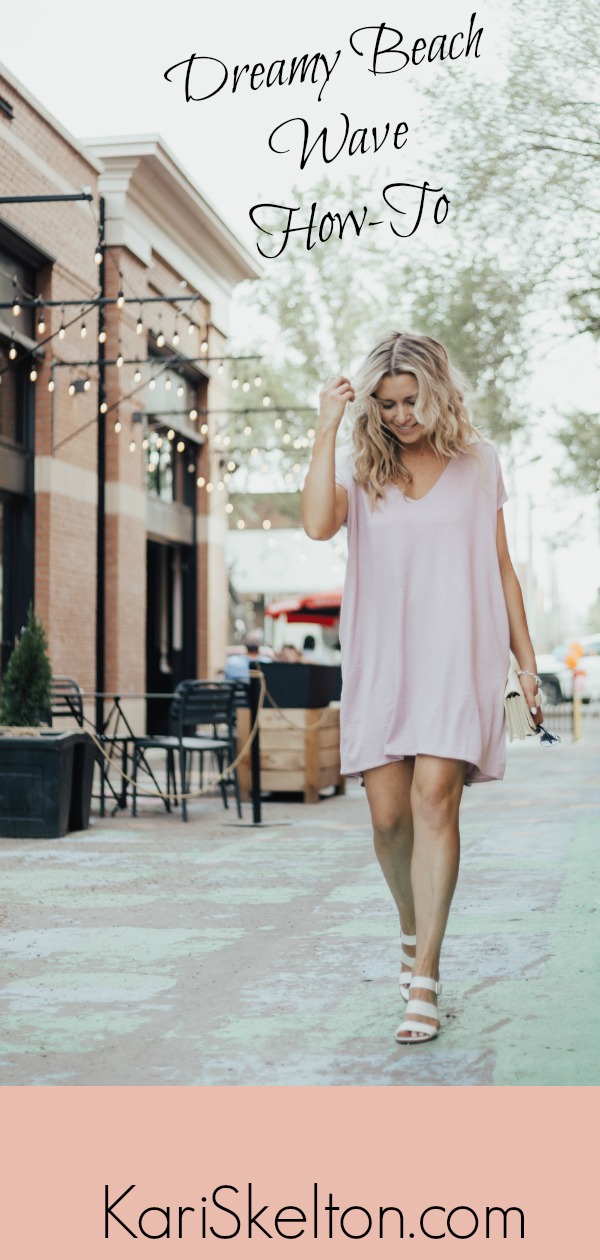
How you can create a beautiful beach wave using either a curling iron or straightener. This tutorial is simple and gives you enough curl to last the day!
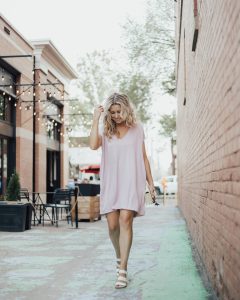
Don’t you wish you could bring your hairstylist home with you to do your hair every day? I can never quite duplicate my ‘do the way it looks when I first leave the salon. As often as I can leave it to a professional, I do!
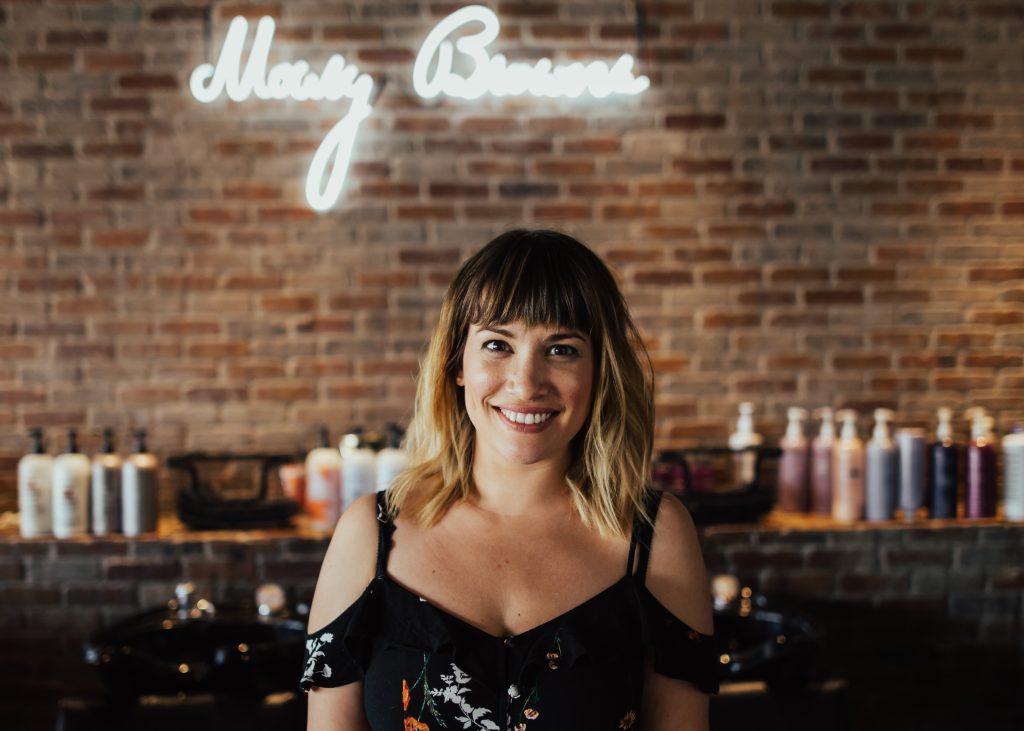
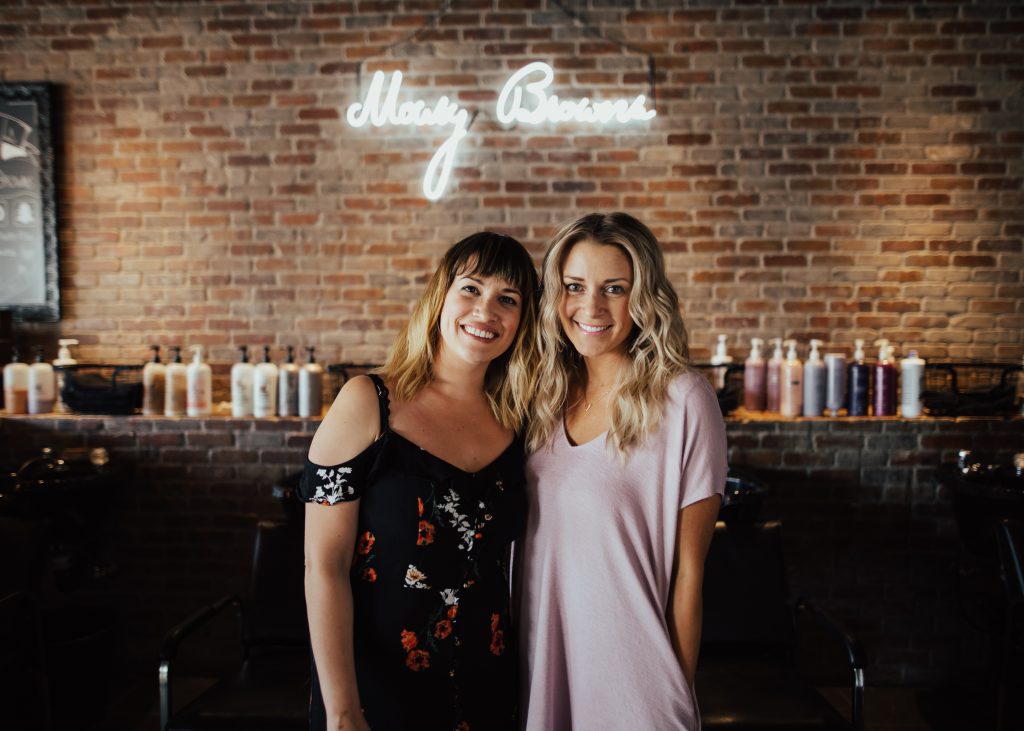
I’ve been seeing my hair stylist Nina Simons for seven years now. Not only is she my stylist, but she’s become a dear friend. We were pregnant with our boys at the same time (her son Bennett is three months older than Wyatt). We share stories of travel and fashion, and always swap parenting tips. I always enjoy my visits with her and knew she would obviously be the perfect person to teach you how to do the most-perfect dreamy beach wave!
Nina’s Dreamy Beach Wave How-To
You’ll Need:
- Strong flexible hairspray (try Bumble and Bumble’s Spray de Mode)
- Professional curling iron with a clamp size 1″-1.5″ or hair straightener (try Hot Tools)
- Root volumizer, Osis Dust It Powder (optional)
- Shine/Polish (for fine hair: Bumble and Bumble’s Brilliantine, for coarse hair: Semi Sumo
- Hair powder (to keep the look for several days). I like this one
- Wide tooth comb or pick
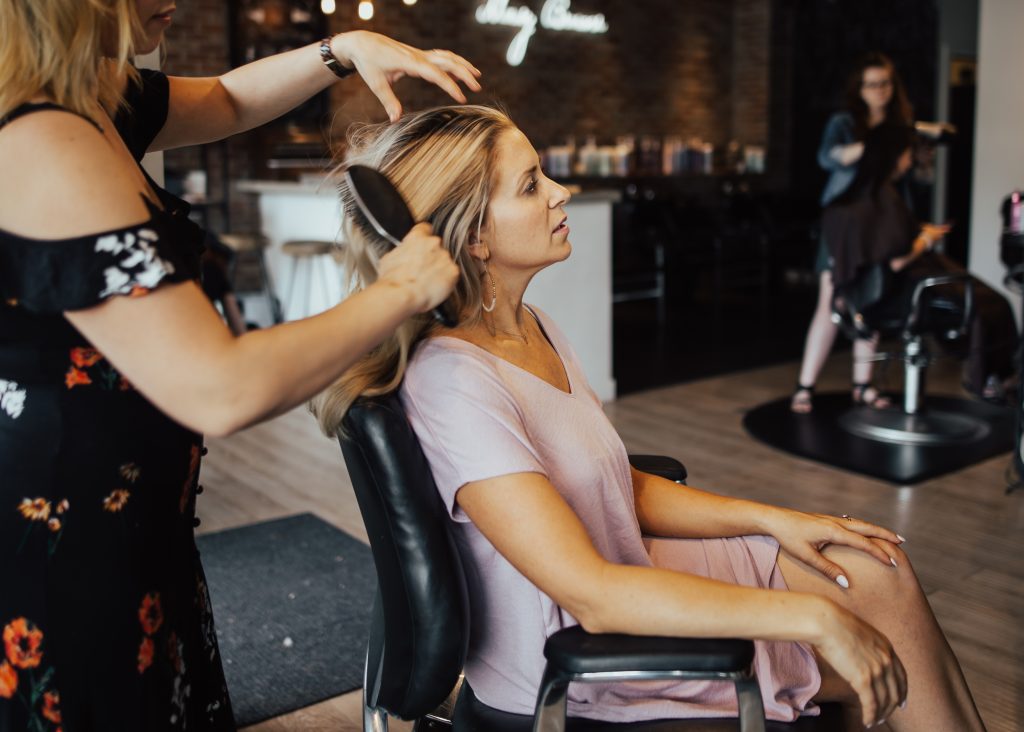
Step One:
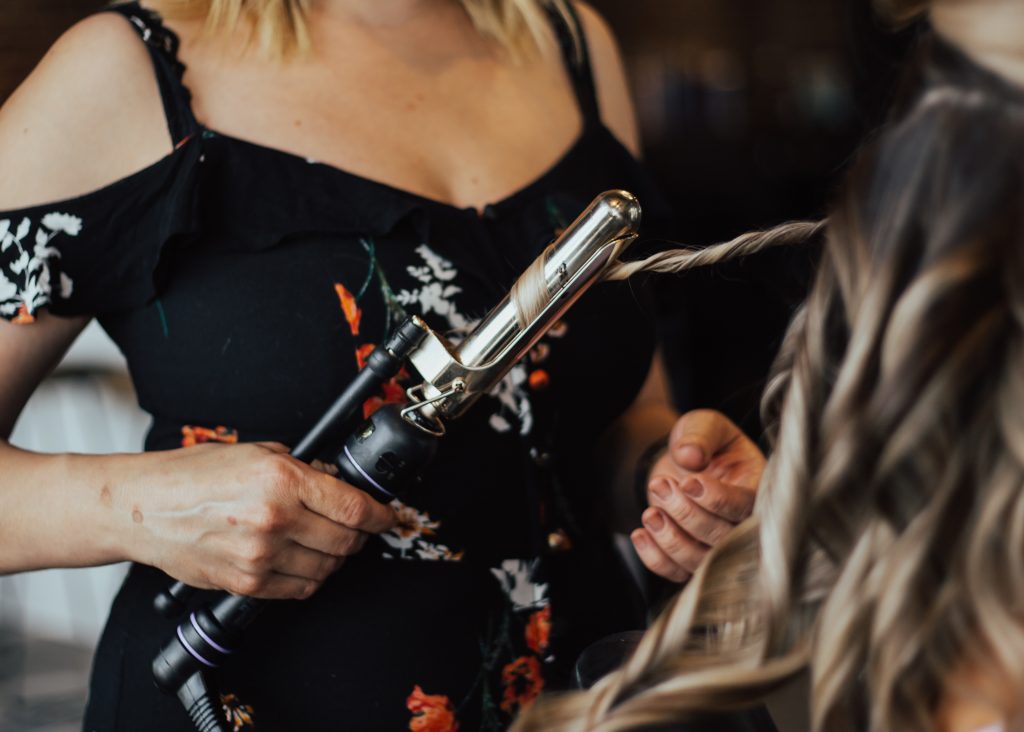
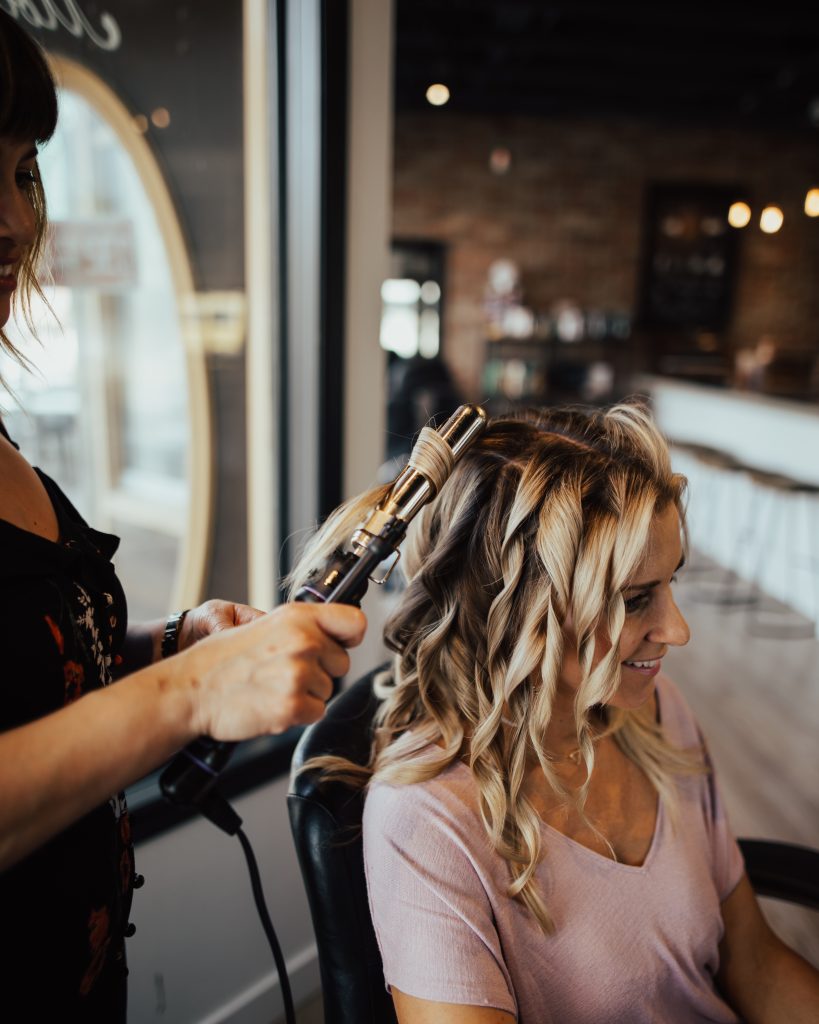
- Divide hair starting from bottom nape into 2”-3” horizontal sections. Clip away the rest. Using a strong flexible hairspray, spray each section. Start wrapping at root area into a full turn. Your strand size should mimic the size of your curling iron. Your iron should sit on this area the longest about of time. (It generally has the most amount of hair to heat).
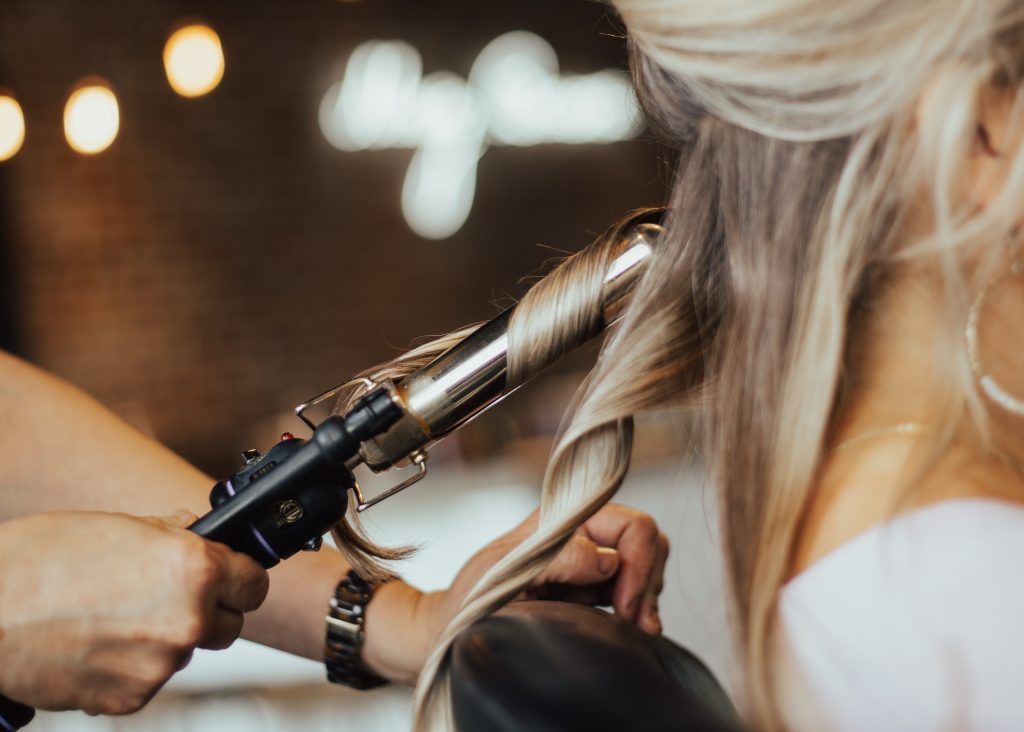
Step two
- Leave for a few seconds and then untwist without letting go of your strand but avoiding opening the clamp on the iron, twist and repeat the same motion travelling down the strand. Iron should rest on the ends the least about of time (Seriously only 1 second). When curling the front bang area of your hair, curl away from your face.
To avoid a Farrah Fawcett wave, curl sides towards your face.
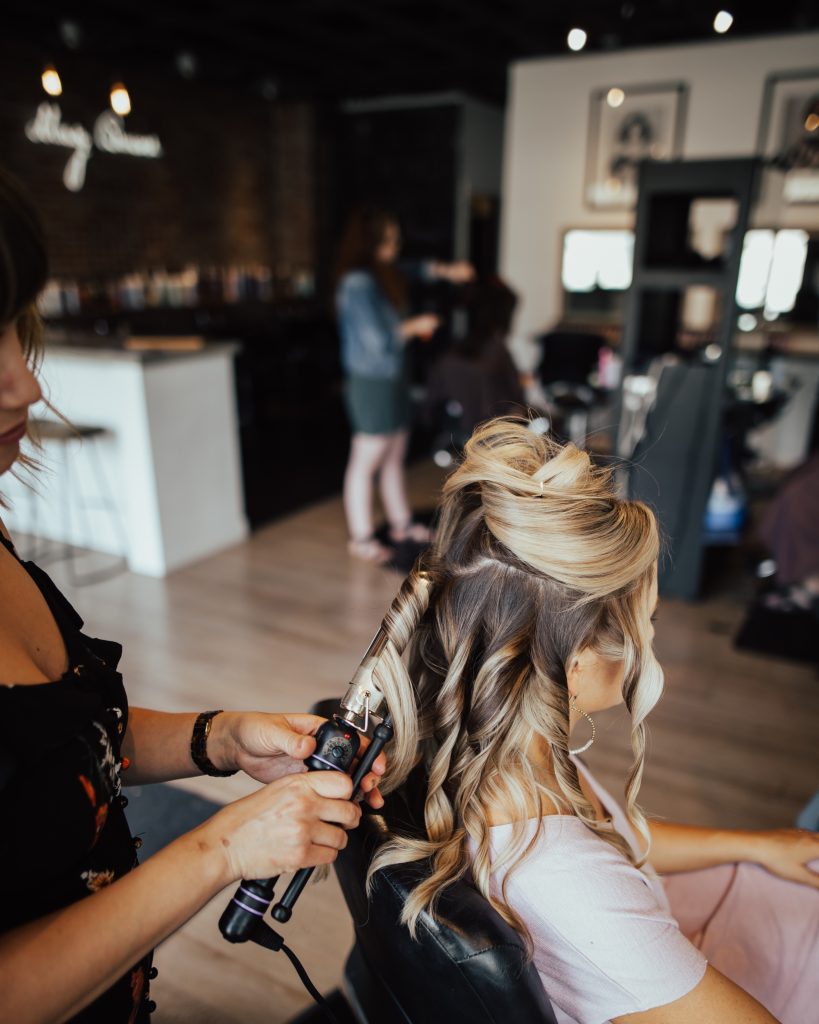
With a curling iron
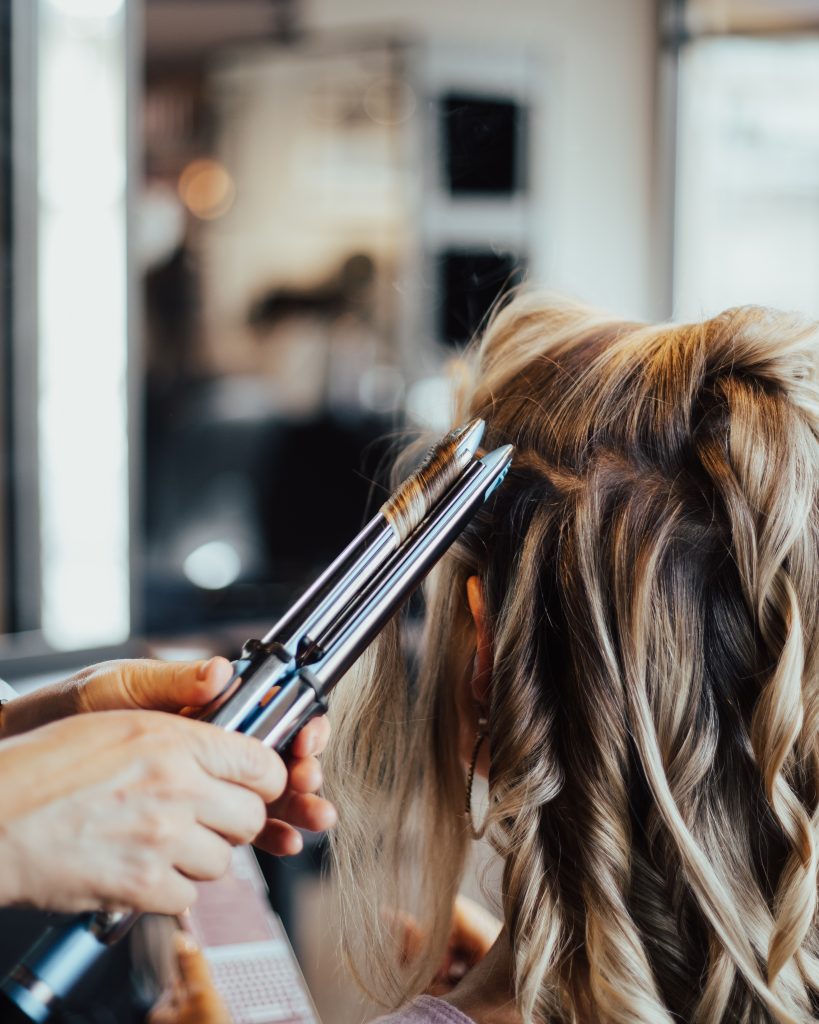
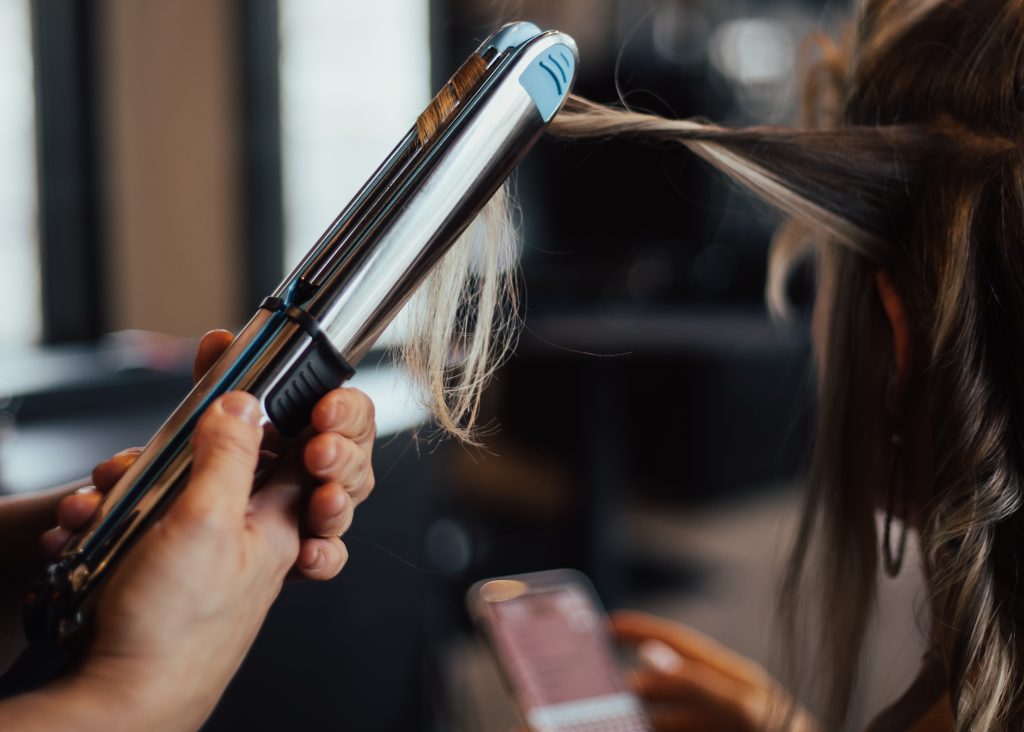
 With a straightener
Step three
- Pull each strand down to maintain as much of your length as possible as it cools. Allow the curl to set.
Remember to alternate the direction of curl with each section and continue alternating each section up your head. Avoid running hands through your hair once it’s been curled until the very end. Each strand should take less than 10 seconds. - If you love your volume, tap a root volumizing powder before curling the top. Remember to curl bangs away from your face.

Step 4
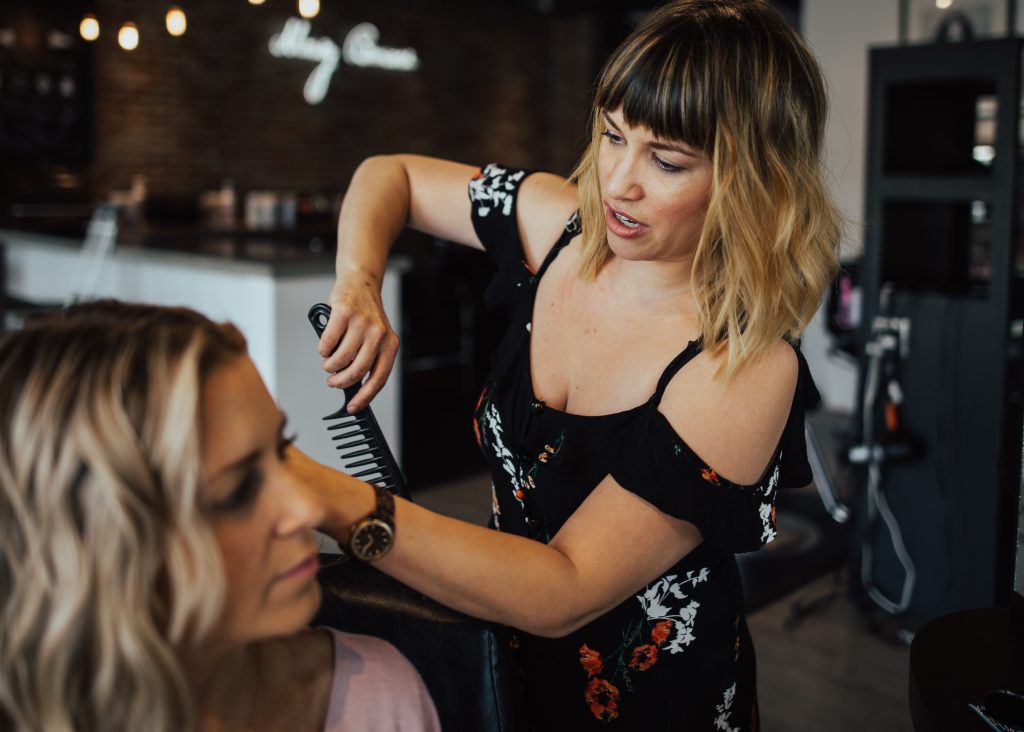
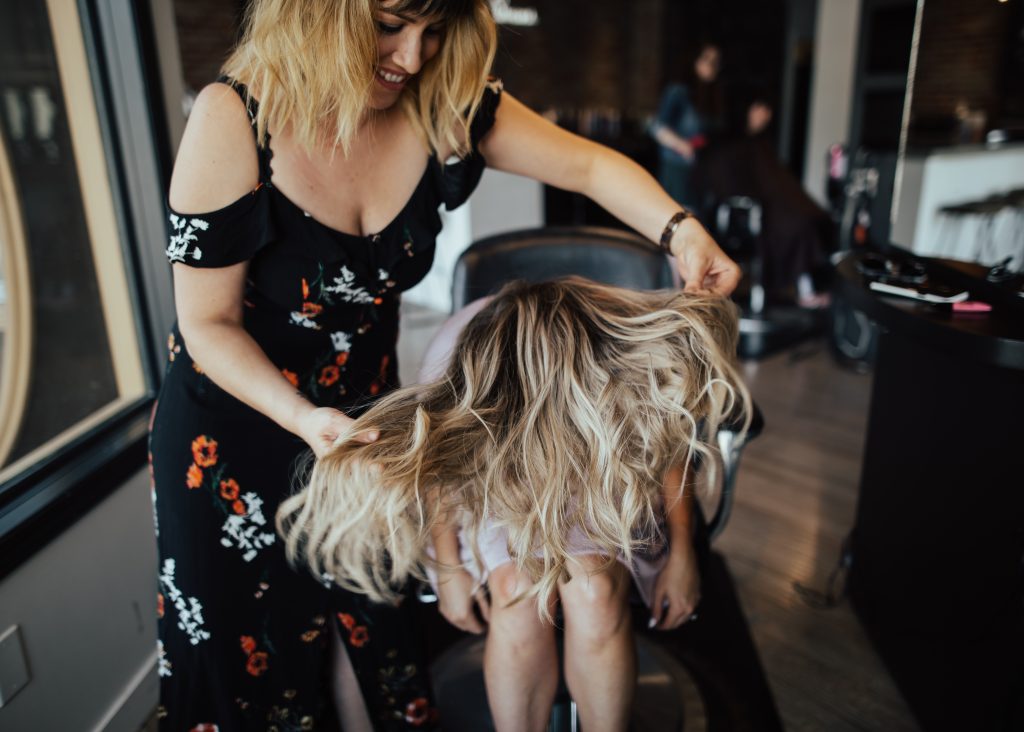
- When you’re all done curling, tip your head upside down and comb through with a wide tooth comb or pick.
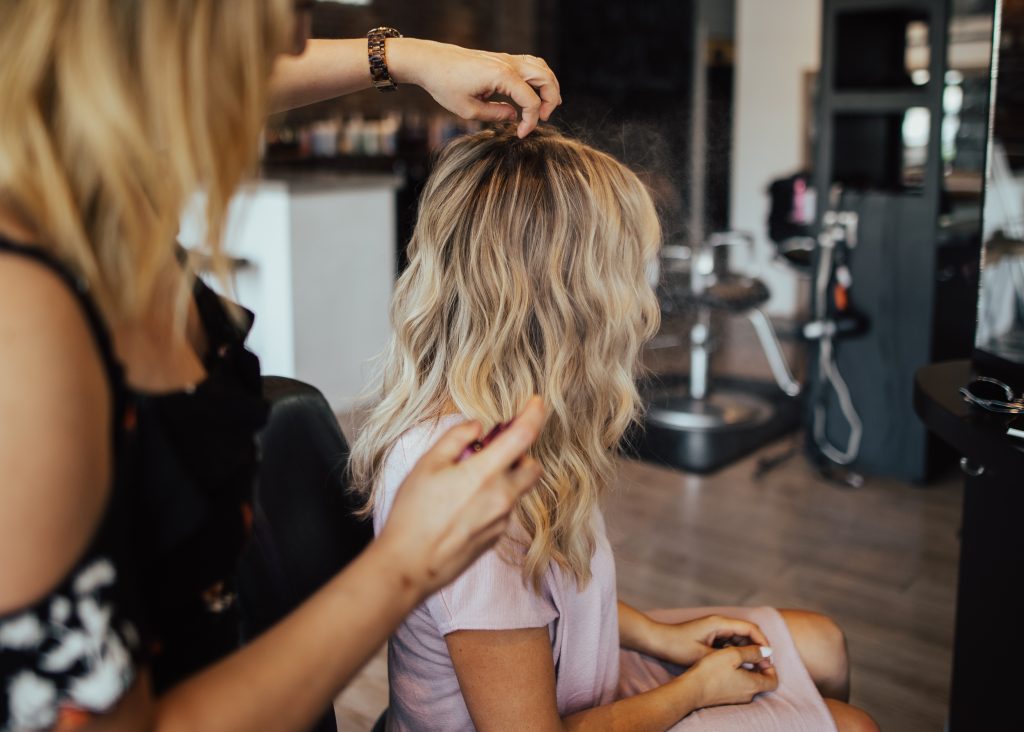
Spray with hairspray. Flip upright and finish your look with a shine spray and you’re done!
Nina’s Additional Tips:
- Add hair powder to your hair at night to allow your oils to be absorbed while you sleep.
- Silk pillowcases also elongate your hairstyle and allow for less breakage! Get one on Amazon.ca
- Invest in a good quality flat iron (doesn’t pull or get stuck) for the best results.
Pin this to your Hairstyles and Beauty boards and don’t forget to follow me on Pinterest!
Other posts you’ll like:
Me Time + The Pandora Shine Collection
xx
Hi Kari. Do you curl your own hair? Can you post tips on this as well? Your hair looks gorgeous in this segment! I would like to recreate this myself at home but, not sure how to get at the back of my head.
I struggle with the back too! I use a medium barrel iron and curl away from my face and never right to the end of the strand. I should do a tutorial soon!
Yes, please!