I’m so thrilled to have my good friend Jackie Whitson as my first guest blogger! She’s a mom to Lilah and Rowan, wife to Joell and woman about town. Jackie and I met seven years ago doing work with Movember Canada and have been great friends ever since.

She posted a photo pf these pom pom push pins on her Instagram and I immediately texted her asking if she would guest blog about it.
Without further adieu…here’s Jackie!
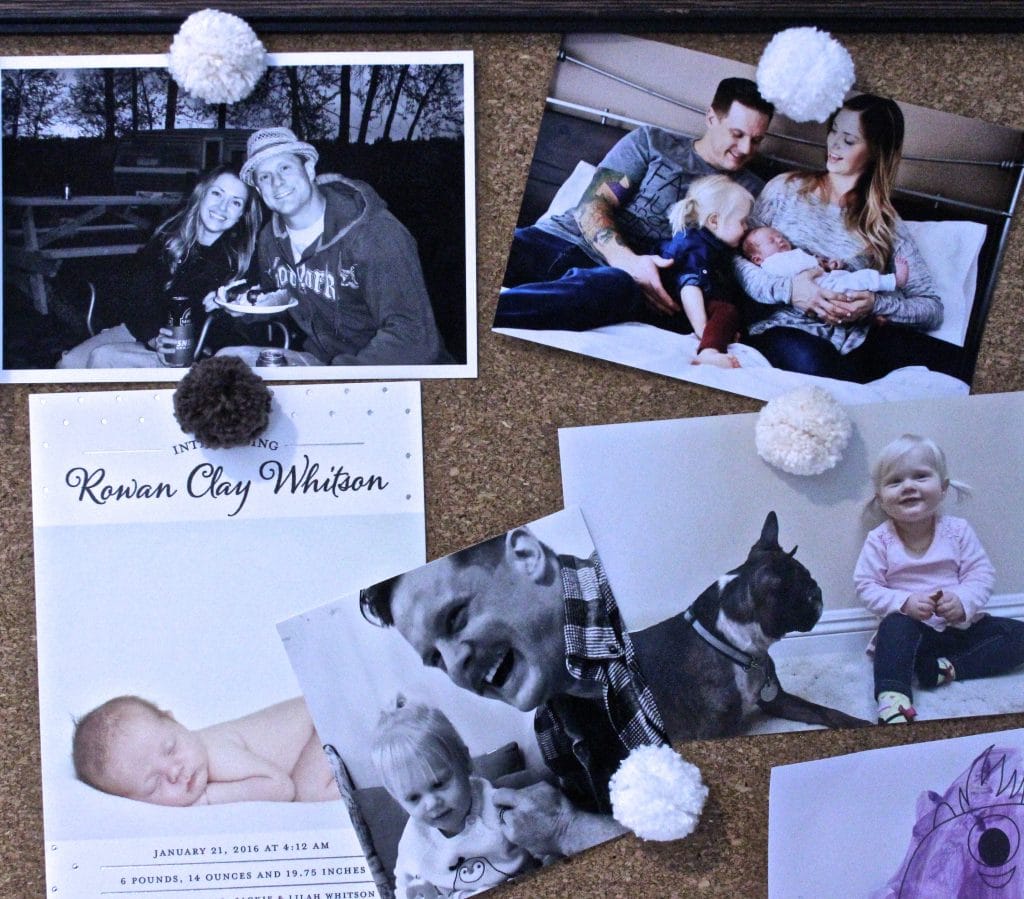
Let’s face it, a good portion of our Pinterest attempts never see the light of day, and most DEFINITELY don’t end up being Instagram worthy. So when one turns out, it can be pretty exciting. That’s how I feel about these DIY pom pom push pins.
Uber simple and devastatingly cute, they add a pretty little pop to any home or office corkboard. Plus, they’re super quick to make and you need very few supplies. Here’s how you can make your own.
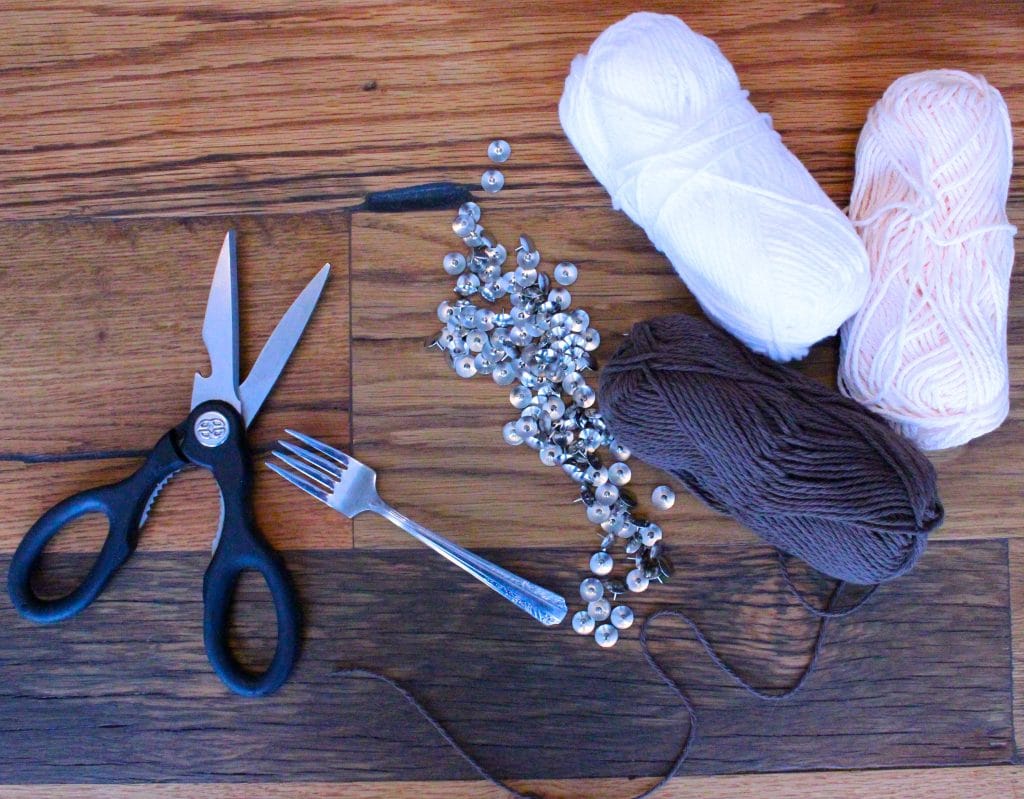
Cost: $9 for three colours (cost does not include scissors, fork and a very old, well-loved glue gun)
Time Investment: Approximately 5 minutes per pom pom
What you will need:
- Yarn (any colours and textures that you’re loving)
- Thumbtacks
- Dessert or salad fork (I used a baby fork)
- Scissors
- Glue gun
 Directions:
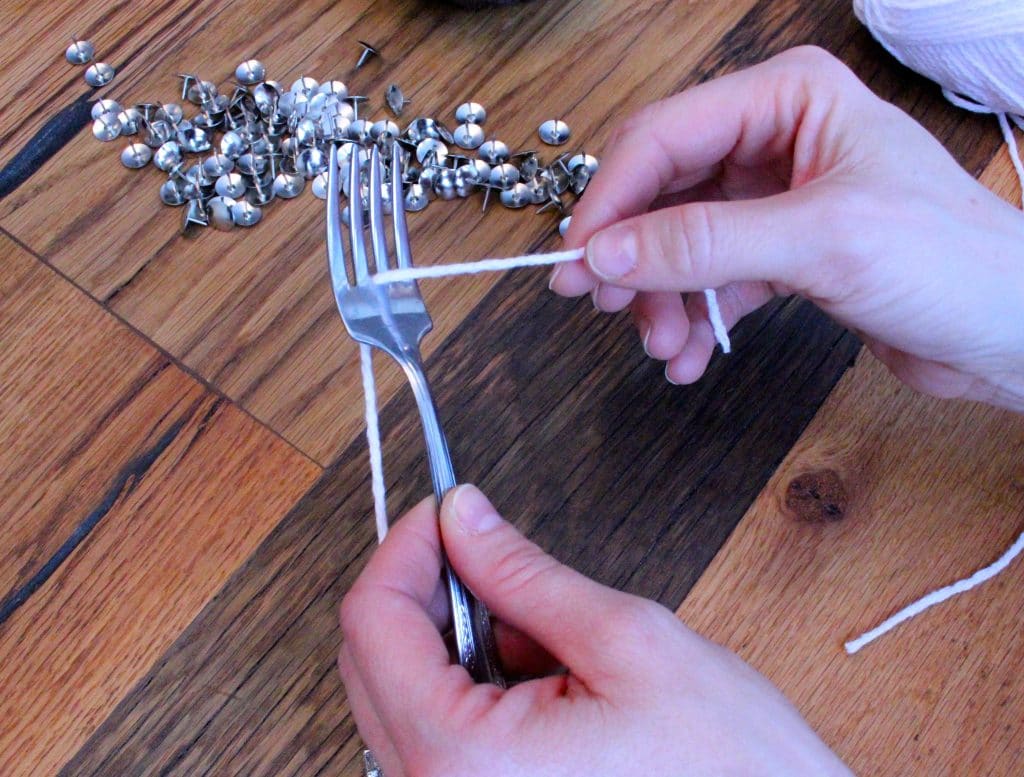
Cut a piece of yarn 5 or 6 inches long and lay it through the middle tongs of a fork. You will use that to tie the pom pom later on. Begin wrapping the yarn around the fork. The Pinterest project that inspired this project recommended wrapping the yarn a totally of 15 times. This resulted in pom poms that weren’t full enough for my taste. I found that wrapping the yarn a total of 40 times made for the full, fluffy pom poms I was looking for. It would depend on the thickness of yarn you are using, so experiment with how many times works for you.
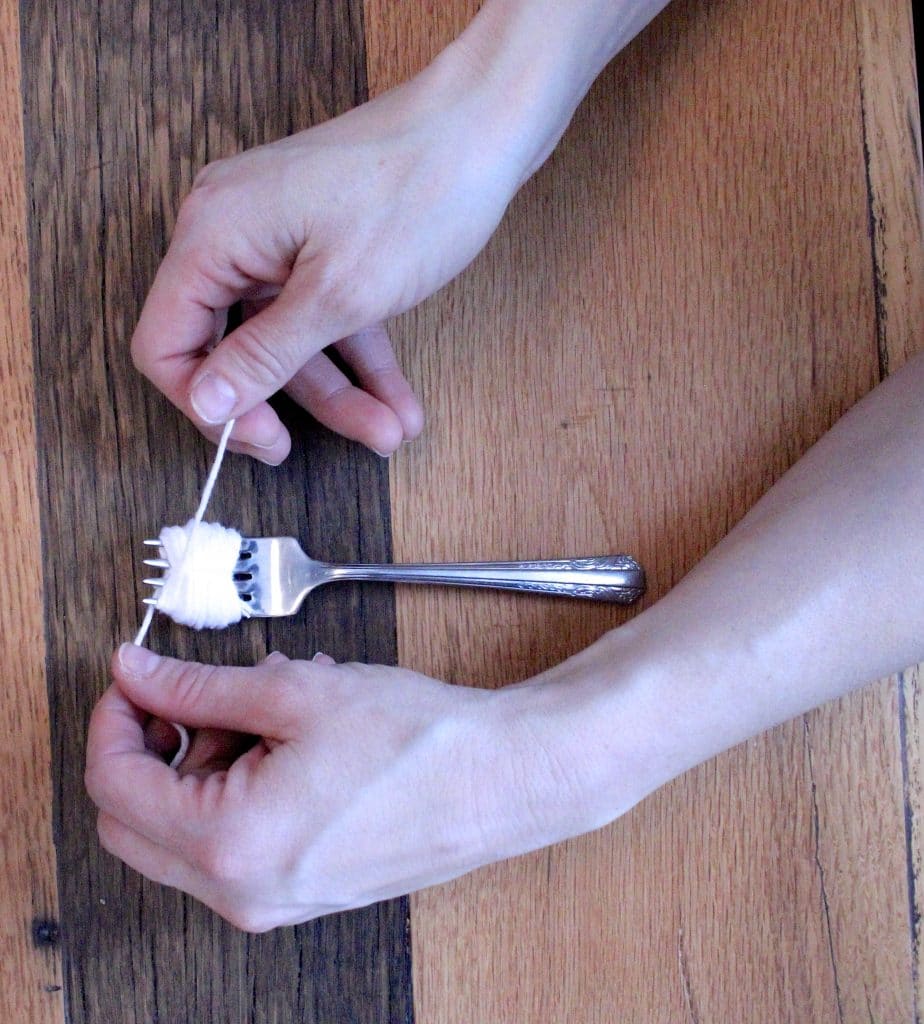 Once you are done wrapping, cut the end and tie the pre-cut piece up and around the wrapped pieces. Make sure you tie it tight! Slide the yarn off the fork and you’re ready to start cutting. Snip open the loops on each end.
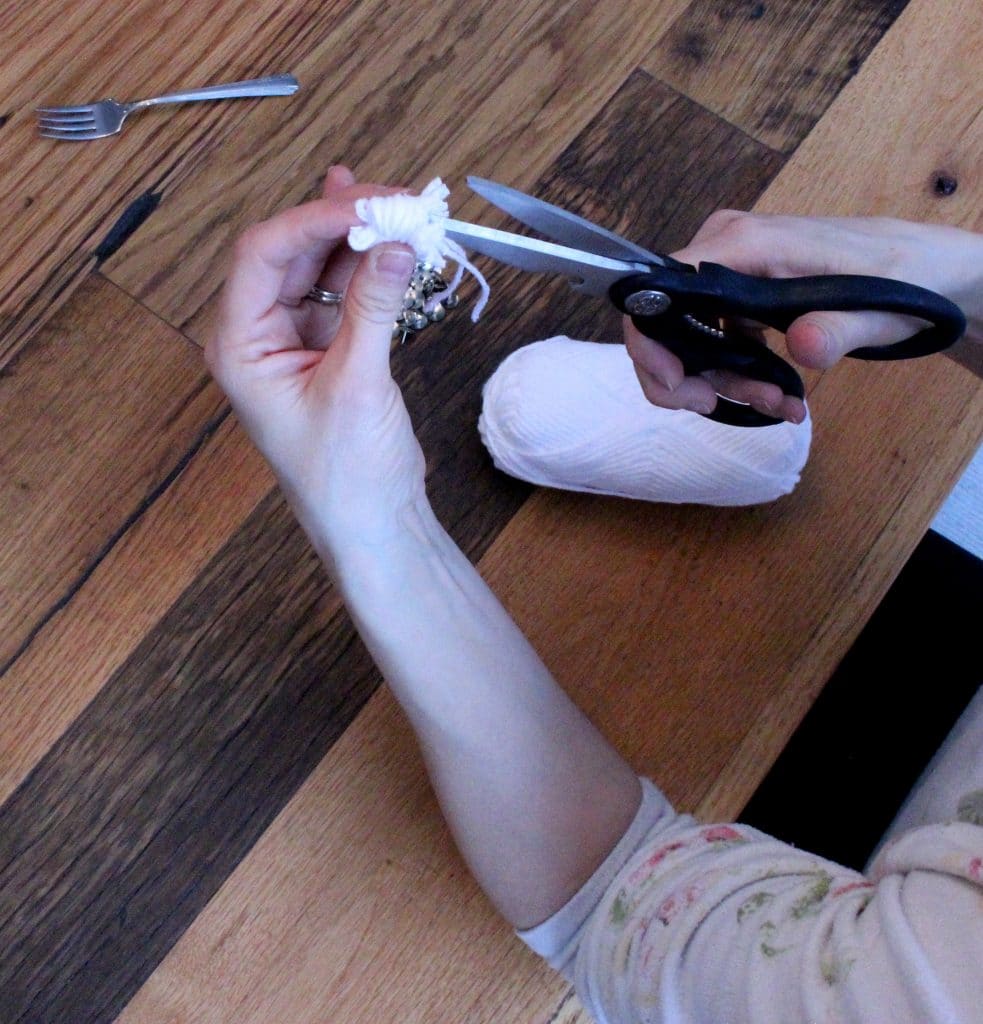 Ok, now don’t panic. I was alarmed at how terrible it looked at this point. It looks nothing like a pom pom, and that’s ok! Rest assured, it’s all in the next step: the trimming.
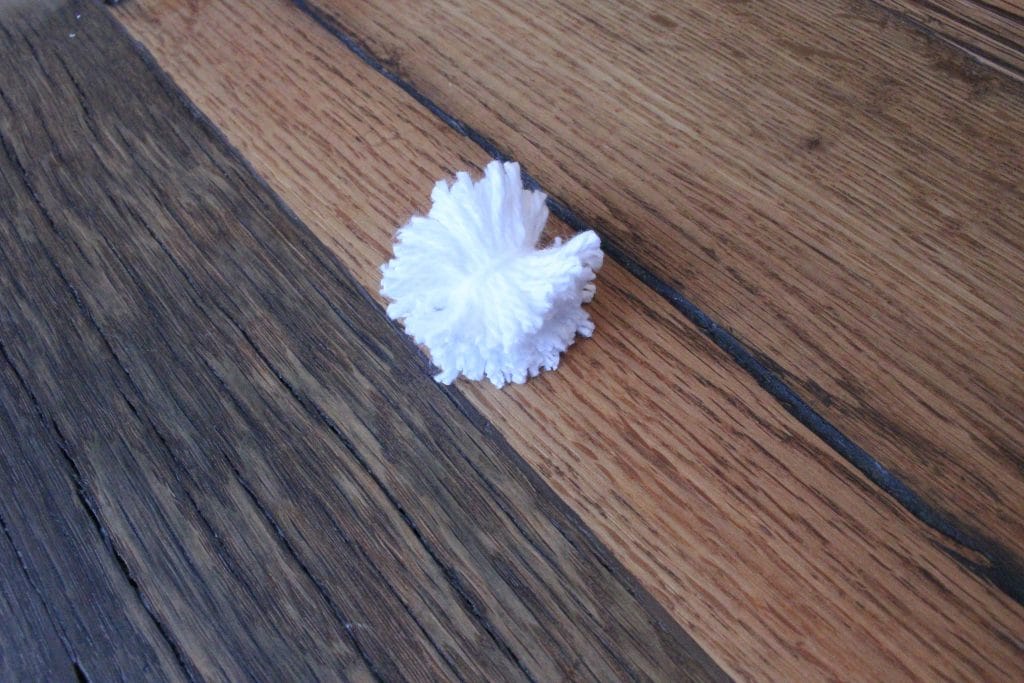
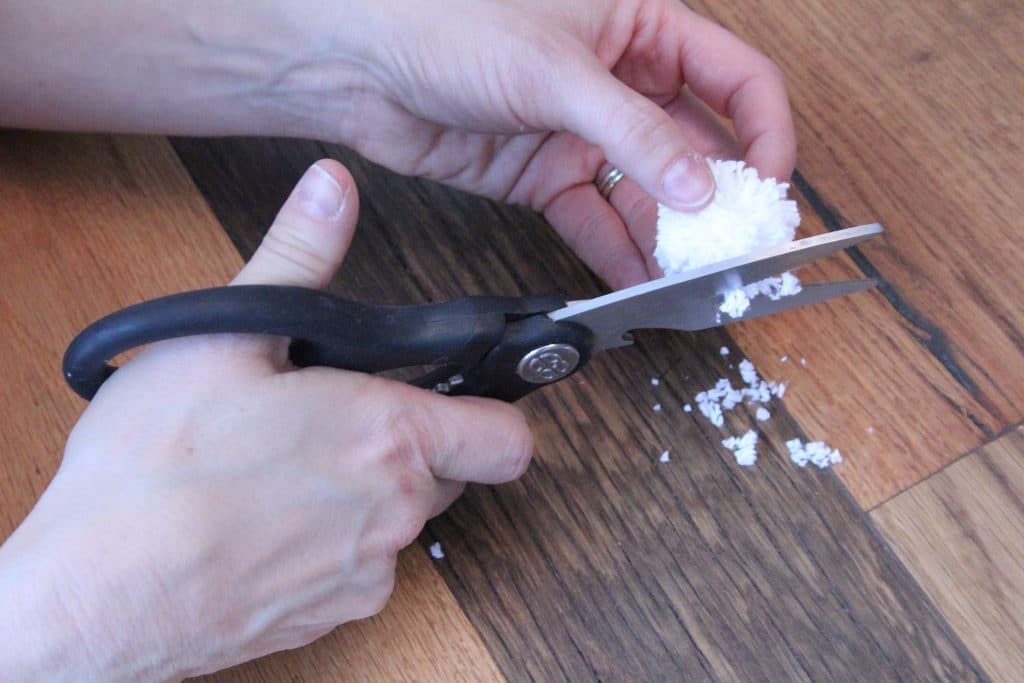 Once you have all the loops cut, fluff it to loosen it up. Trim any long or uneven strands. Continue trimming until you have a fluffy little ball. I found the trimming a little addicting so be careful, just like trimming our own bangs (don’t act like you haven’t done it) you can go too far. Trim just until the ball is even and you’re happy with the size.
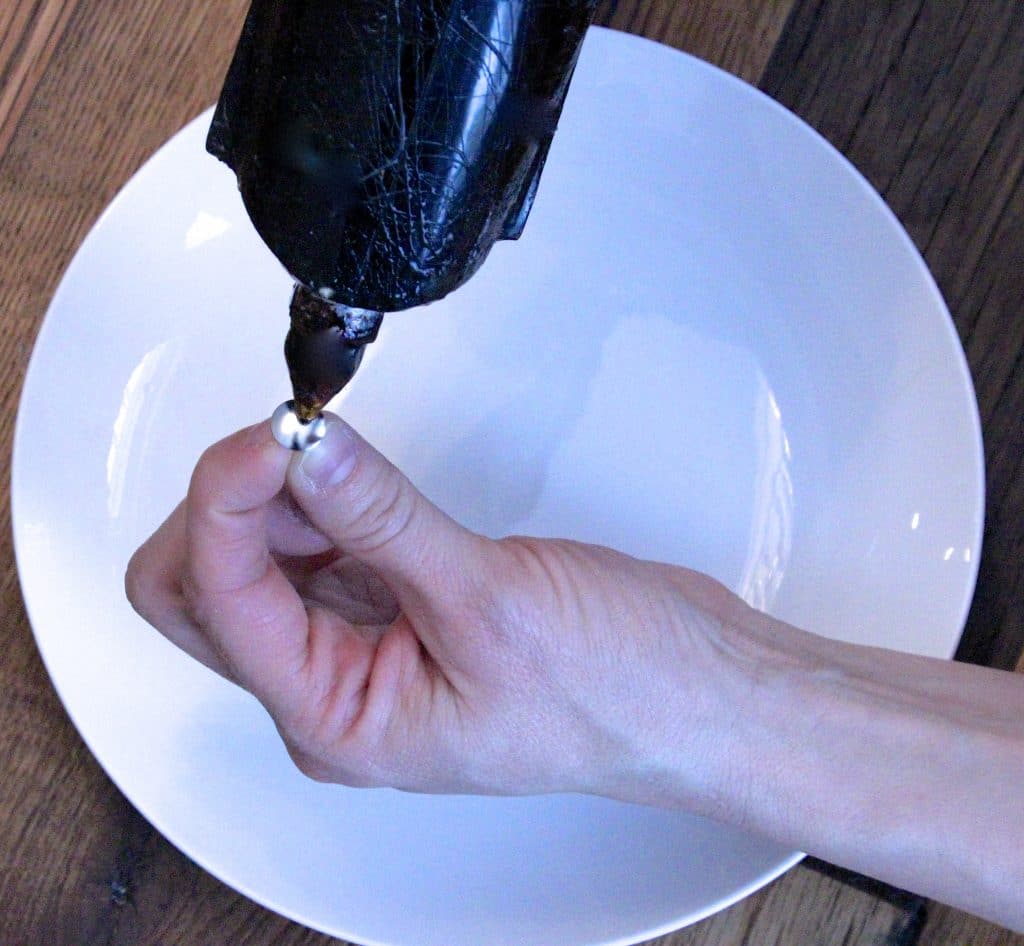
 Place a small amount of glue on the top of a thumbtack and press it firmly into your made pom pom. Give it a few minutes to dry and you’re done!
Kari and I would love to see how yours turn out so be sure to send us a picture!
xx
Jackie

Leave a Reply