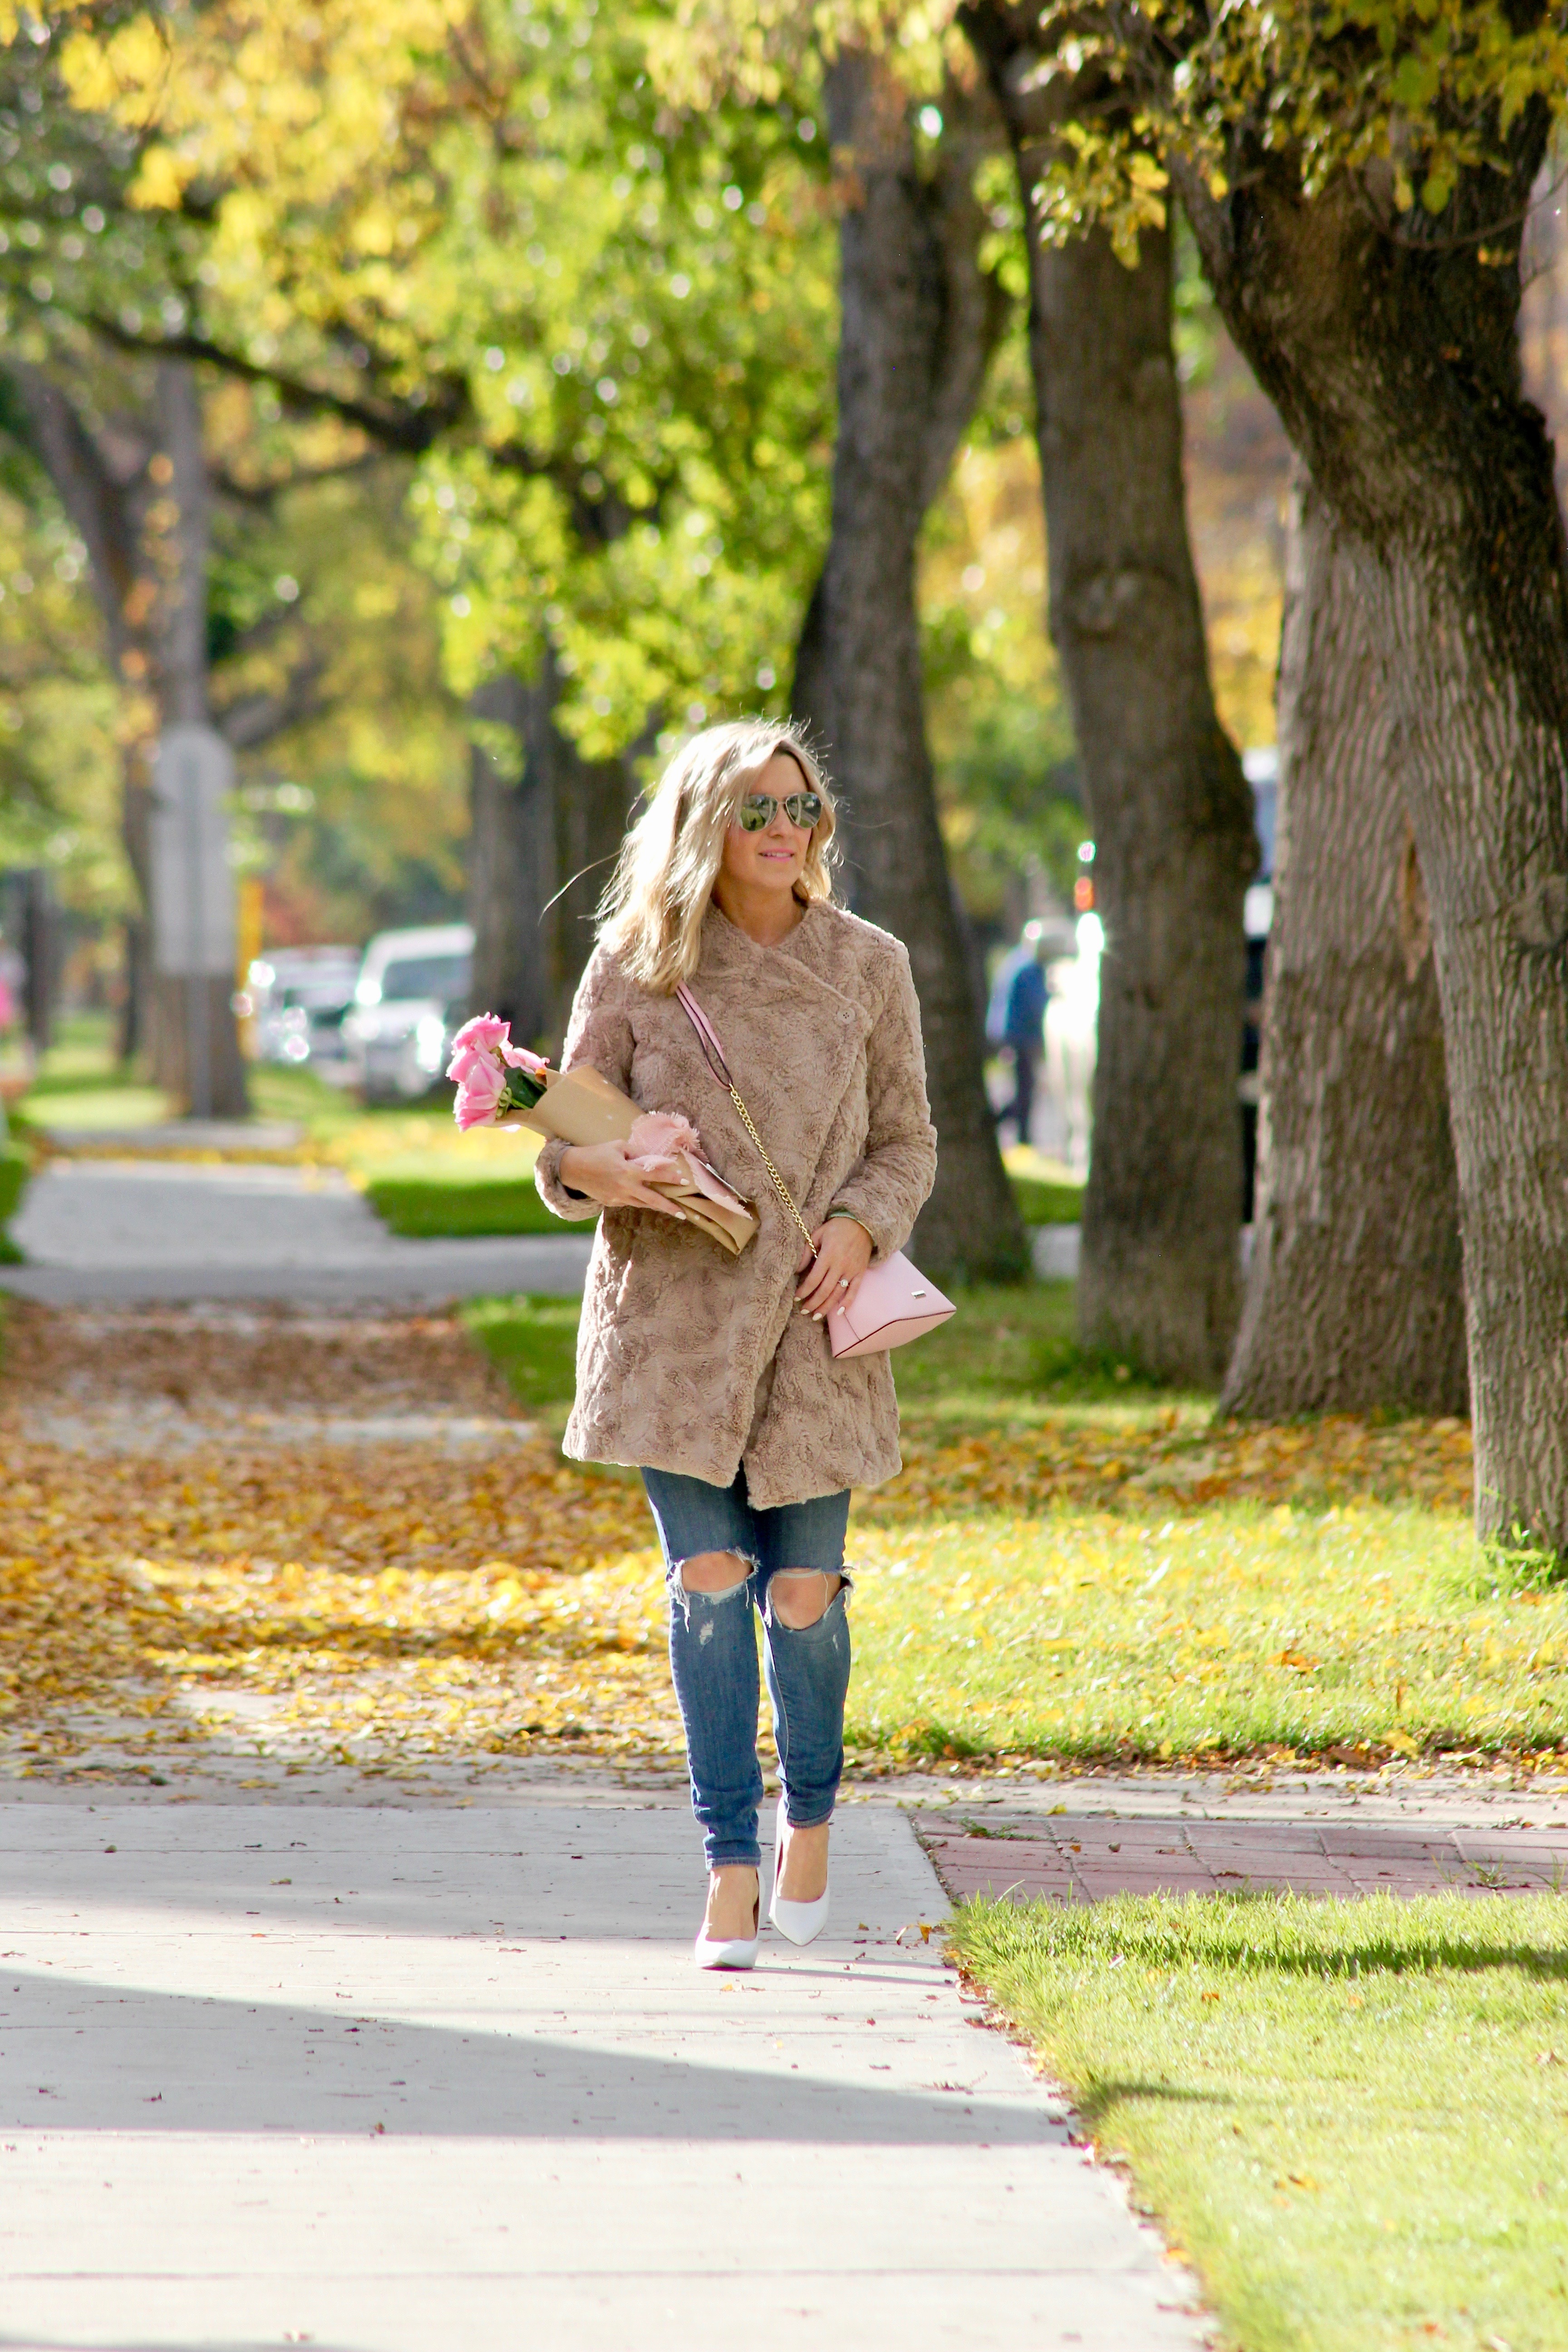
Spice up your supermarket bouquet with this pretty polka dot floral wrap DIY! I’m sure you’ll never guess what I used to create those big dots!
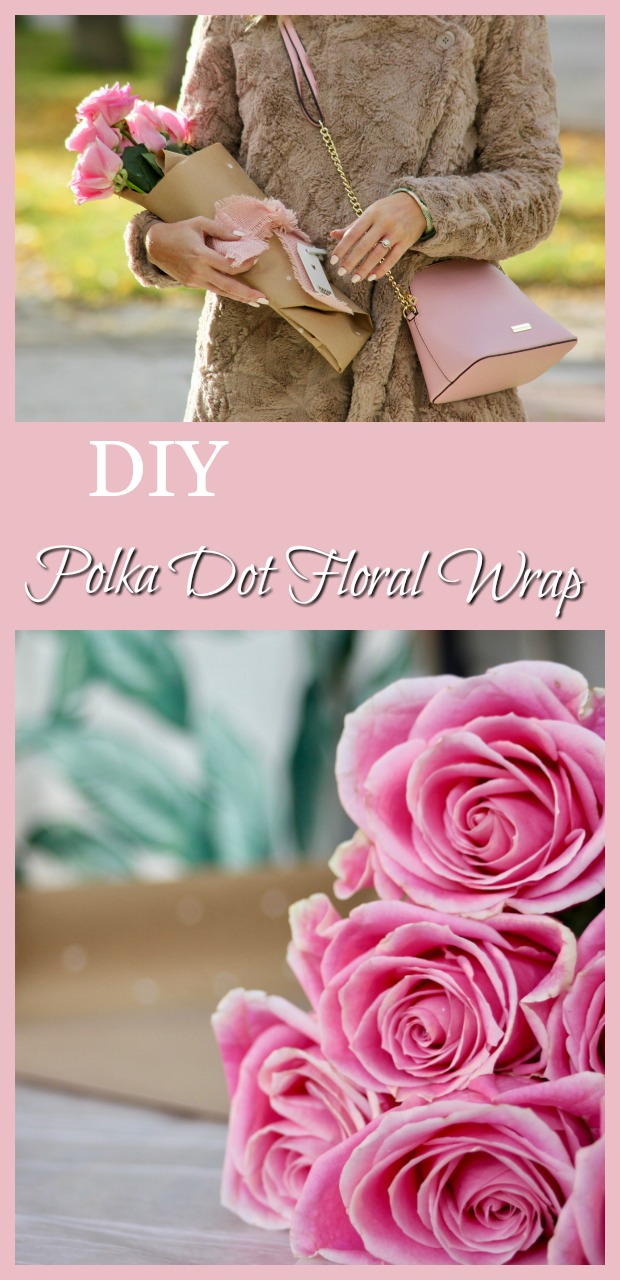
 Pretty Polka Dot Floral Wrap DIY
I have a bit of a polka dot obsession right now. I just got these polka dot popcorn bowls (watch for my Best Popcorn Ever recipe coming soon!) and these mom and me matching sweatshirts (the softest sweatshirt ever!), and I’m crafting all things polka dot. This really simple DIY is a nice way to gift someone flowers with a personal touch. I’ve included ways to make small and big dots.
Cost: $50 (if you’re starting from scratch with supplies). The paper roll is enough for ten bouquets.
Time Investment: Ten minutes (not including ink drying time).
You’ll Need:
- One roll of craft paper
- Craftsmart ink pad in white
- Pencil (unused with a fresh eraser) or lid of an old chapstick for a bigger dot (more on this below)
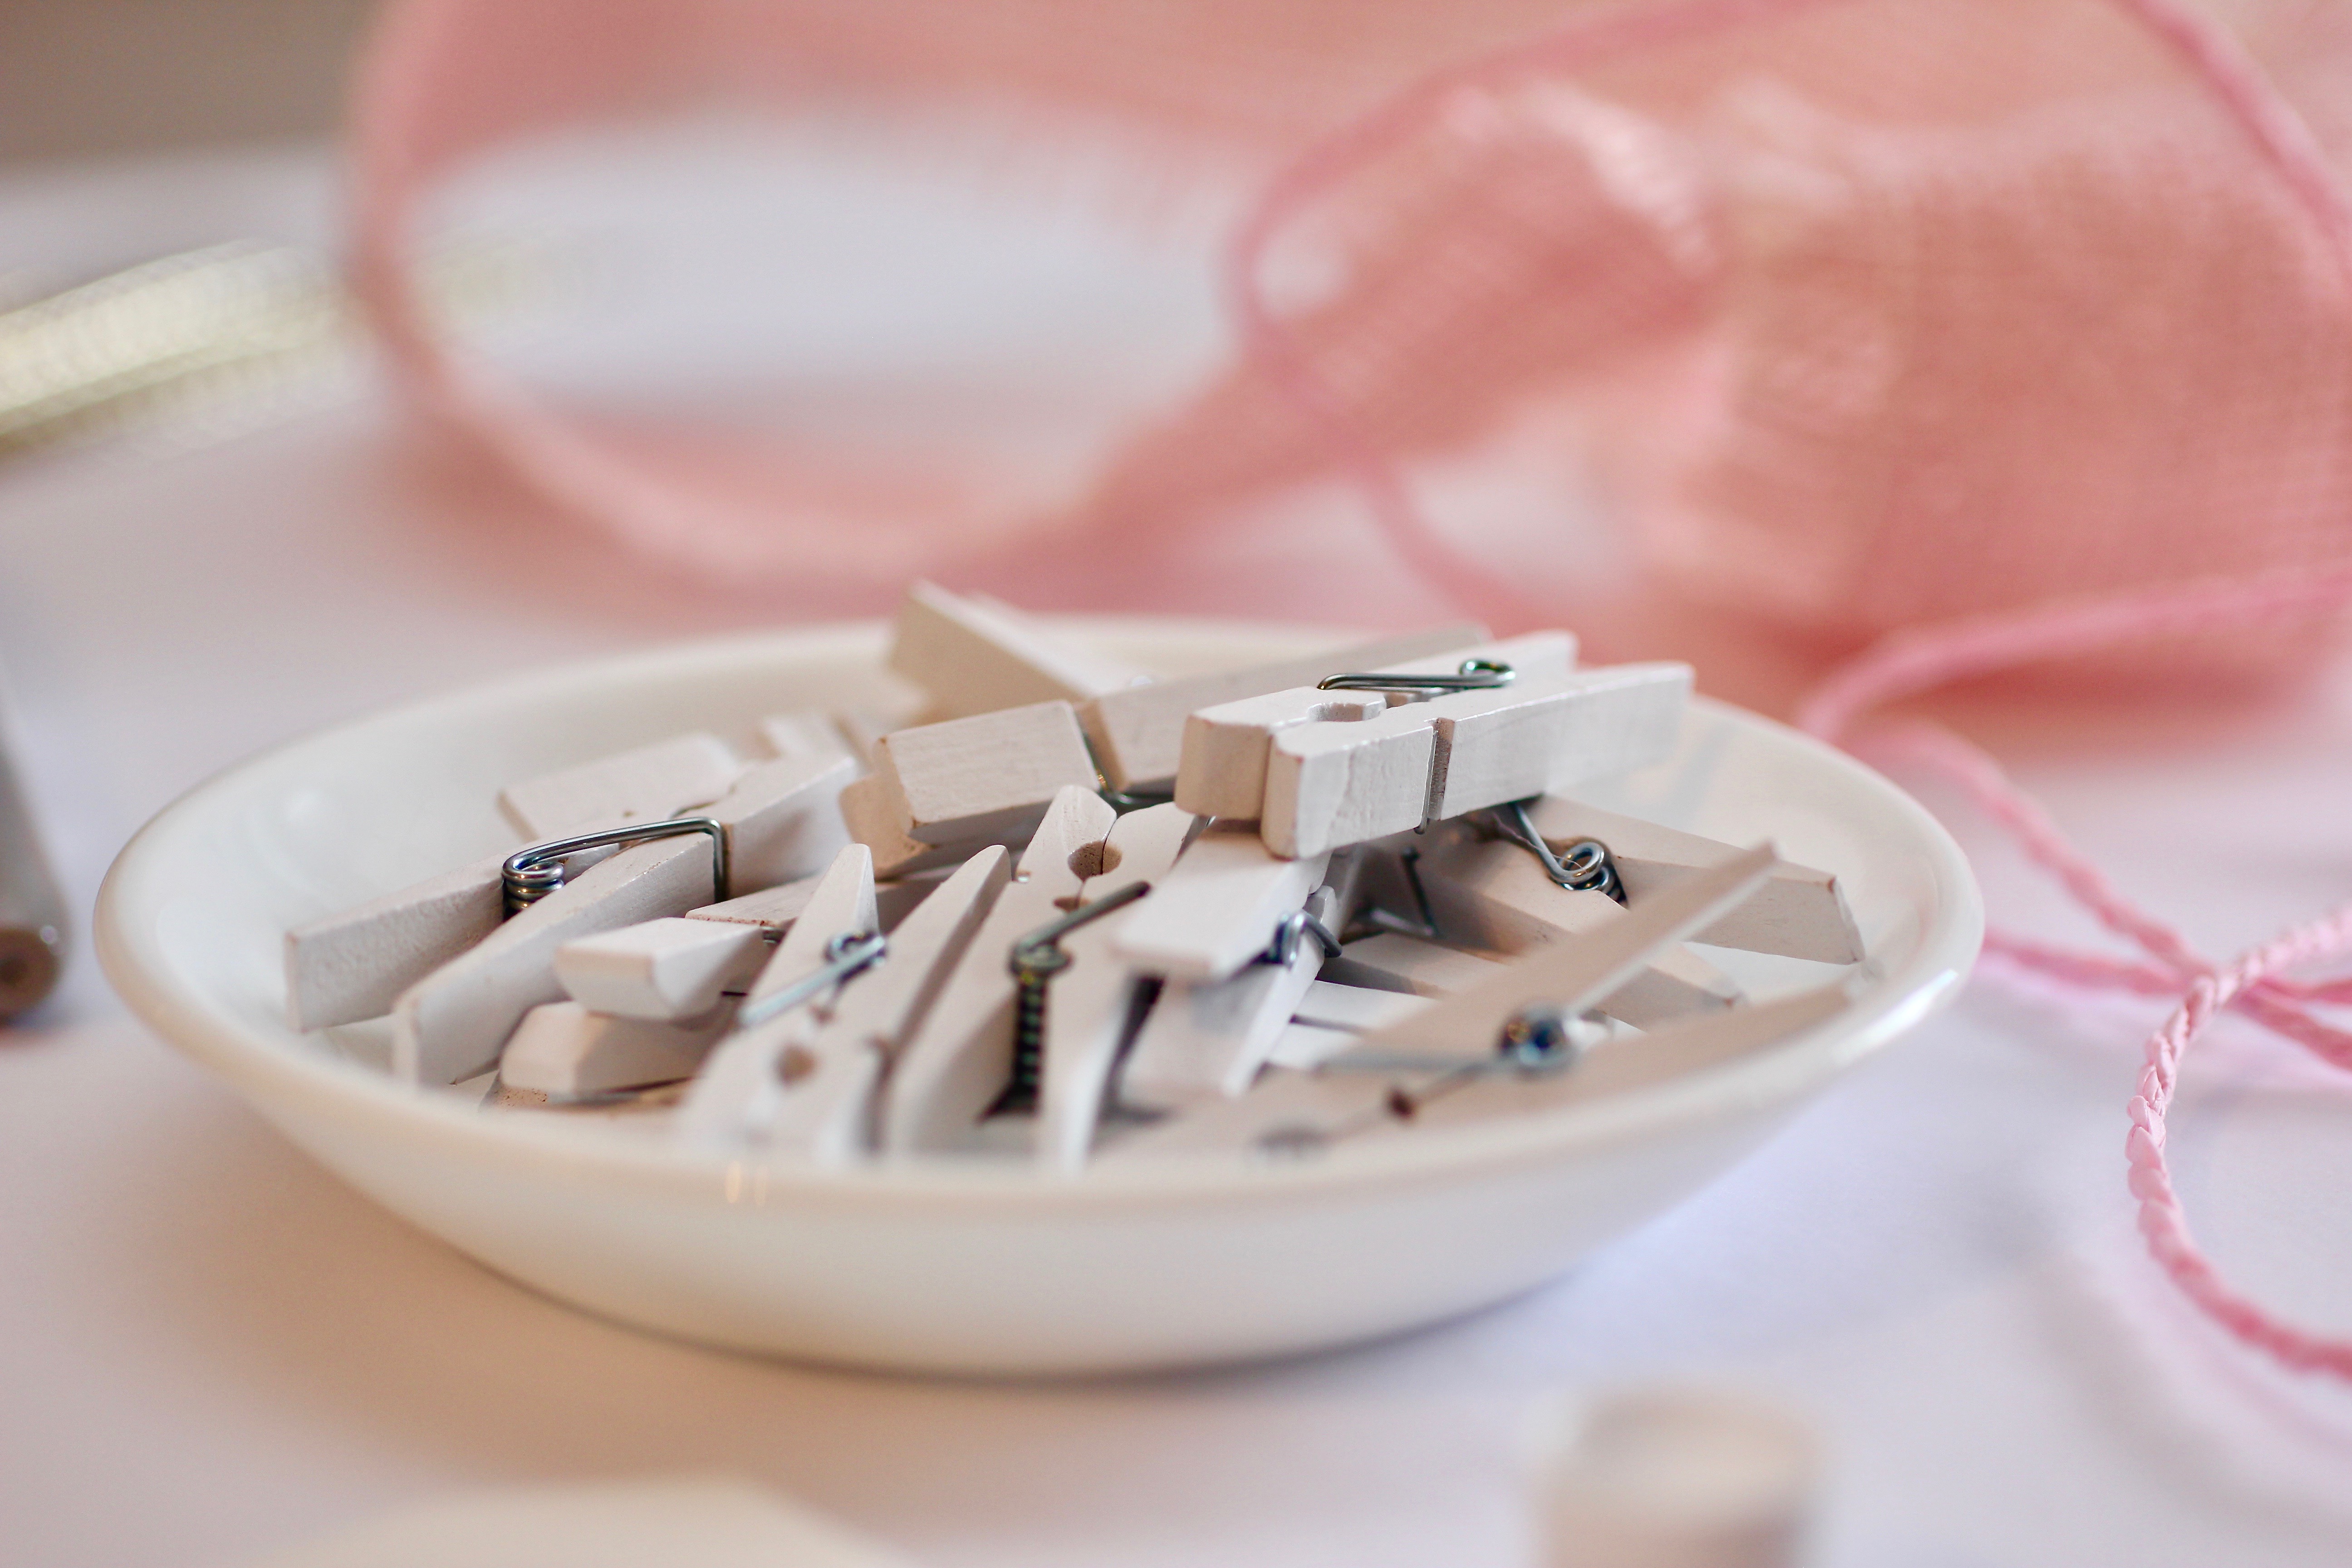
- Mini decorative clothespins
- Pink burlap ribbon or paper rope
- White gift tags
- Bling stickers
- Gold Sharpie
- Tape
- Scissors
- Measuring tape
- Plastic wrap
- Two pieces of paper towel
- An elastic
- Drop sheet (for protecting your work surface)
 Directions:
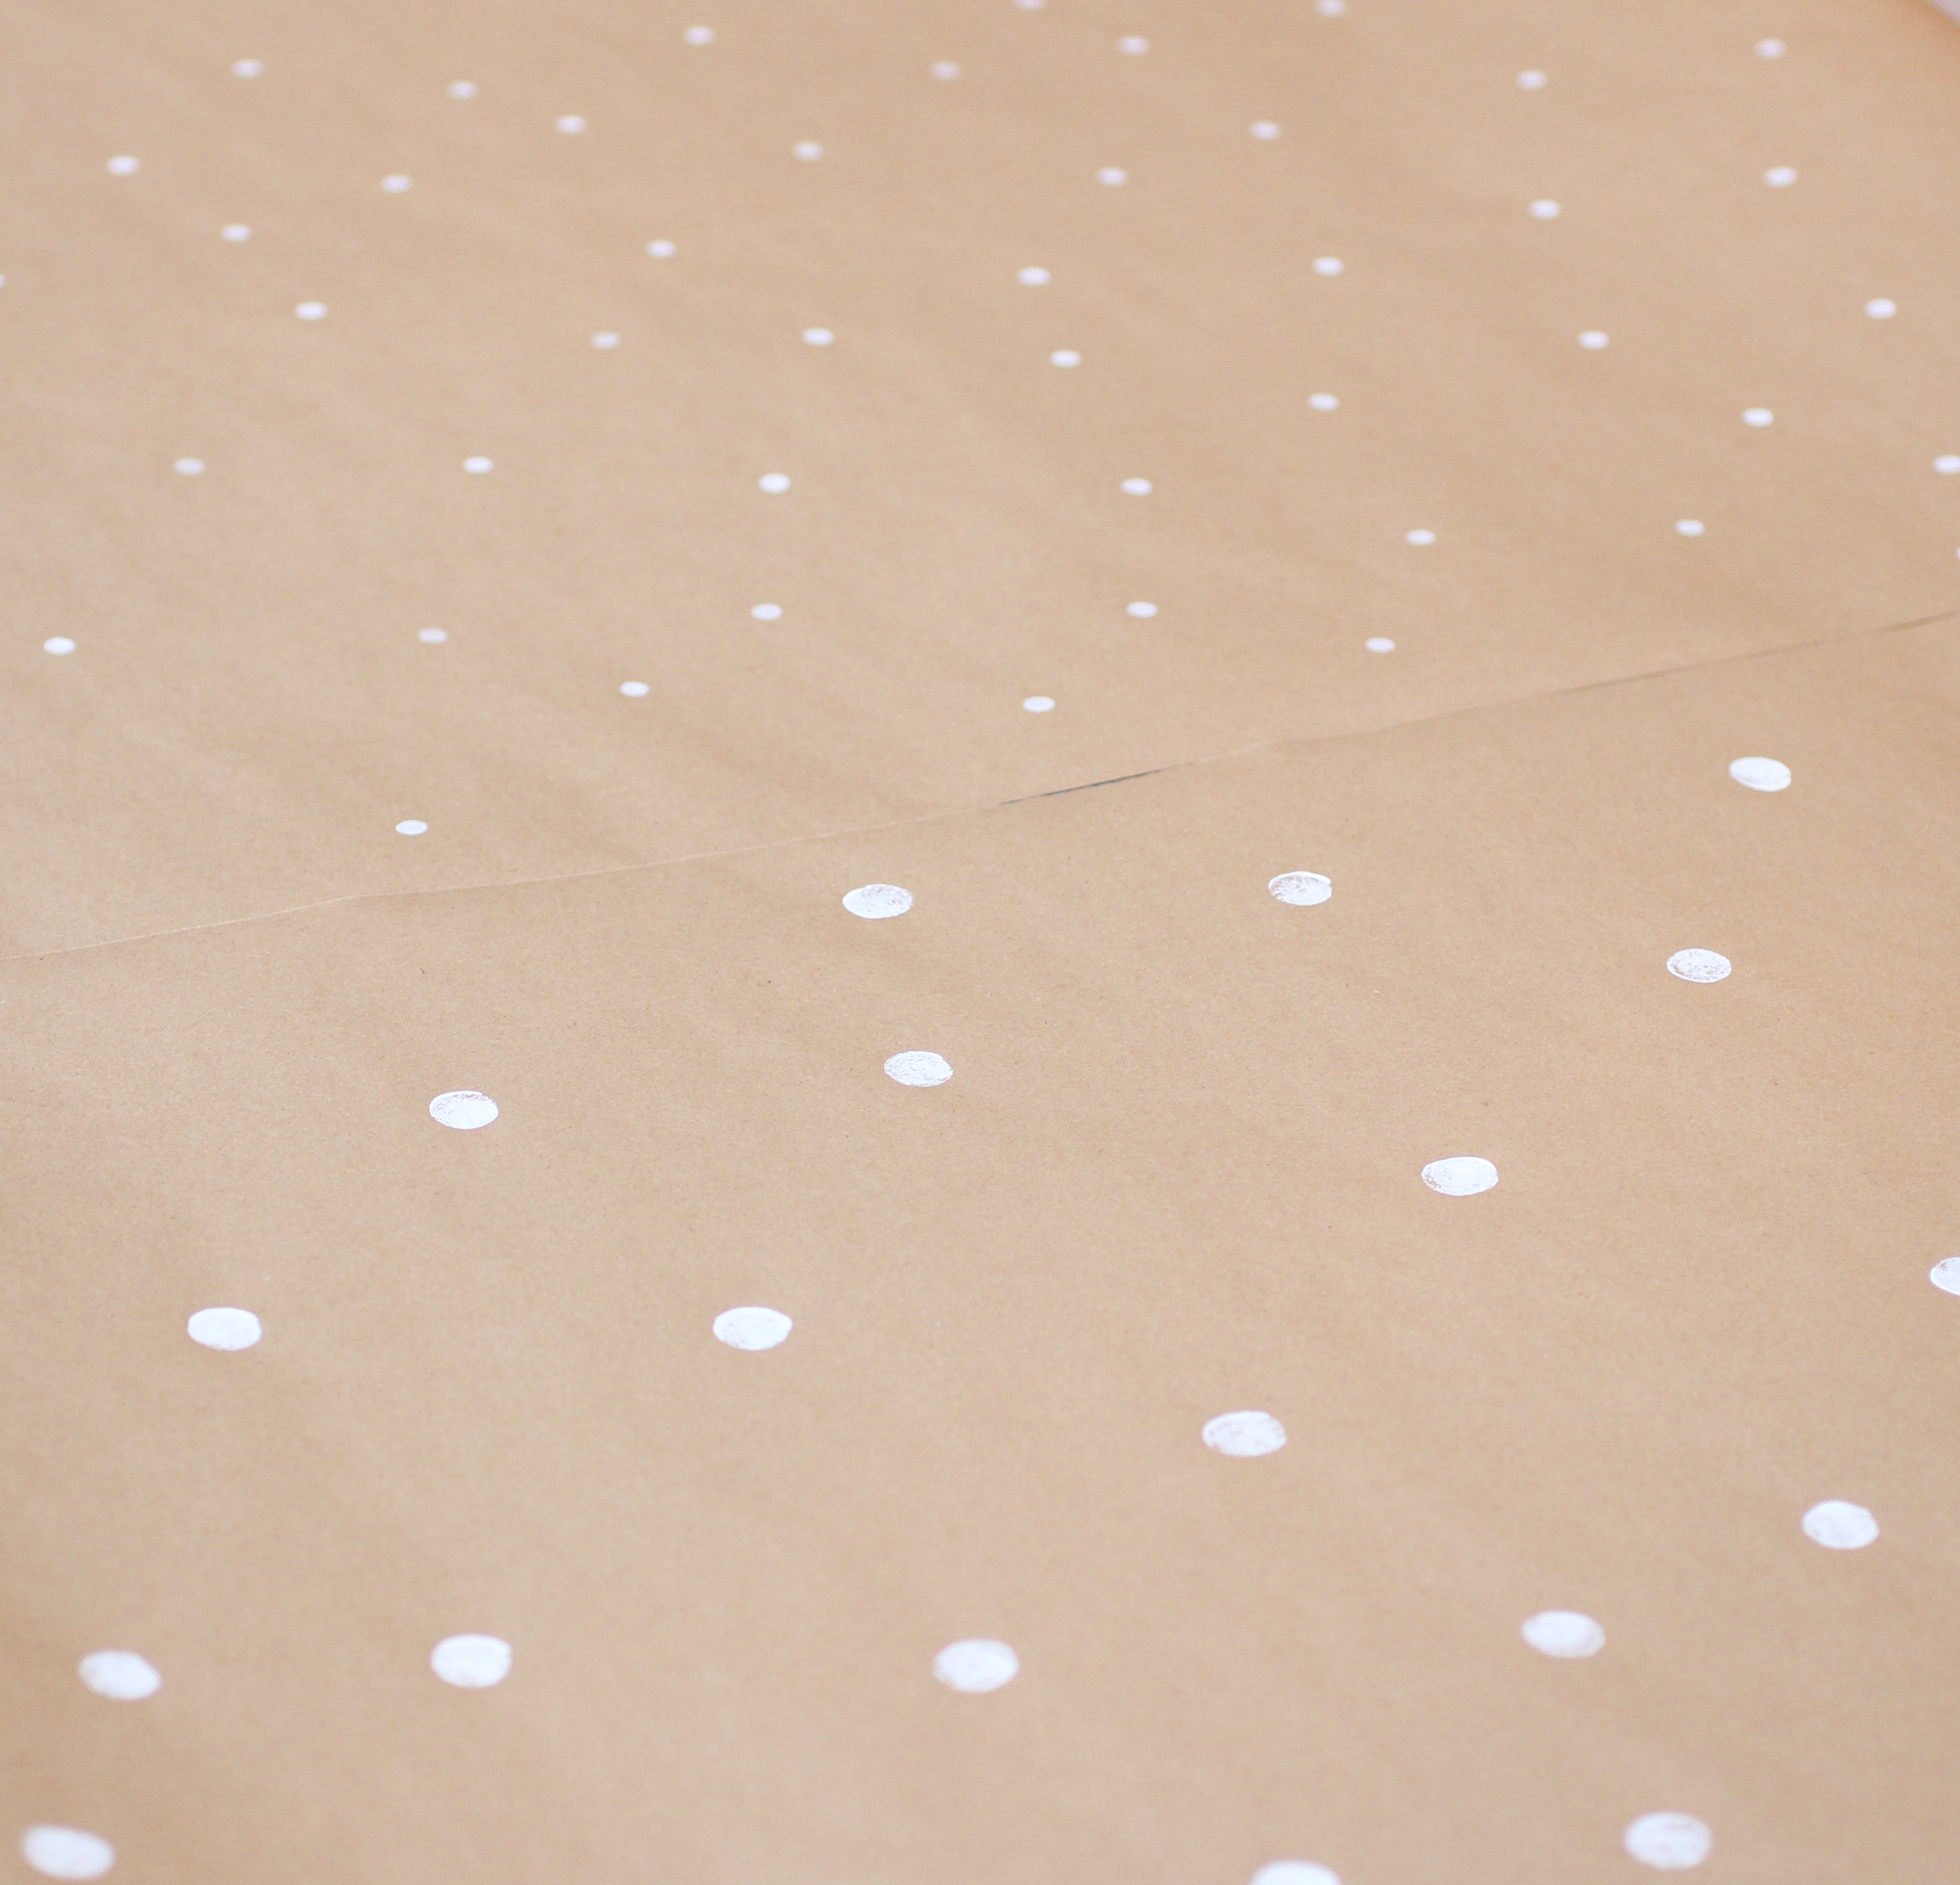
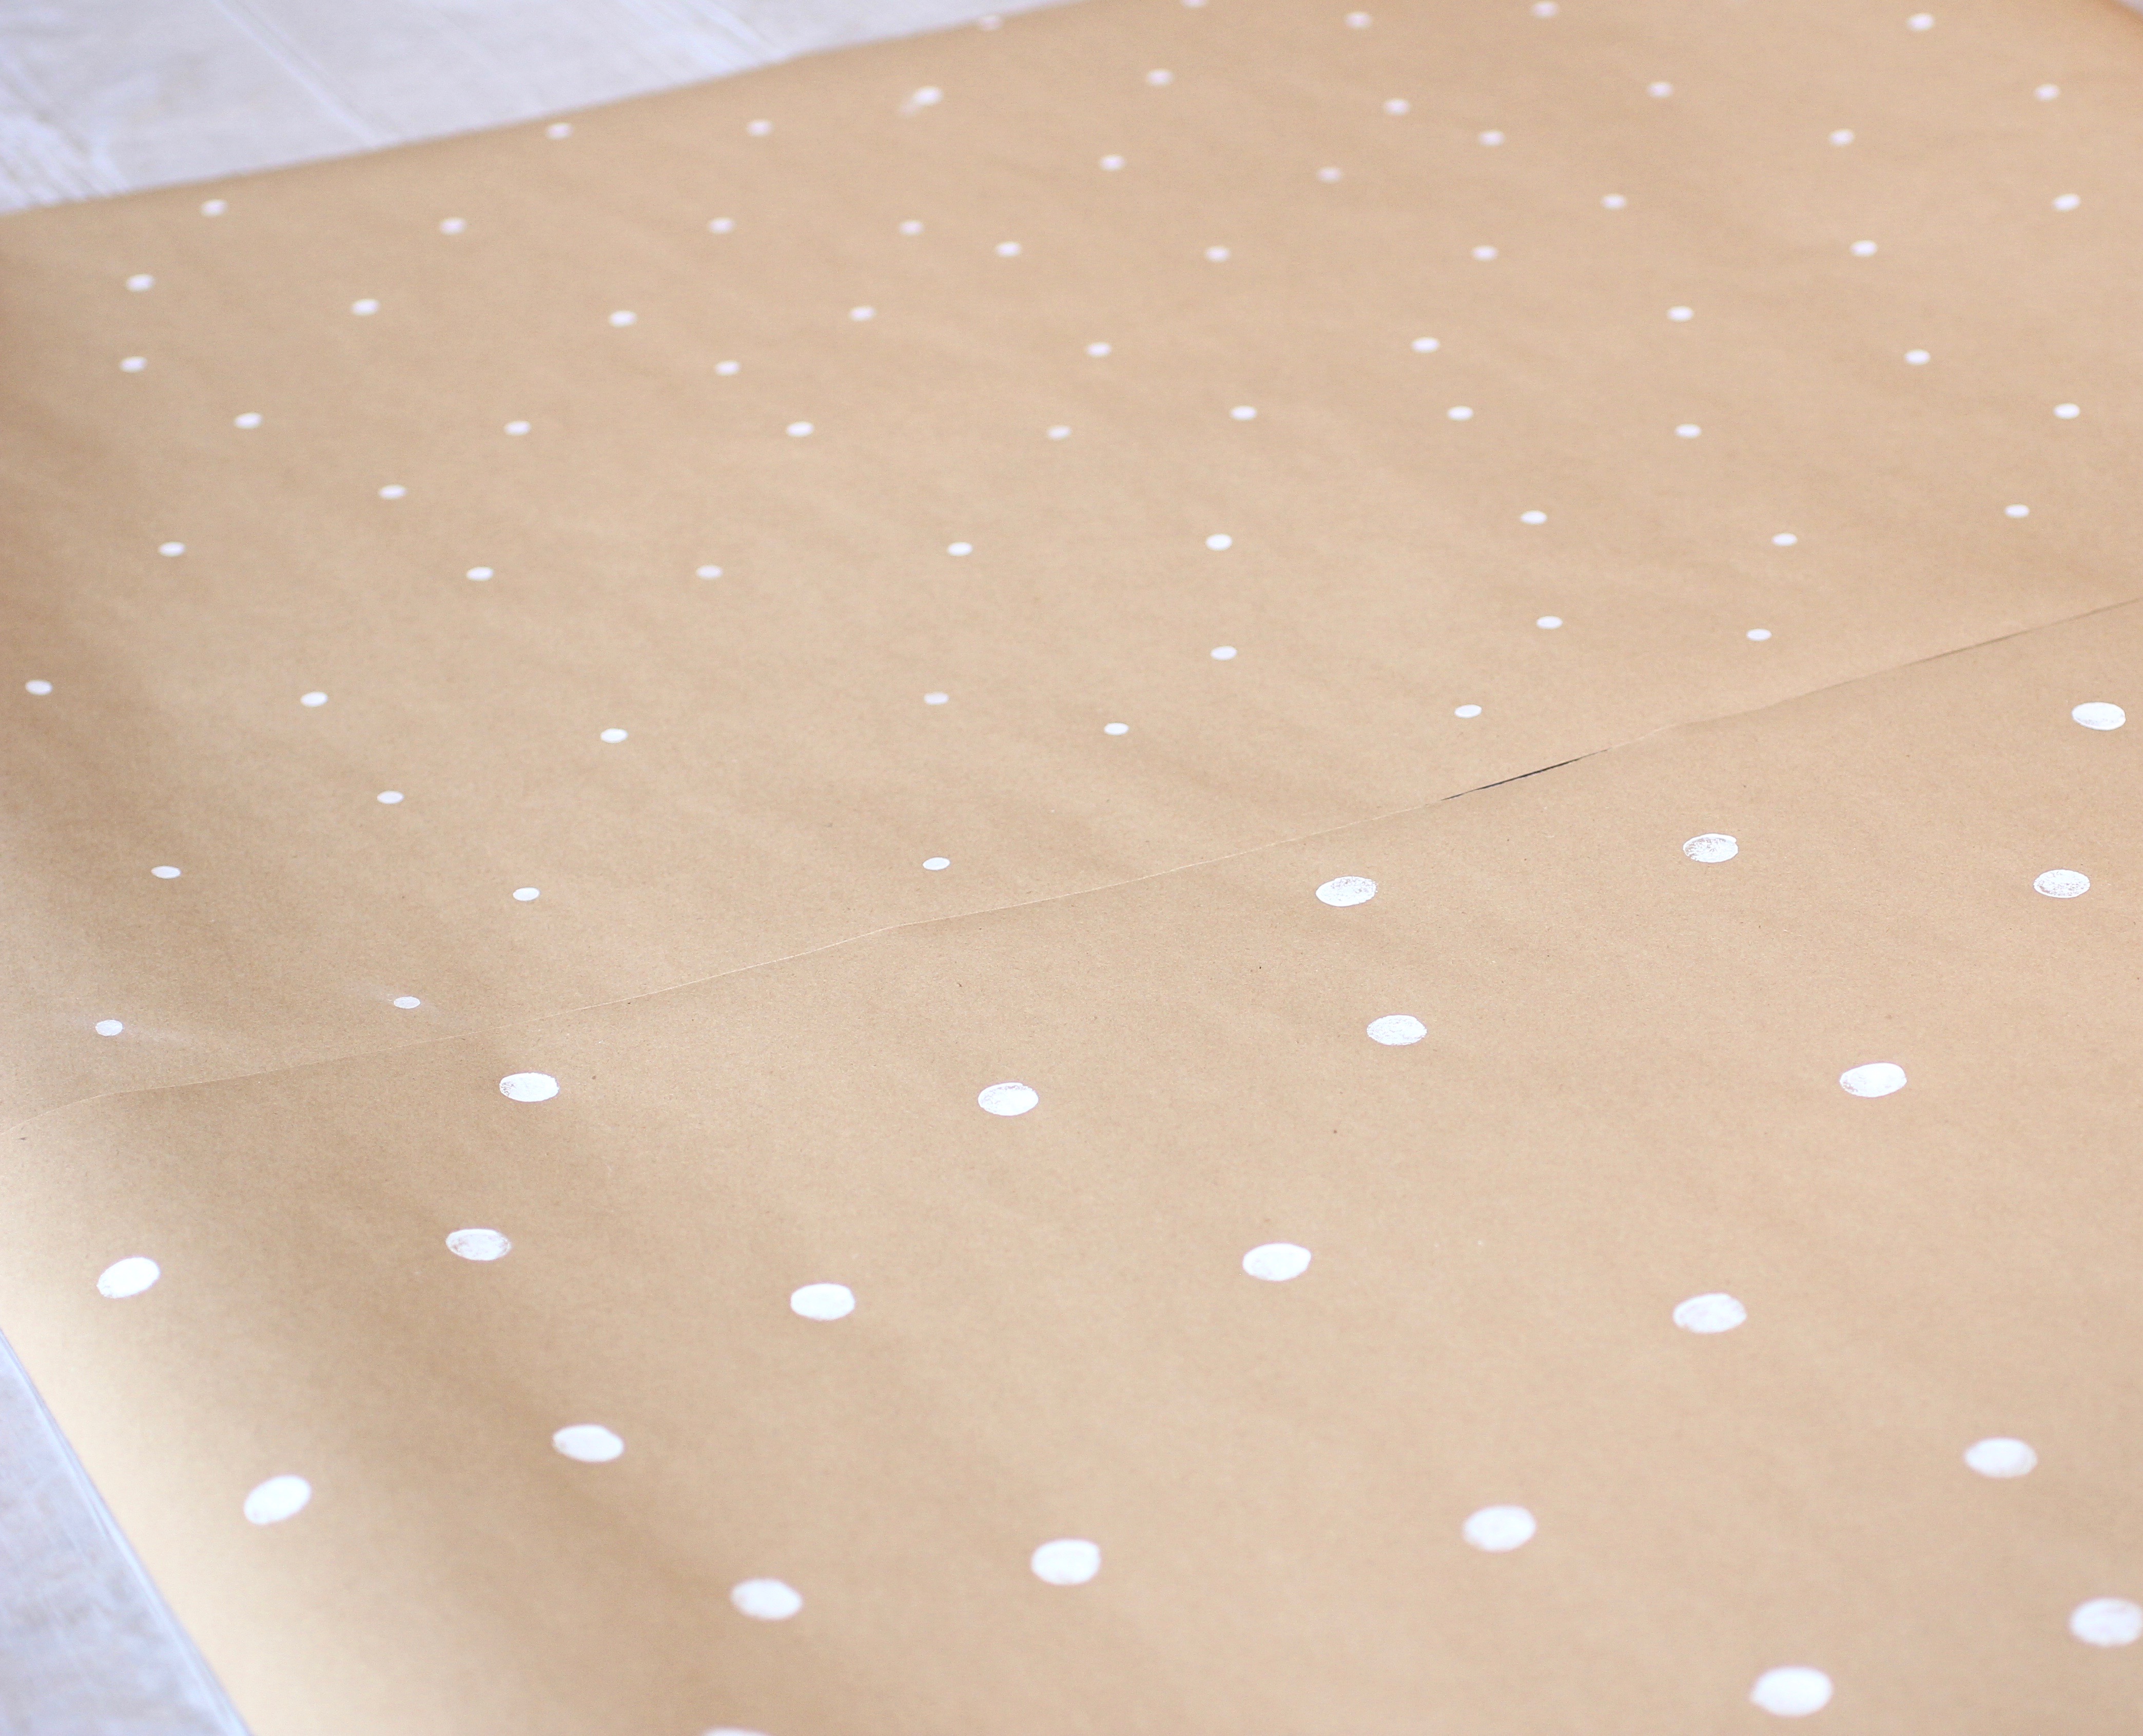
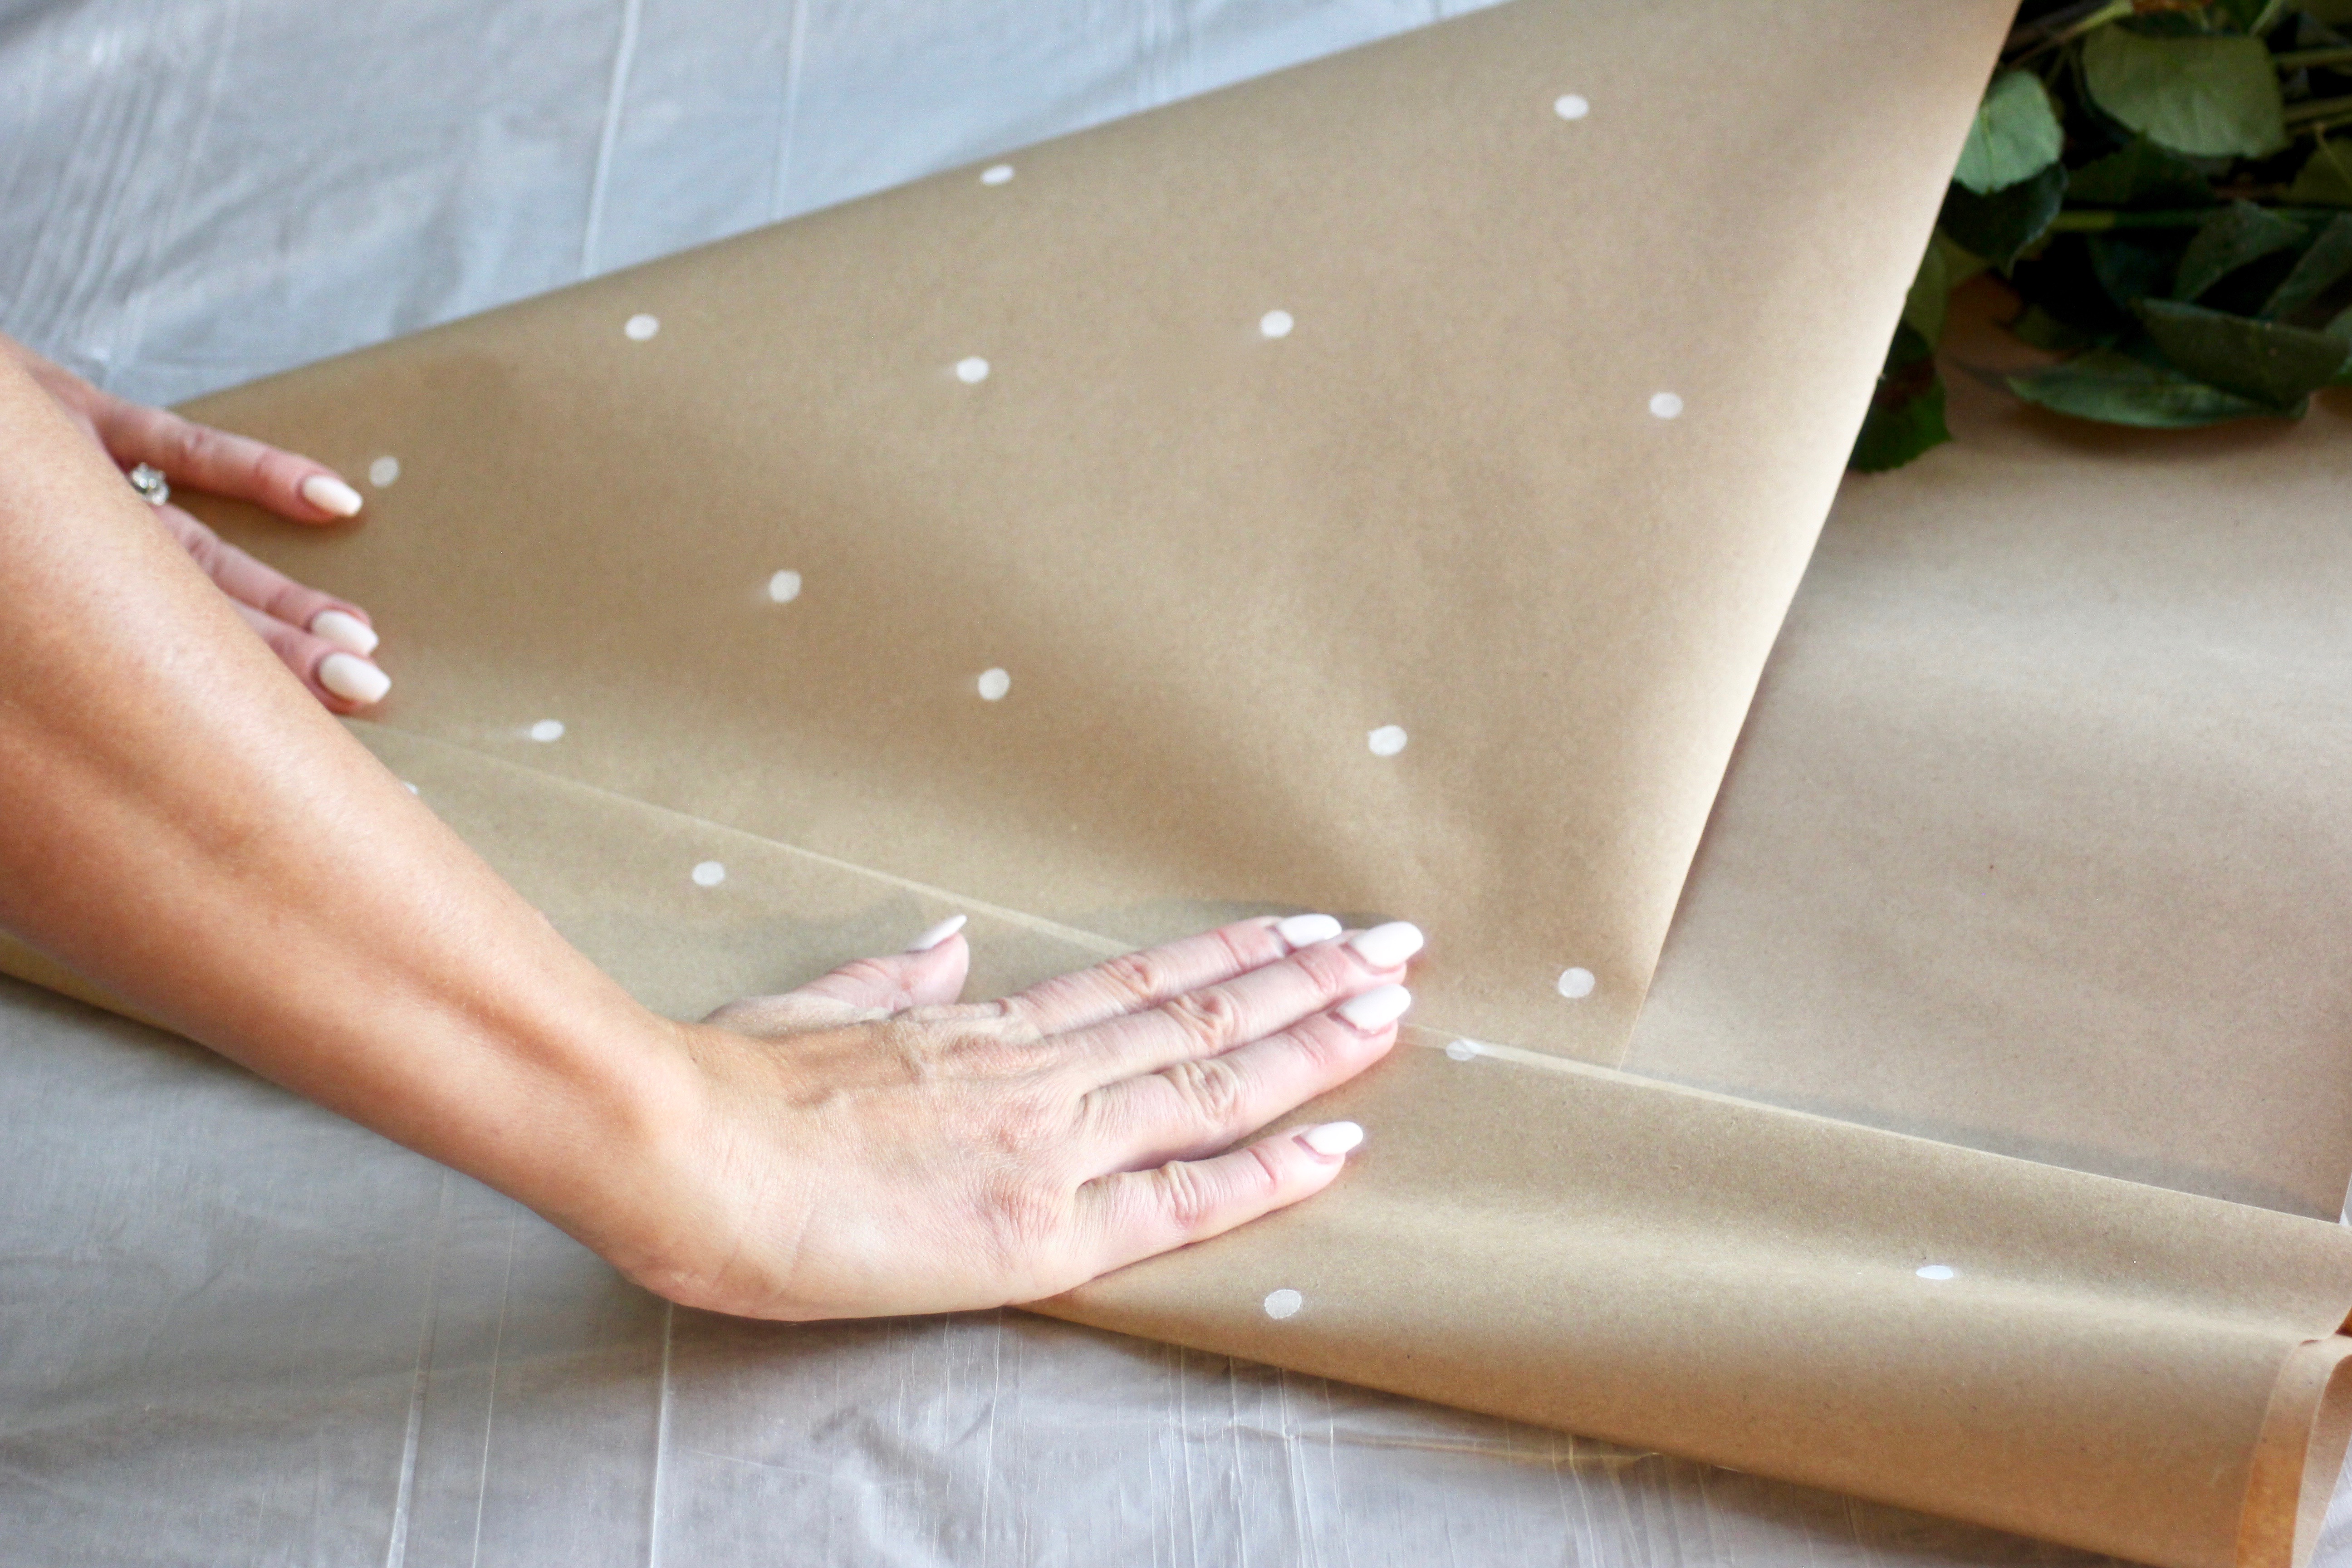
First, cut your craft paper in a rectangular shape. Mine was two ft by almost three ft (24 inches by 33.5 inches to be exact). Lay out your drop sheet and then your paper on a big surface, like a dining room table.
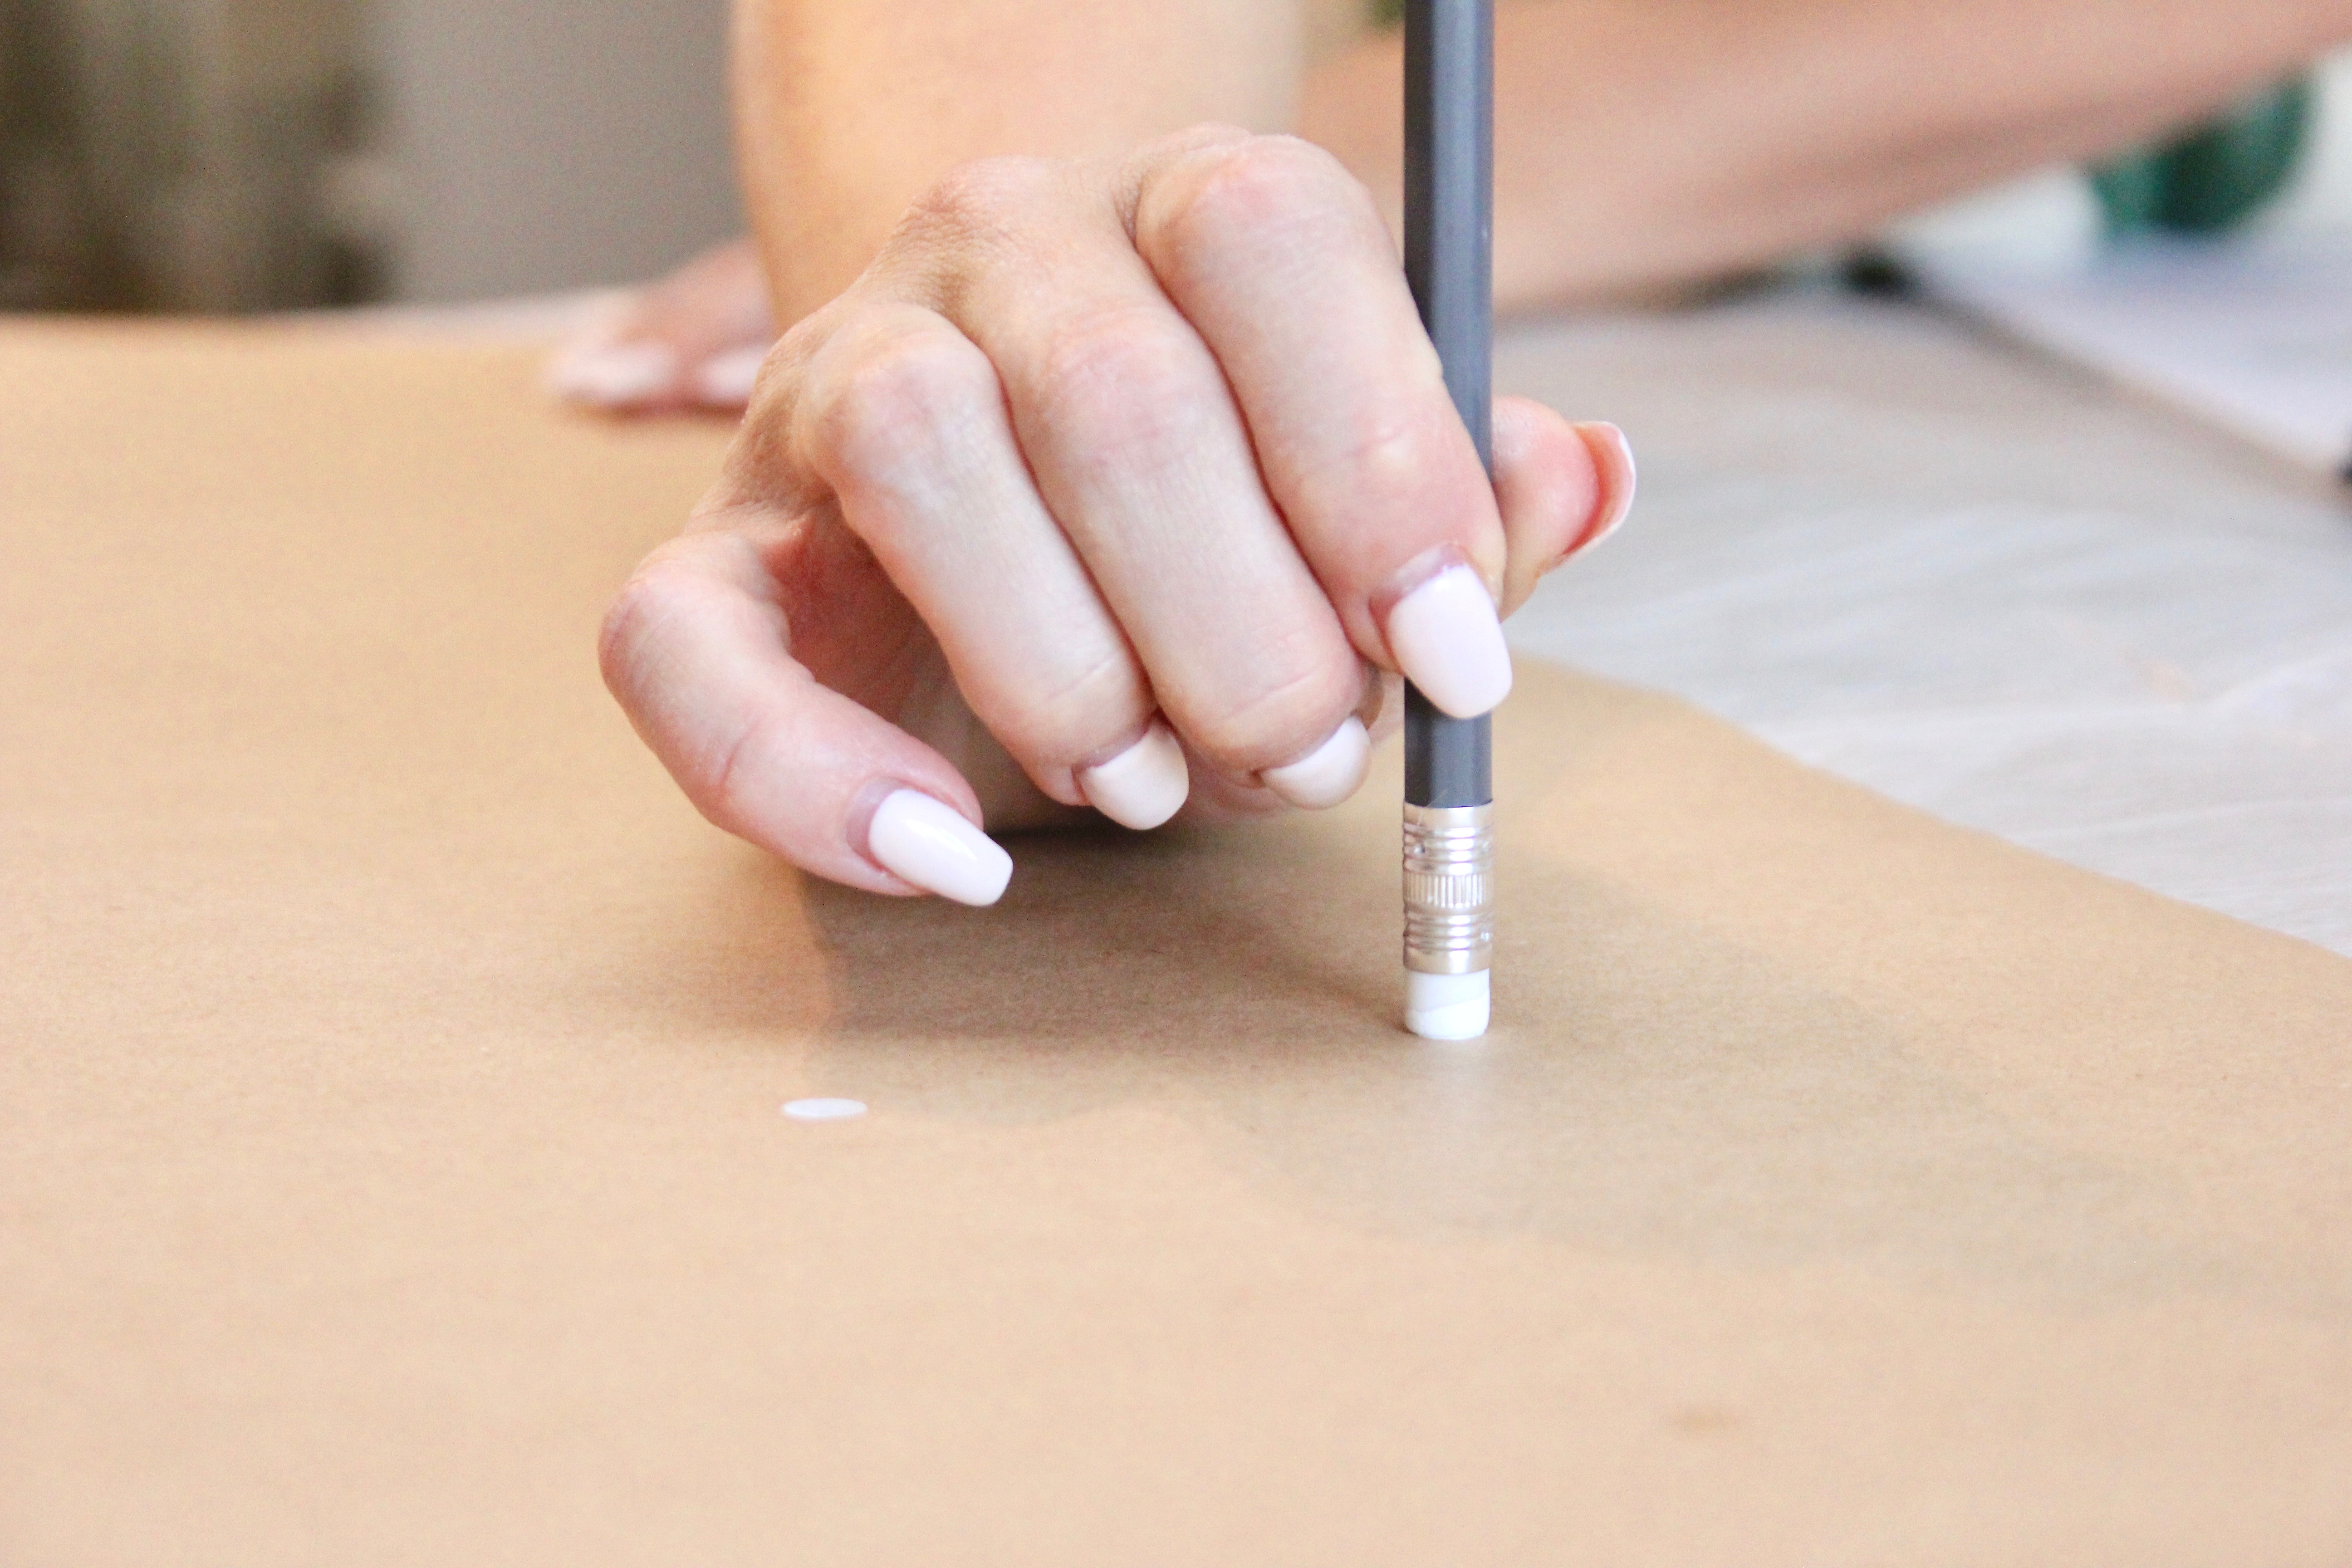
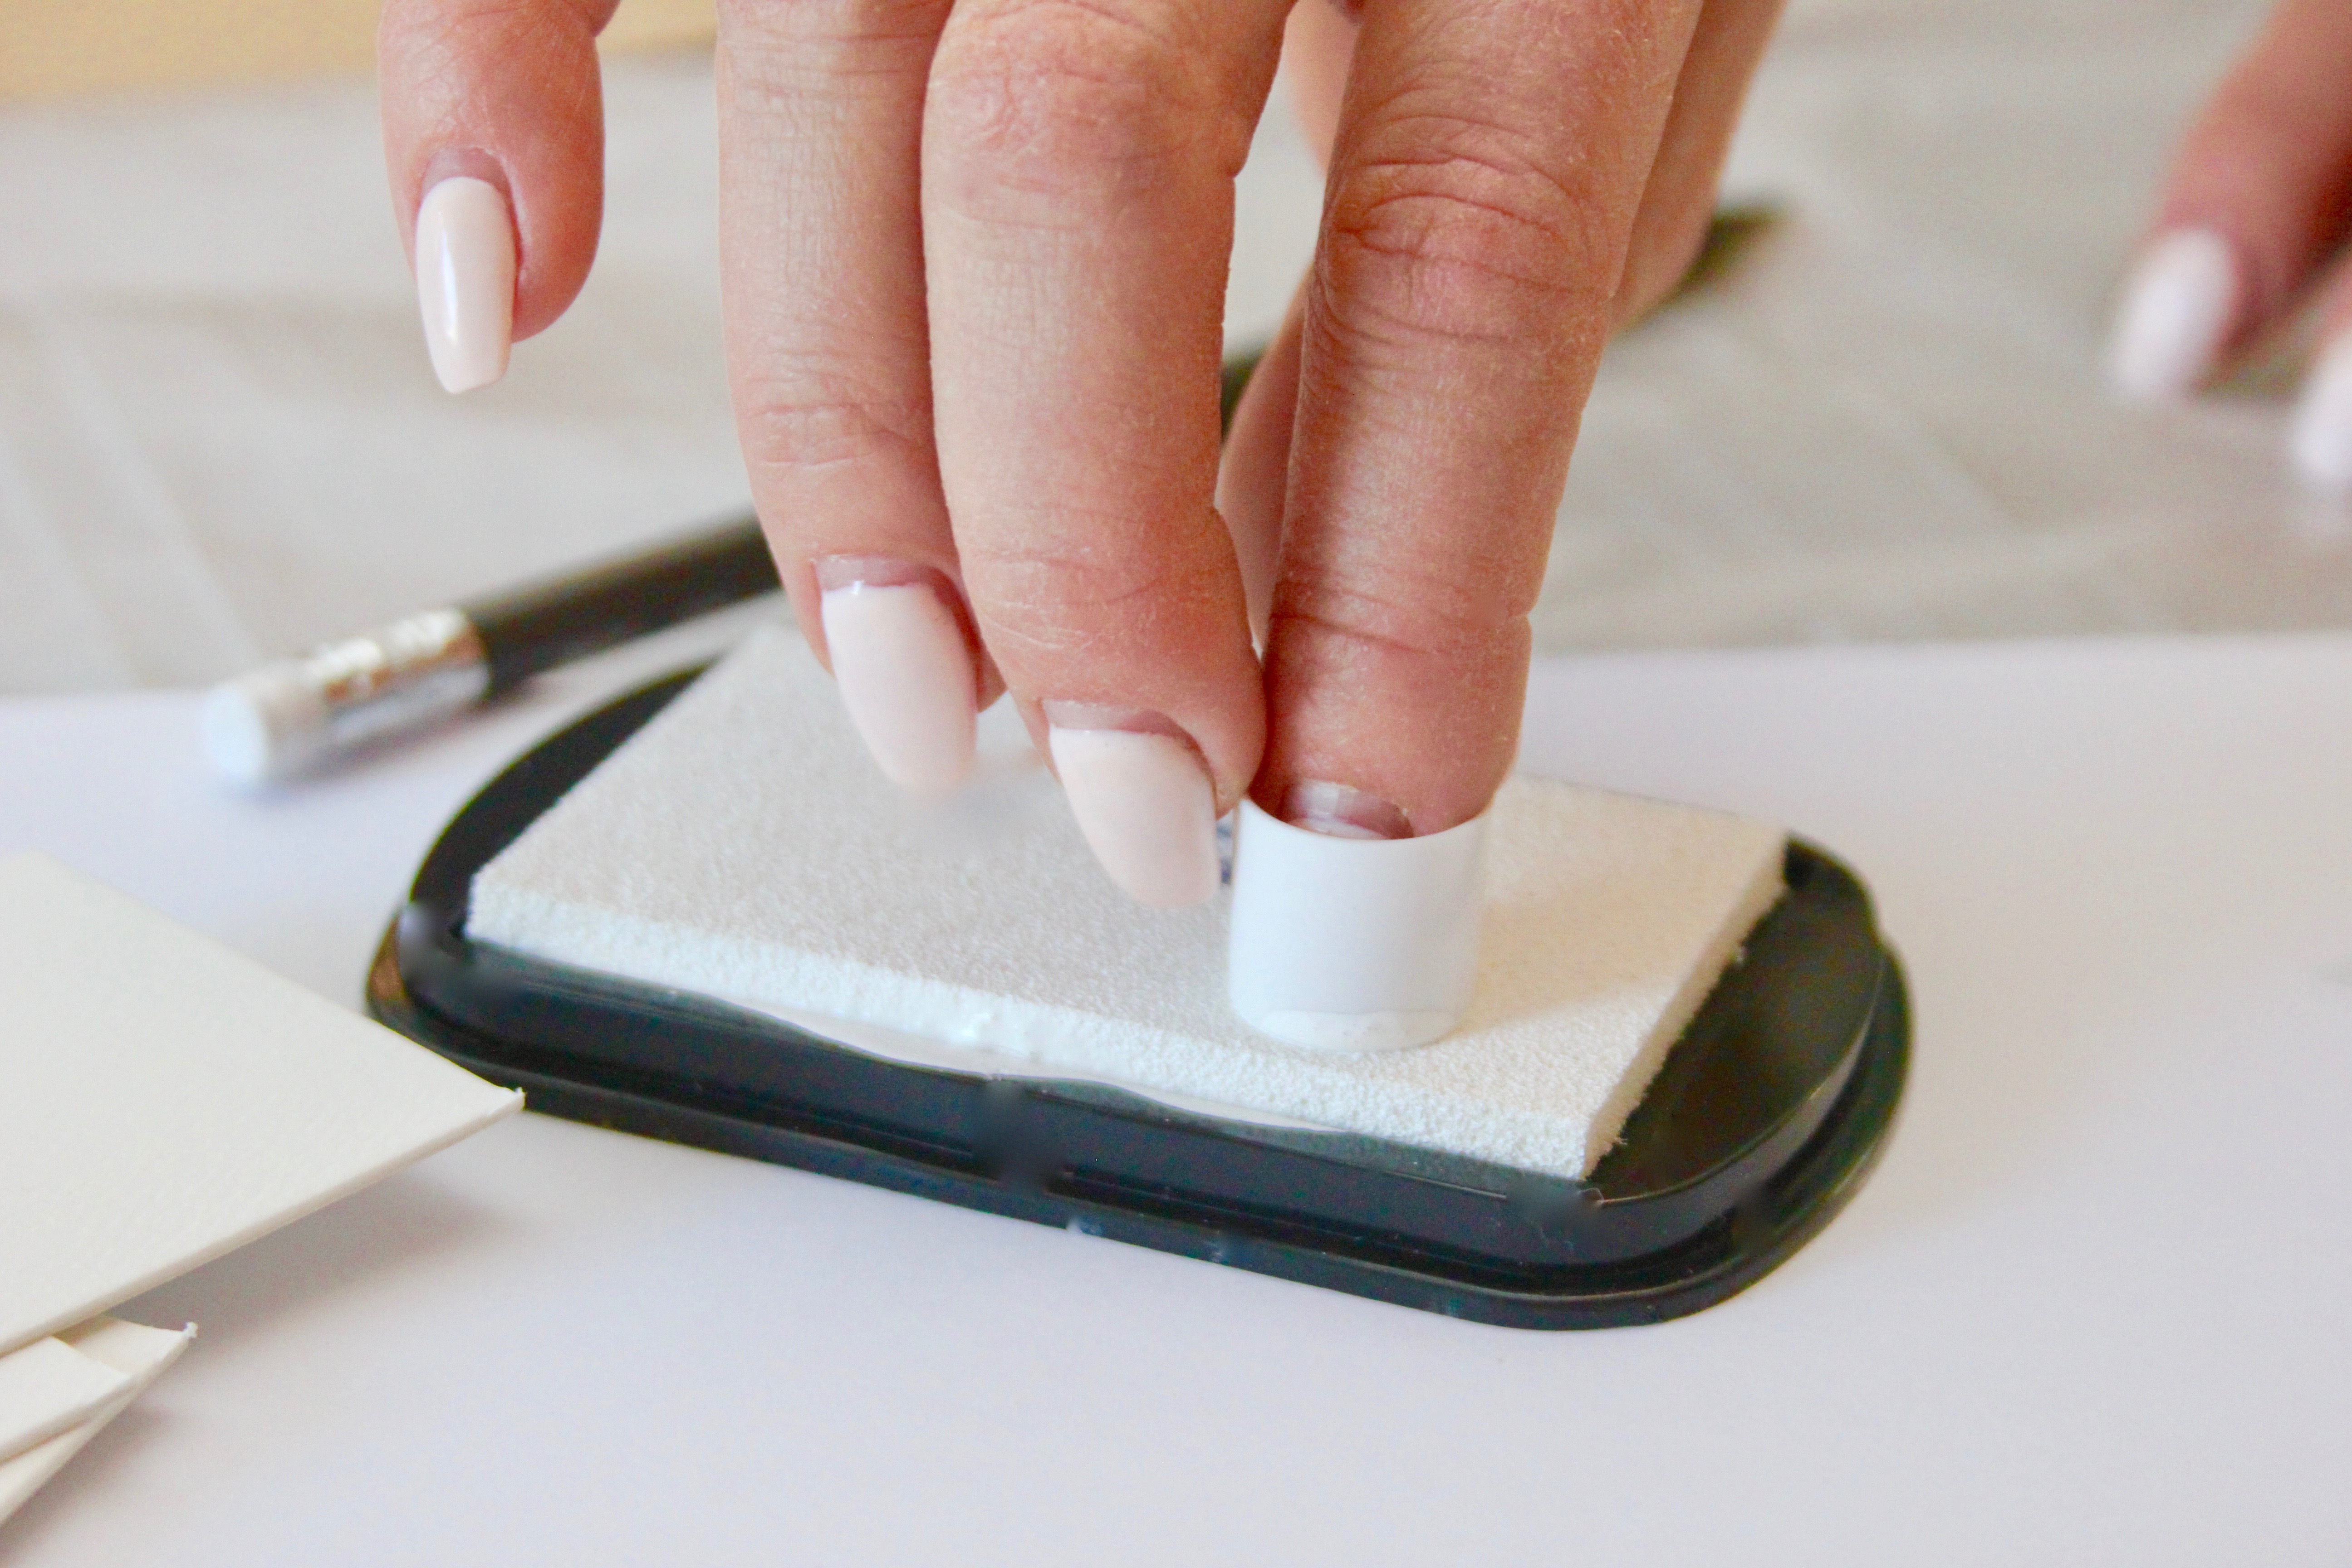
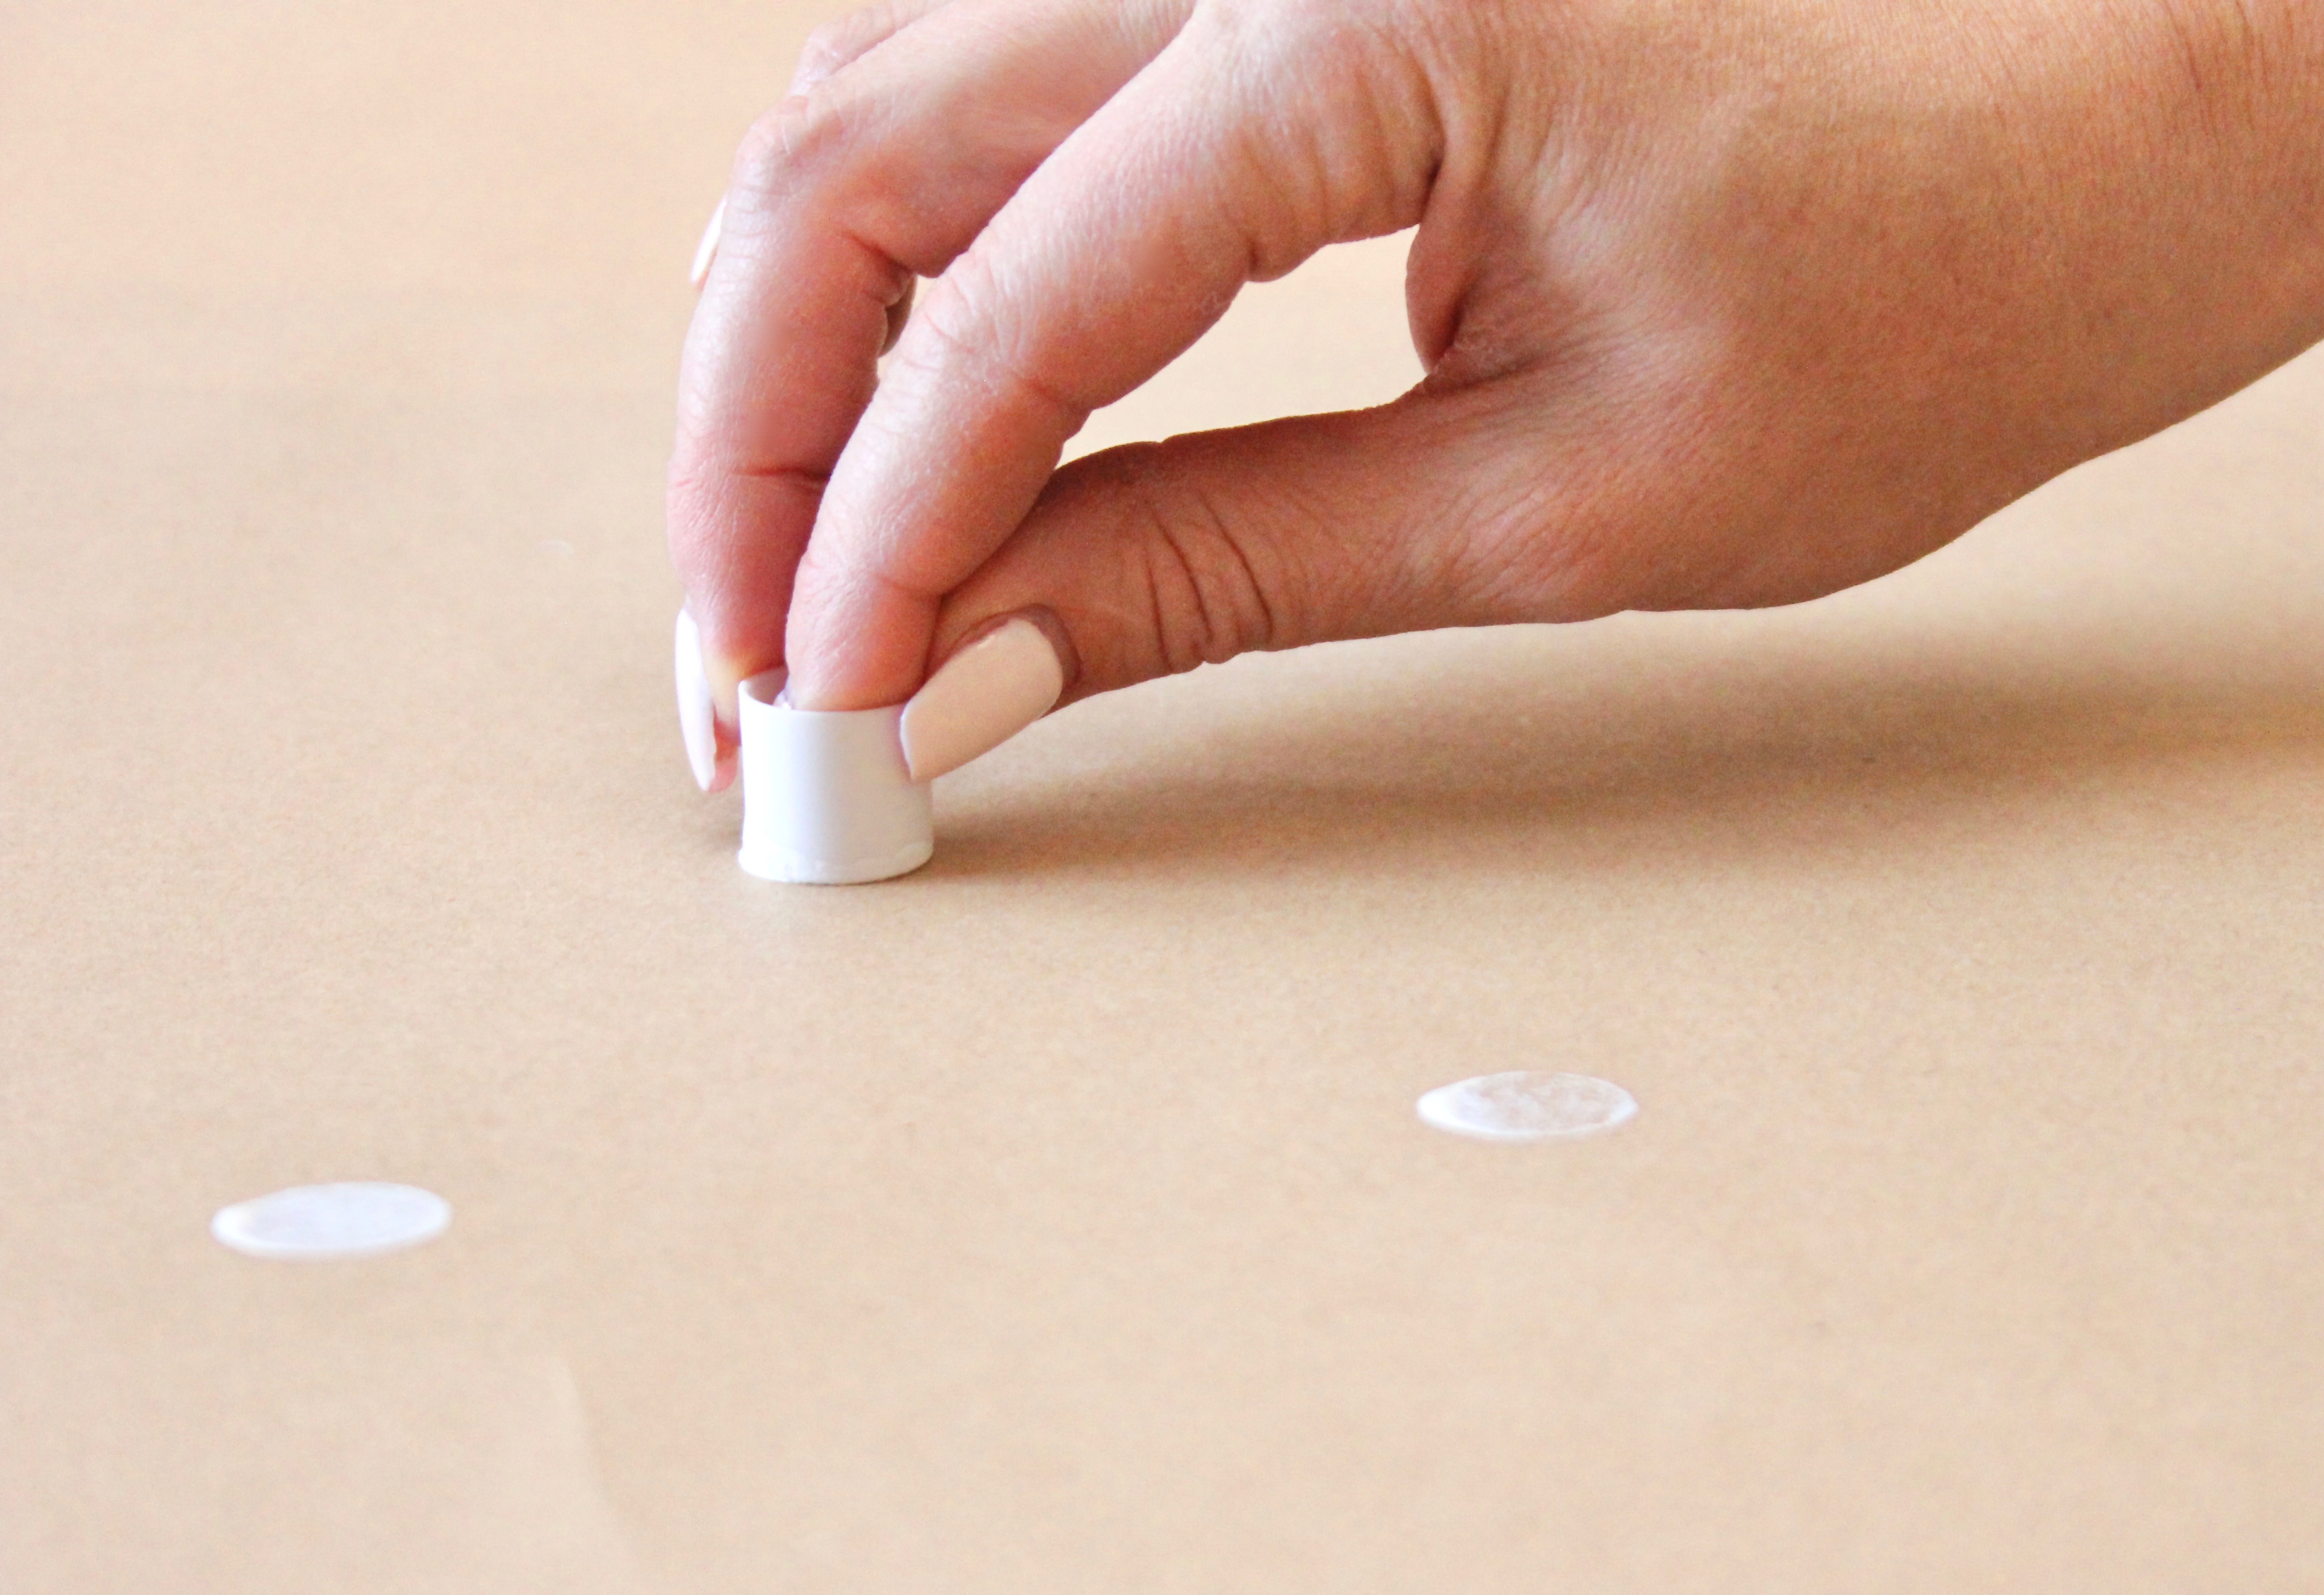
To create a smaller dot, dab your unused pencil eraser in your ink and dot your paper. For a bigger dot, use the lid of an old chapstick! I tested out many different circular items and this one made the best dot. If you don’t have an old chapstick laying around you can pick one up at The Dollar Store.
Start by spacing out your dots quite far from each other and then fill in. The first one I did, the dots were too close together and it looked chaotic. Try not to overthink it.
Let your ink dry. I left mine for a few hours. I made a few attempts at 20 minutes, then 40 minutes and the ink wasn’t totally ready. If you’re not in a rush, you may even want to leave it overnight.
Next Steps
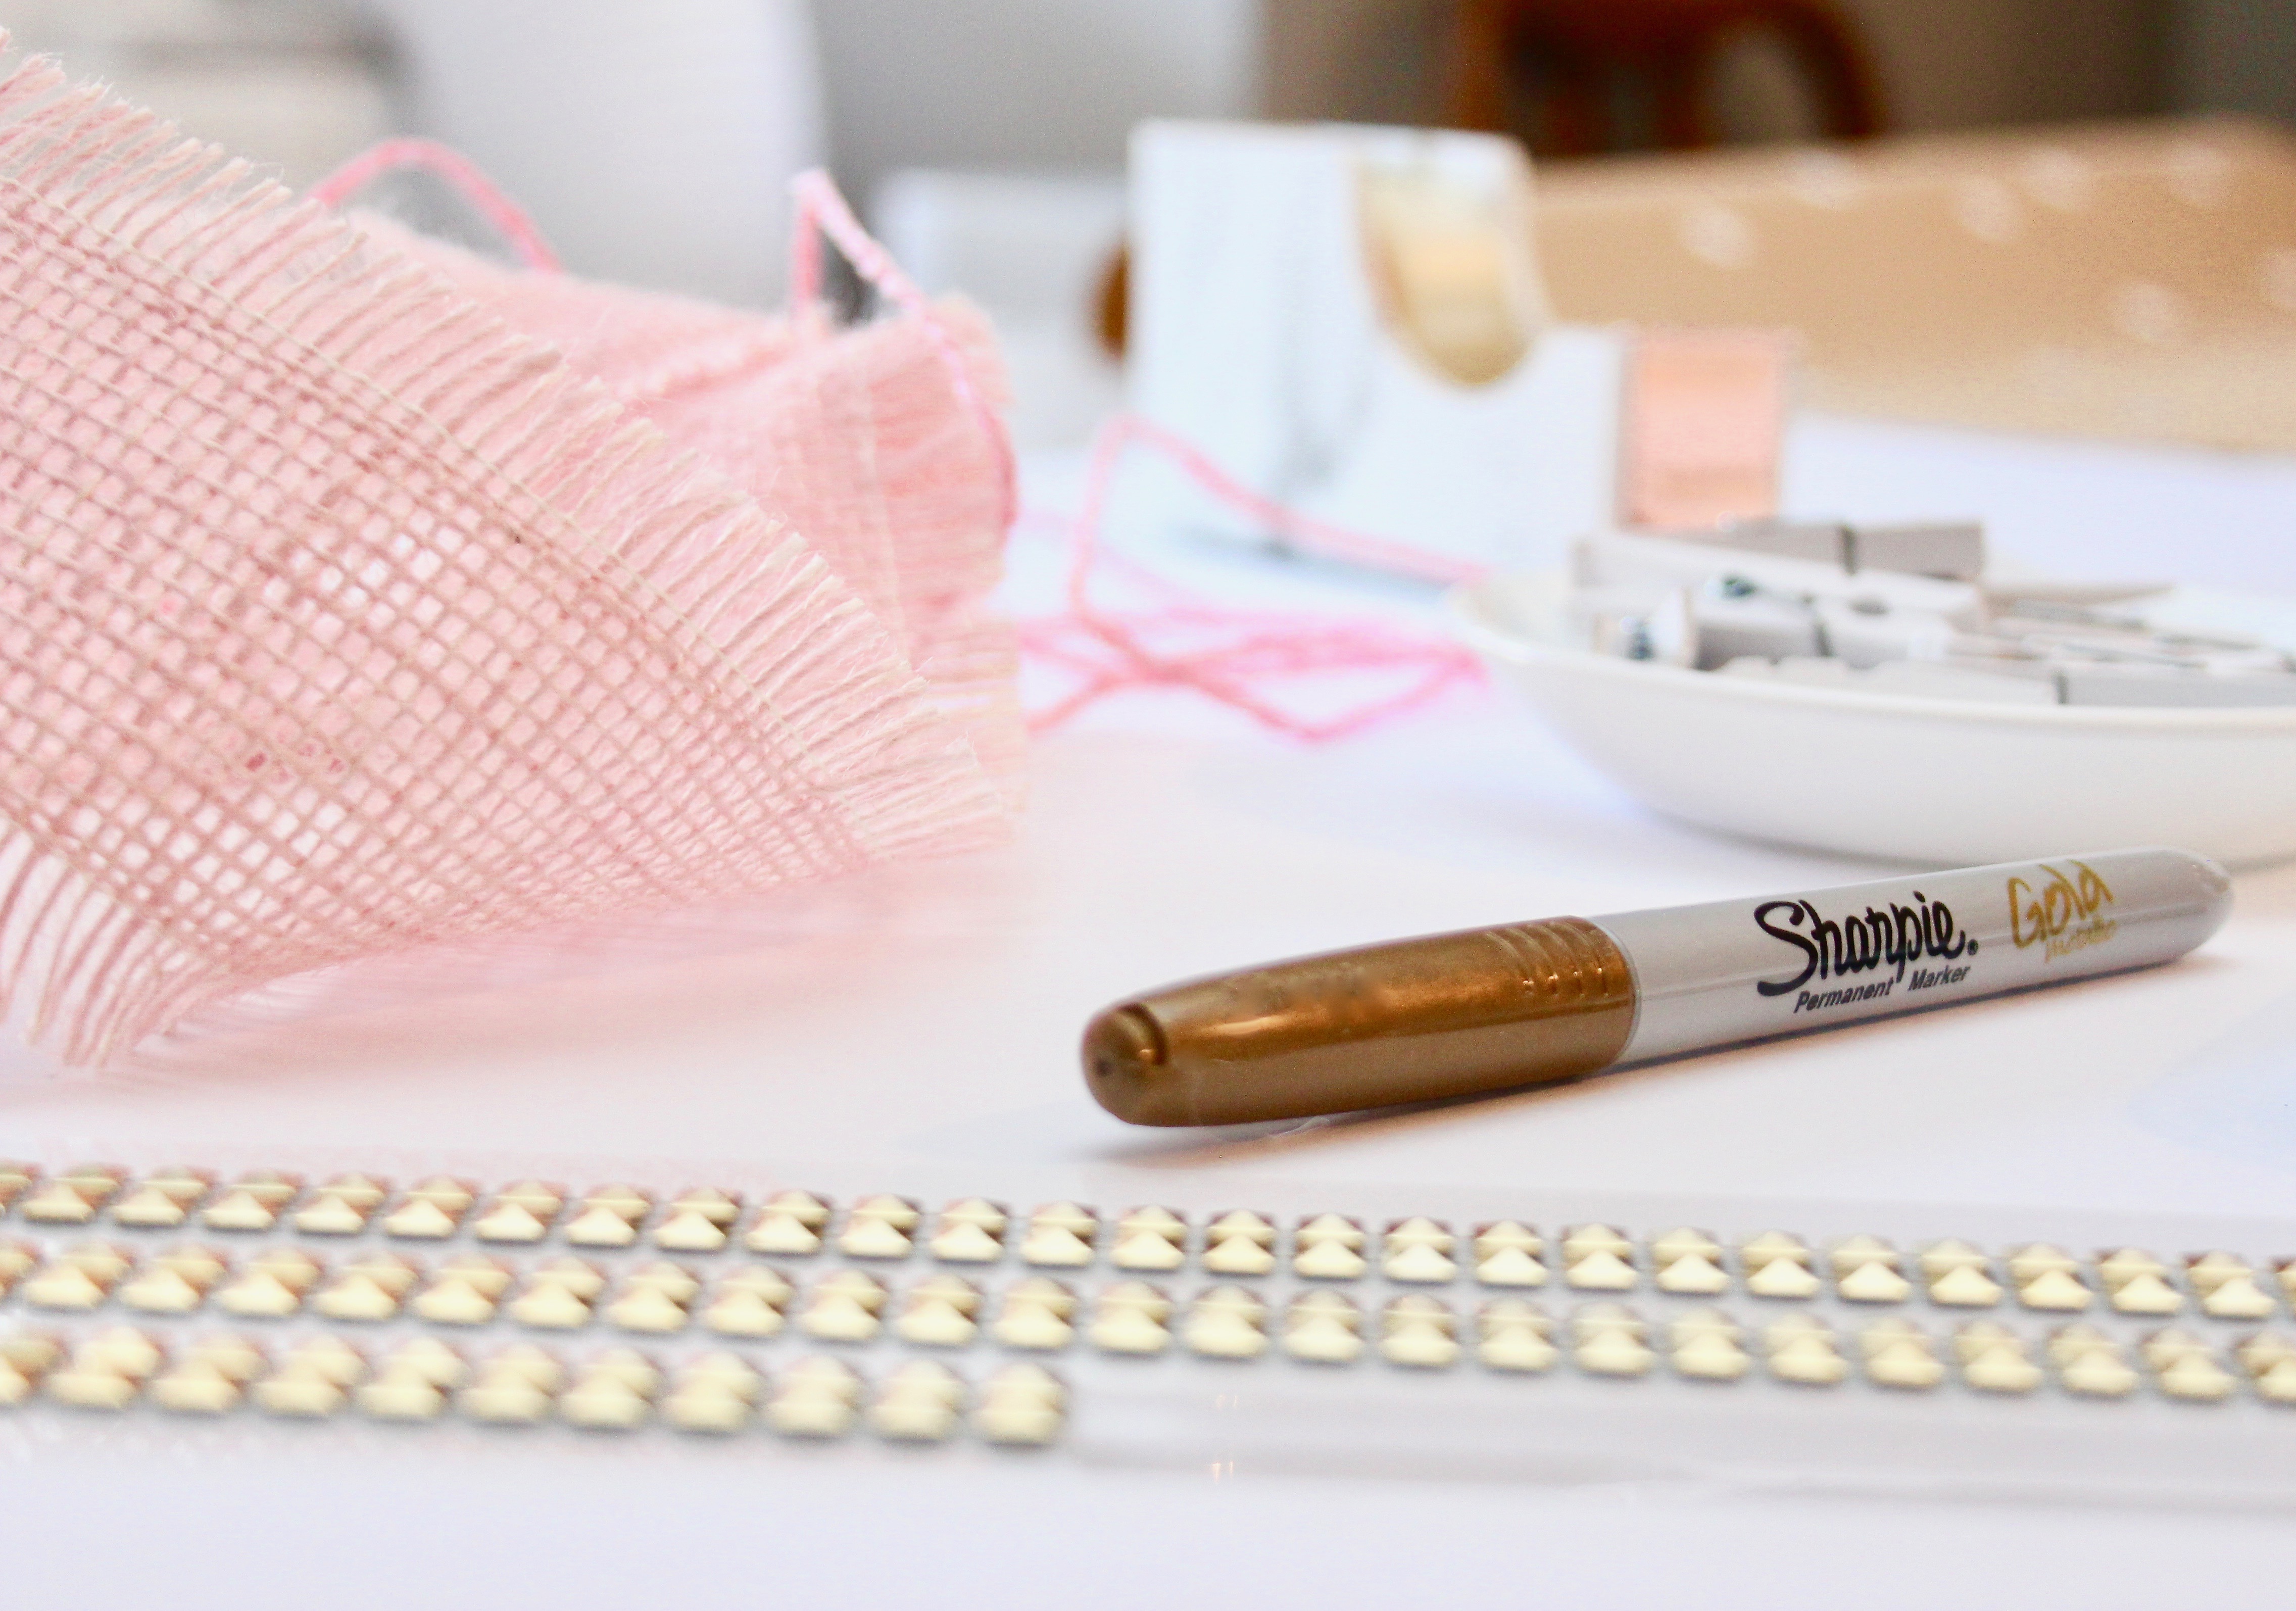
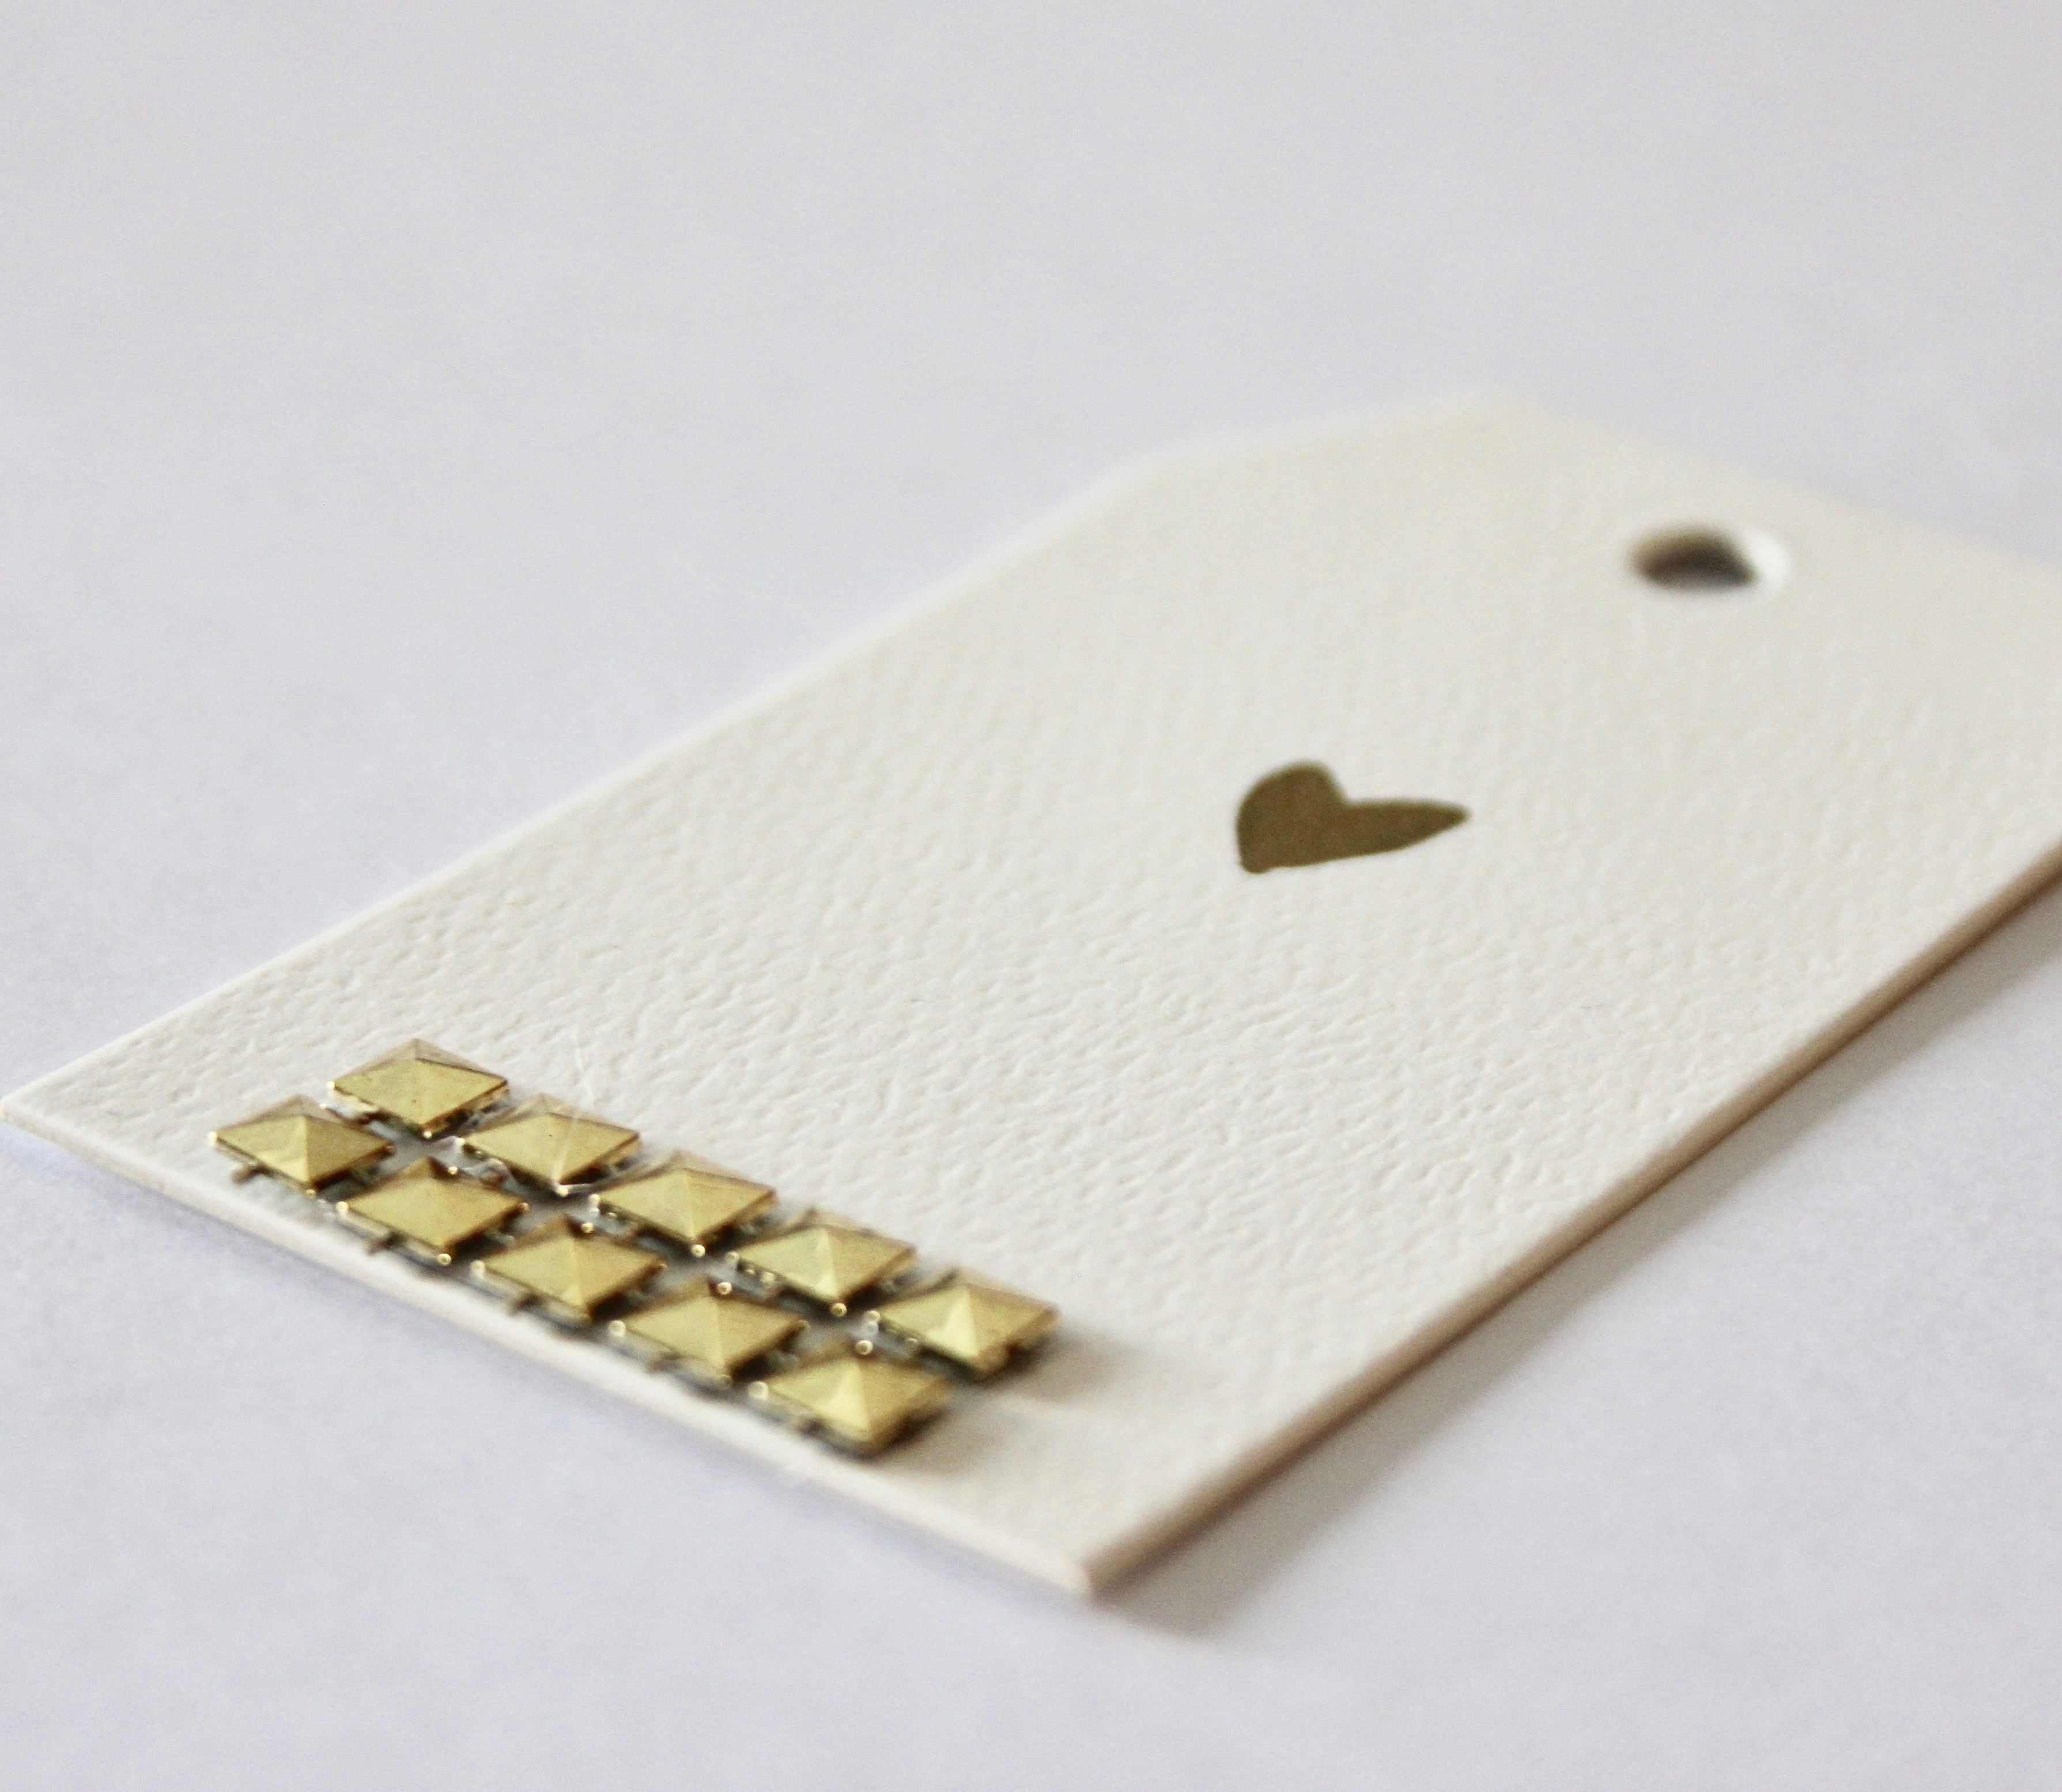
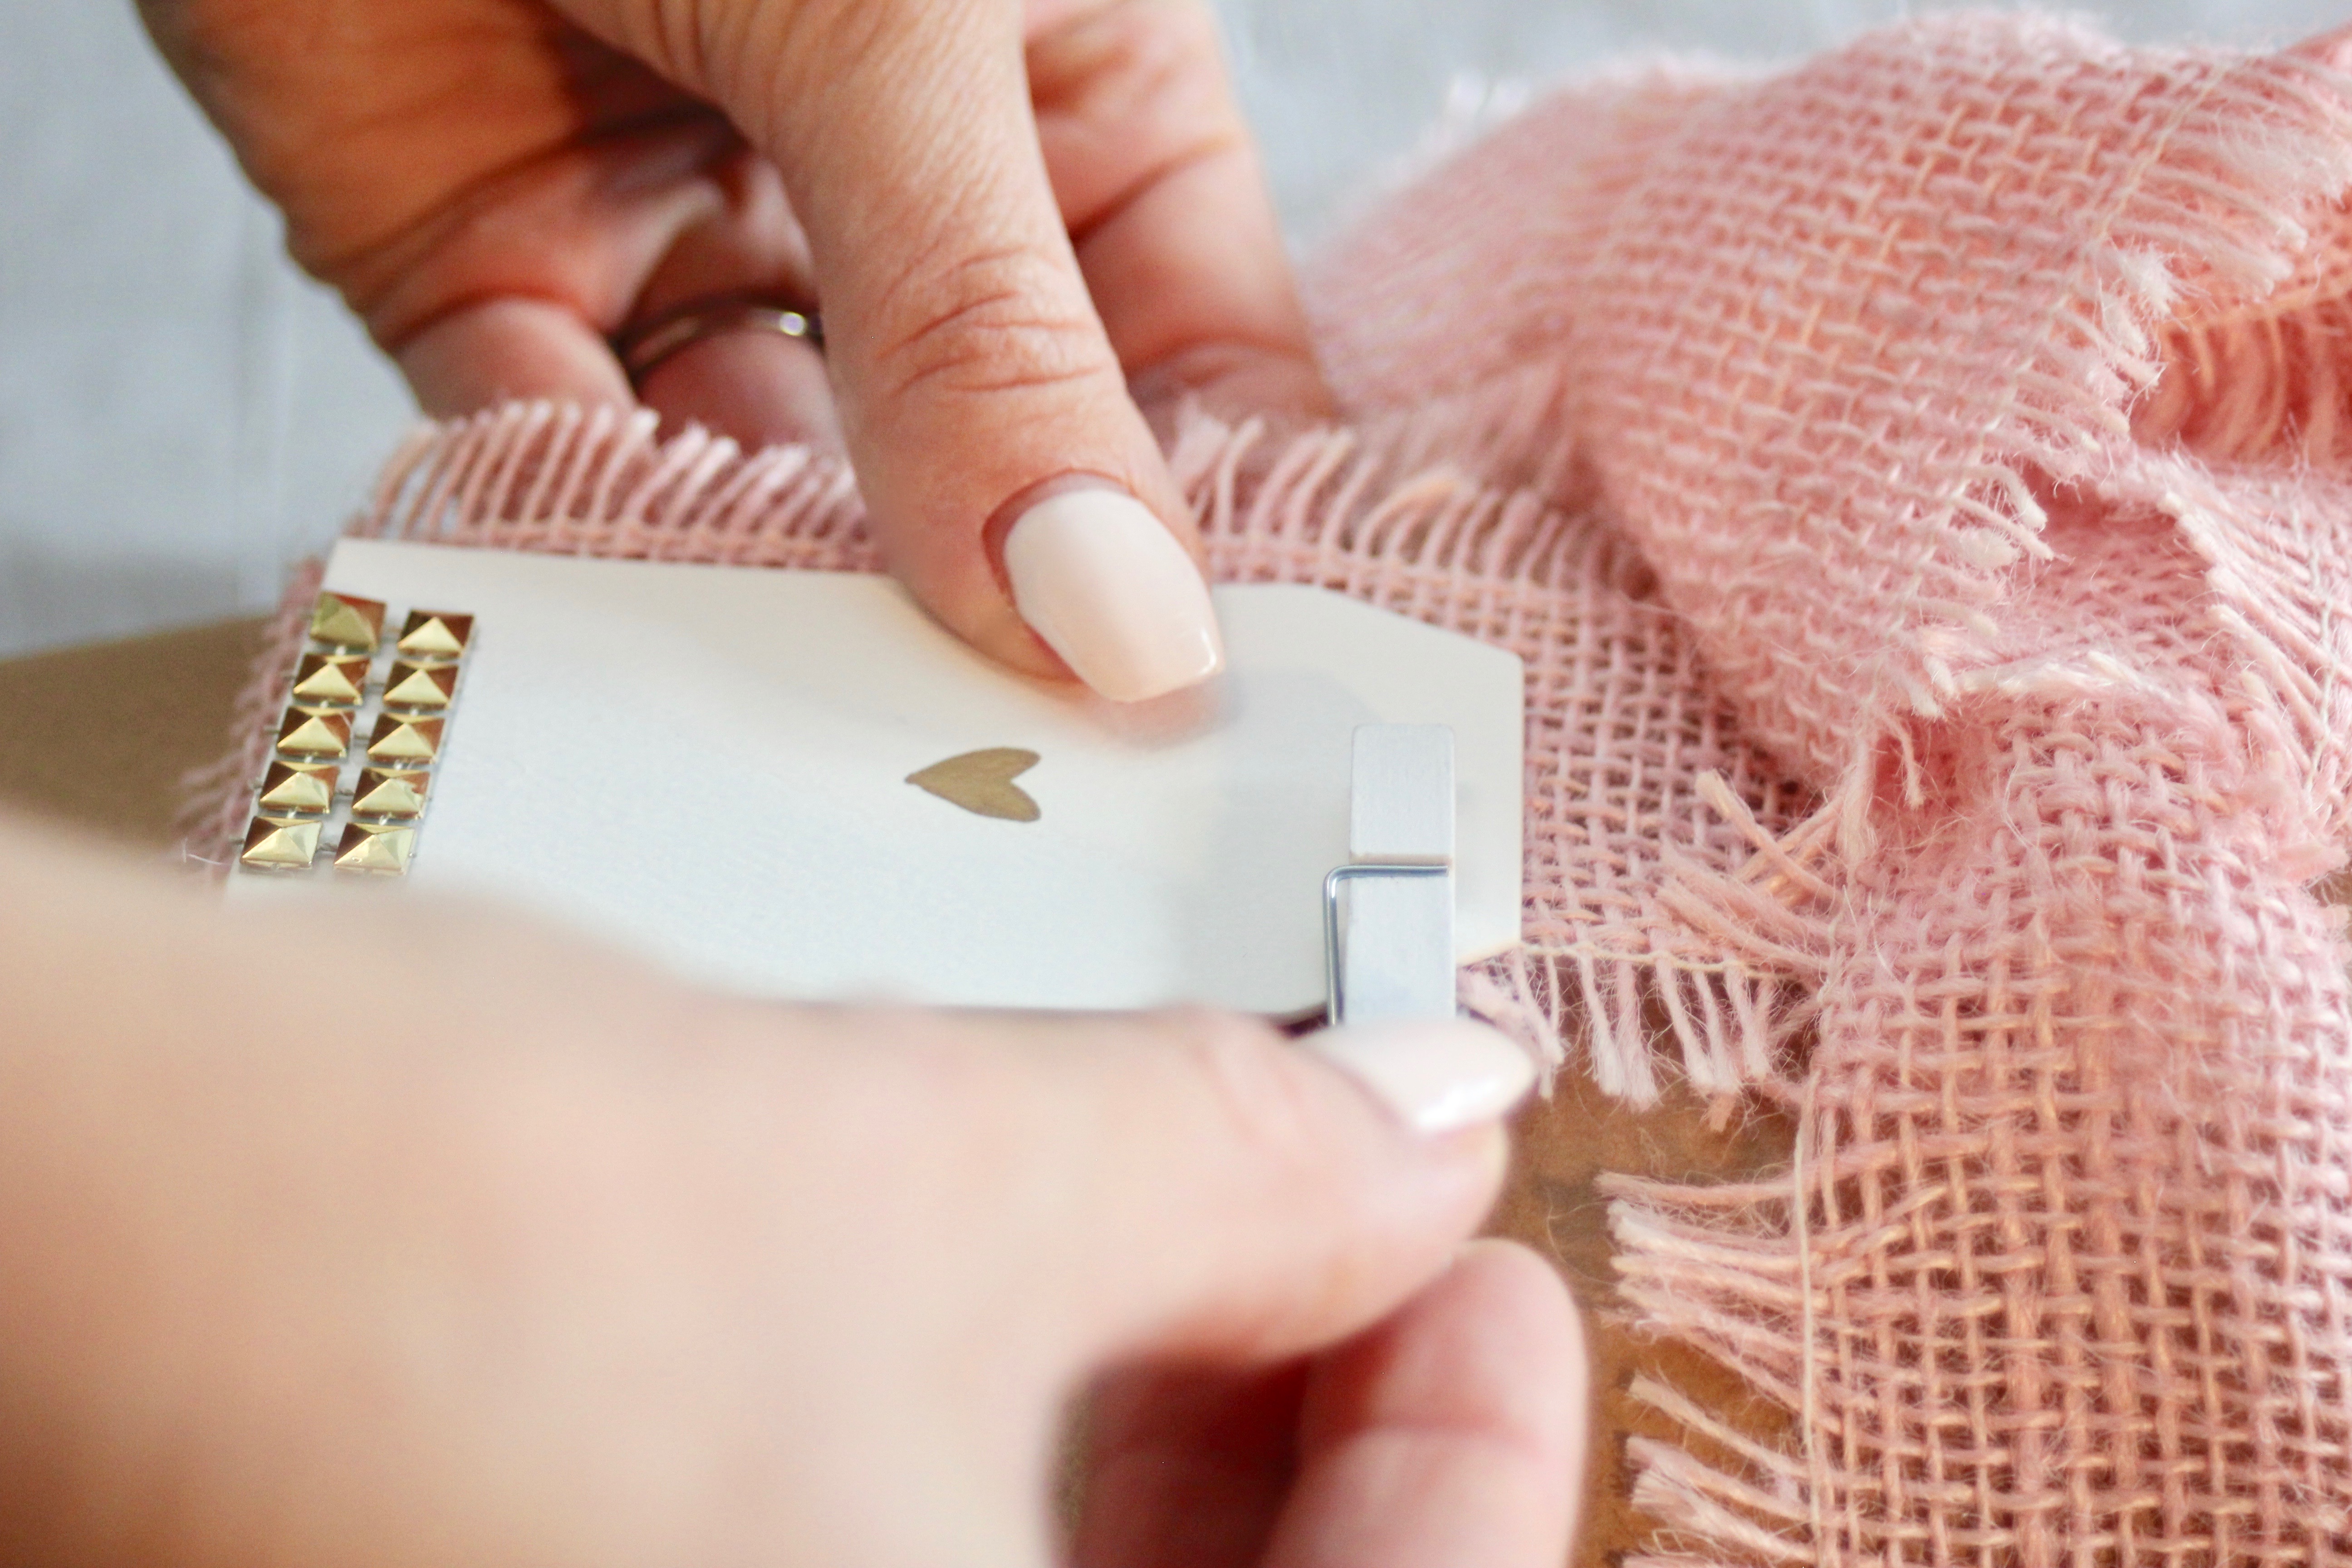
While your ink is drying, write your well-wishes on the tags and cut your burlap ribbon. I cut 1.5-inch pieces of gold bling stickers from Michaels, which came in strips and drew a simple gold heart.
 Once your dots are dry, it’s time to assemble the flowers and wrap! Tie an elastic around the flowers to keep them together and then wrap the bottom of the flowers in two damp paper towel over top of the plastic wrap. This will help maintain the freshness and longevity of the flowers during transport.
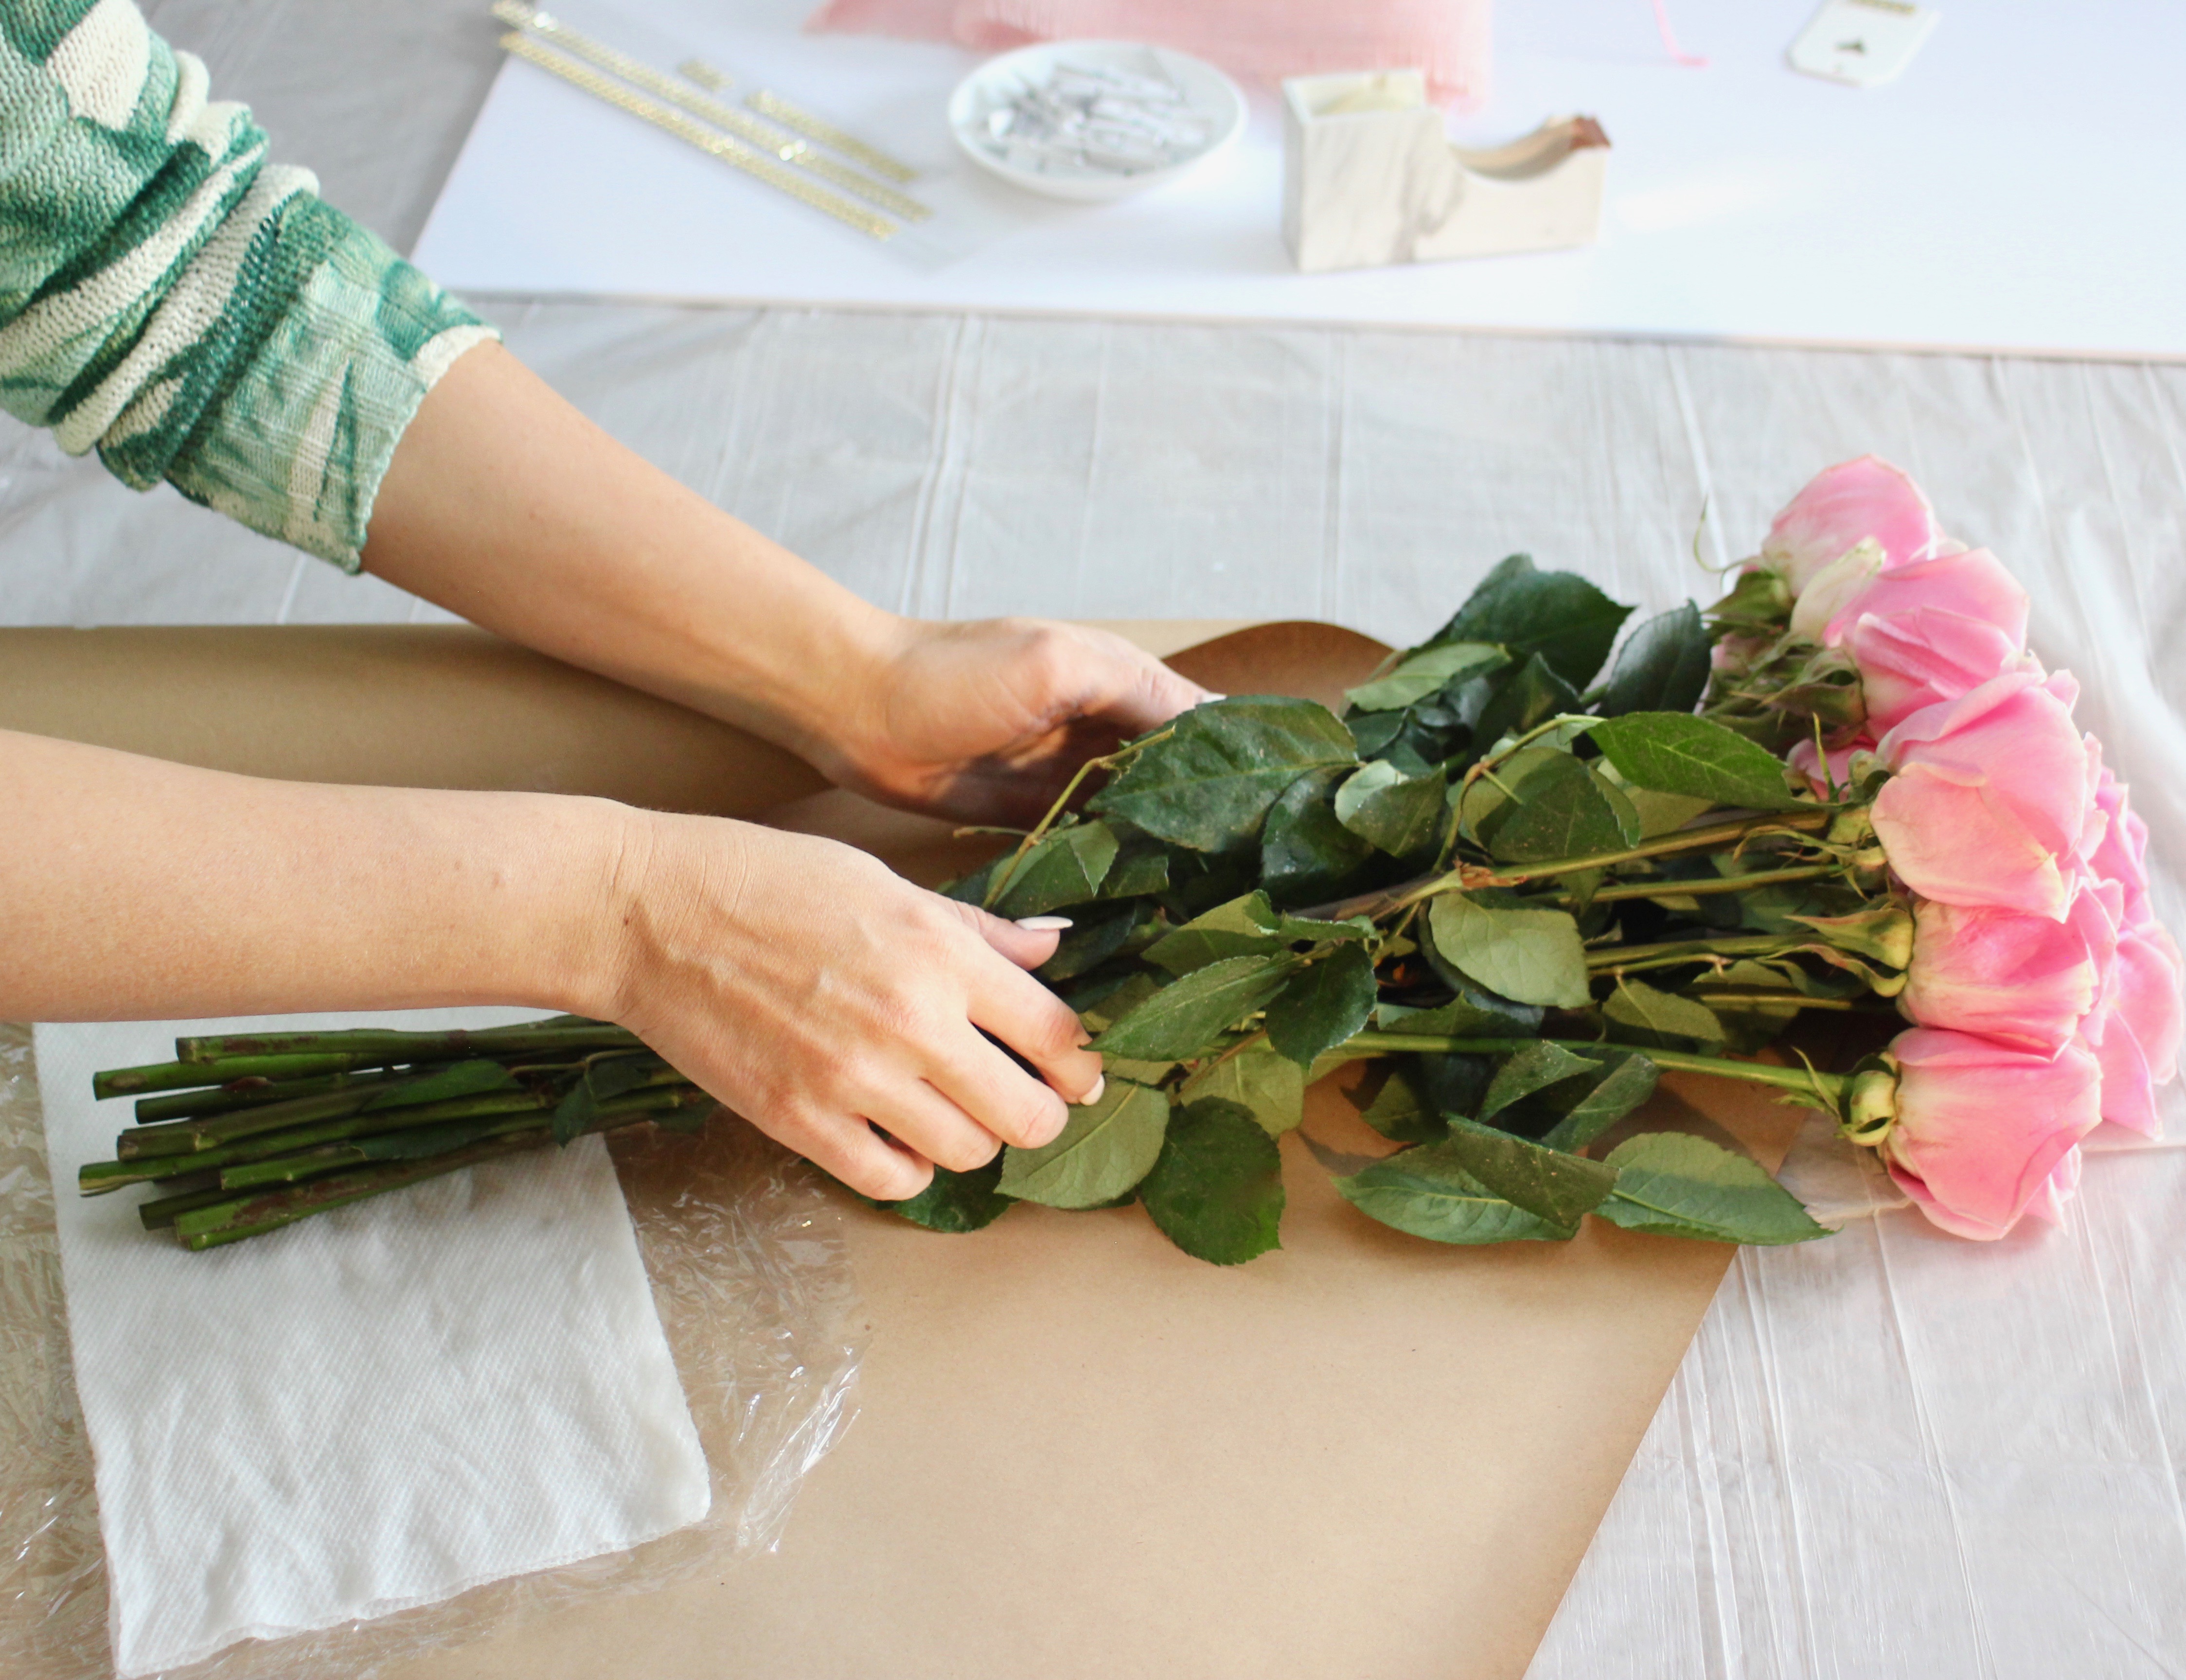
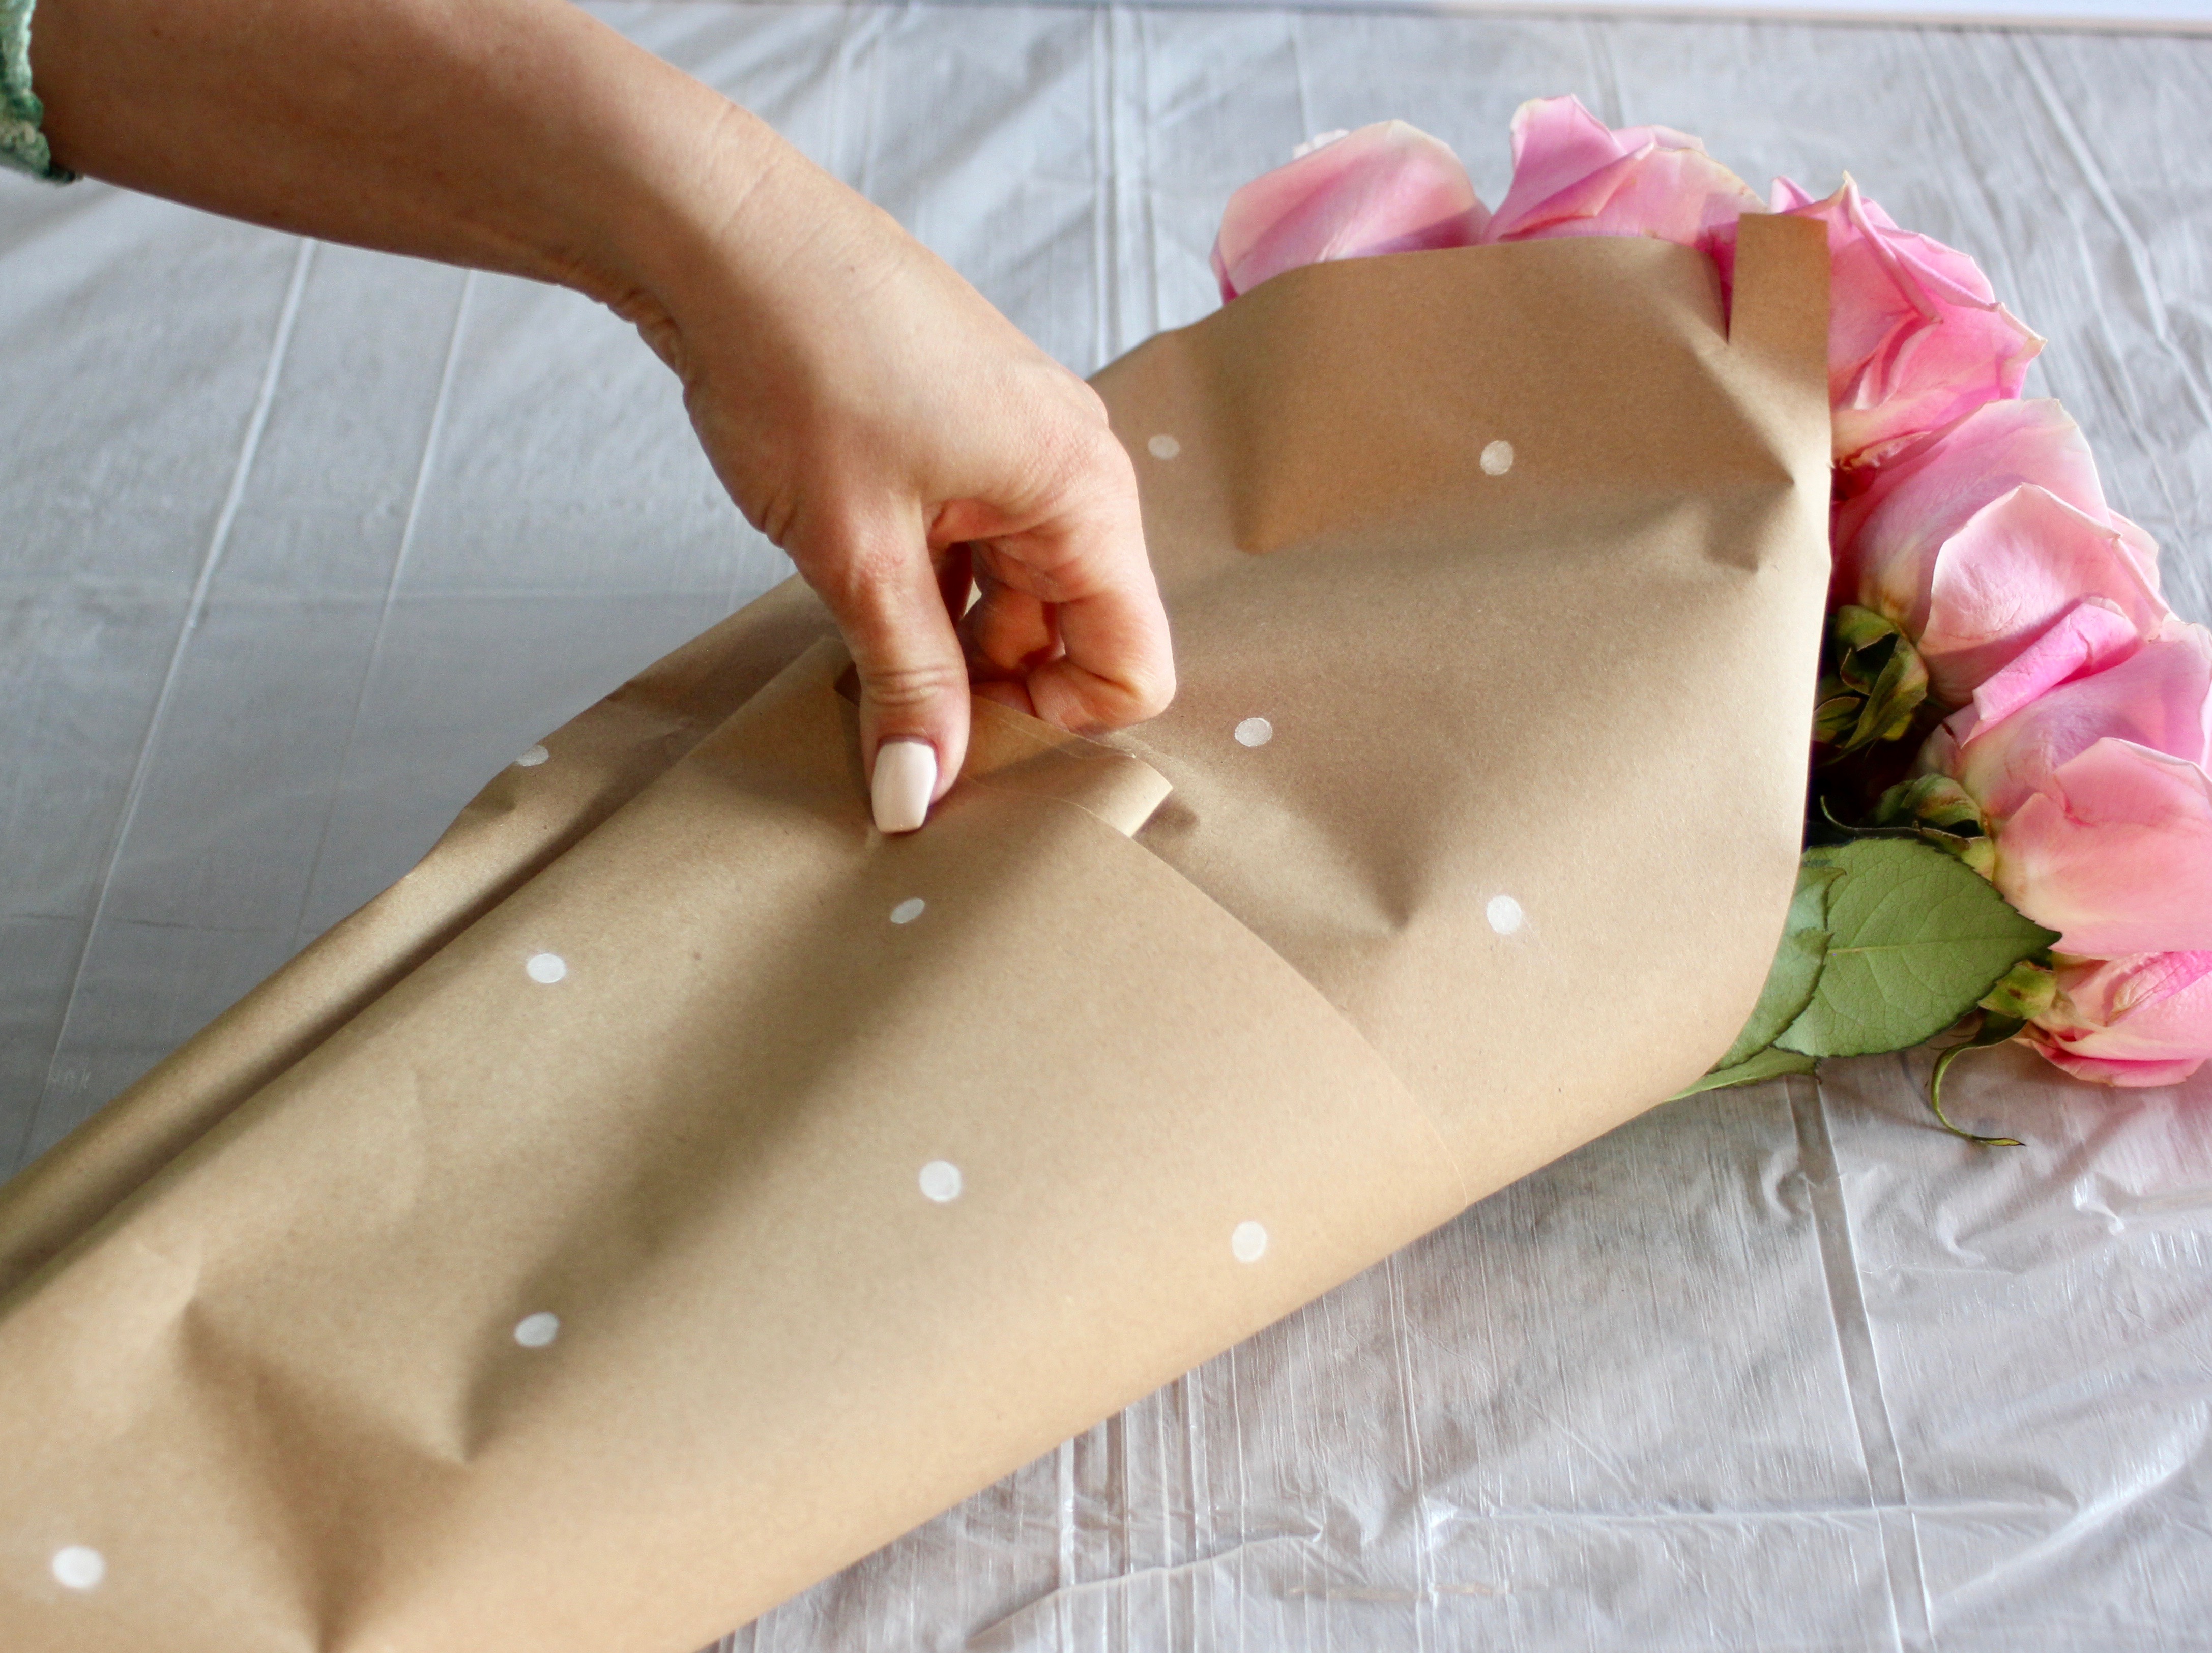
Next, fold over the right side of the paper twice, then the left side, scoop up the bottom, finish wrapping the right and tape into place. I used this perfect fresh flower wrapping tutorial for wrapping the flowers properly.
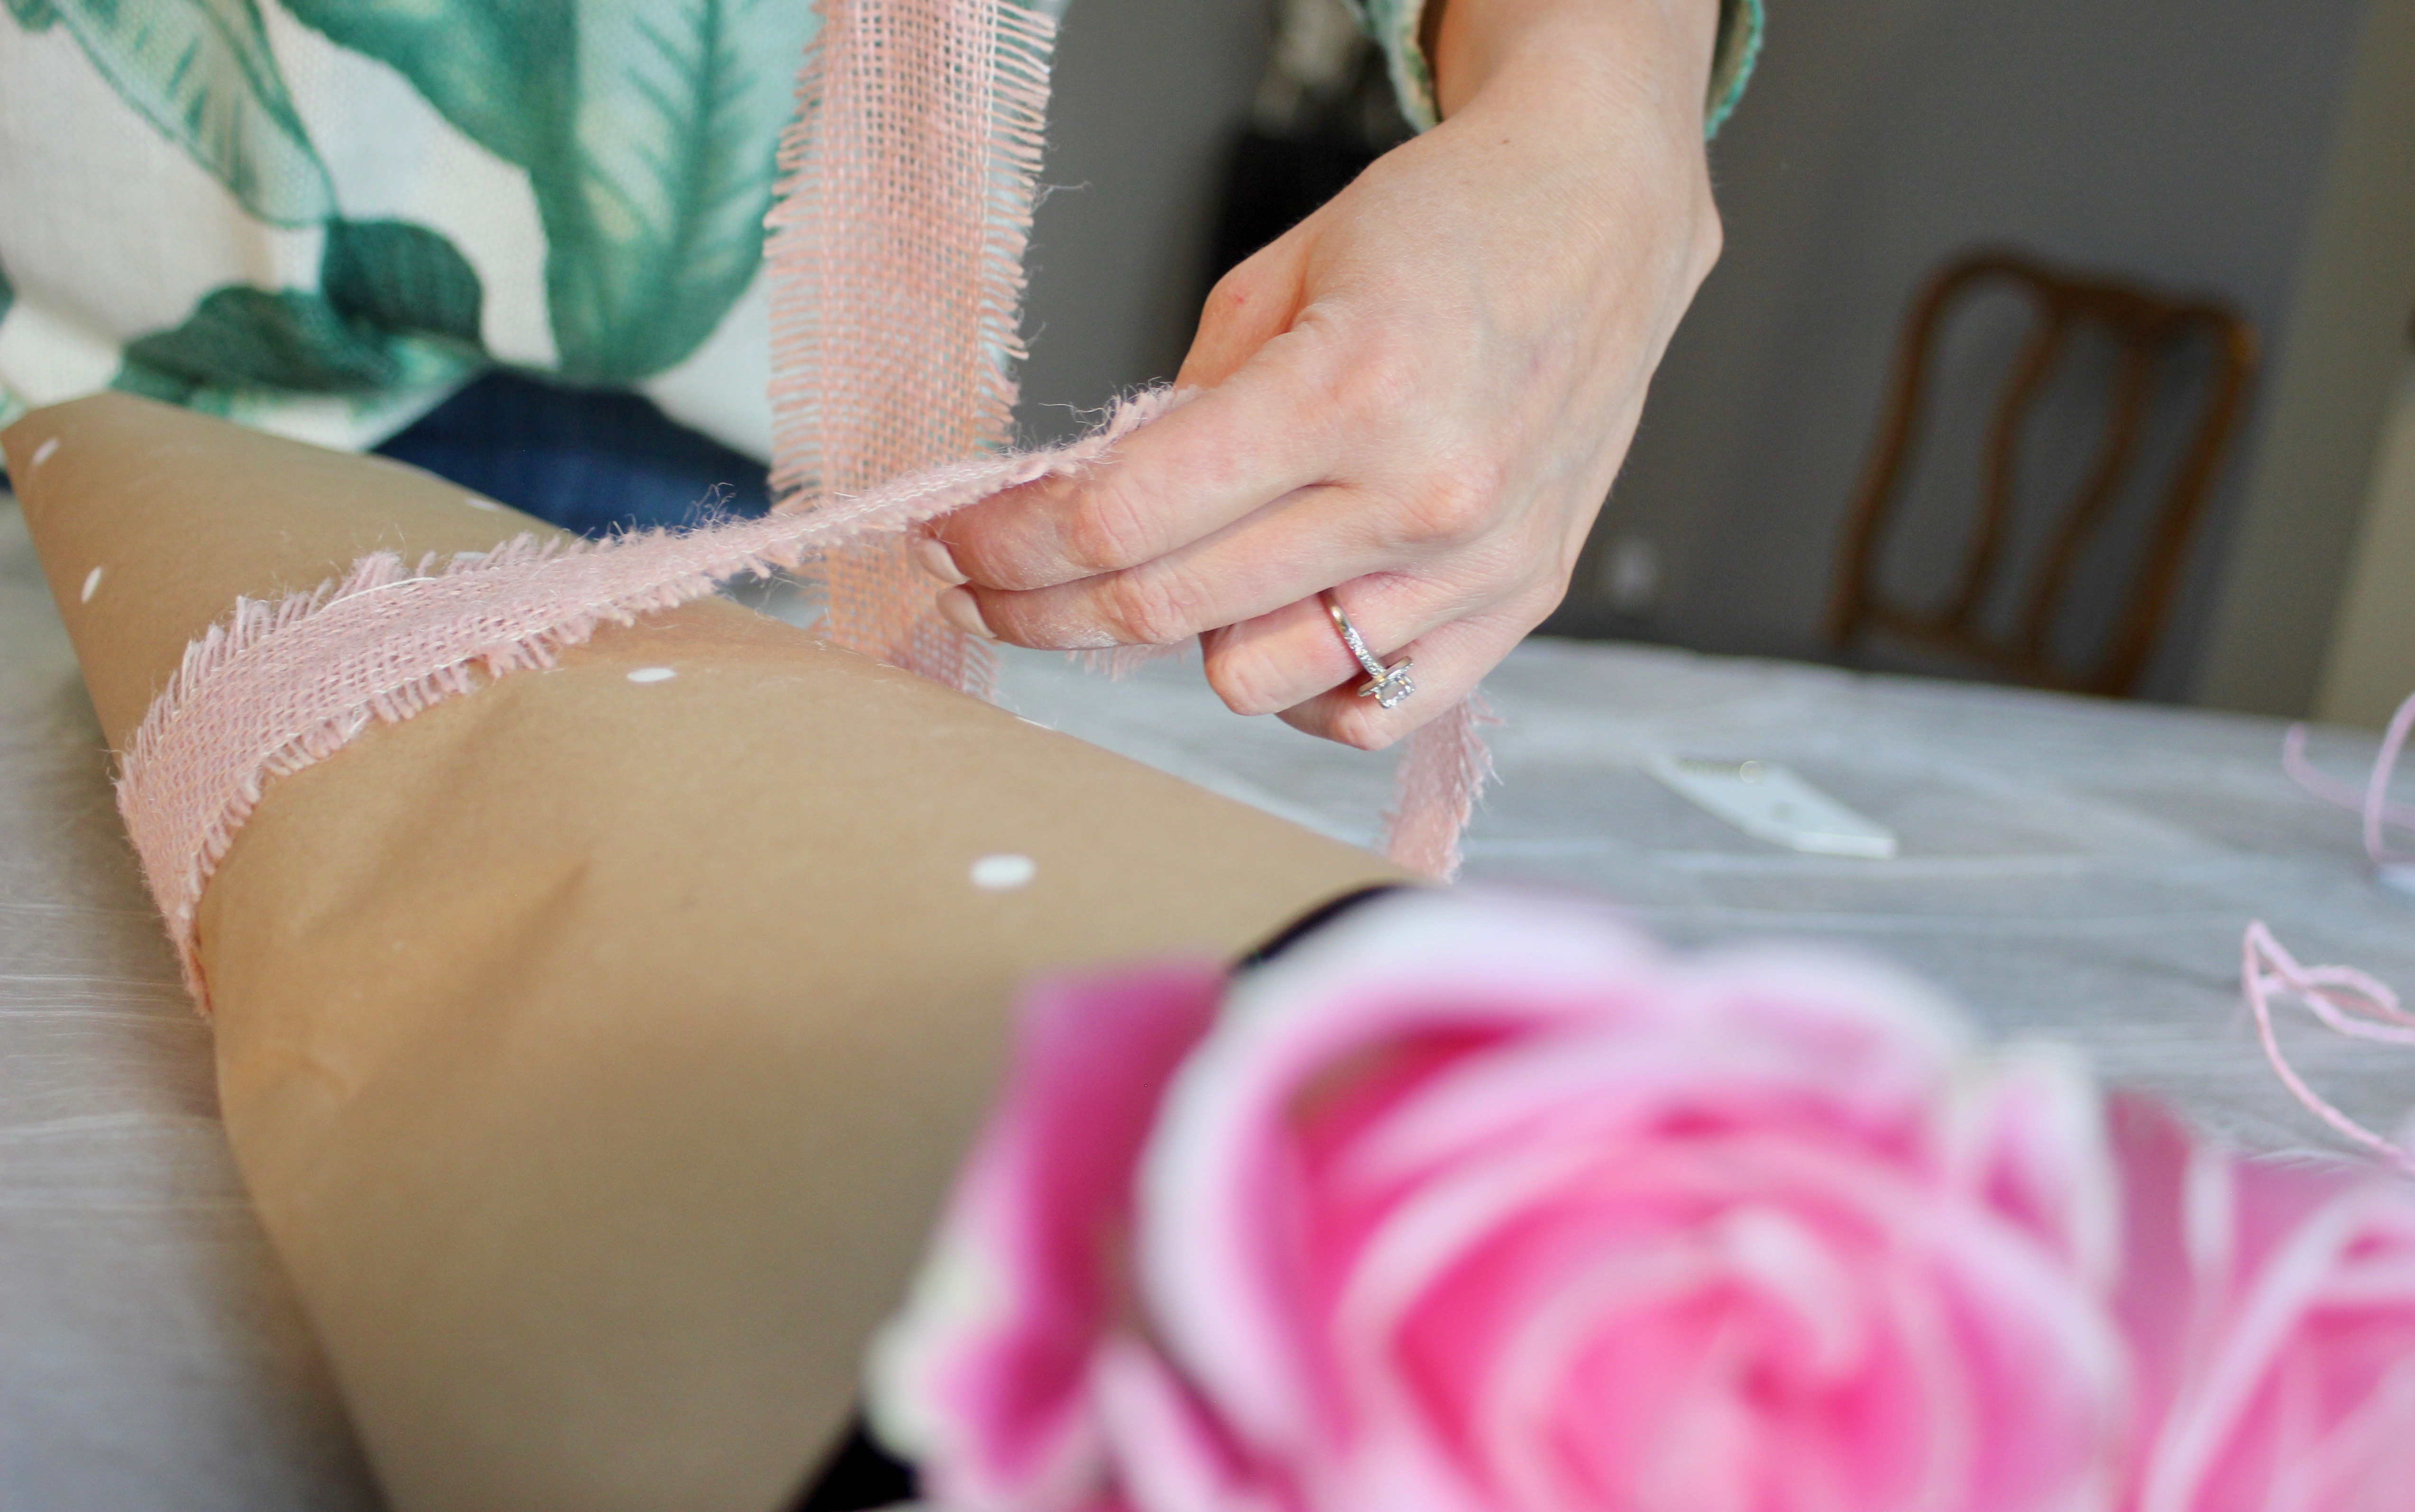
Finally, tie your ribbon around your bouquet and secure your tag with a decorative clothespin.
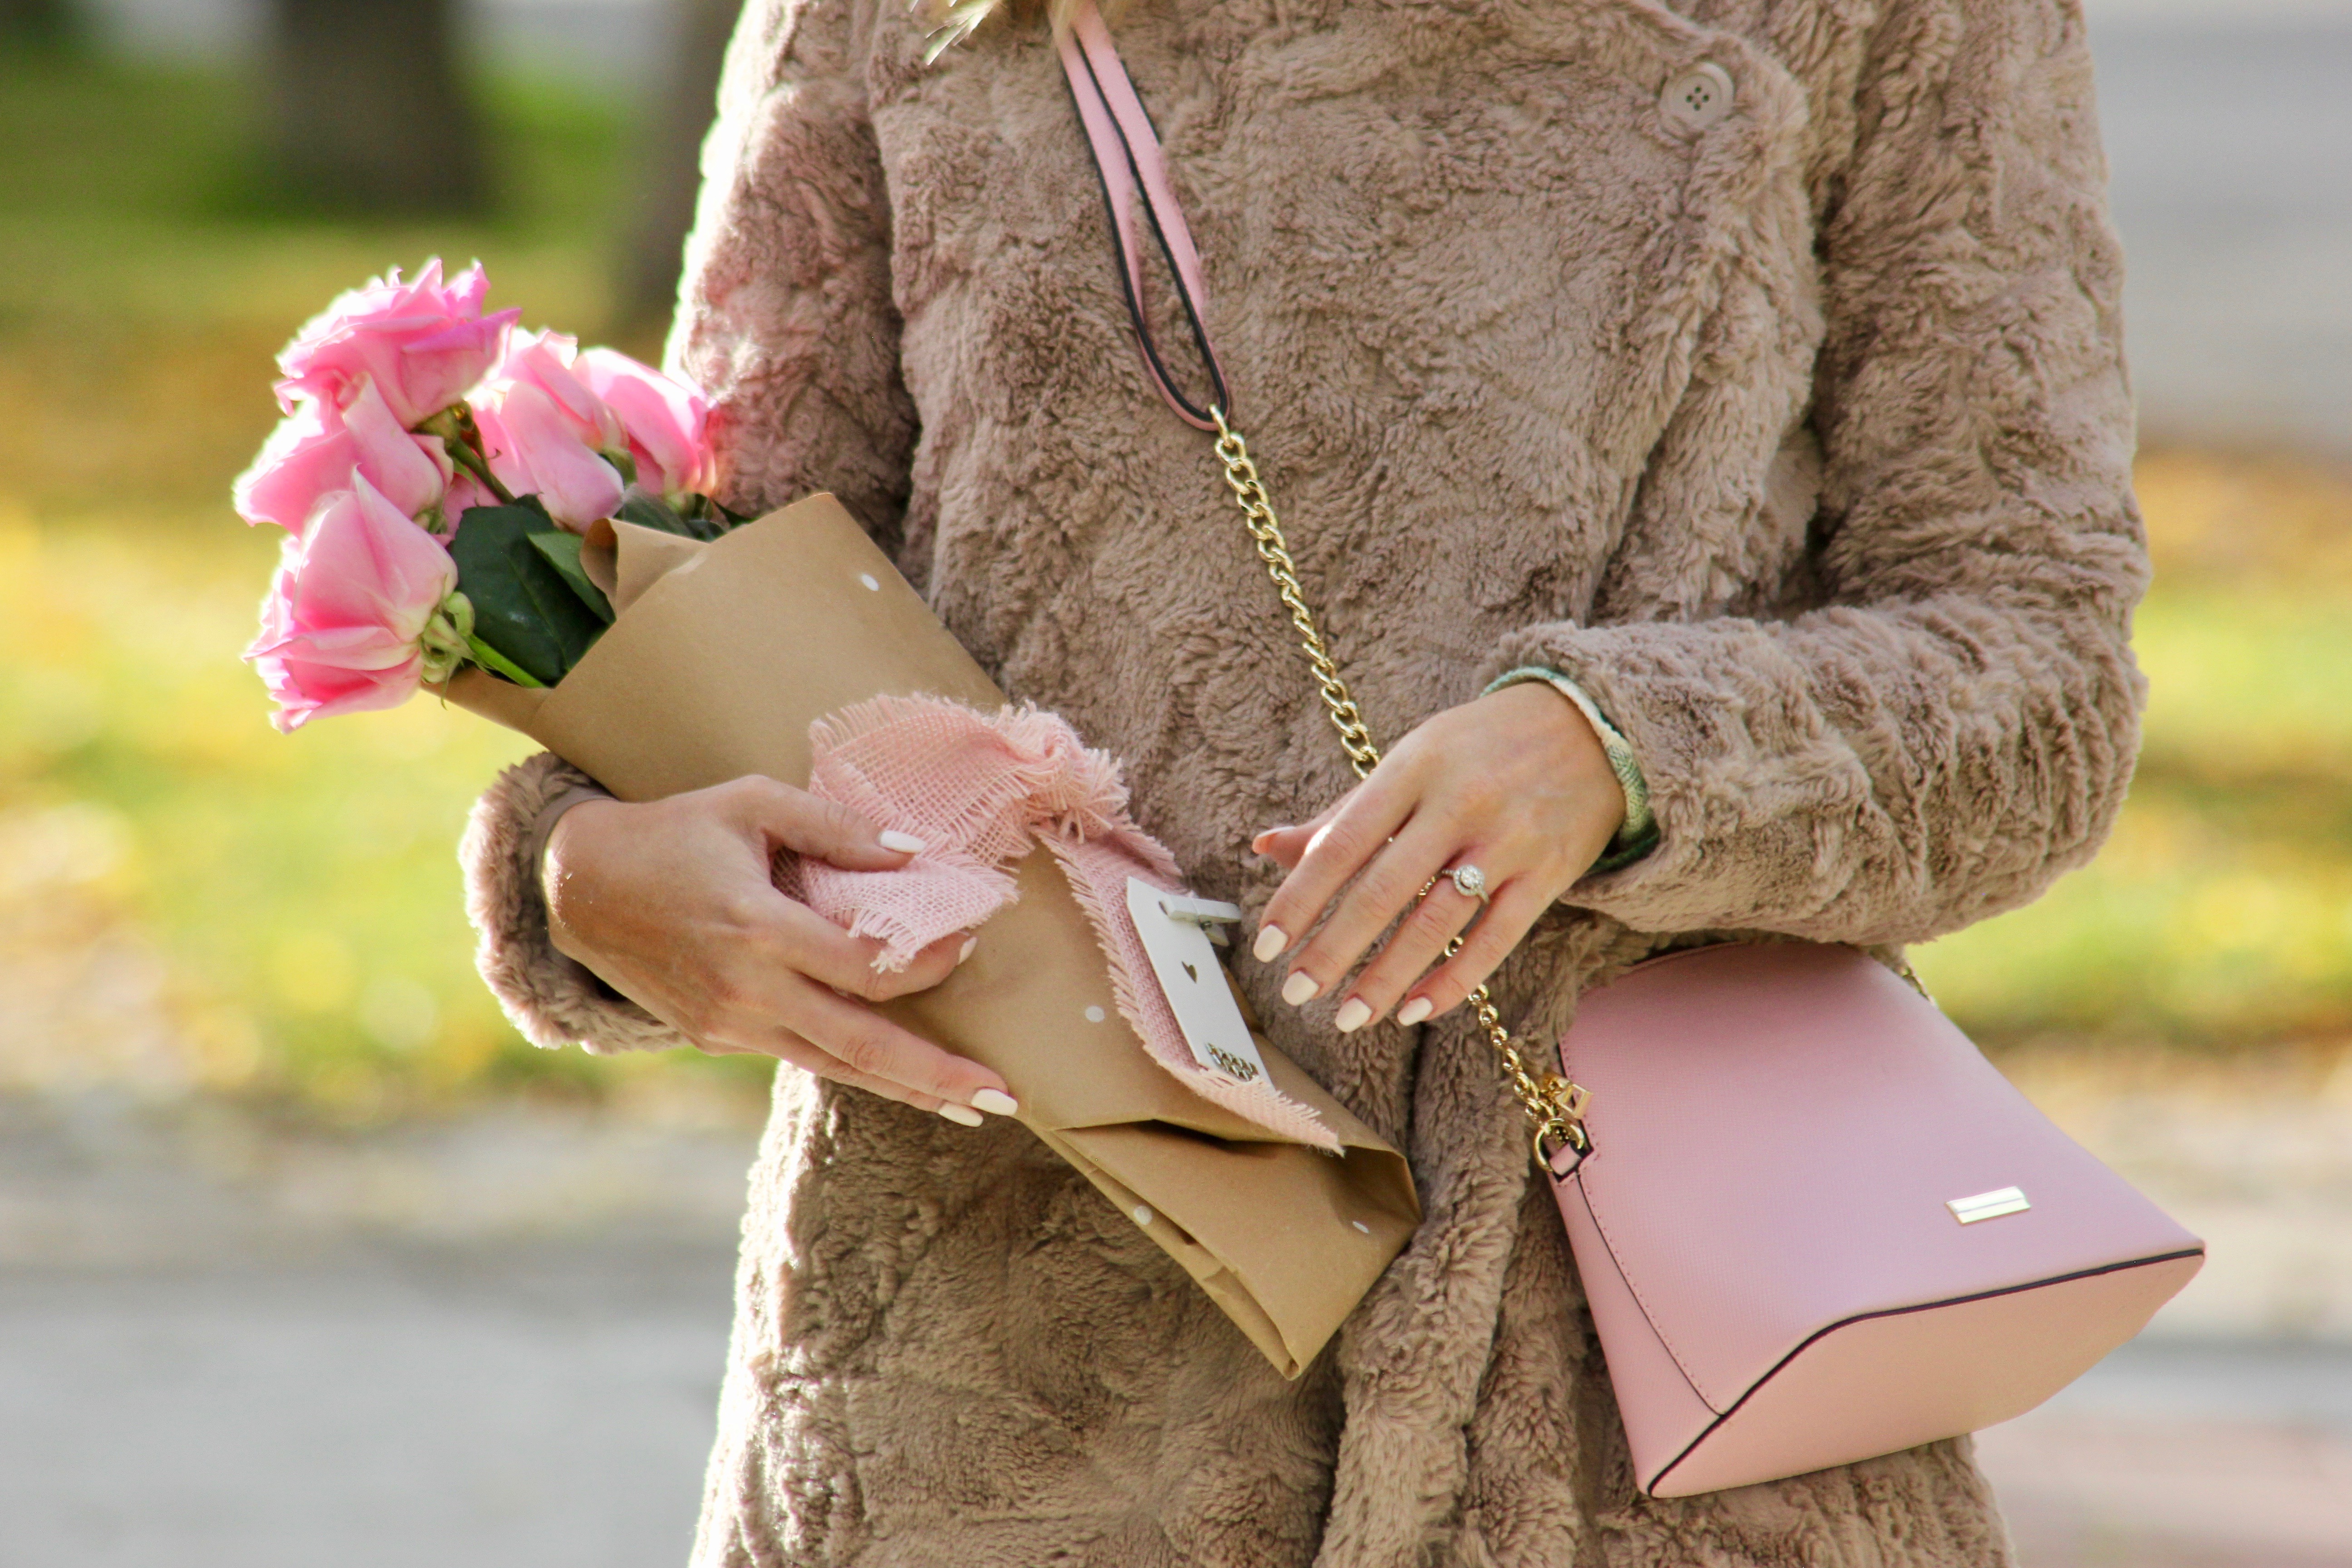 I love the way this turned out! It’s a really simple way to make a beautiful bouquet even more personal. I’m already thinking up more ways to decorate paper for Christmas presents, so make sure to check back for more DIYs in the coming weeks!
Pin this to your DIY and Gifts boards and follow me on Pinterest!
Other Posts You’ll Like:
Hanging Bedside Table DIY (Under $20!)
Refreshing Herb Garden Cocktails
xx

Leave a Reply