Here’s the Dump Truck Photo Booth I made for Wyatt’s third birthday party! The way his face lit up when he first saw it made all the effort worthwhile. Here’s the simple how-to (including my husband to the rescue when I made a mistake!)
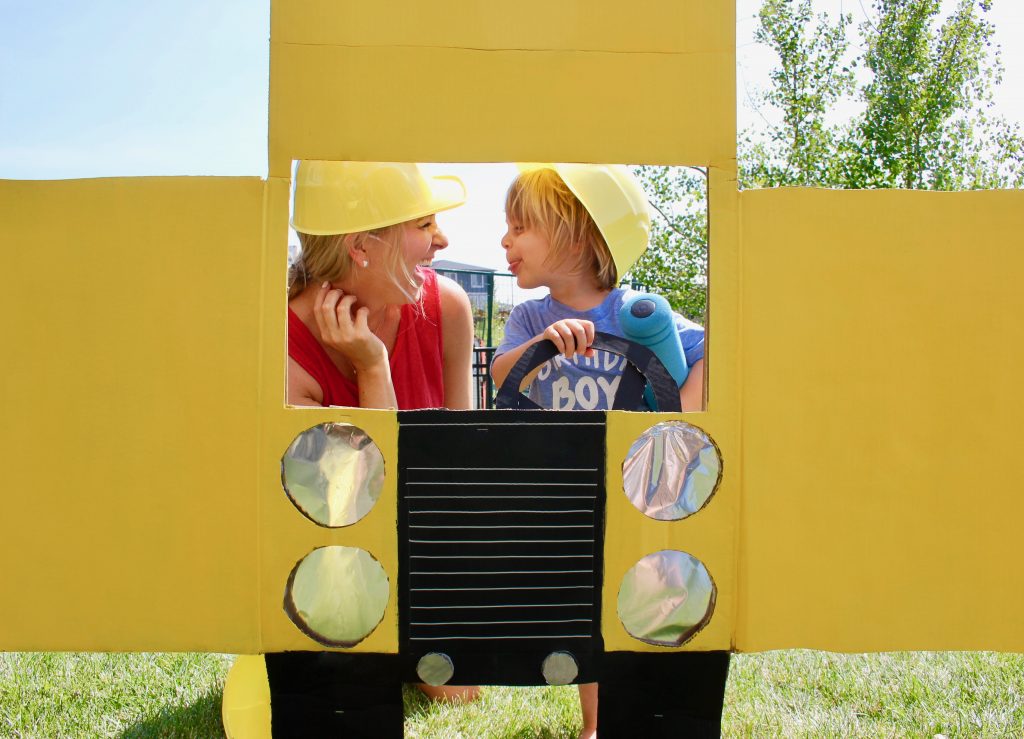
Cost: $30 (ish)
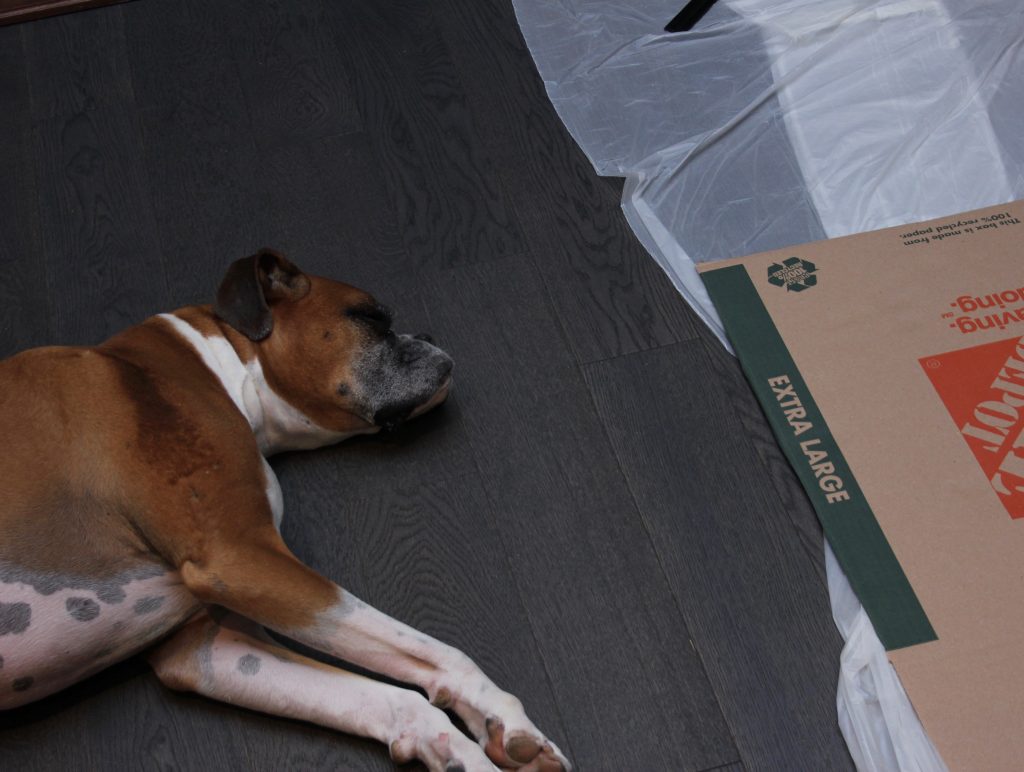
Time Investment: a full evening after your babe goes to bed, including paint drying time and breaks to sip wine and snuggle with your puppy.
What You’ll Need:
Supplies:
- cardboard box (I purchased this one from Home Depot, but feel free to recycle an old one. The bigger the better!)
- yellow, black, and grey or silver paint (I just bought the inexpensive stuff from The Dollar Store)
- black Sharpie
- silver Sharpie
- tin foil
- heavy duty glue
- heavy duty tape
- long bamboo sticks
Tools:
- paint brushes (several different sizes)
- plastic drop sheet
- custard bowl for tracing
- X-Acto knife
- pencil
- ruler
- stapler
Directions:
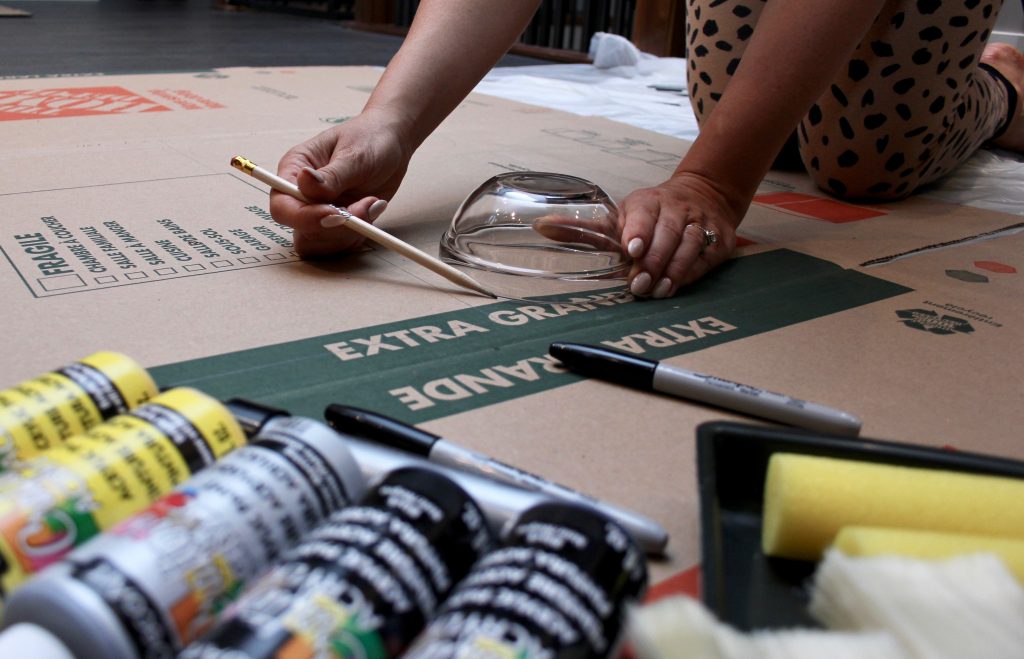
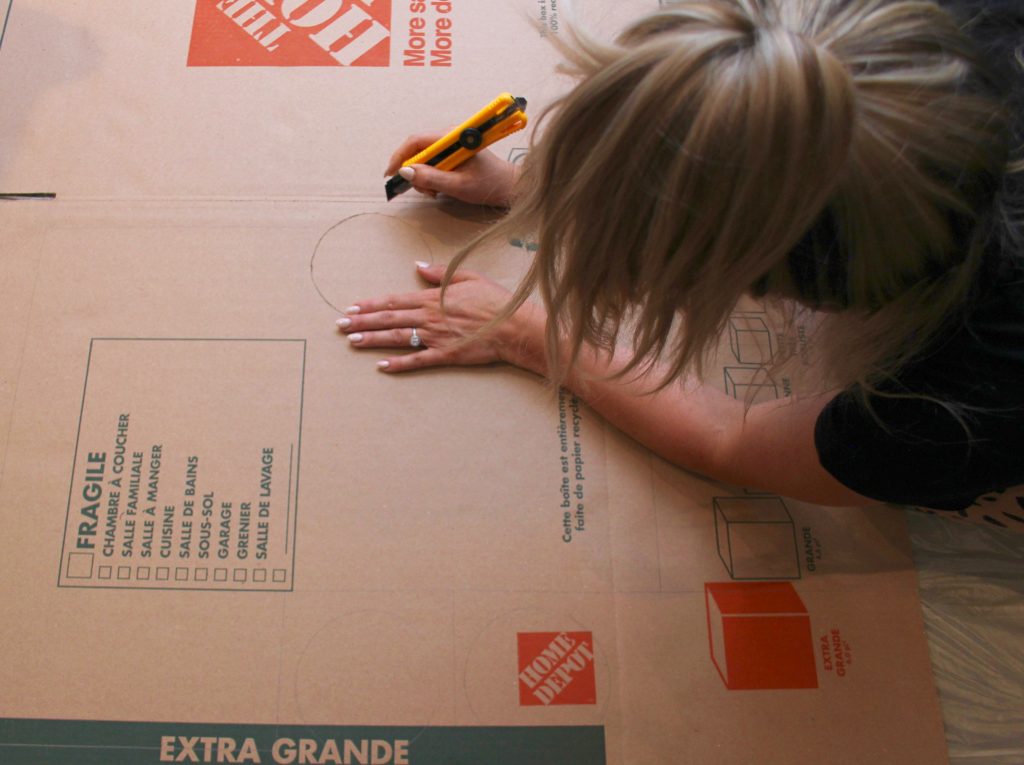
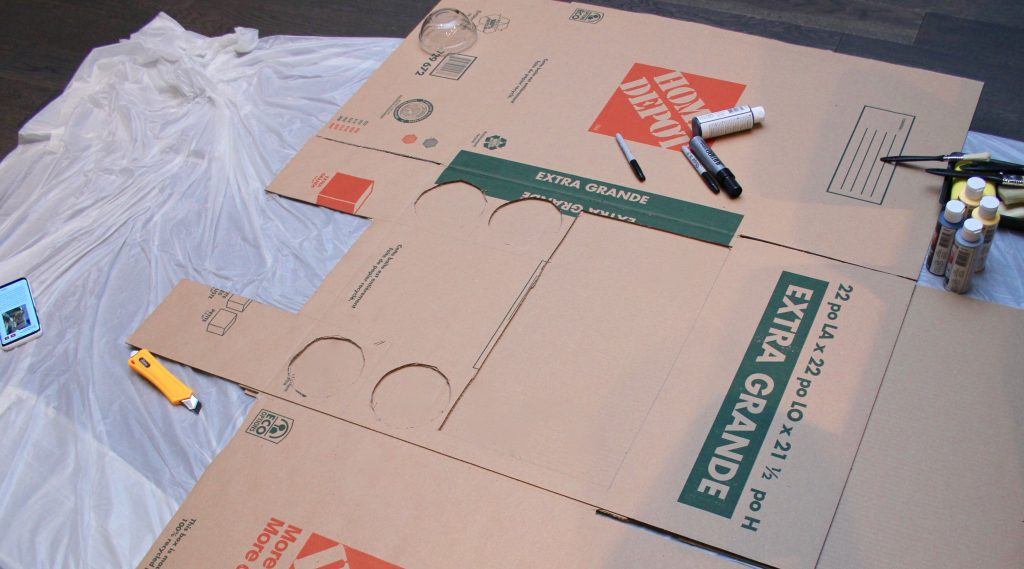
Cut off the back off the box, and set aside this piece for later stages of your project. You may choose to cut off the sides of the box as well, but I kept mine on to use as truck doors. This will make your piece much heavier and difficult to secure, but the kids loved being able to “open” the doors. If you’re creating this inside, be sure to lay your plastic sheet and use some of the spare pieces of cardboard under your project to protect your floor. Pencil out your window, using your ruler if you need it. I ended up cutting the window larger than what I had sketched to give the kids more room. Use your X-Acto Knife to cut out your window, the space between the two front tires, and underneath the two side doors.
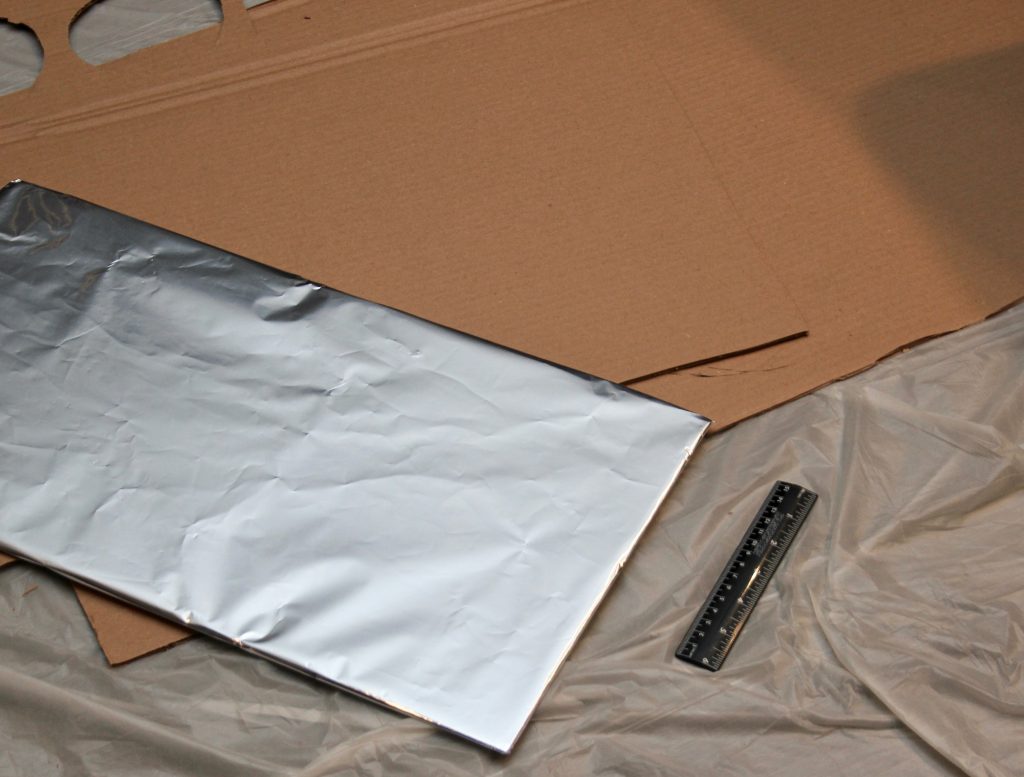
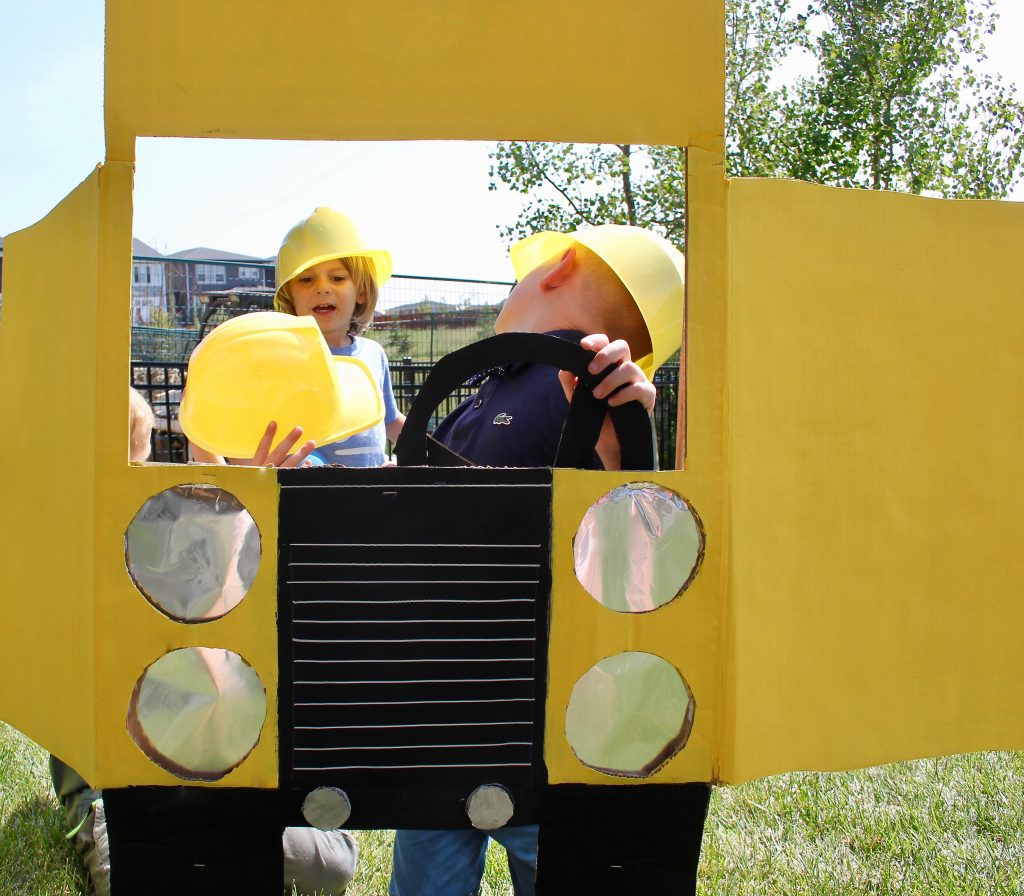
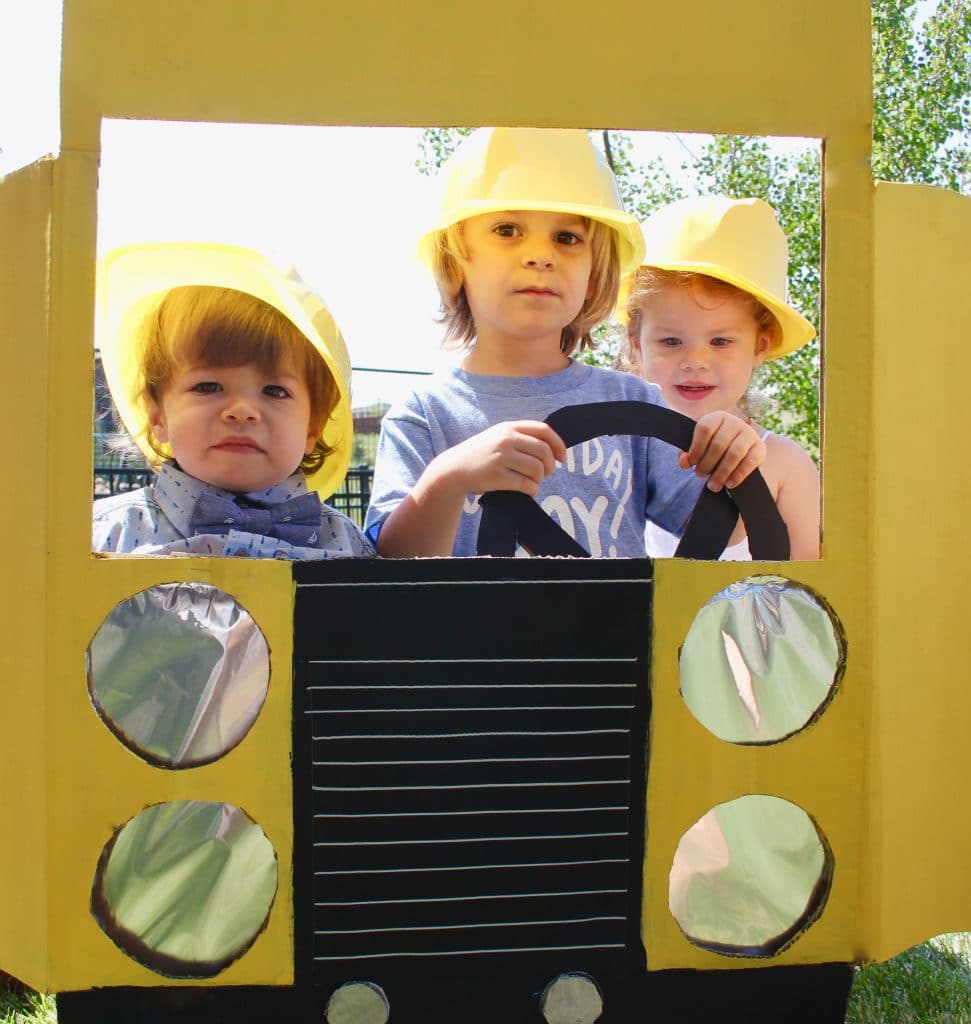
Next, use your custard bowl (or something similar) to trace out the four headlights for the truck. My original plan was to paint these grey/silver but I accidentally cut them out (more coffee next time, perhaps). It turned out to be a happy accident! My husband Ryan suggested covering the lights with tin foil, so that’s what we did and it turned out awesome!
I wrapped the entire spare piece of the box with tin foil and taped it.
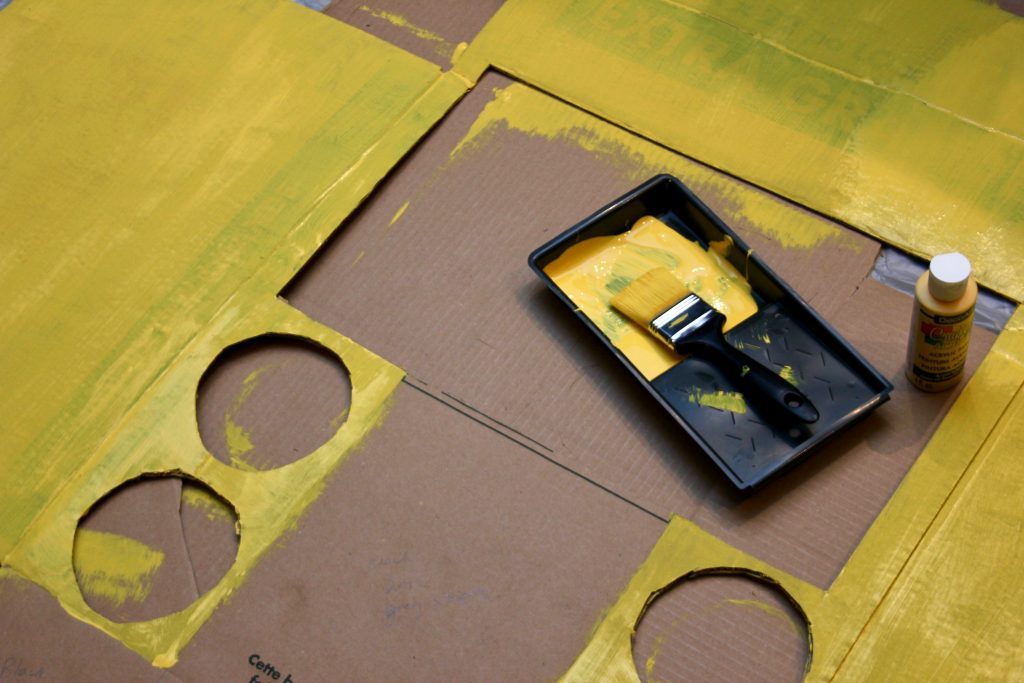
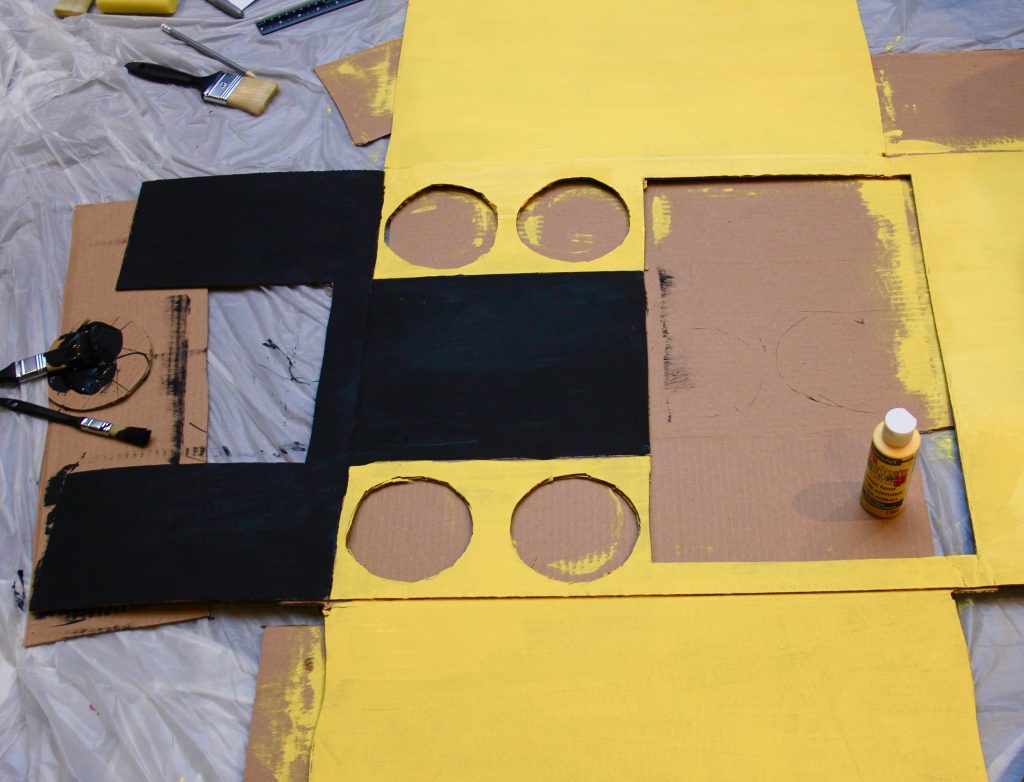
Next up: painting. I painted the yellow part first, then black. Once everything was dry, I used the black Sharpie to fill in spaces close to the yellow paint to get it as precise as possible.
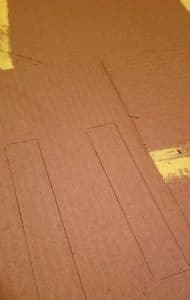
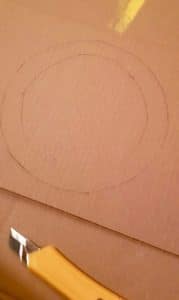
Now it’s time to make your steering wheel! Using your pencil, trace out your double-lined circle and two long rectangles. Cut out the shapes with your X-Acto knife and paint them black.
Final Steps:
- Staple your tin foil board behind the cut out circles (lights) from the inside of the box to create the 3D-look lights.
- Use your silver Sharpie to draw on your front grill lines.
- Cut out two small circular pieces of cardboard (additional lights) and paint them grey/silver. Once dry, glue them underneath the grill, right above the bottom cut out of your box.
- Staple on your steering wheel.
- Fasten your bamboo sticks from inside the truck so they can stick into the ground allowing your creation to stand up. I just duct taped them but feel free to get creative!
Don’t Forget to ‘Pin’ this for later!
Other Posts You’ll Love:
Interactive St.Patrick’s Day Craft
xx

Leave a Reply