Here’s my strategy for how to organize under your kitchen sink.
Hacks, awesome products, and photo inspiration for you to Pin!
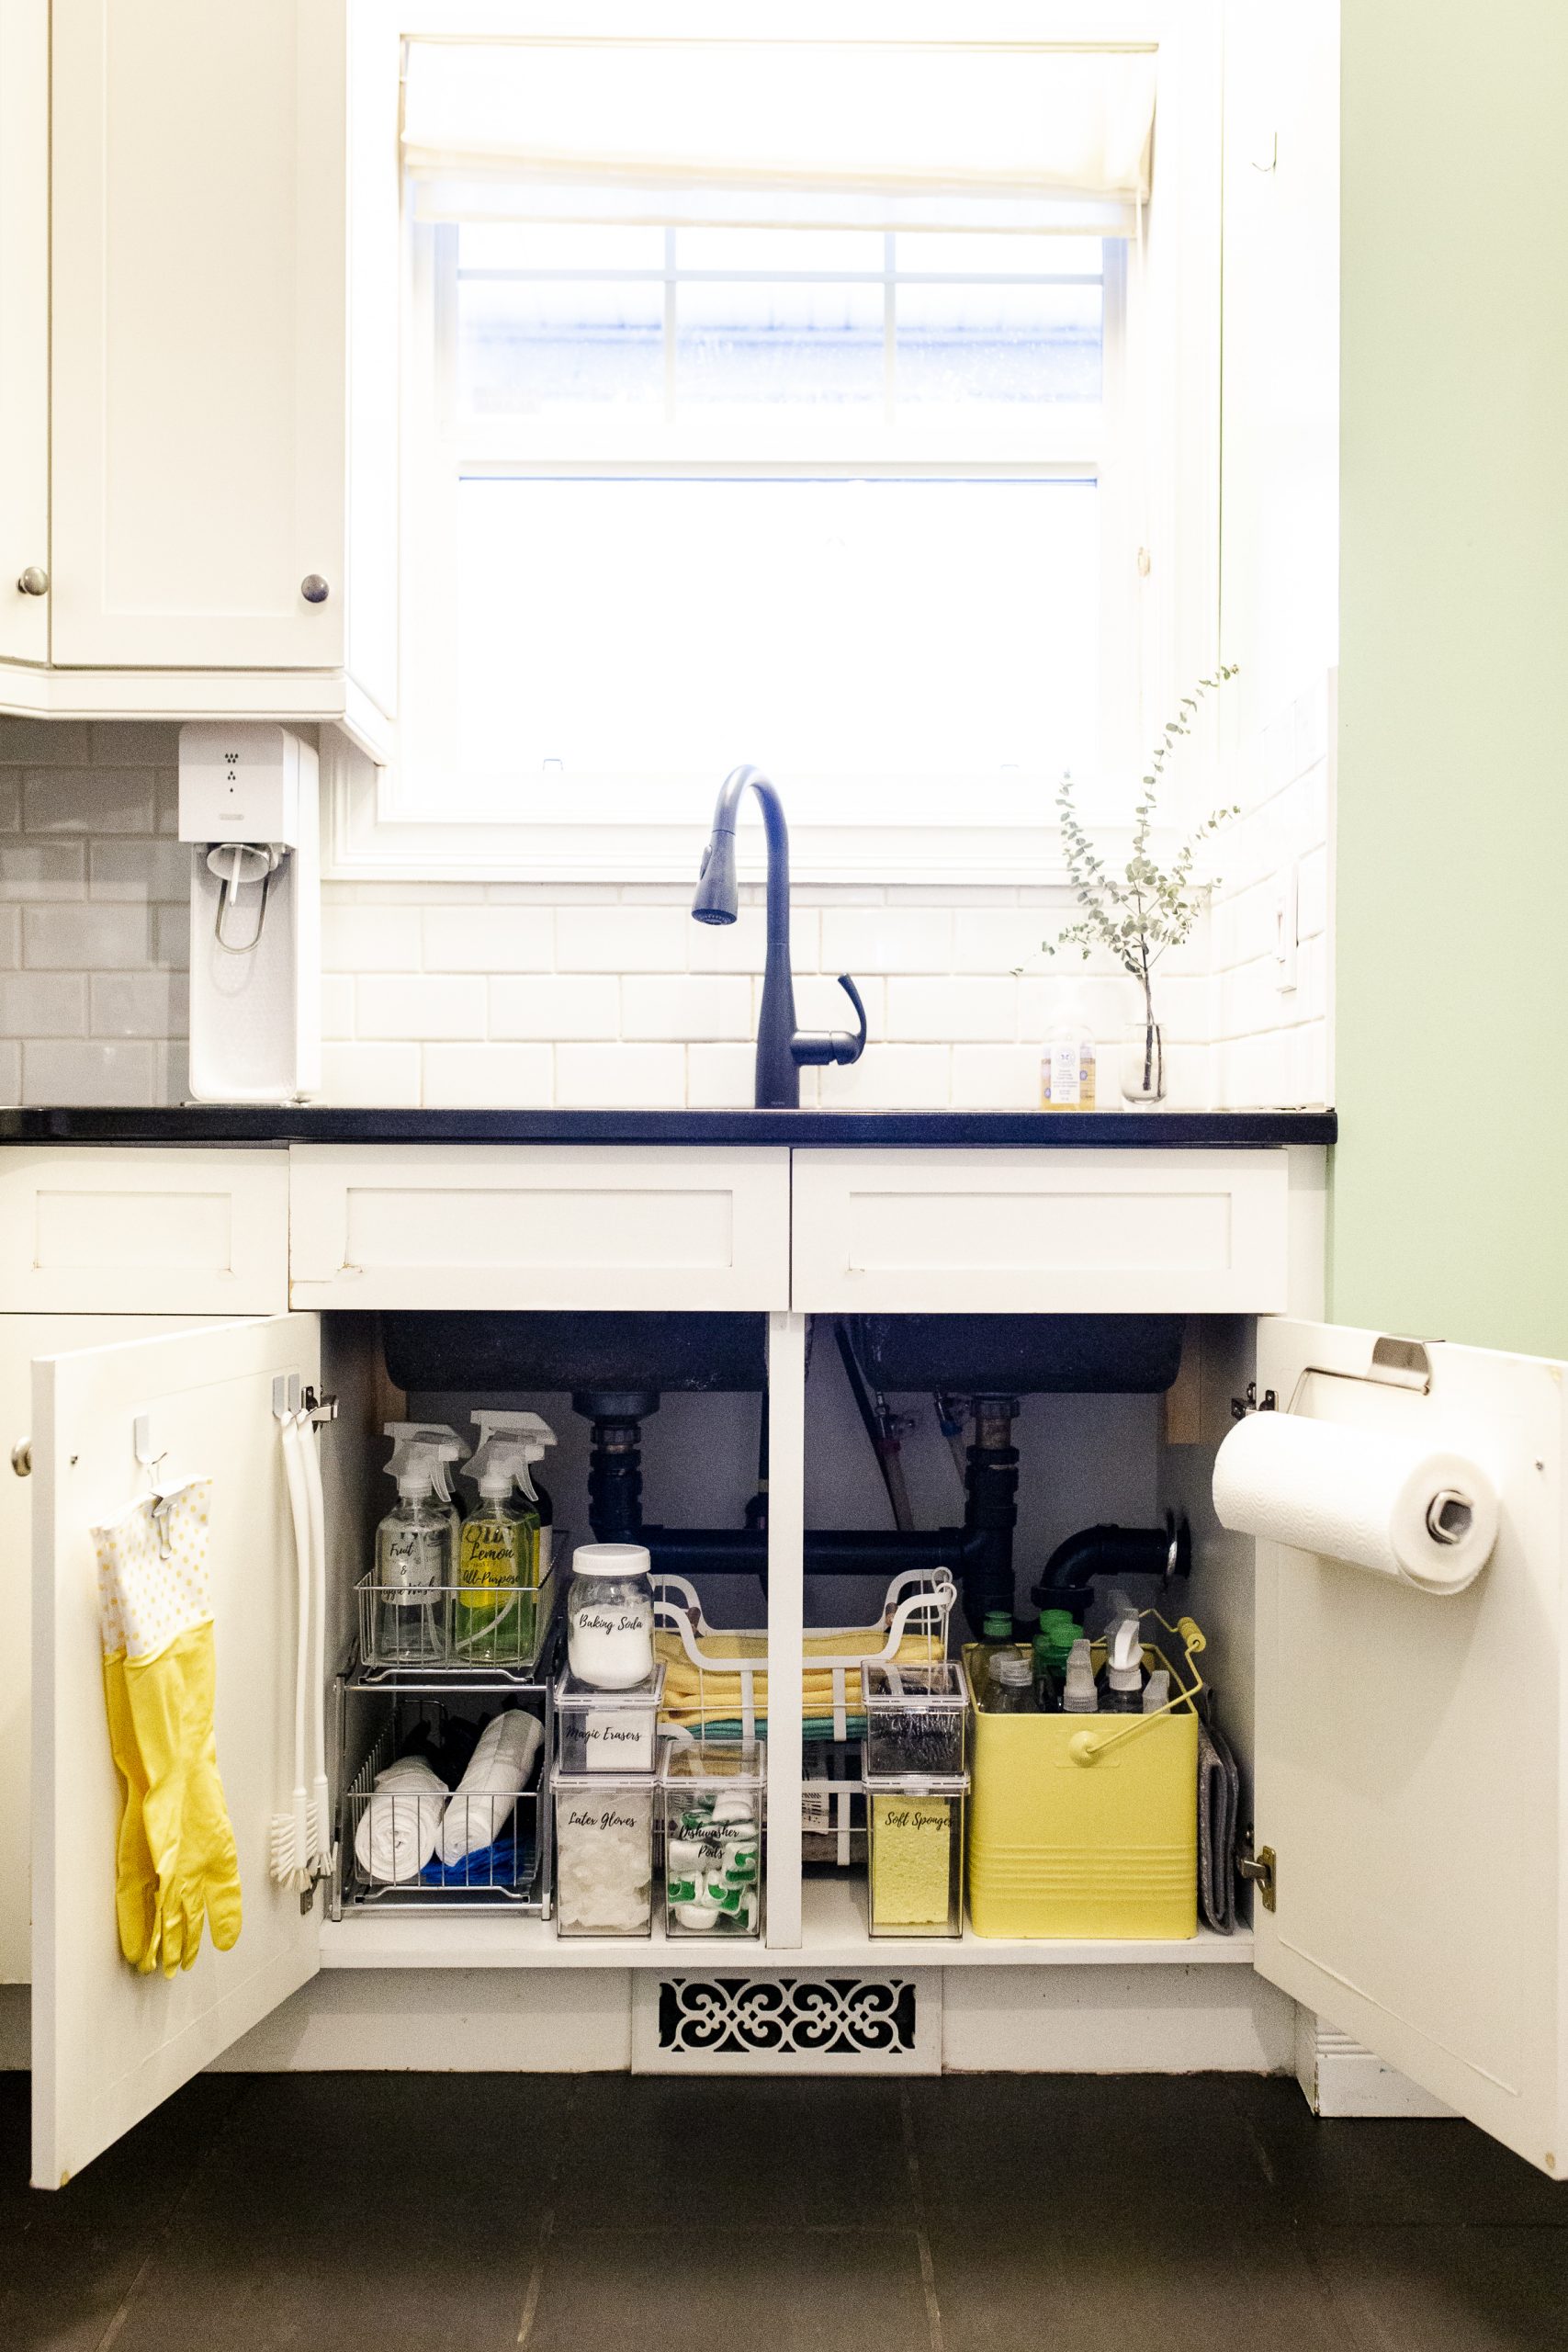
Under your kitchen sink may be a place that’s often ignored, but trust me – you’ll pay more attention when it’s looking beautiful! That’s been my recent experience. I’m pretty sure I’ve opened these cupboard doors about a hundred times since completing this project. Not to get anything…just to stare! Organizing and getting our shit together feels so good, doesn’t it?
I’ve been so excited to share this project with you. Throughout this post, you’ll find tips on how to execute a plan of how to tackle this space, where I got my supplies, how I did (and saved money on) my labels, and more. You’ll find links to shop throughout, and also a ‘Source List’ where everything is itemized near the end of the post.
Disclosure: If you shop my product links, some are ‘affiliate,’ which means I get a teeny tiny commission if you buy that specific product from my link.
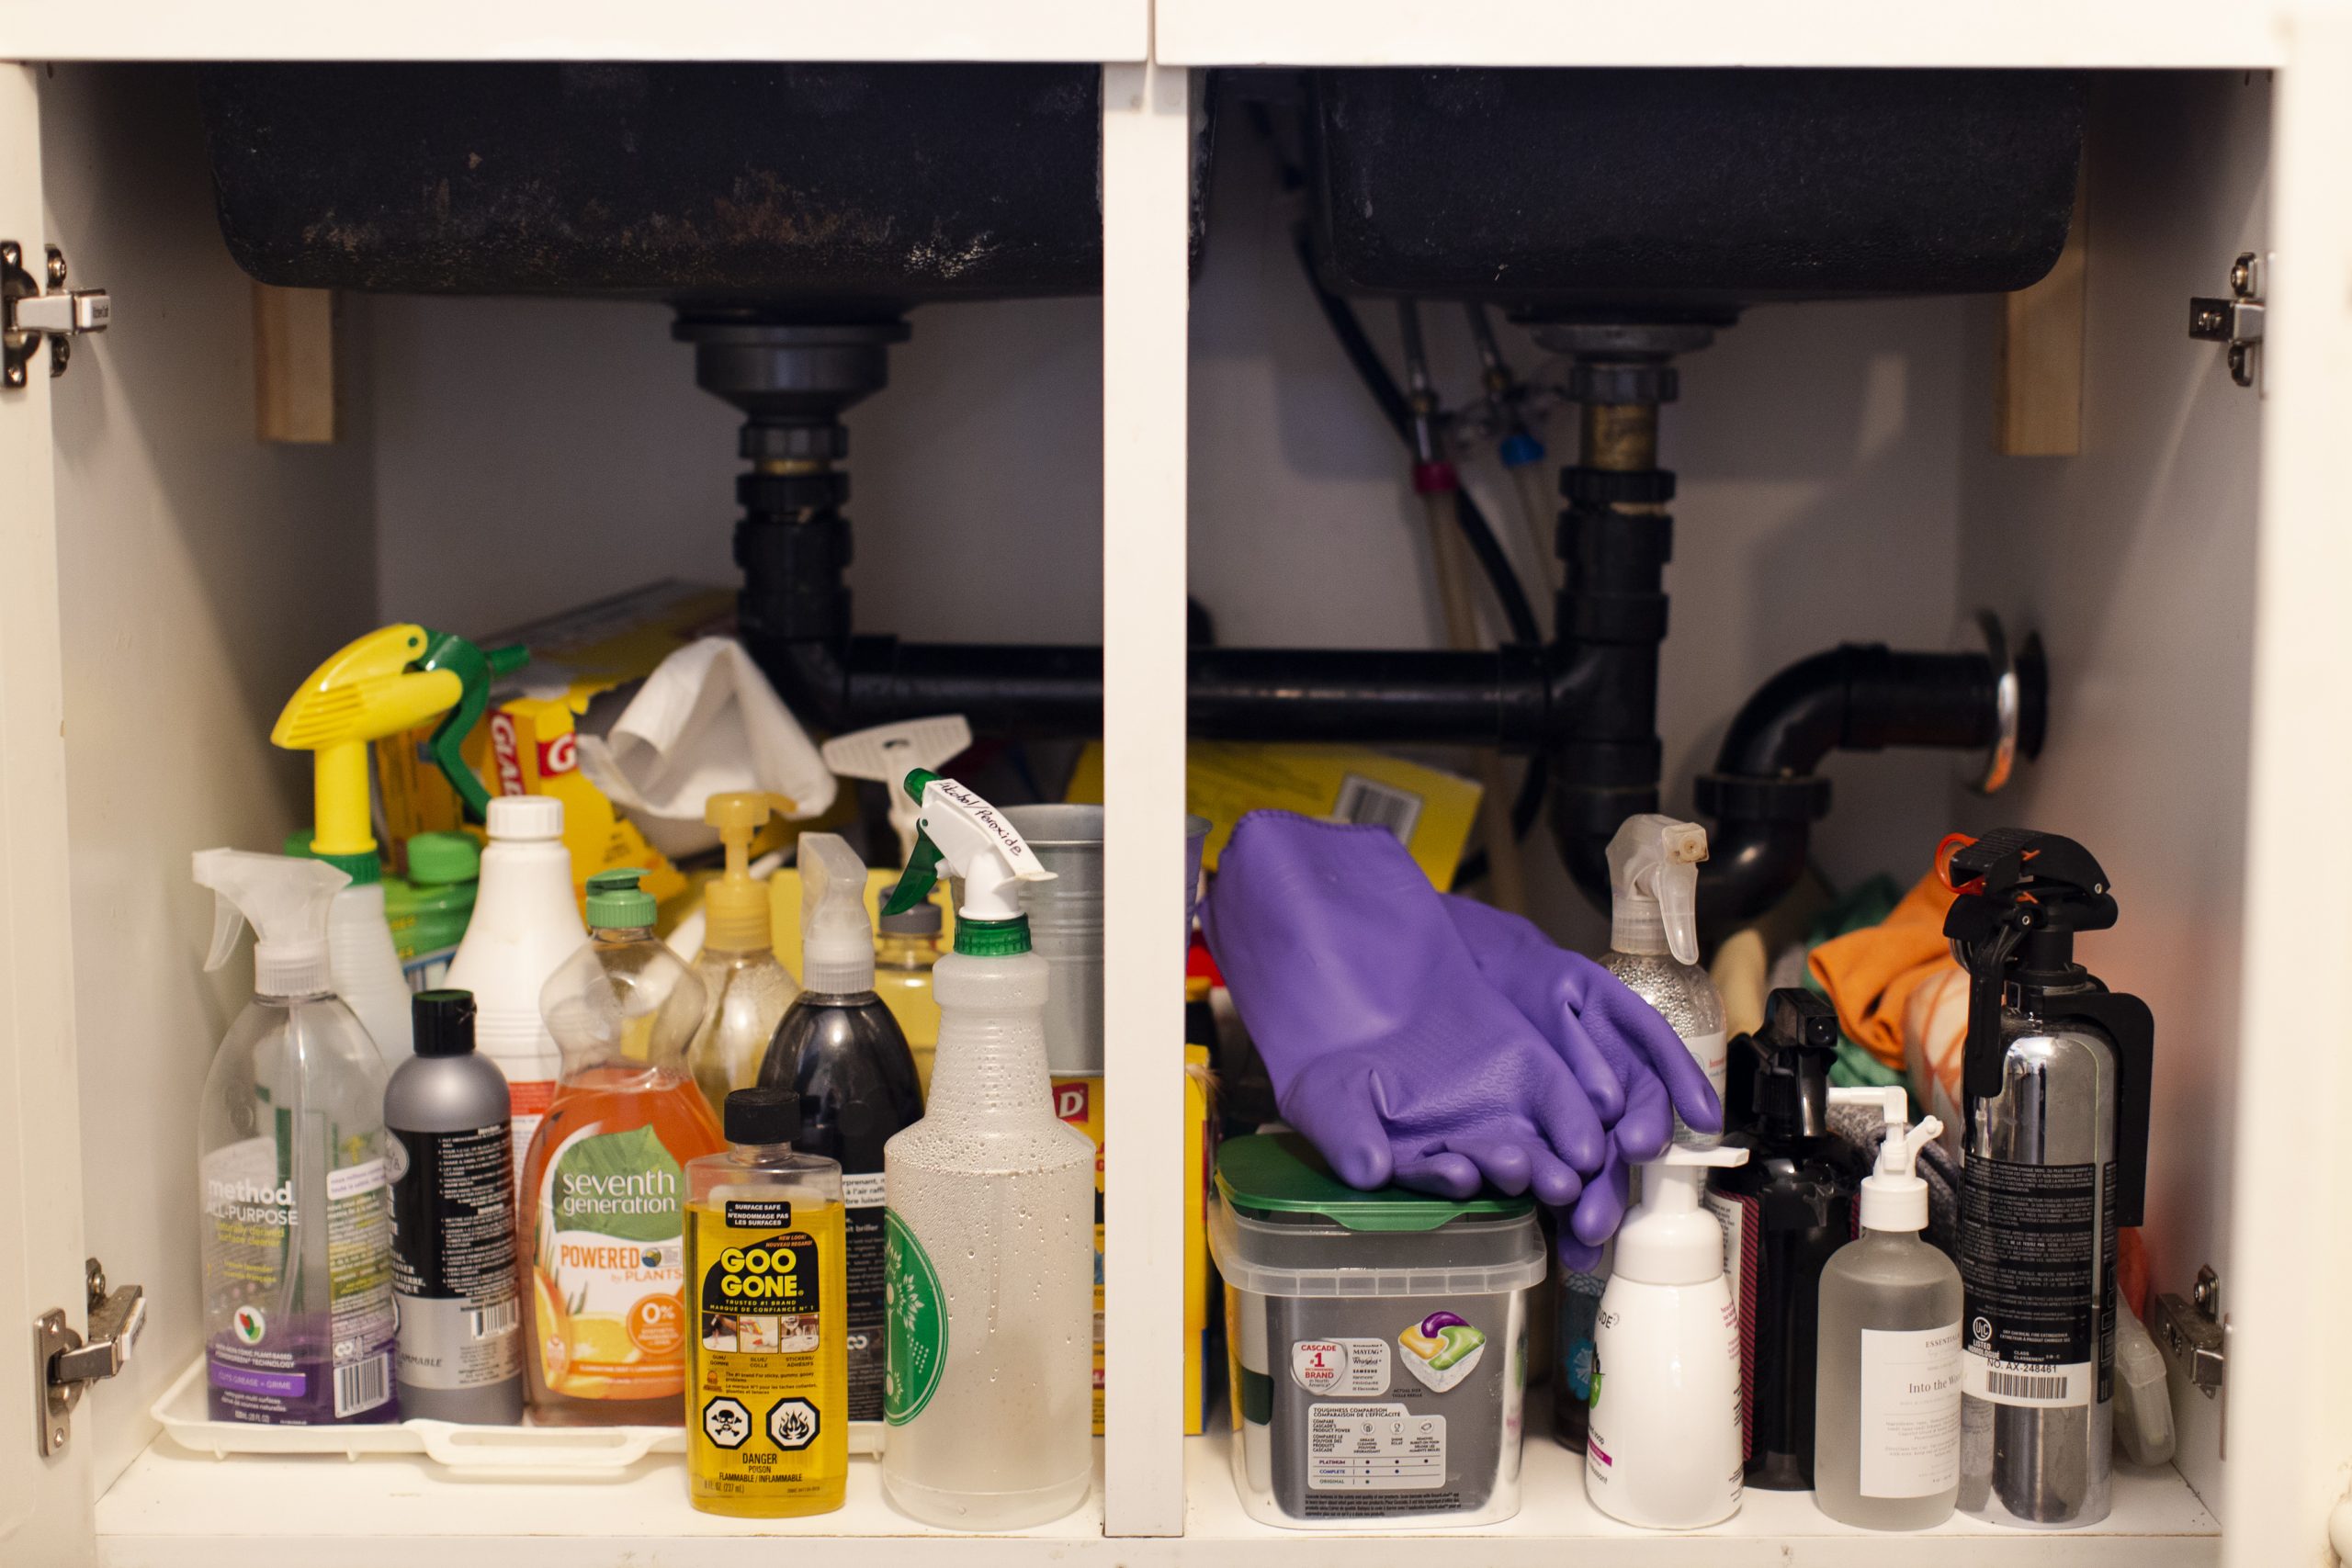
Before
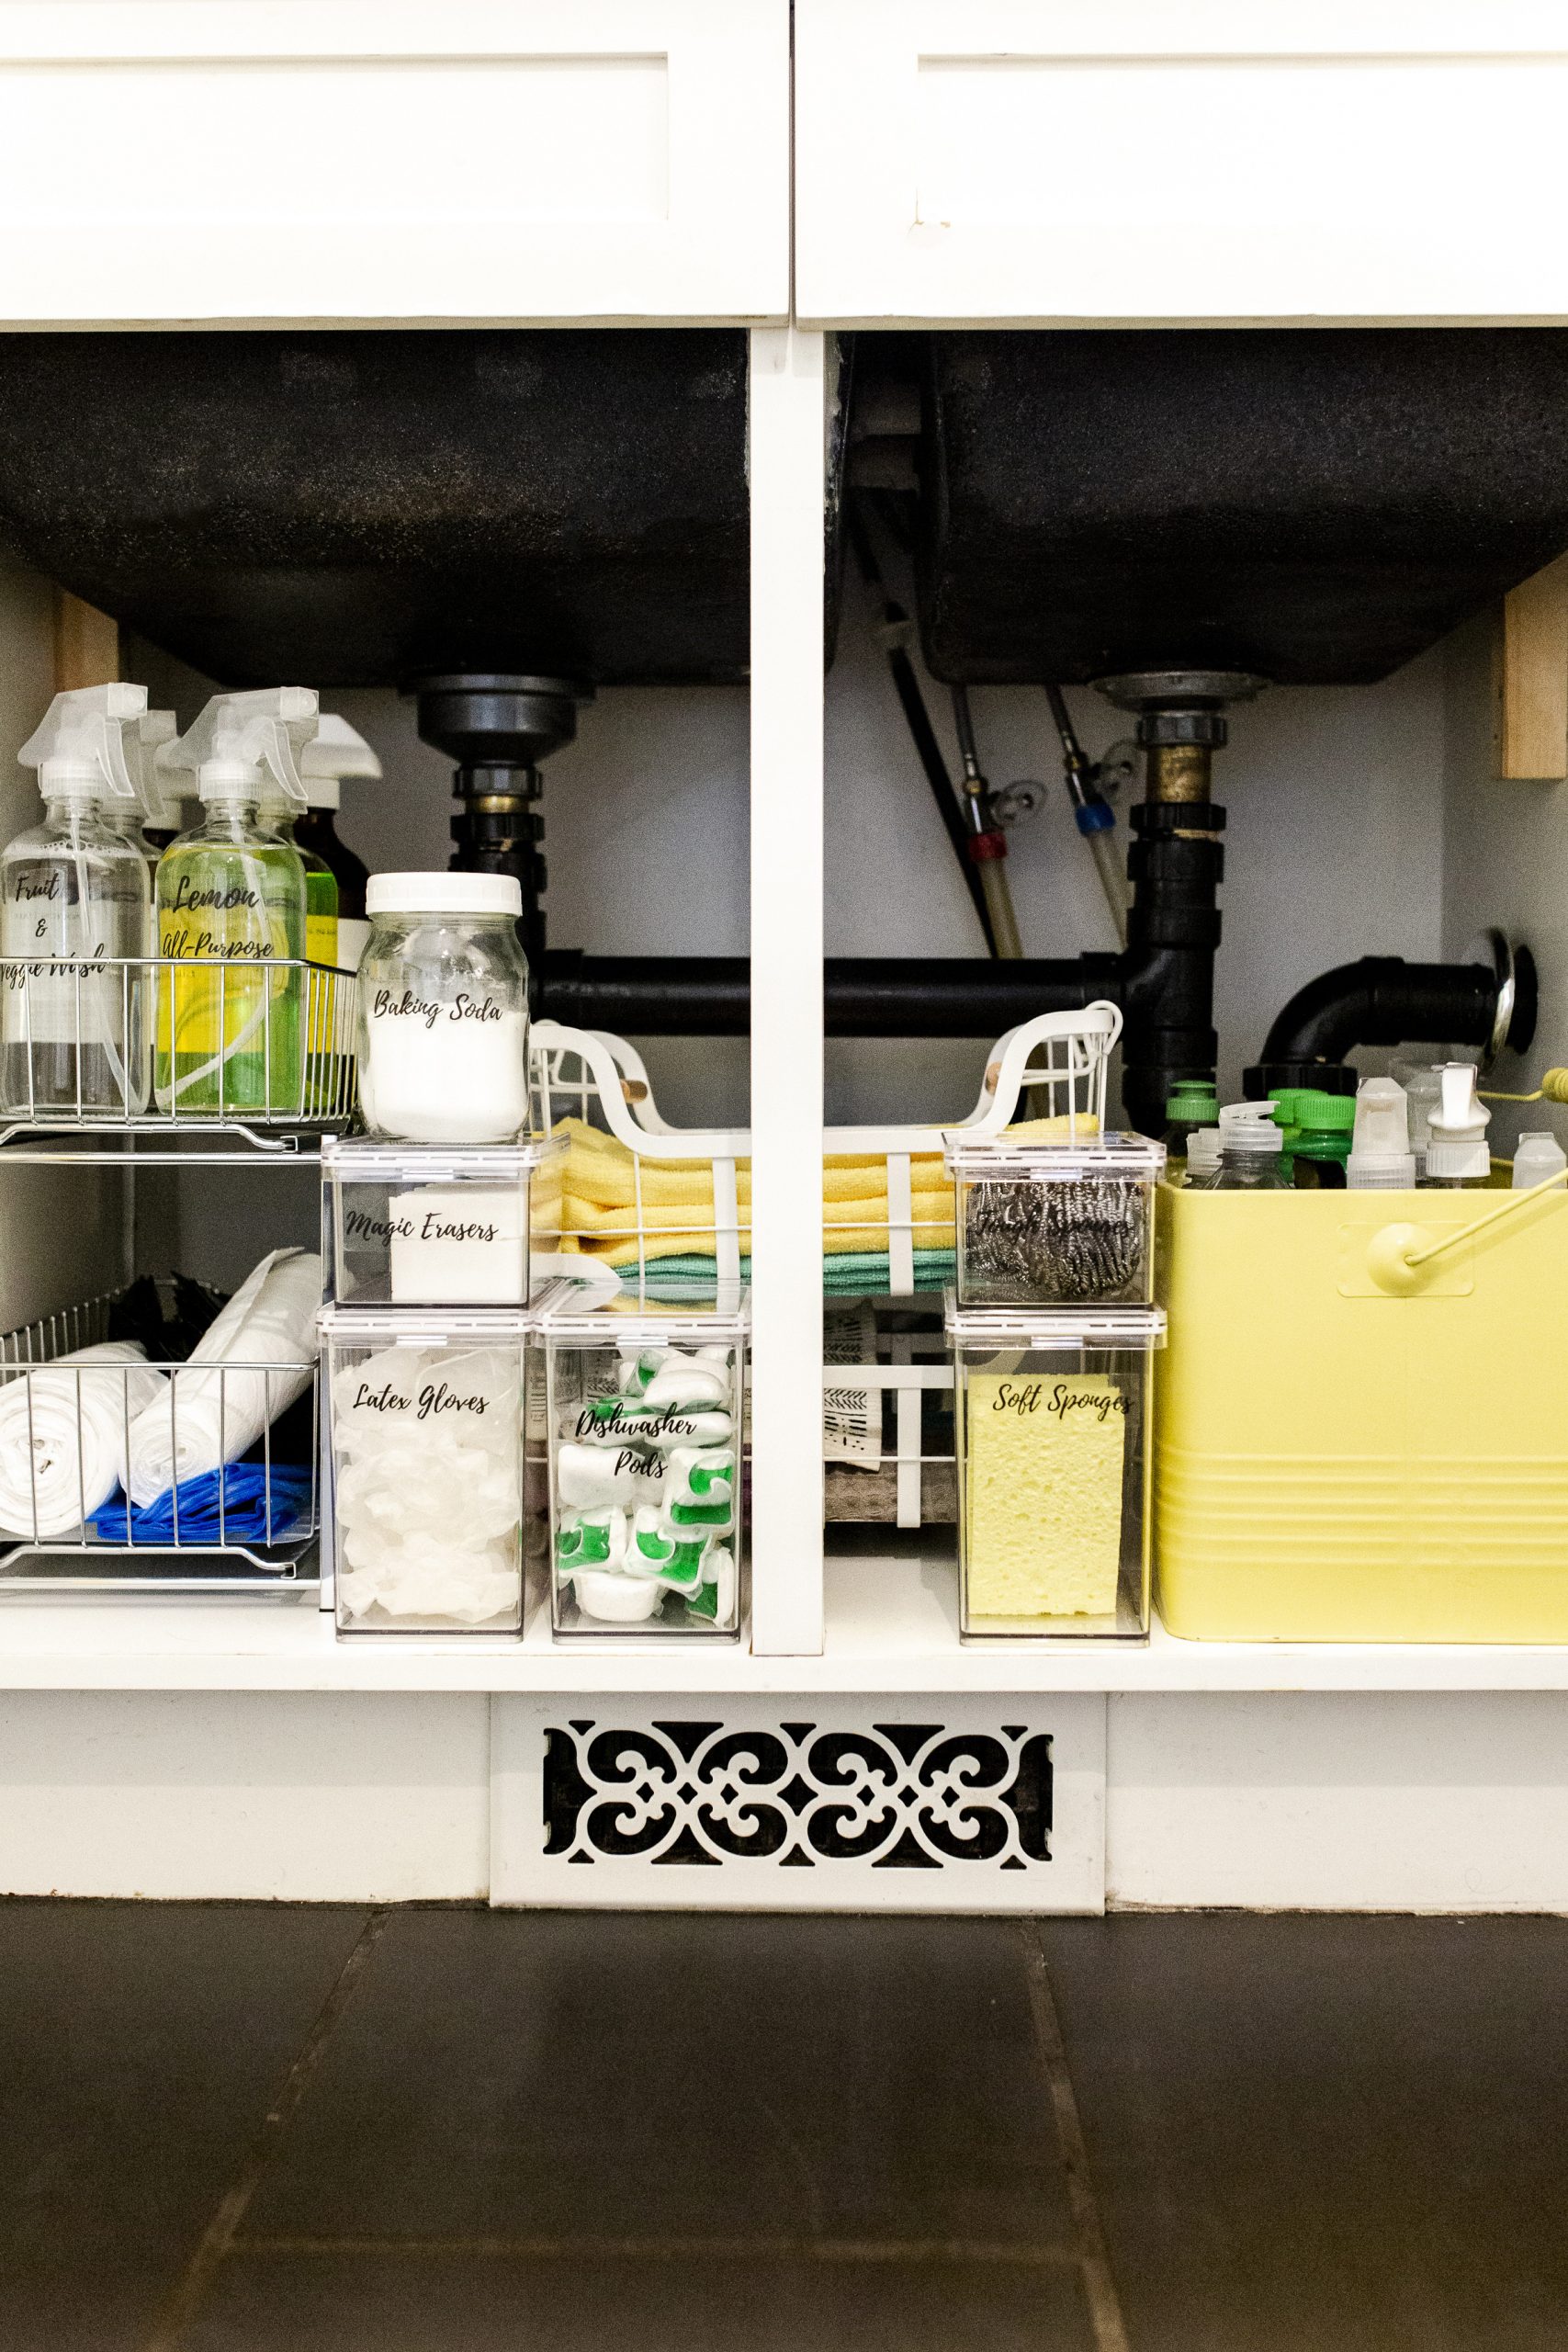
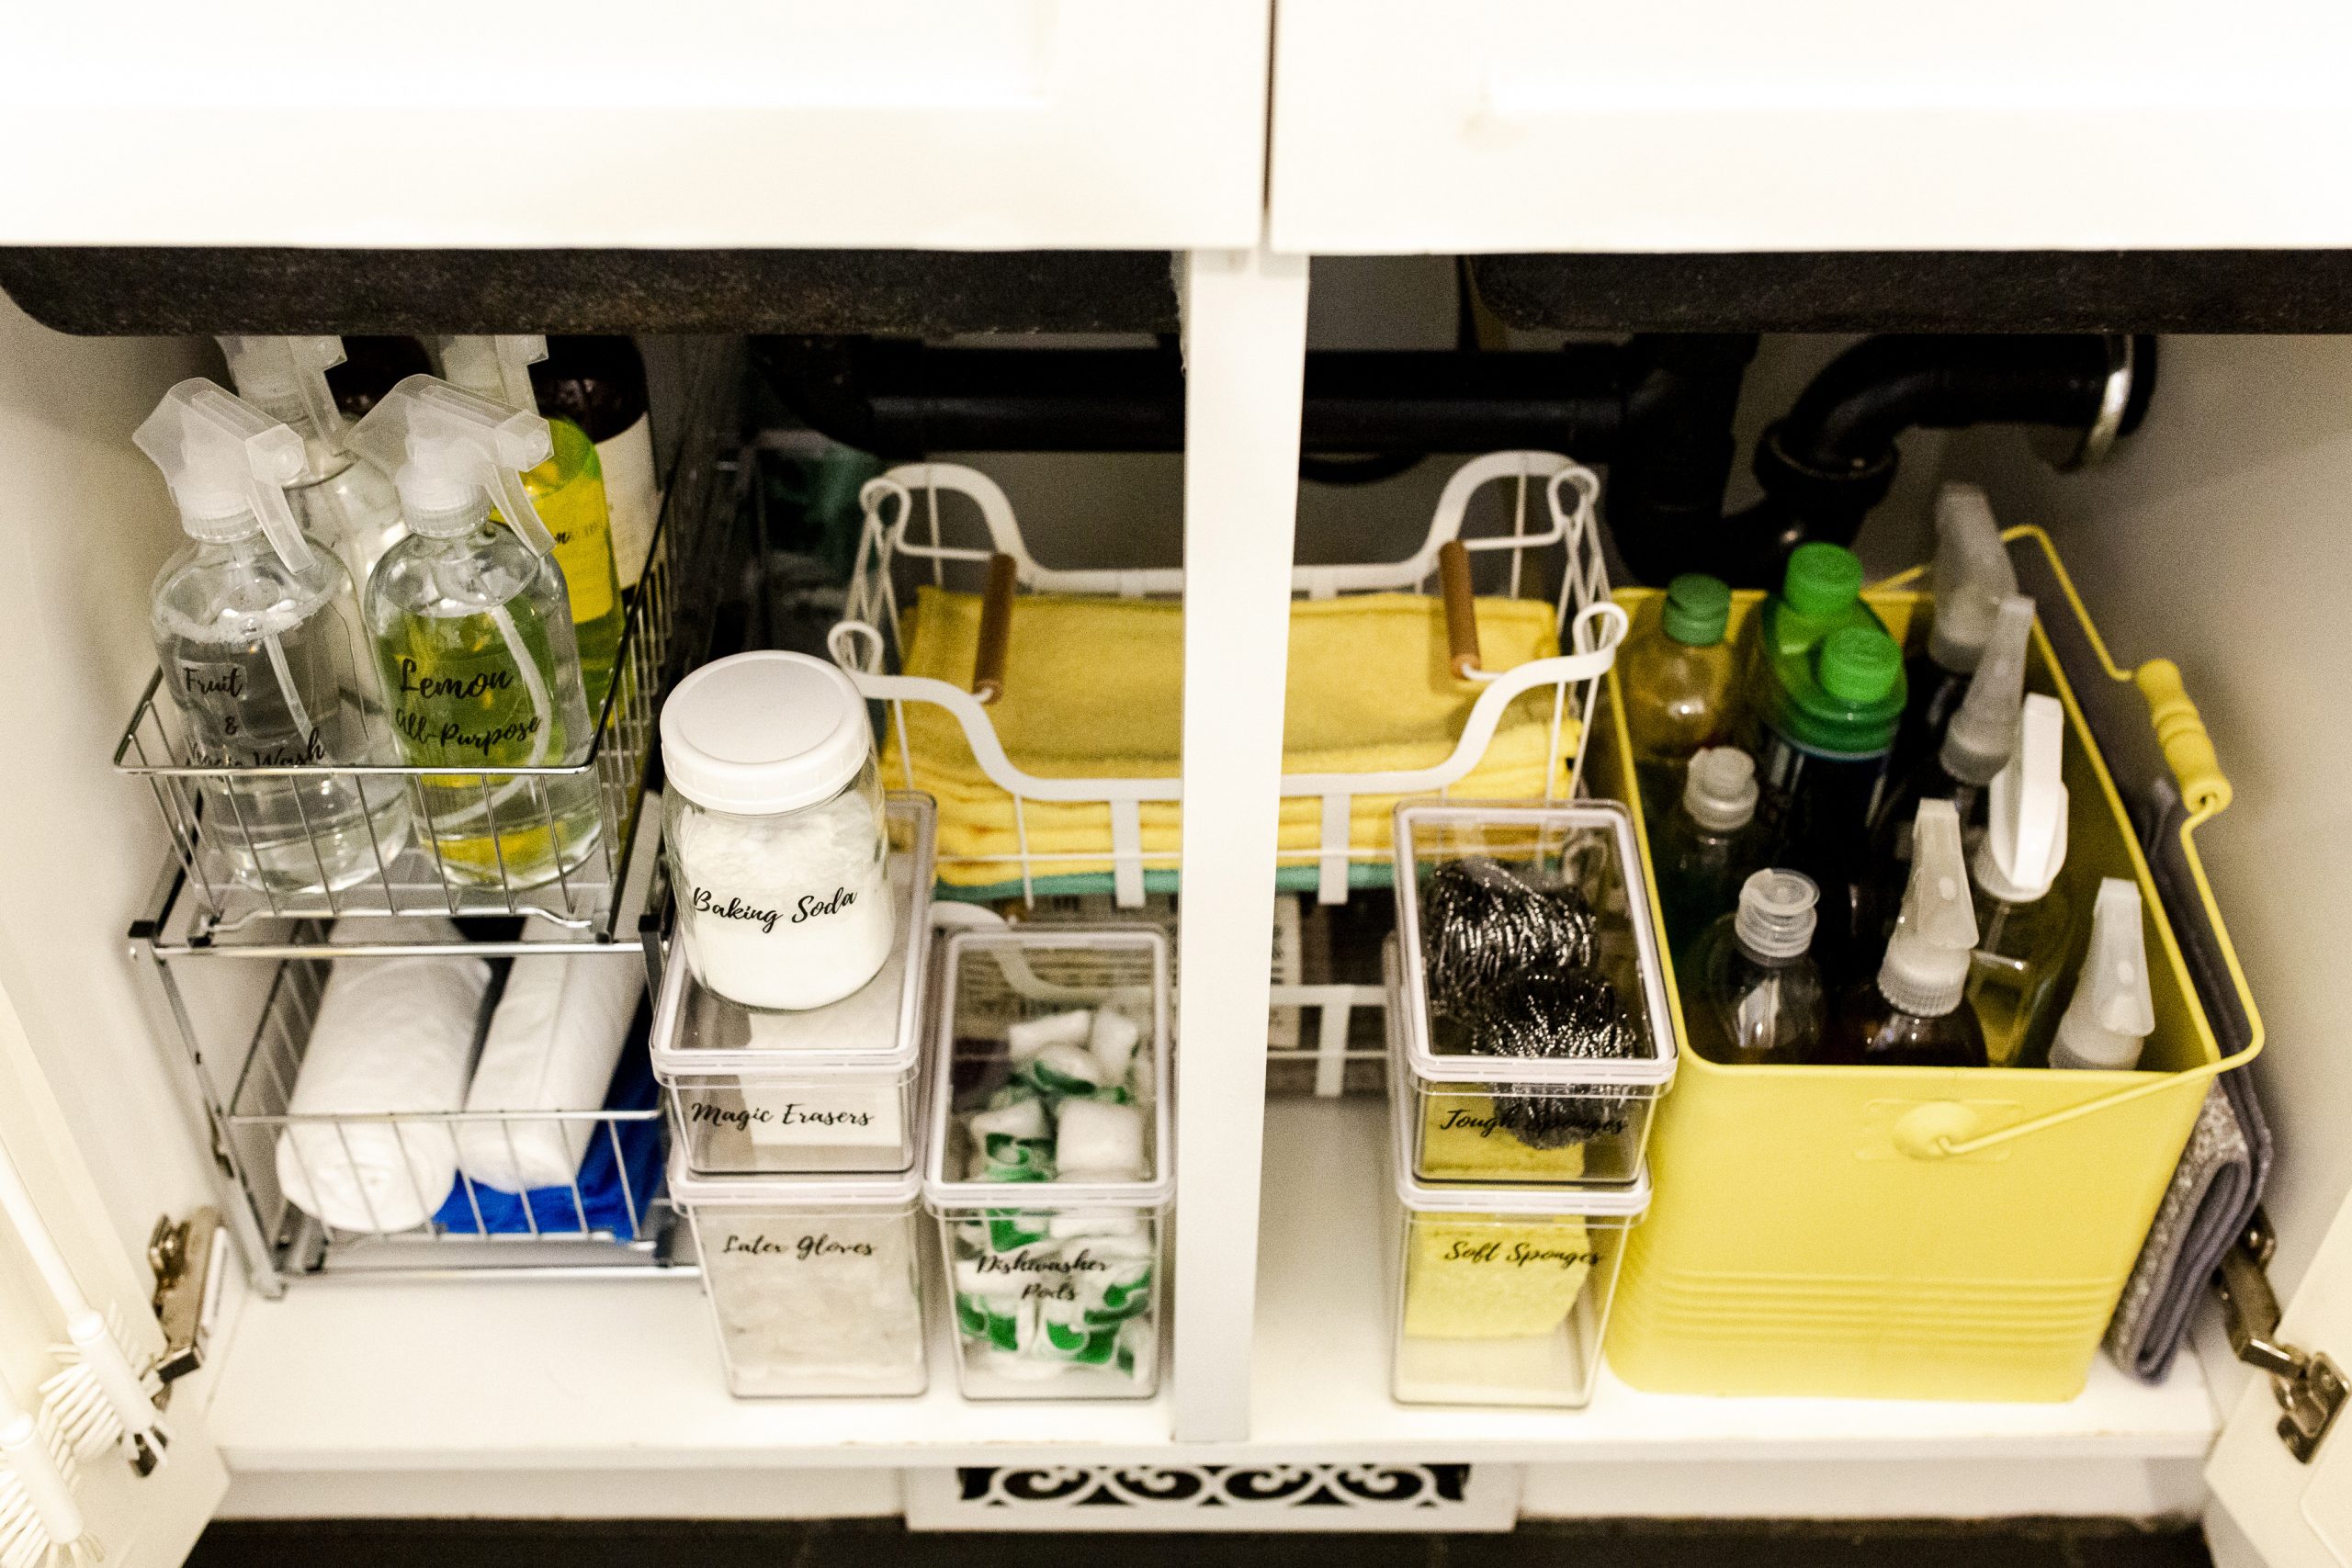
After
Plan Of Action
I always say, making your game plan ahead of time is so worth it. Here’s how I did it:
- Purge! Toss away gross old sponges, expired cleaning products, etc.
- Use your kitchen counter to layout and group everything: sponges, cloths, gloves, etc.
- Make sure the space is cleared out, and give it a good clean. I mean, how often do we really get in there?
- Review items and determine what storage solution you’ll need. First, see what you have around the house, and then go shopping for the rest. You may want to measure the space first to ensure whatever you purchase will fit.
- Before removing labels from new containers, test everything out in the containers and the space to make sure it works. This way, you’re not losing money if something doesn’t fit.
- Wash and clean all of your containers.
- Put everything back under the sink!
My specific tips for styling this space to be functional and pretty are below.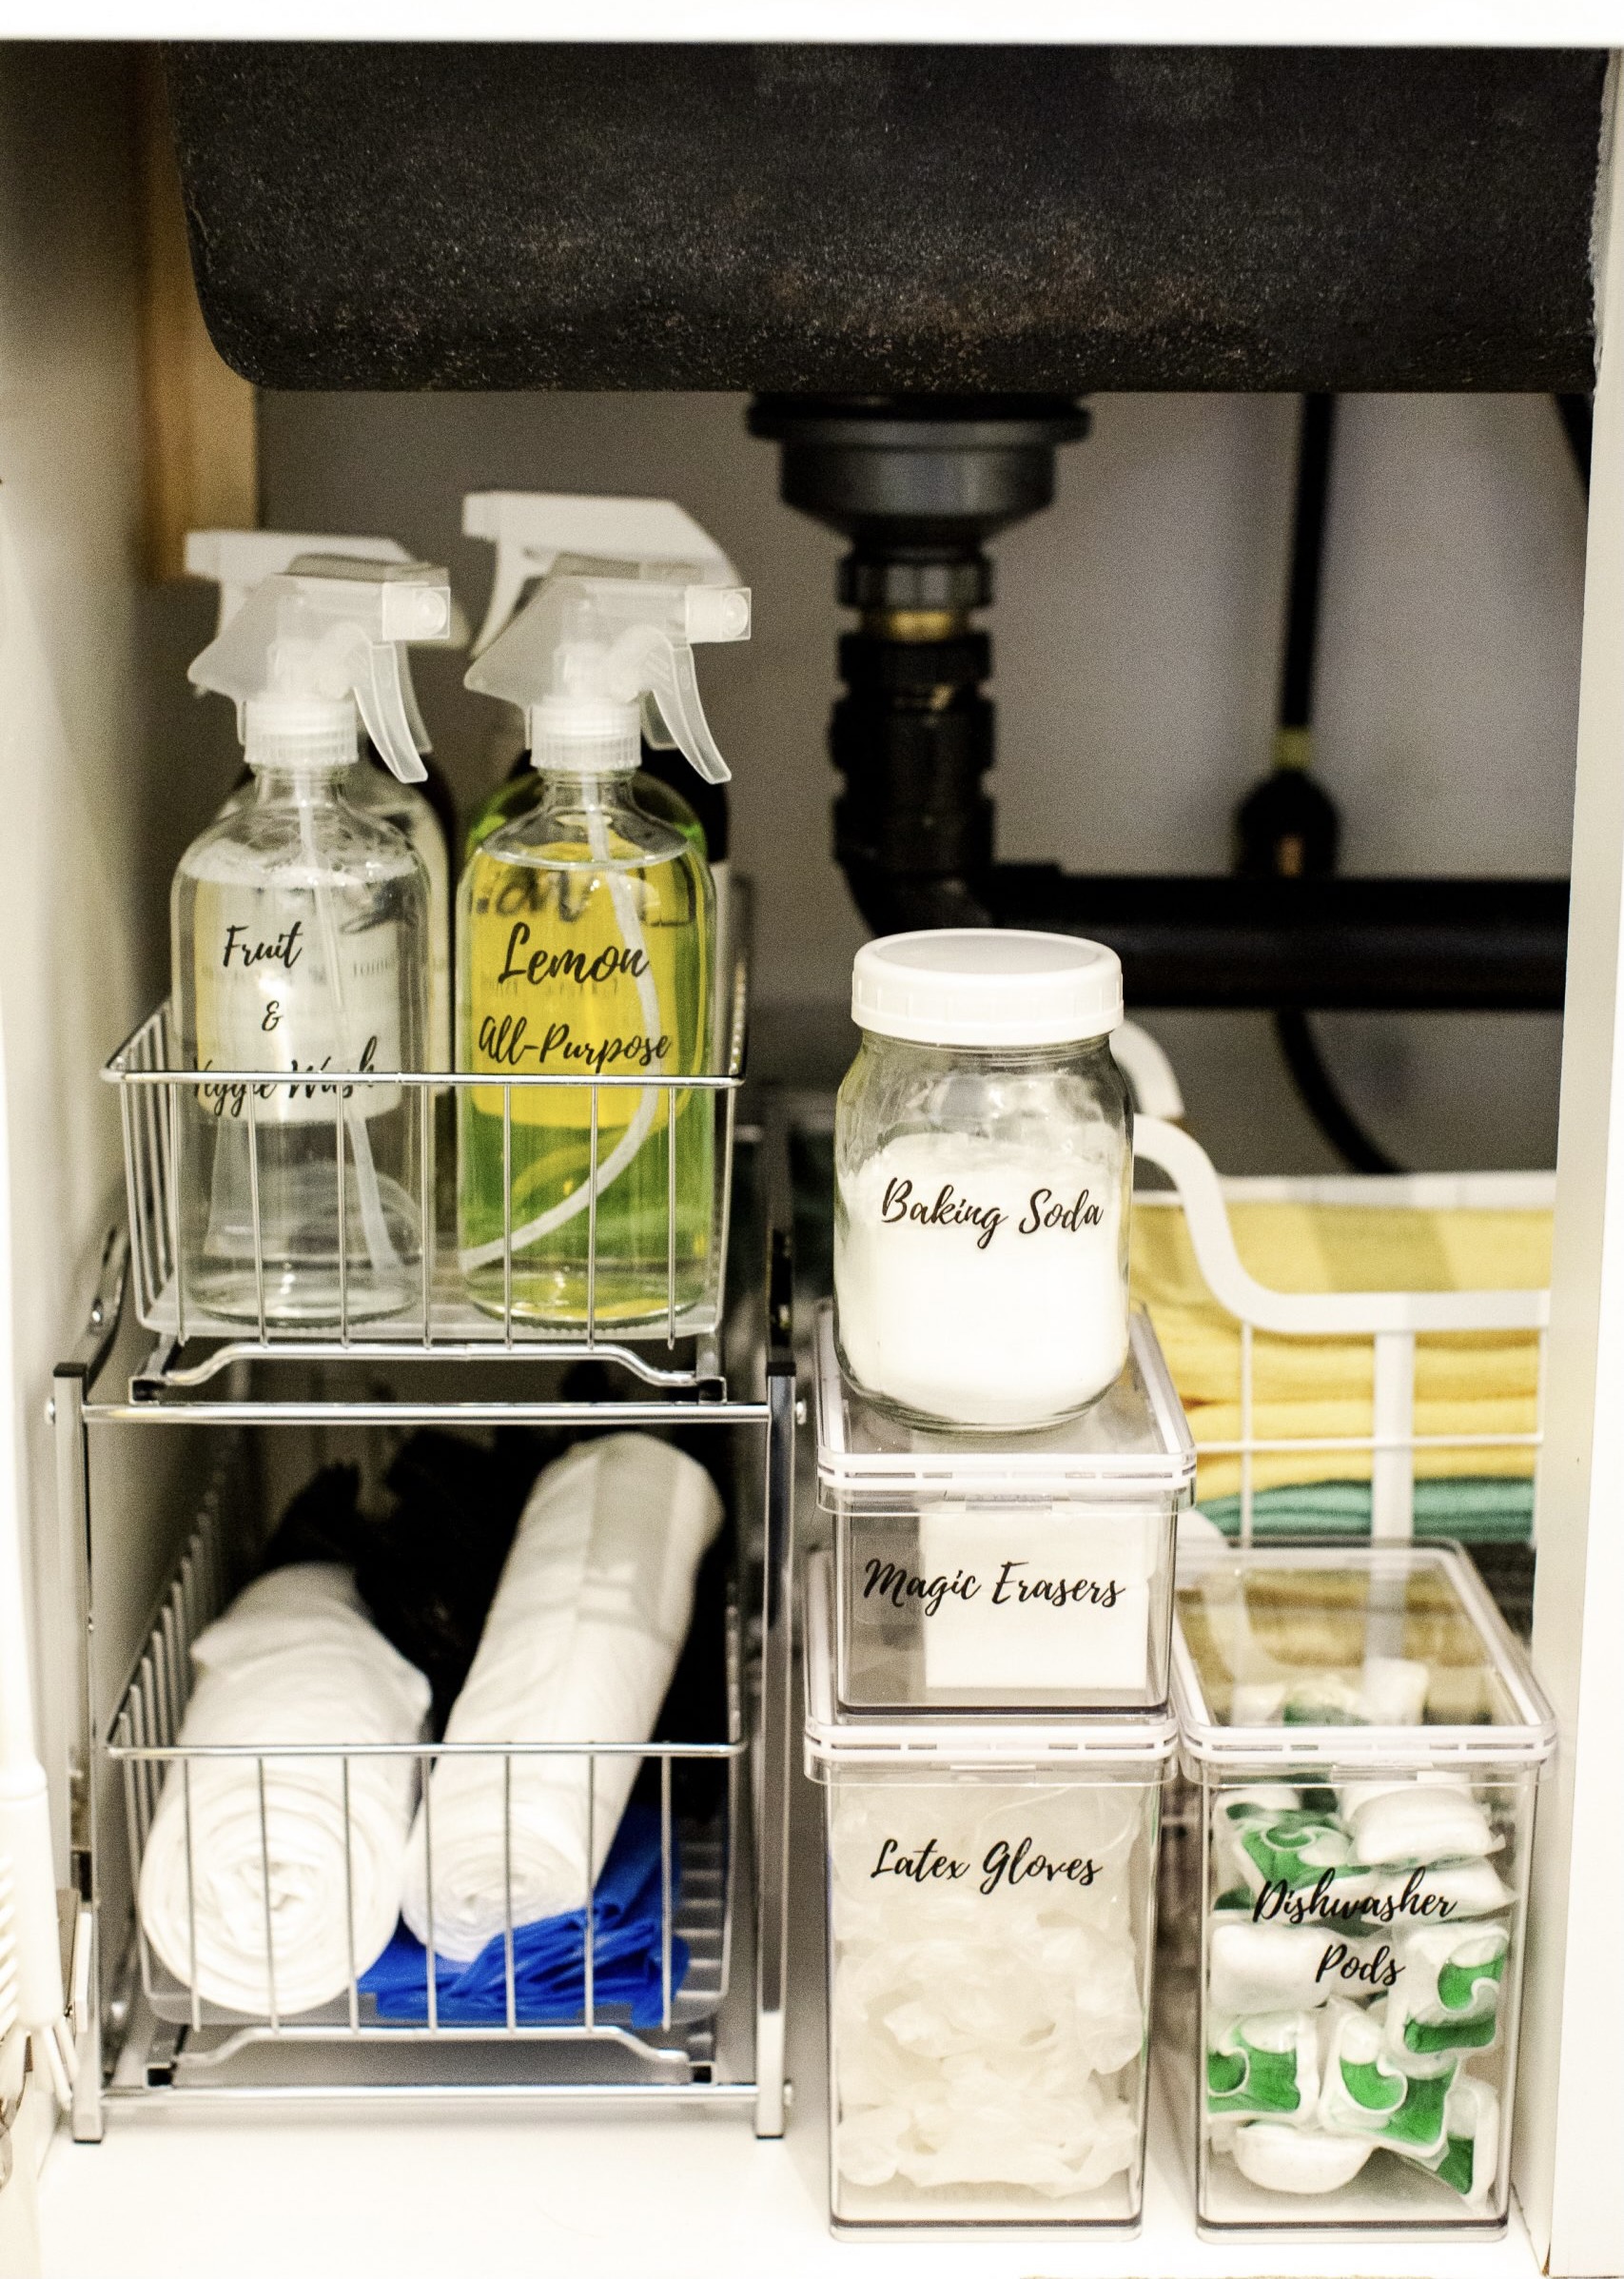
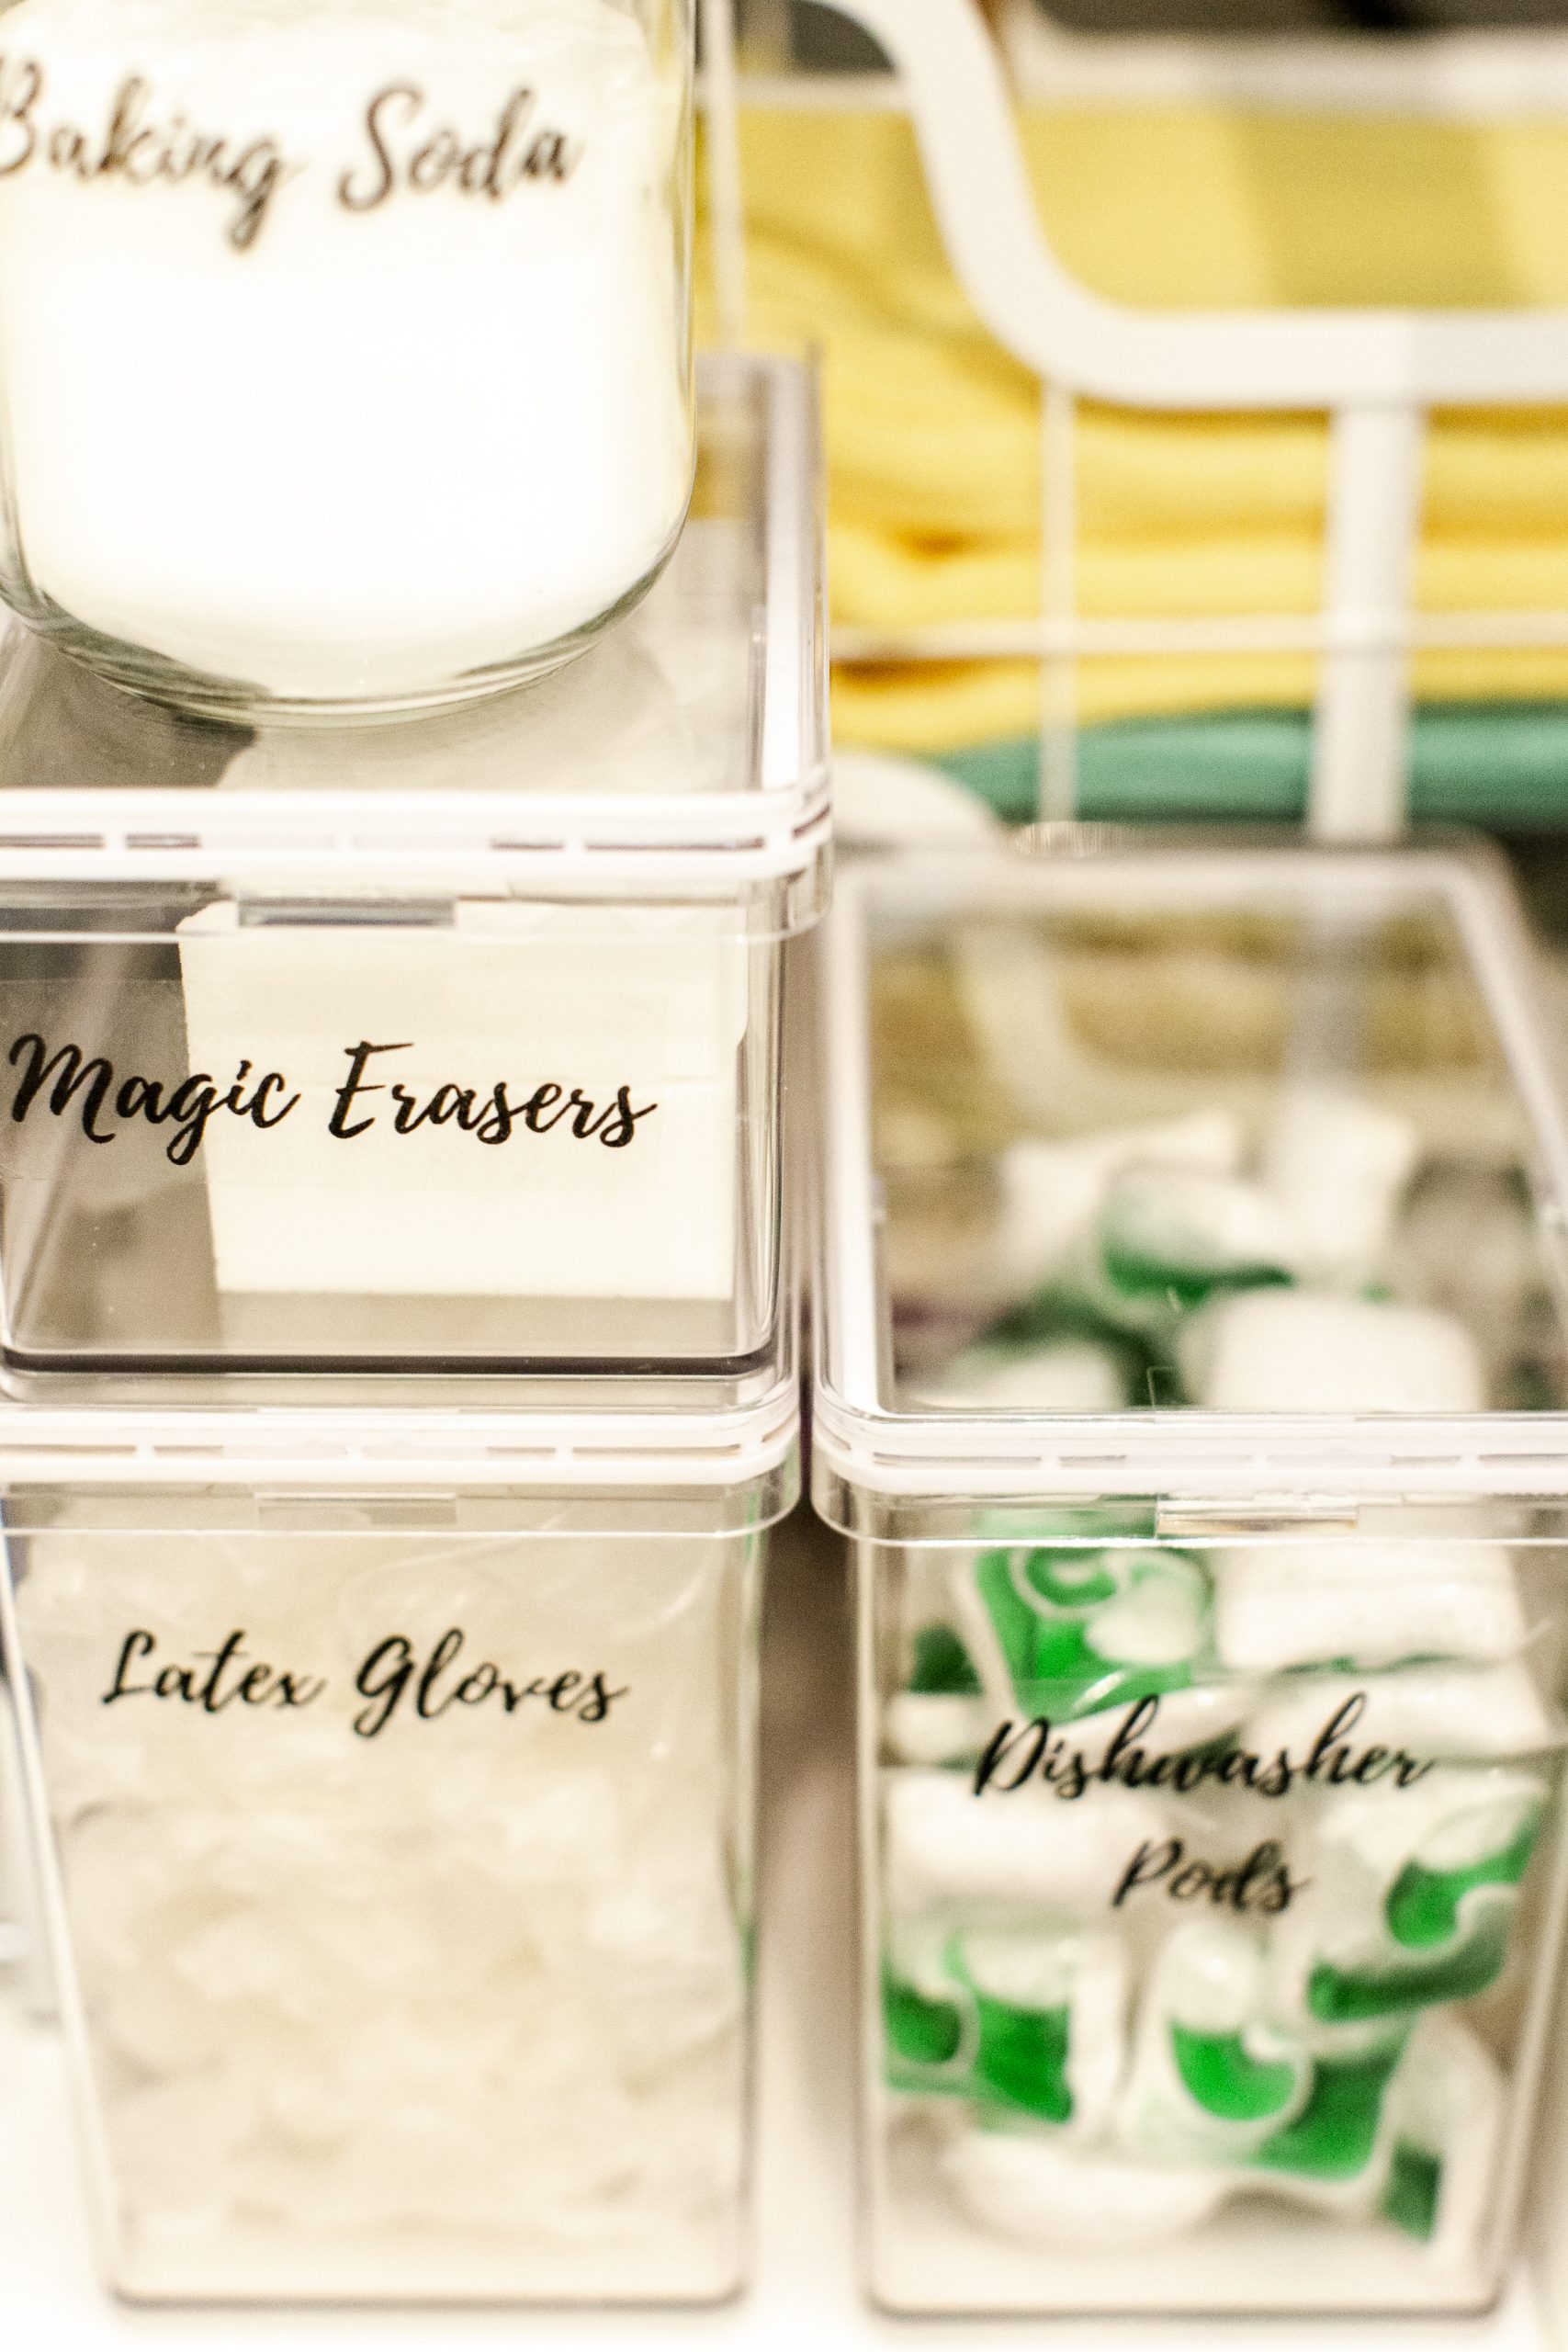
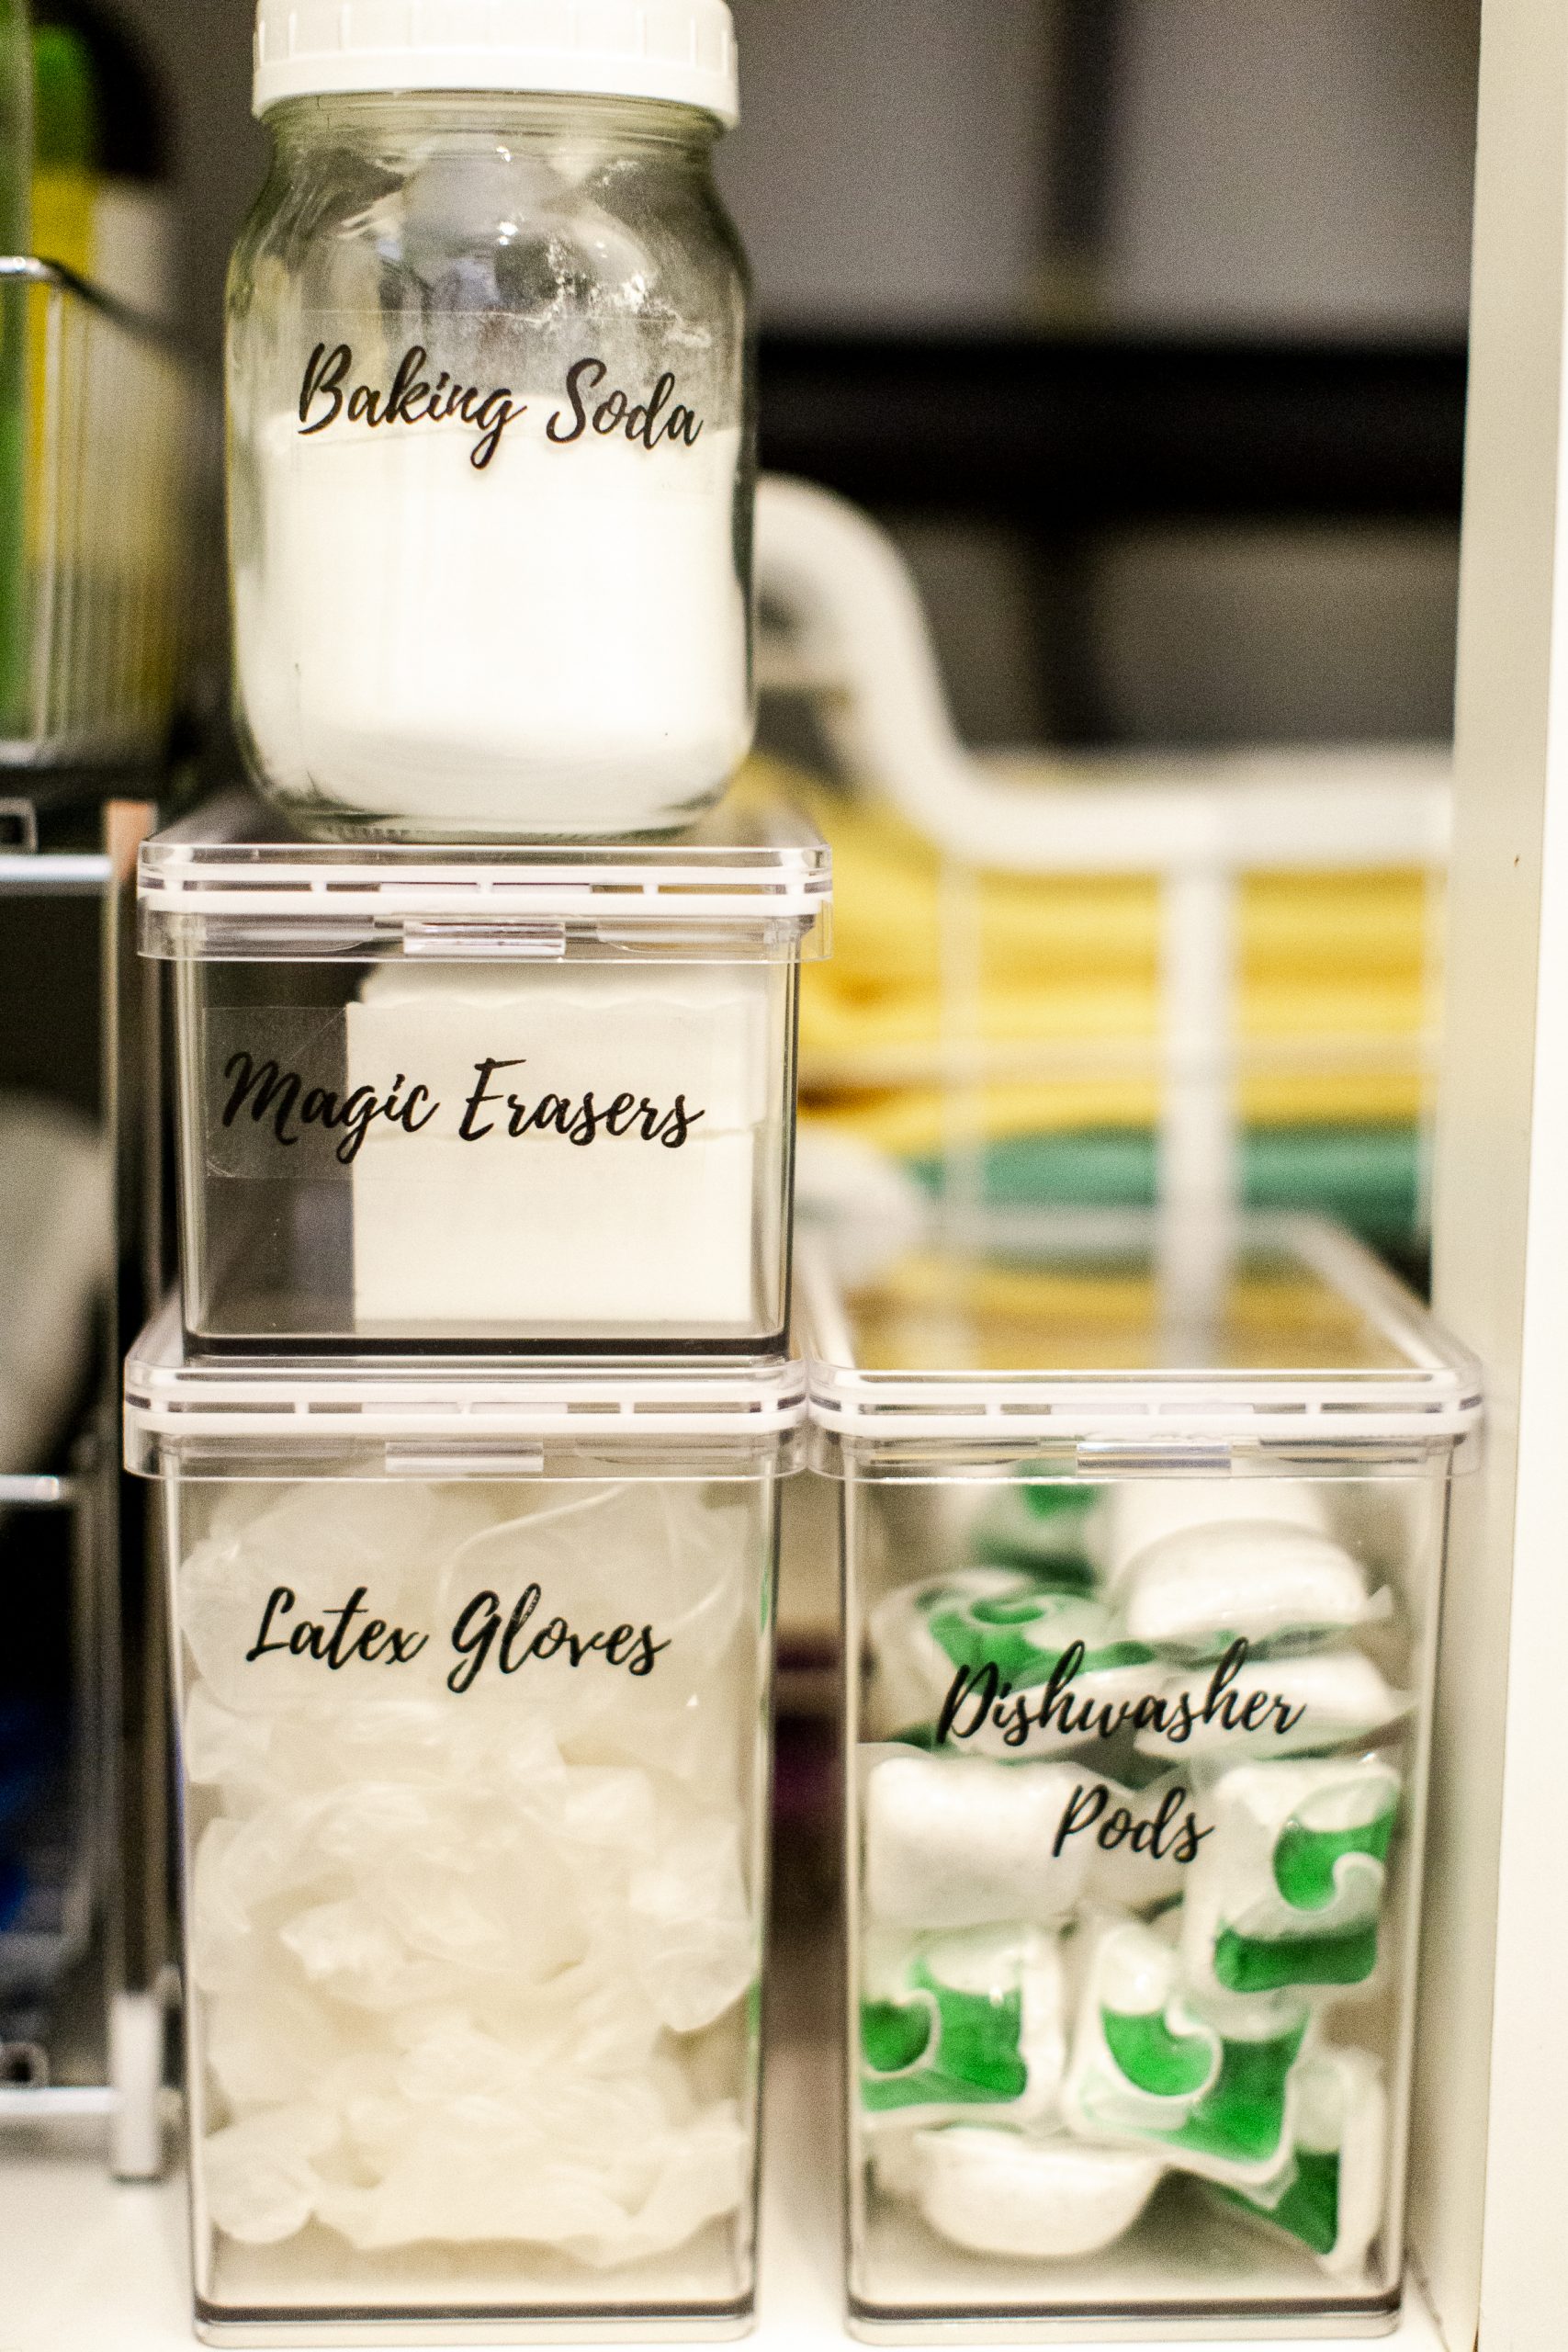
Clear Canisters With Lids
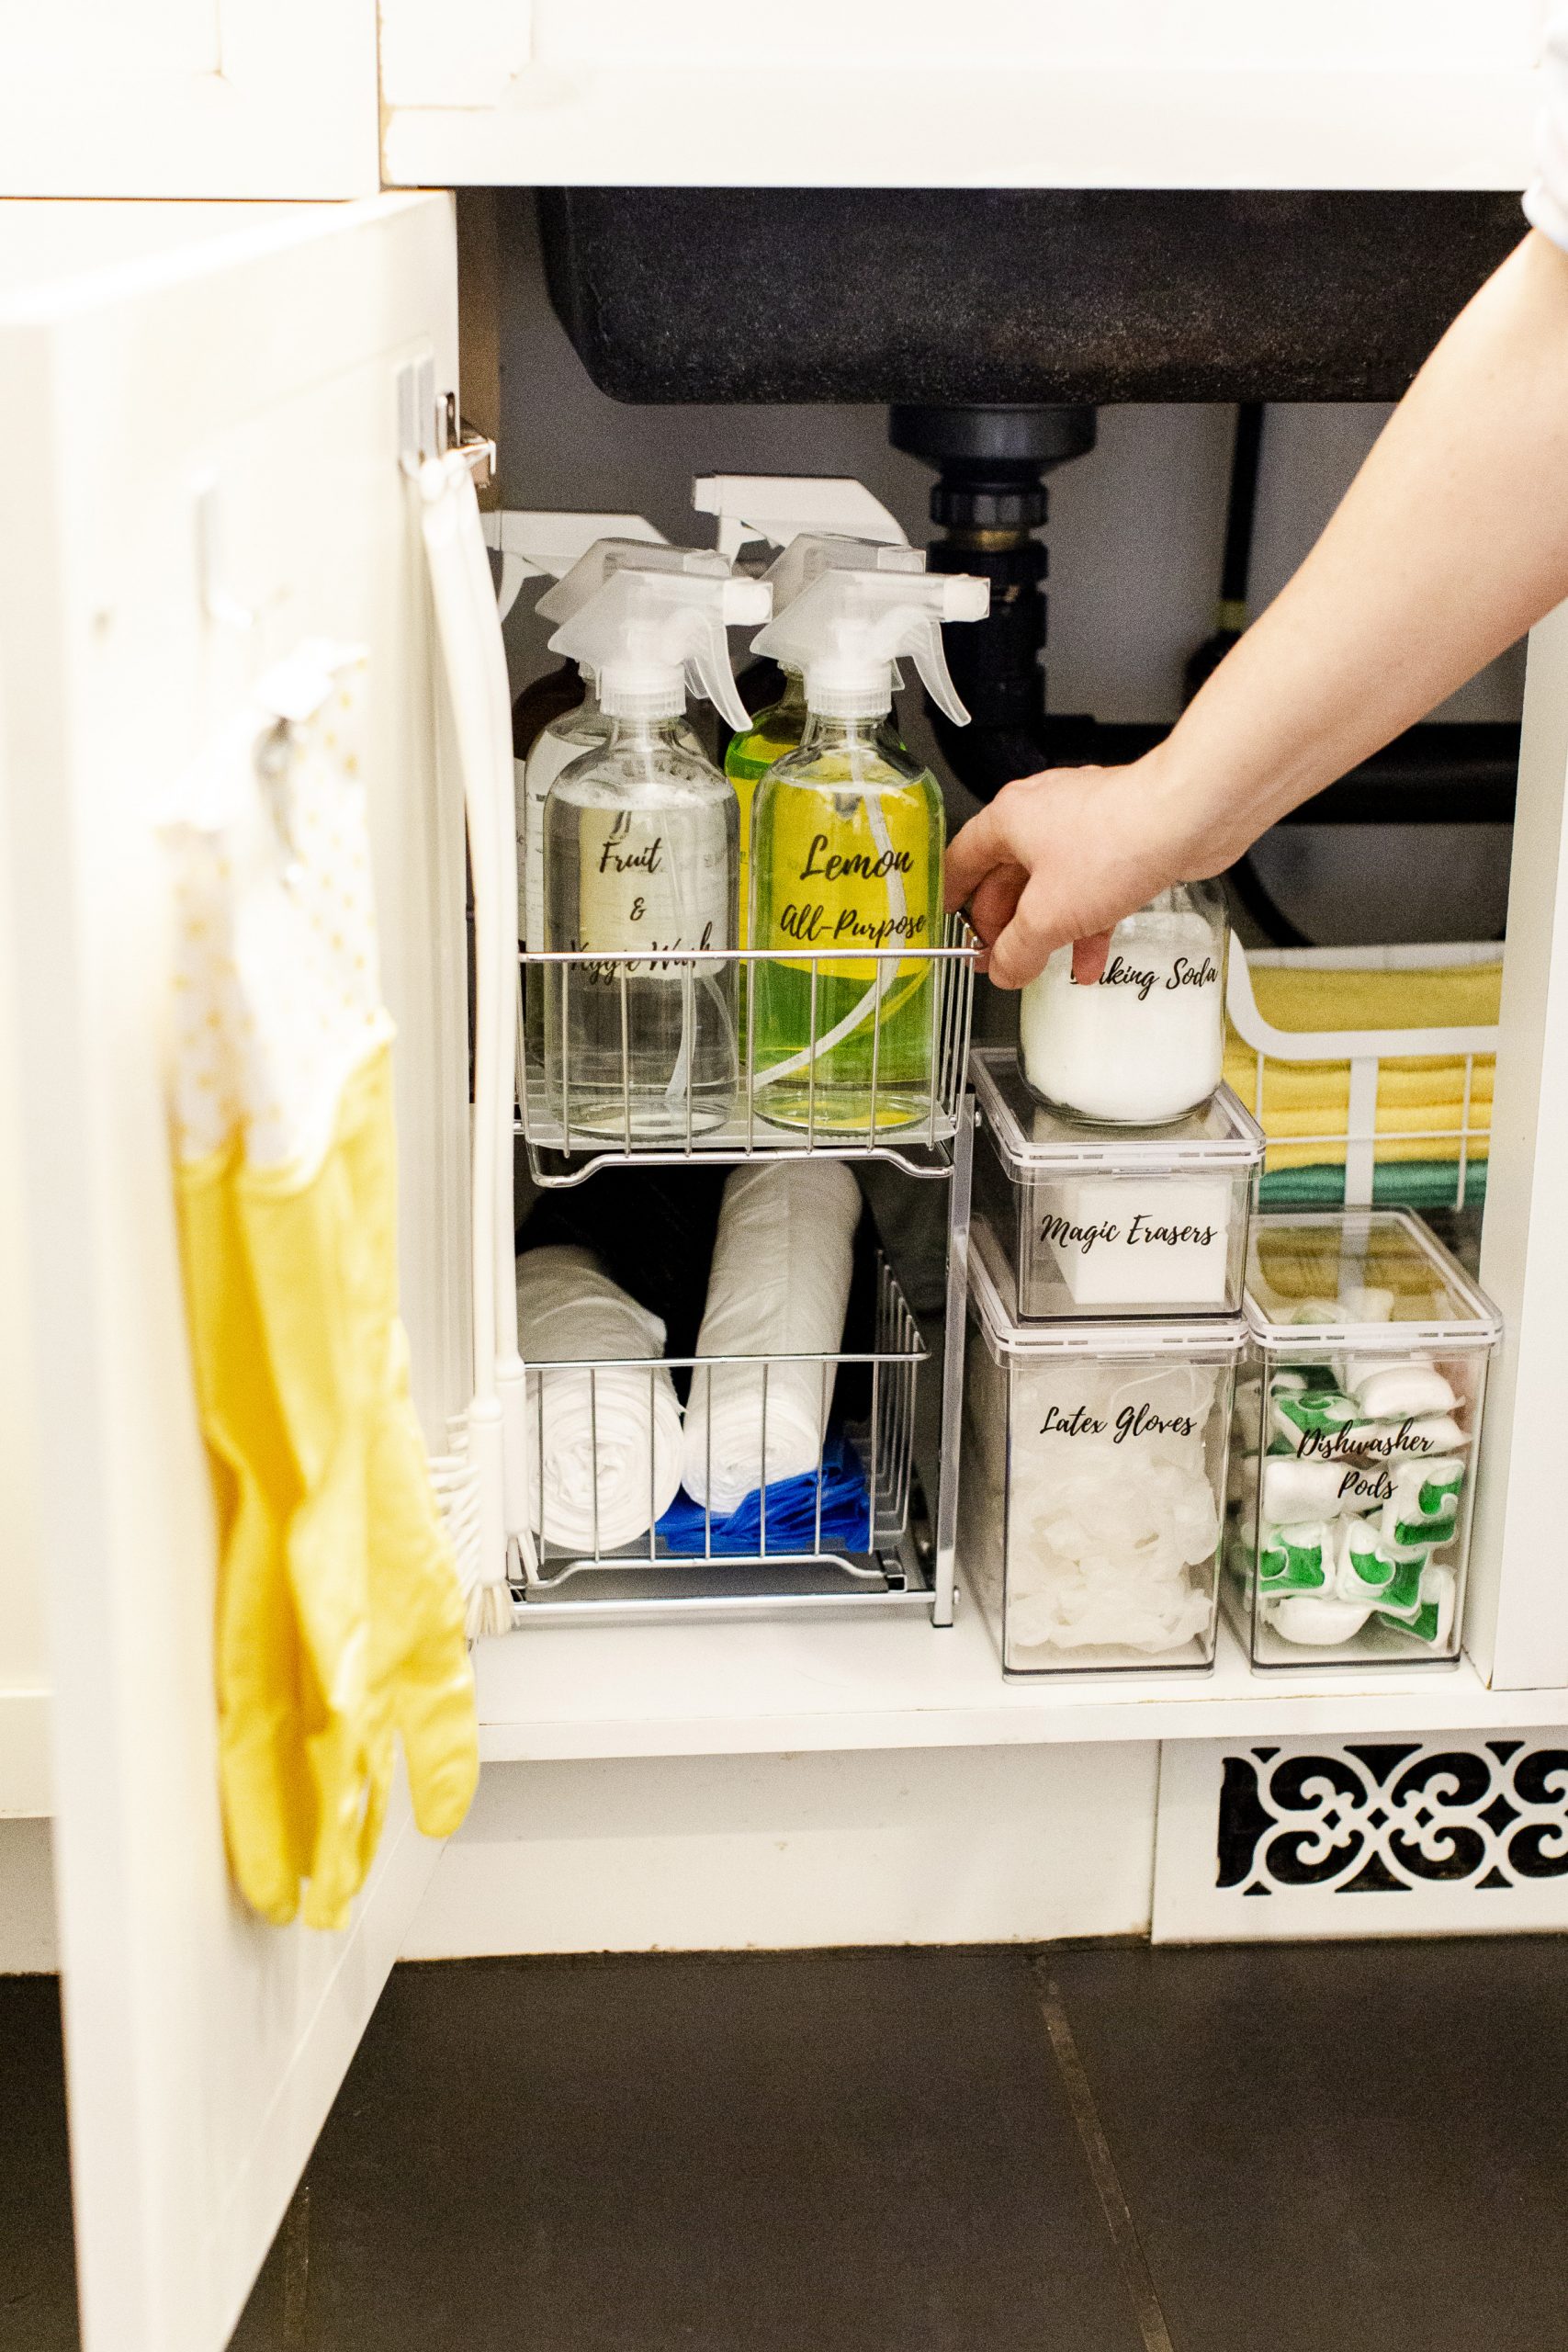
Canadian Tire now carries some products from The Home Edit, including these clear canisters in small, medium, and large. The stackable canisters are BPA-free with shatter-resistant plastic. The lids have a silicone gasket, which gives the canisters an air-tight seal to help preserve freshness. It’s great to be able to see everything inside, so you know what you’re potentially running out of without having to open each one. These are a great alternative to a mishmash of tacky product bottles and boxes that tend to get gross over time. Having your supplies in matching canisters gives the space a nice, cohesive vibe.
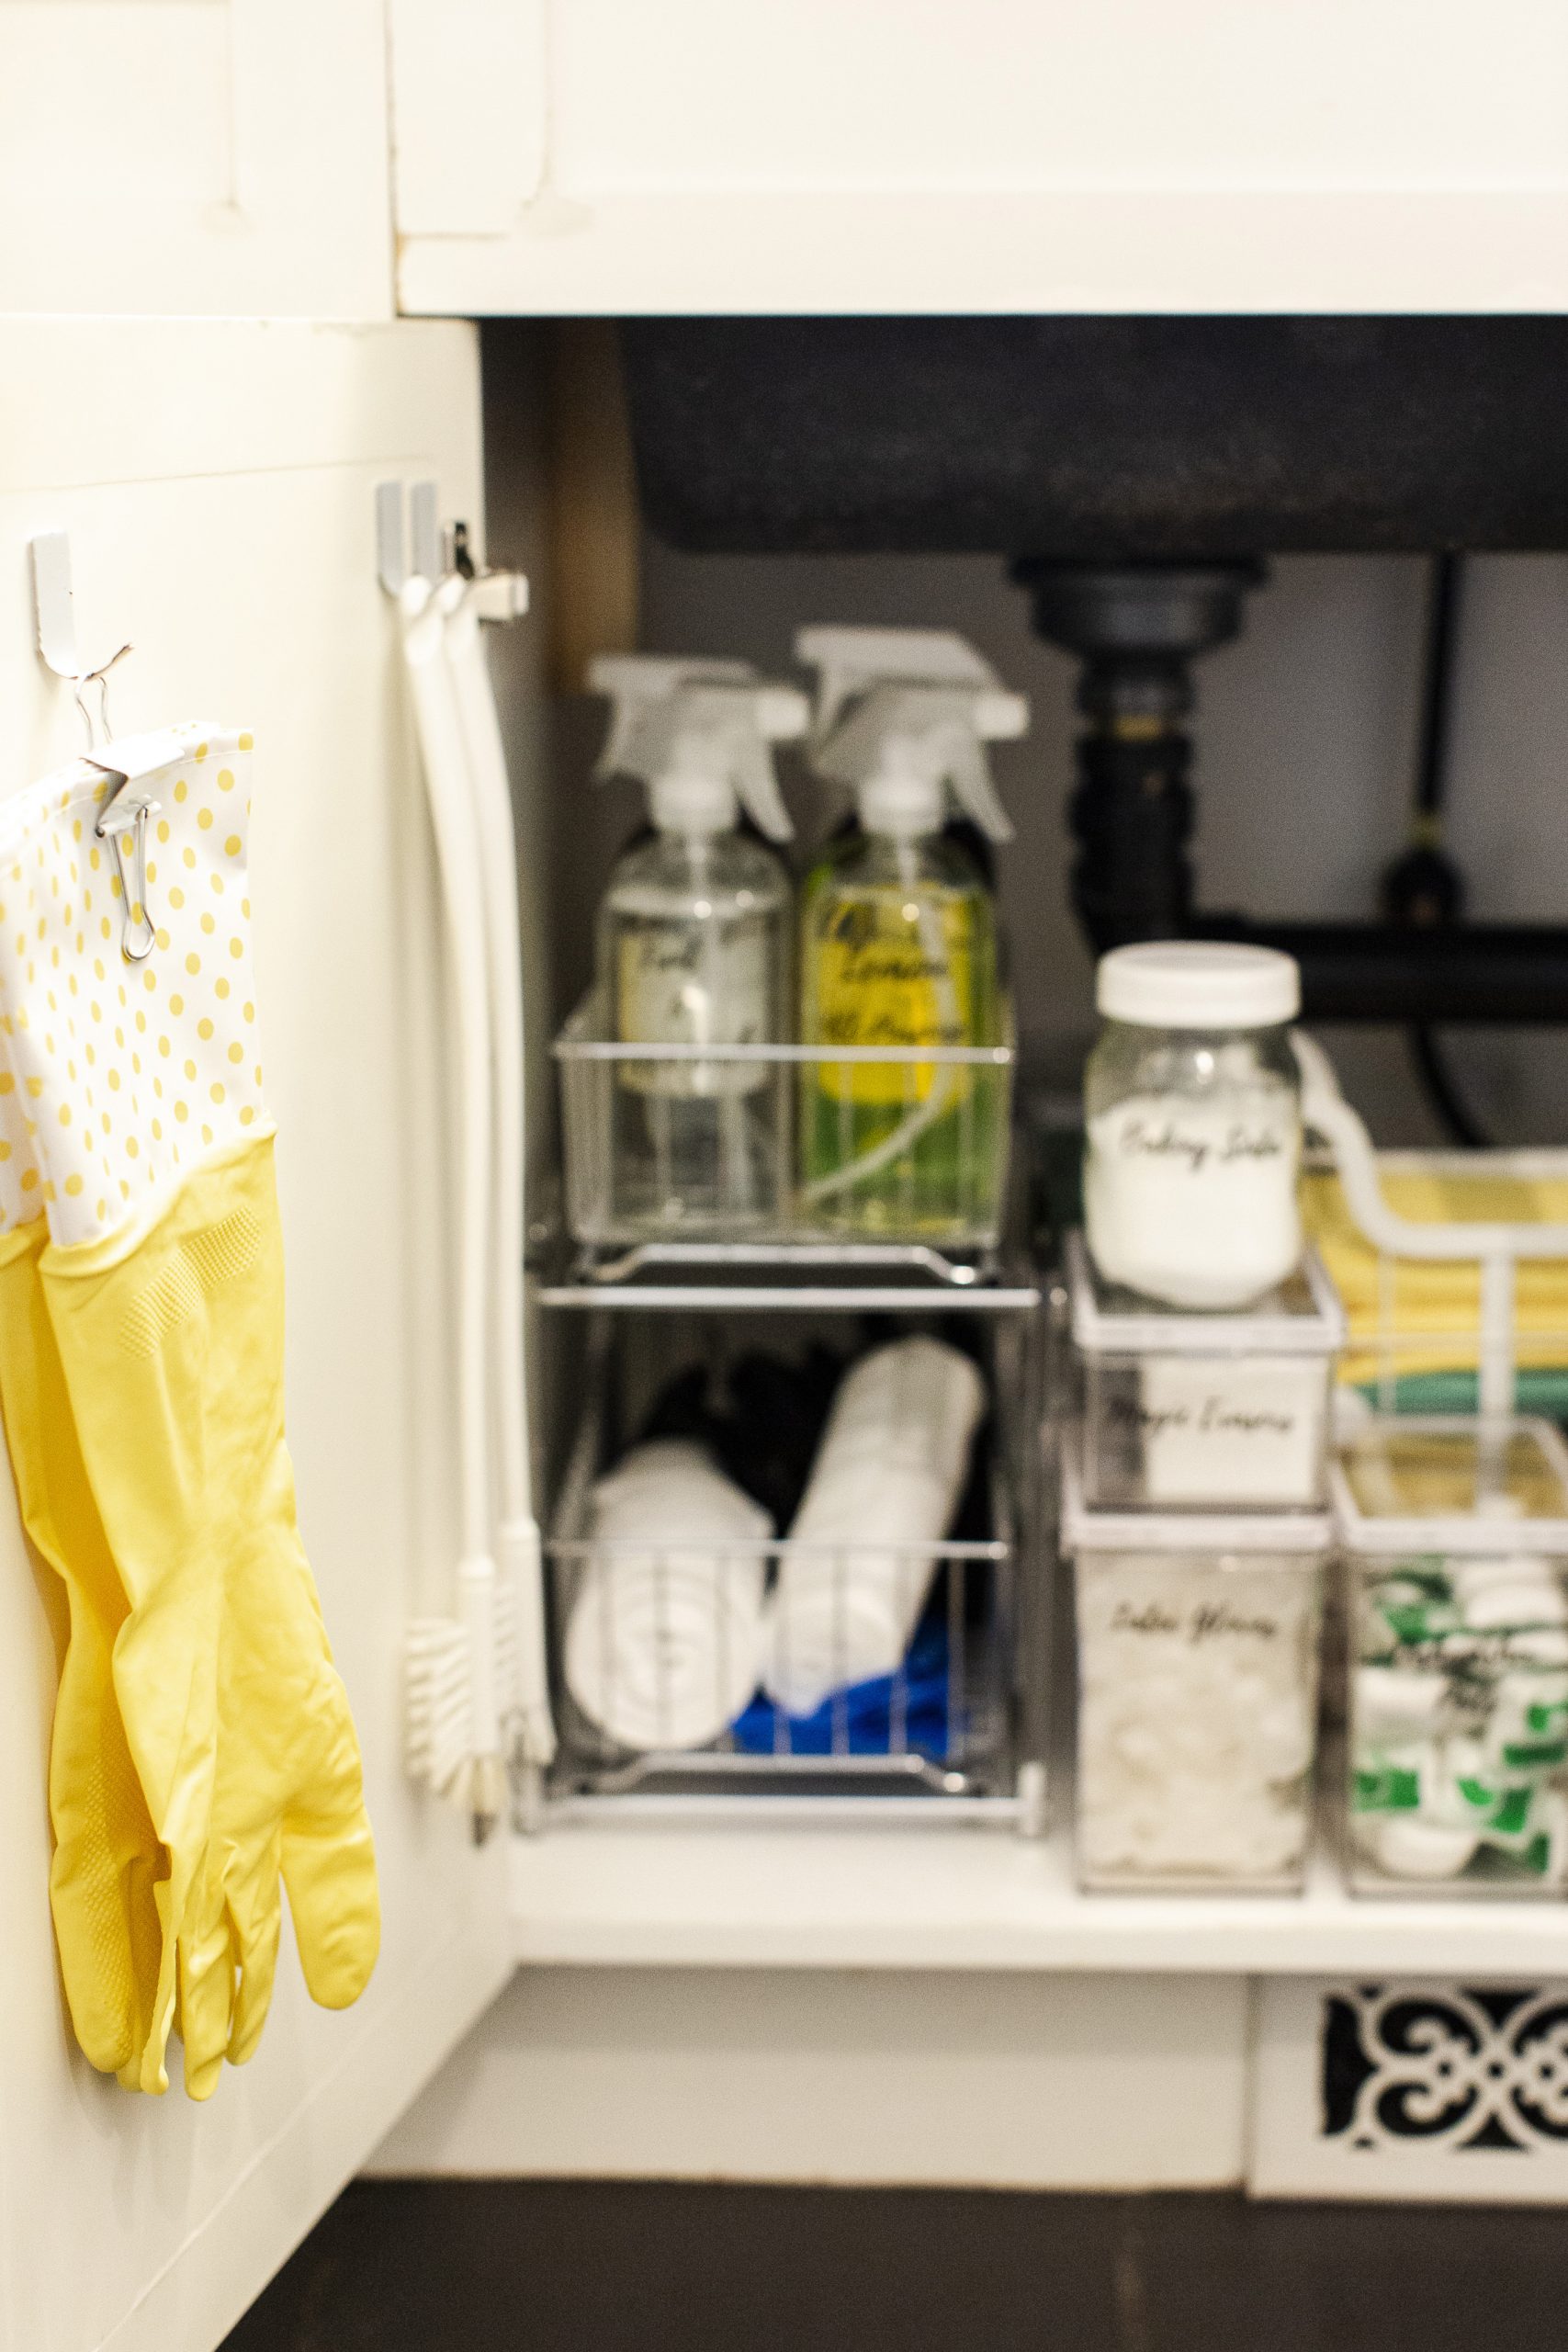
Two-Tiered Rack
Another great space-saver is a two-tiered rack, and this one has drawers that pull out for easy access to your supplies. Best of all, you’re doubling your space to allow for even more storage. Again, do away with tacky garbage bag boxes, and pop the rolls on the bottom. I purchased mine on Amazon for $39 but the price seems to fluctuate depending on which shop has stock. This is a great option and so is this one.
 Glass Bottles
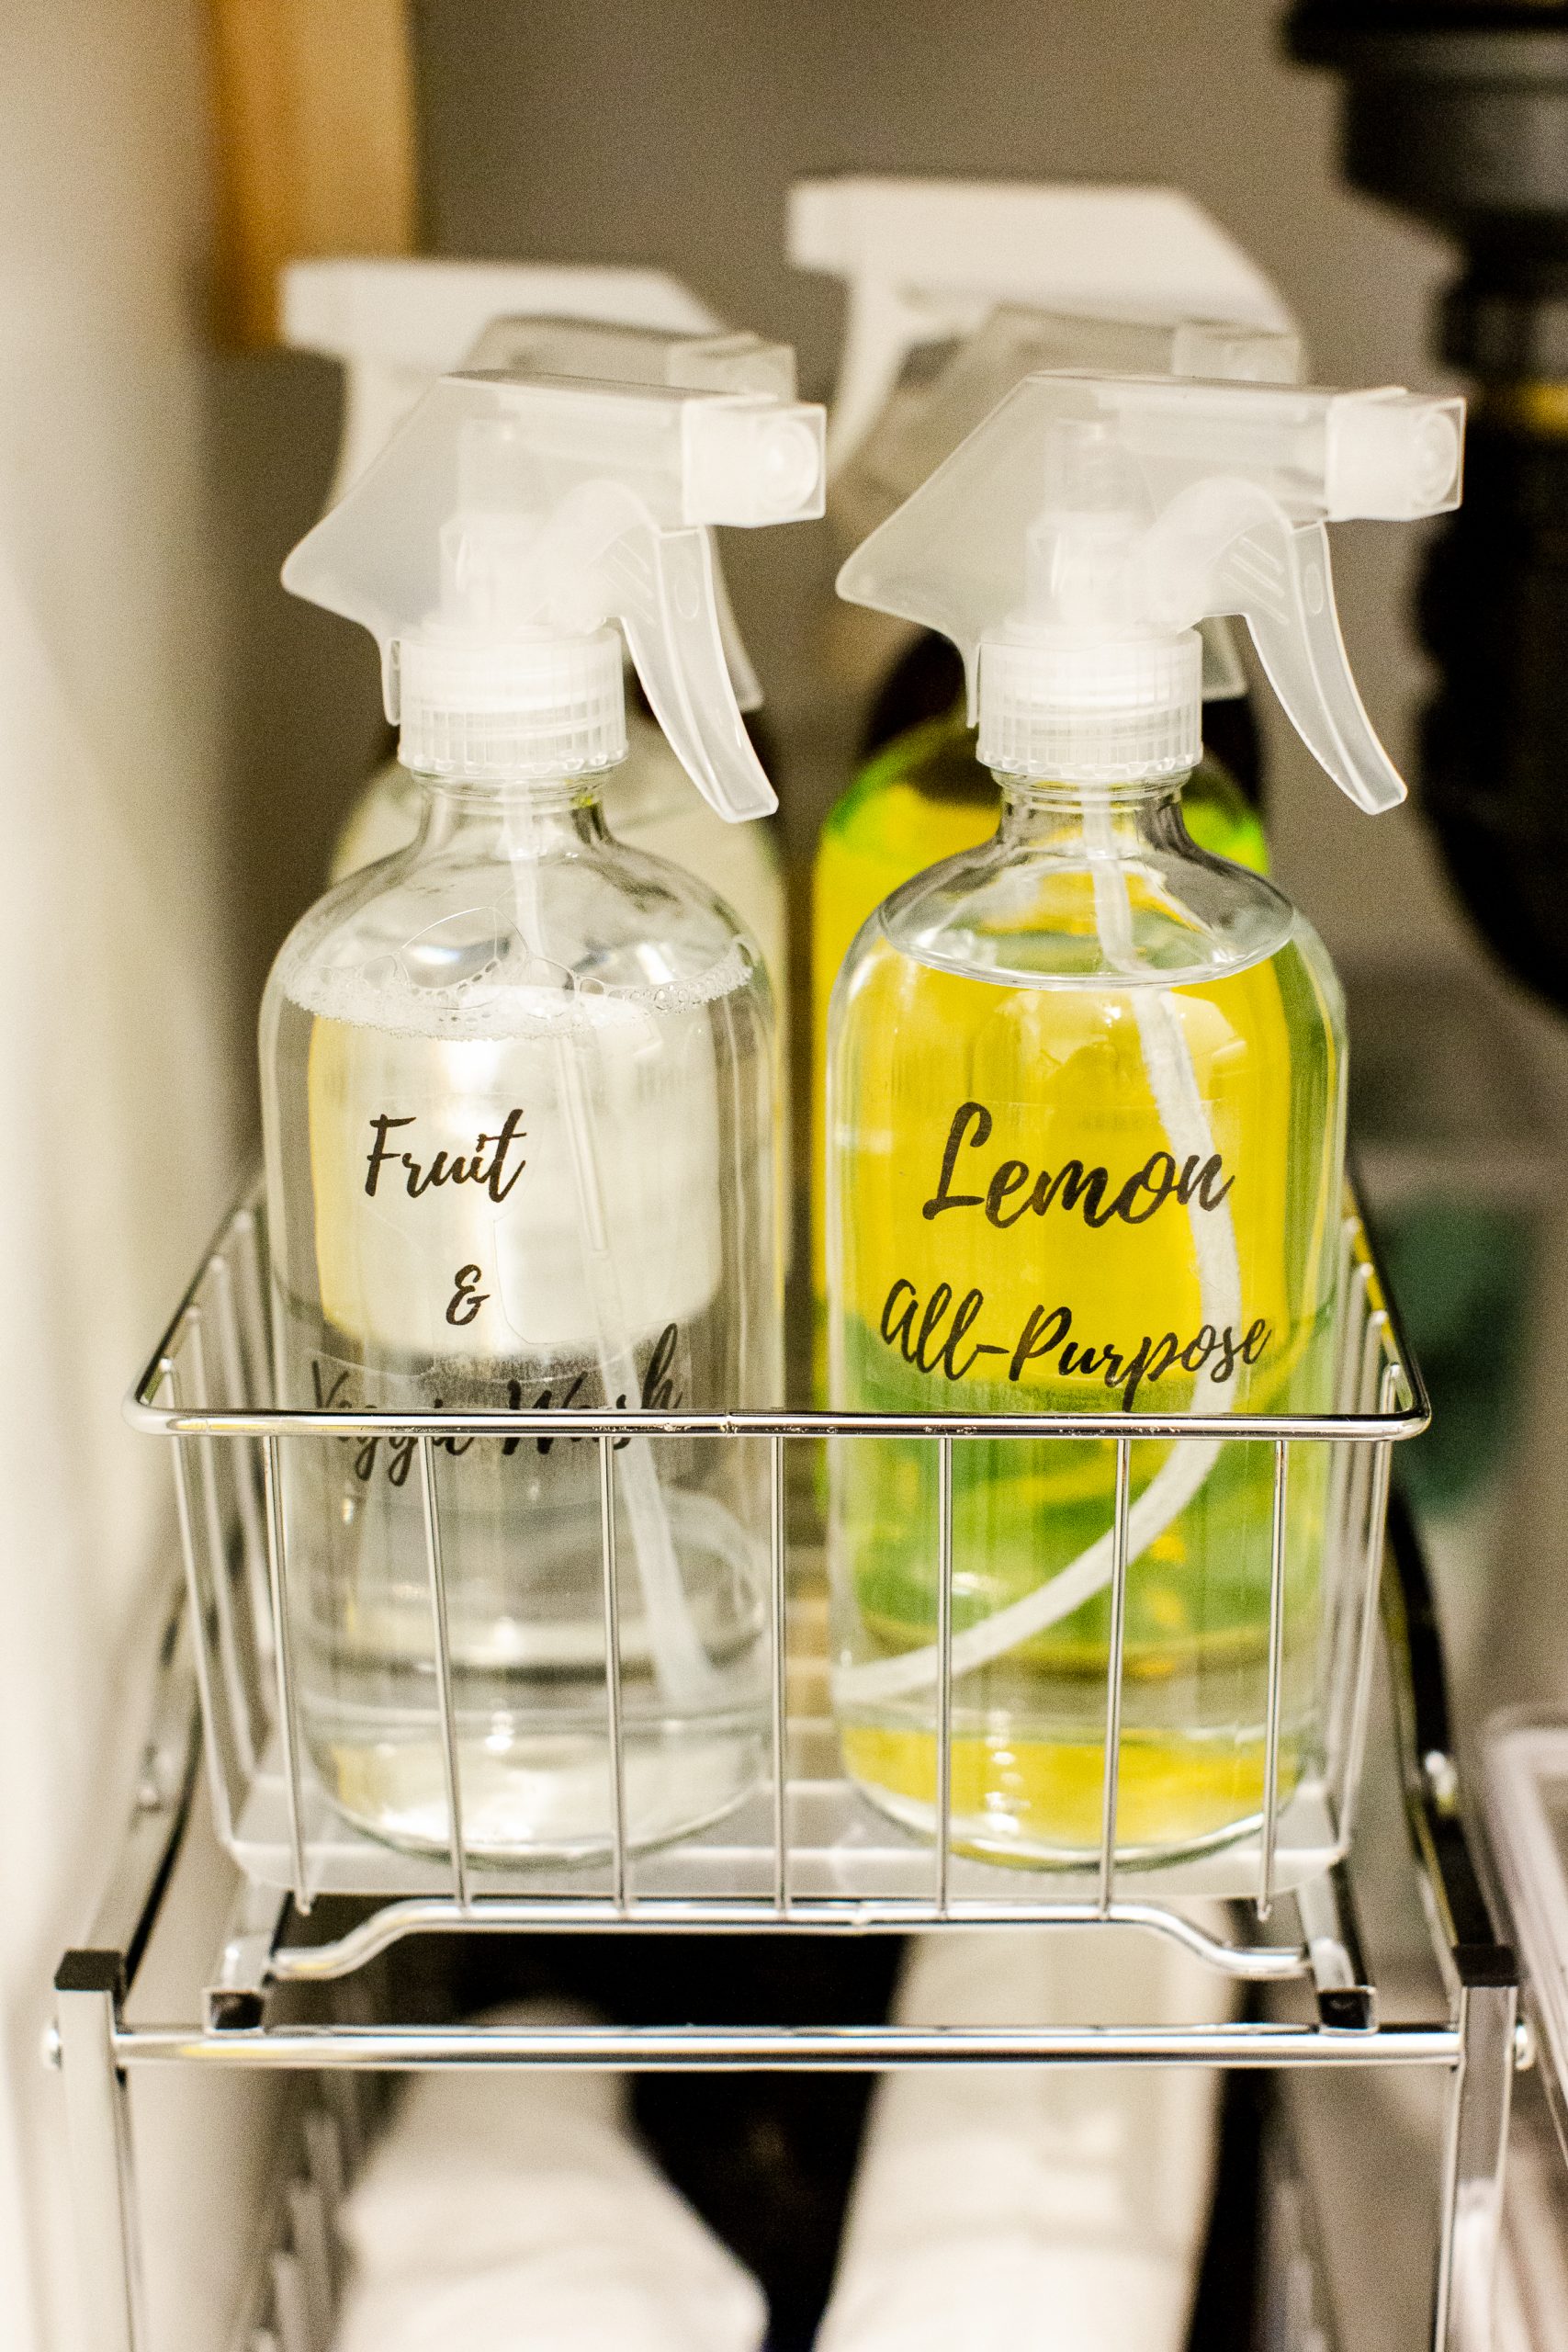
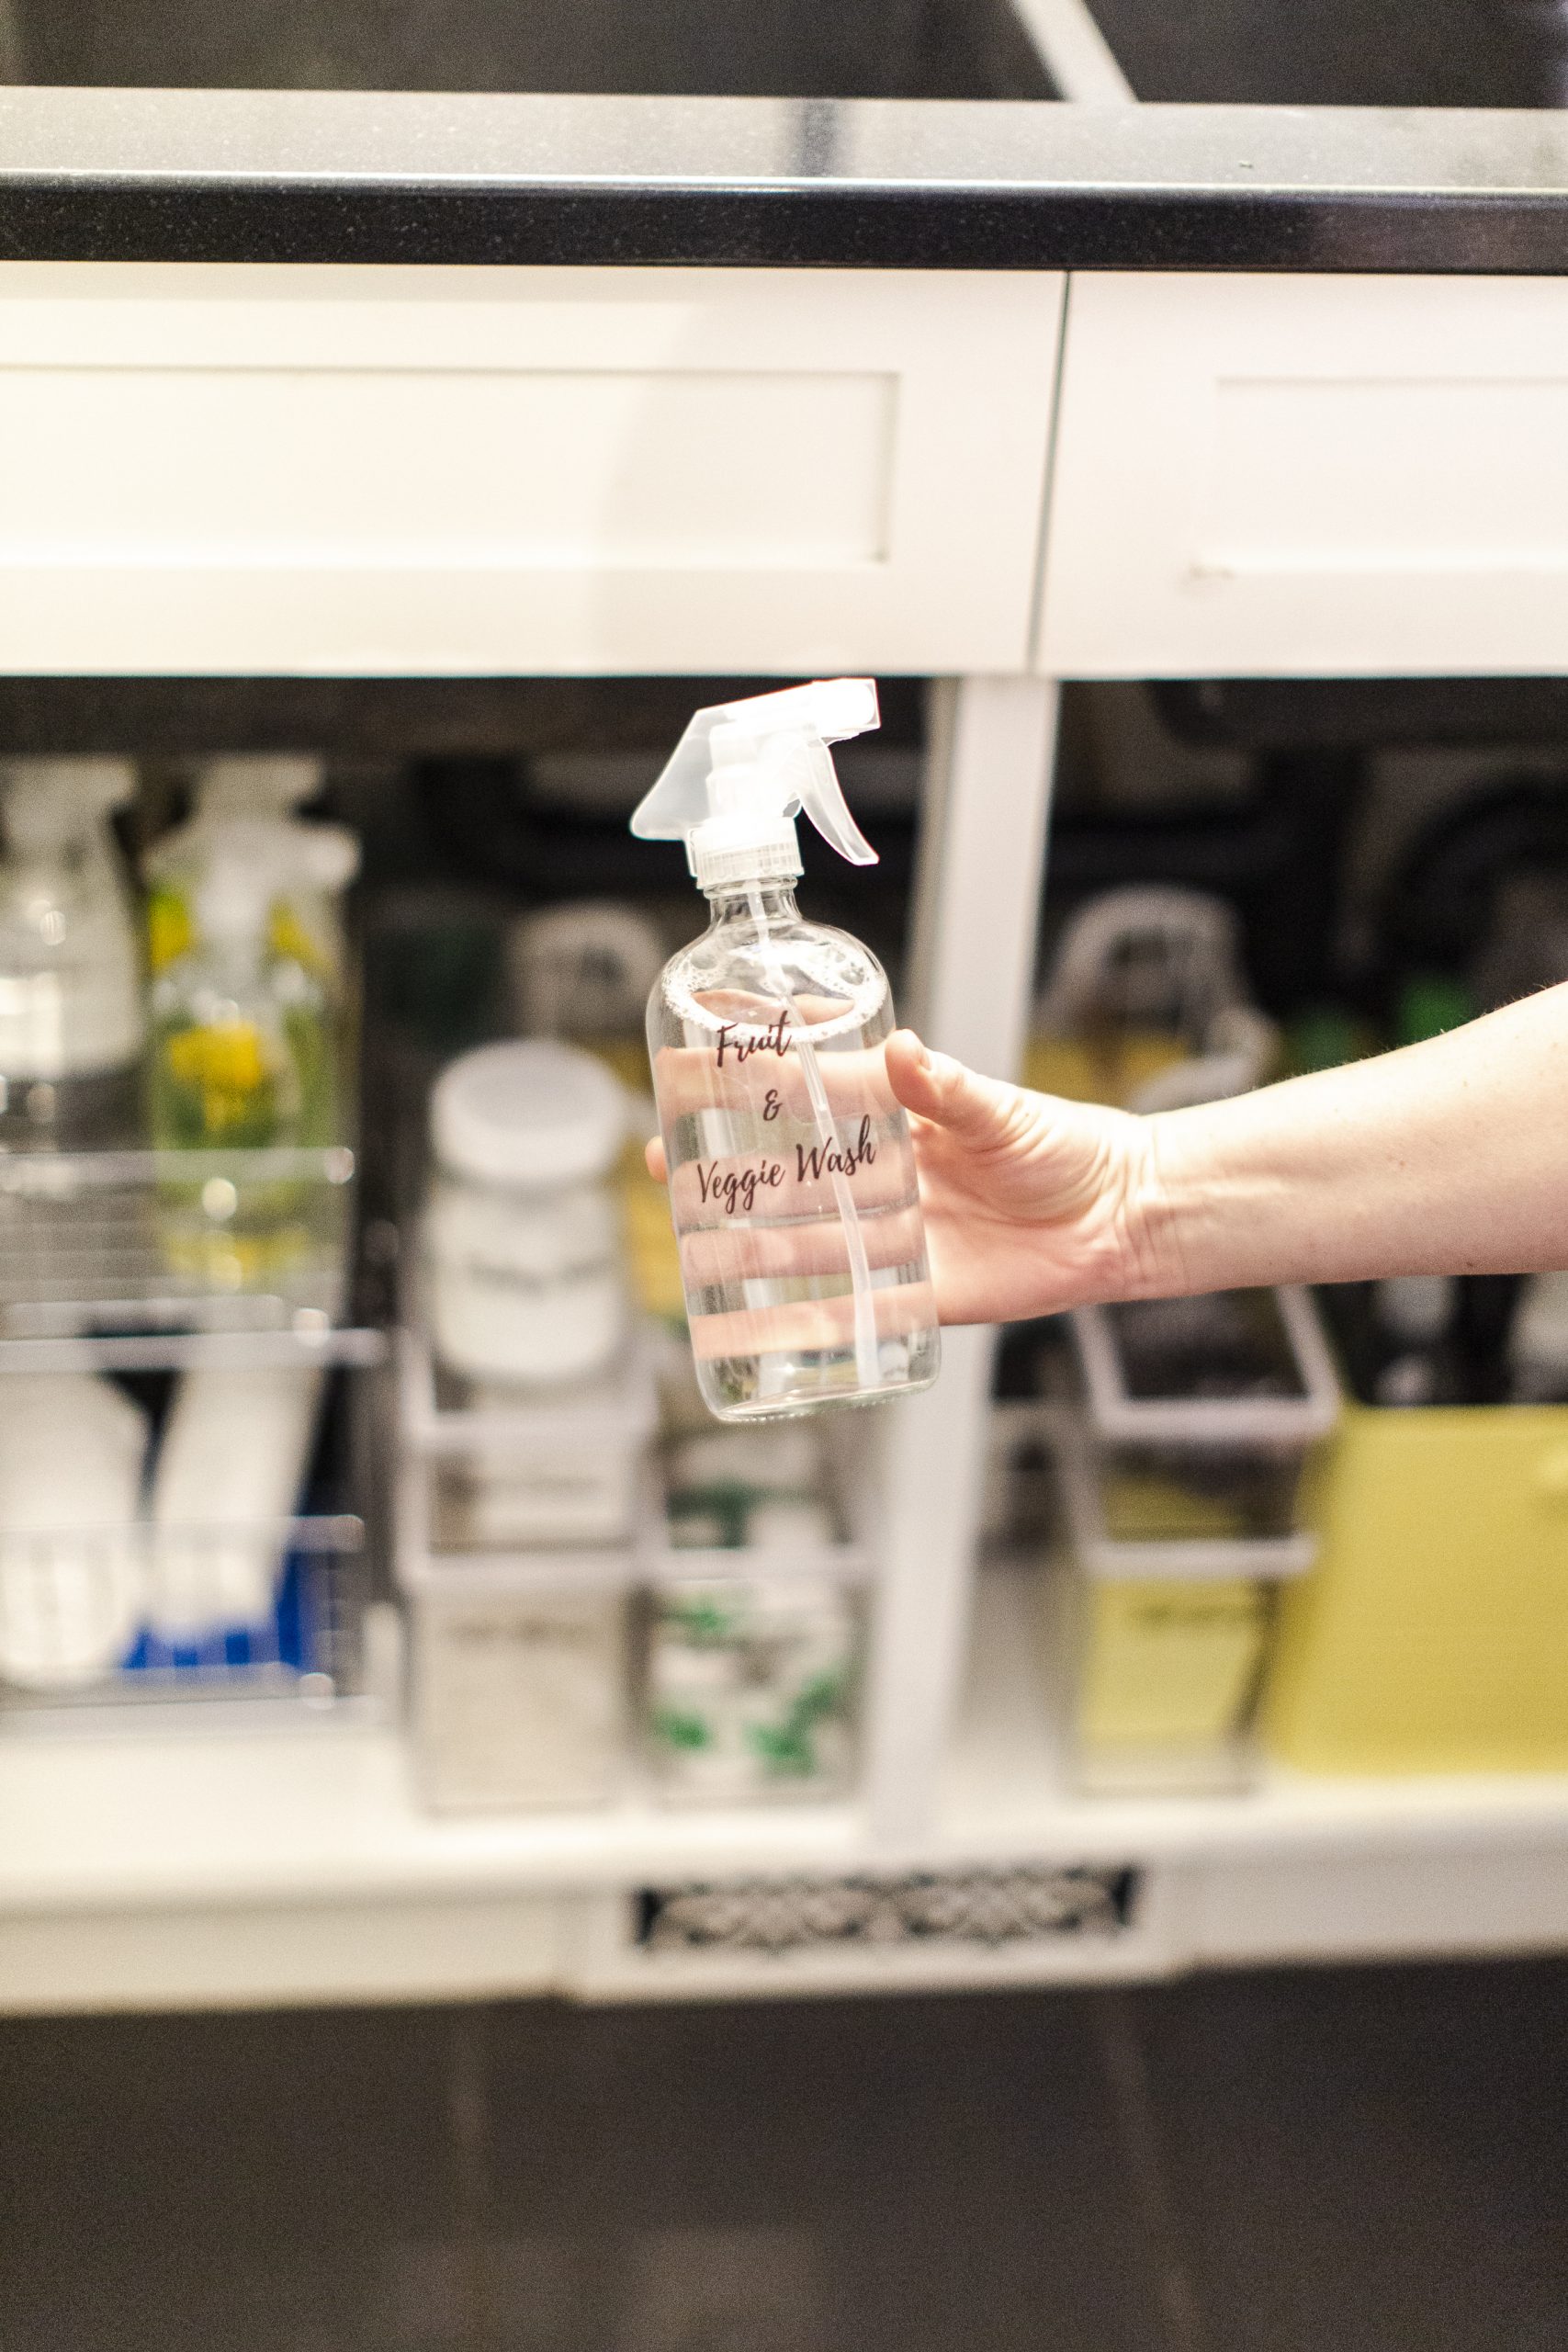
Pour your product sold in bigger containers into beautiful glass spray bottles, and pop the leftovers in storage, to refill as needed. Not only does it free up more space, but (just like the canisters) it gives your space a nice, cohesive feel. Our glass bottles are used for vinegar, Hydra Chem (a locally-made organic heavy-duty all-purpose), and my all-natural homemade cleaners. I’m just starting to play around with some recipes which I’ll be sharing right here at KariSkelton.com in the coming weeks!
 Pretty Labels
If everything has a designated place, there’s a better chance you’ll stay organized. Even though YOU may know where something is supposed to go, or what goes in a certain canister, other members of the family may forget. Labels make it easier for everyone. I made the labels for this project at home, and so can you! It’s super easy, and way more cost-effective than buying fancy ones online. Check out my post: How To Make Labels Like The Home Edit.
 Use Those Cupboard Doors!
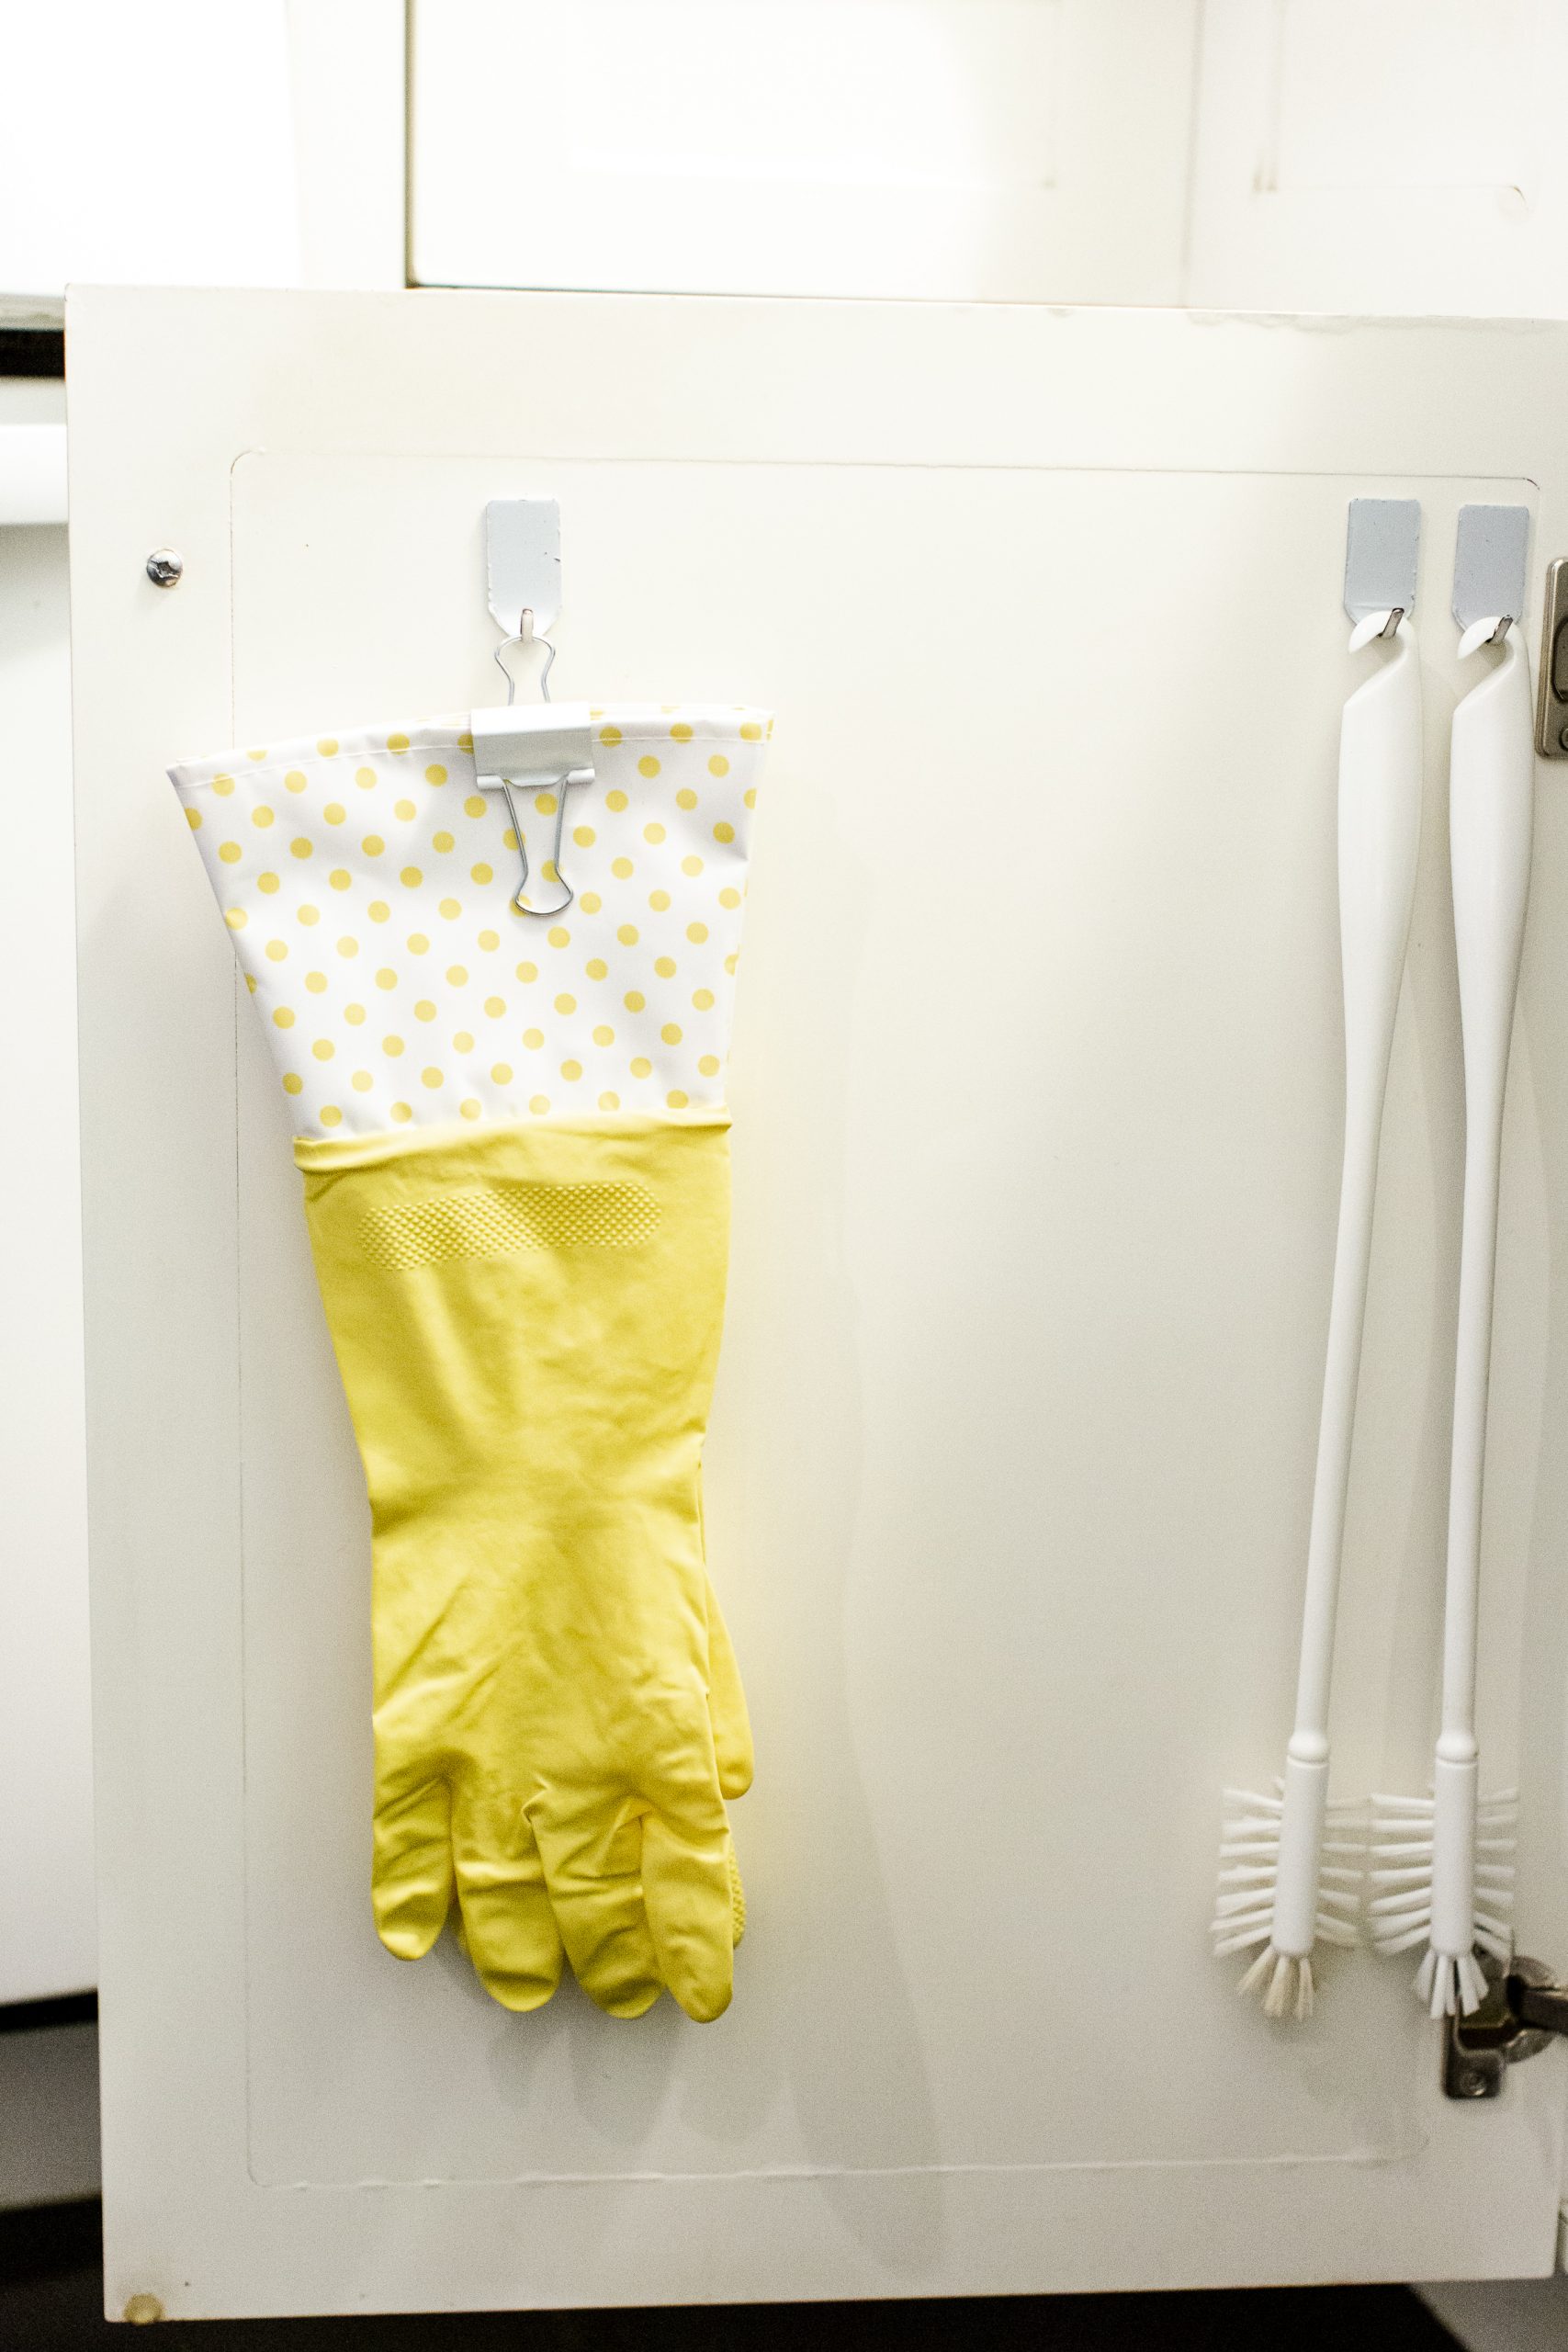
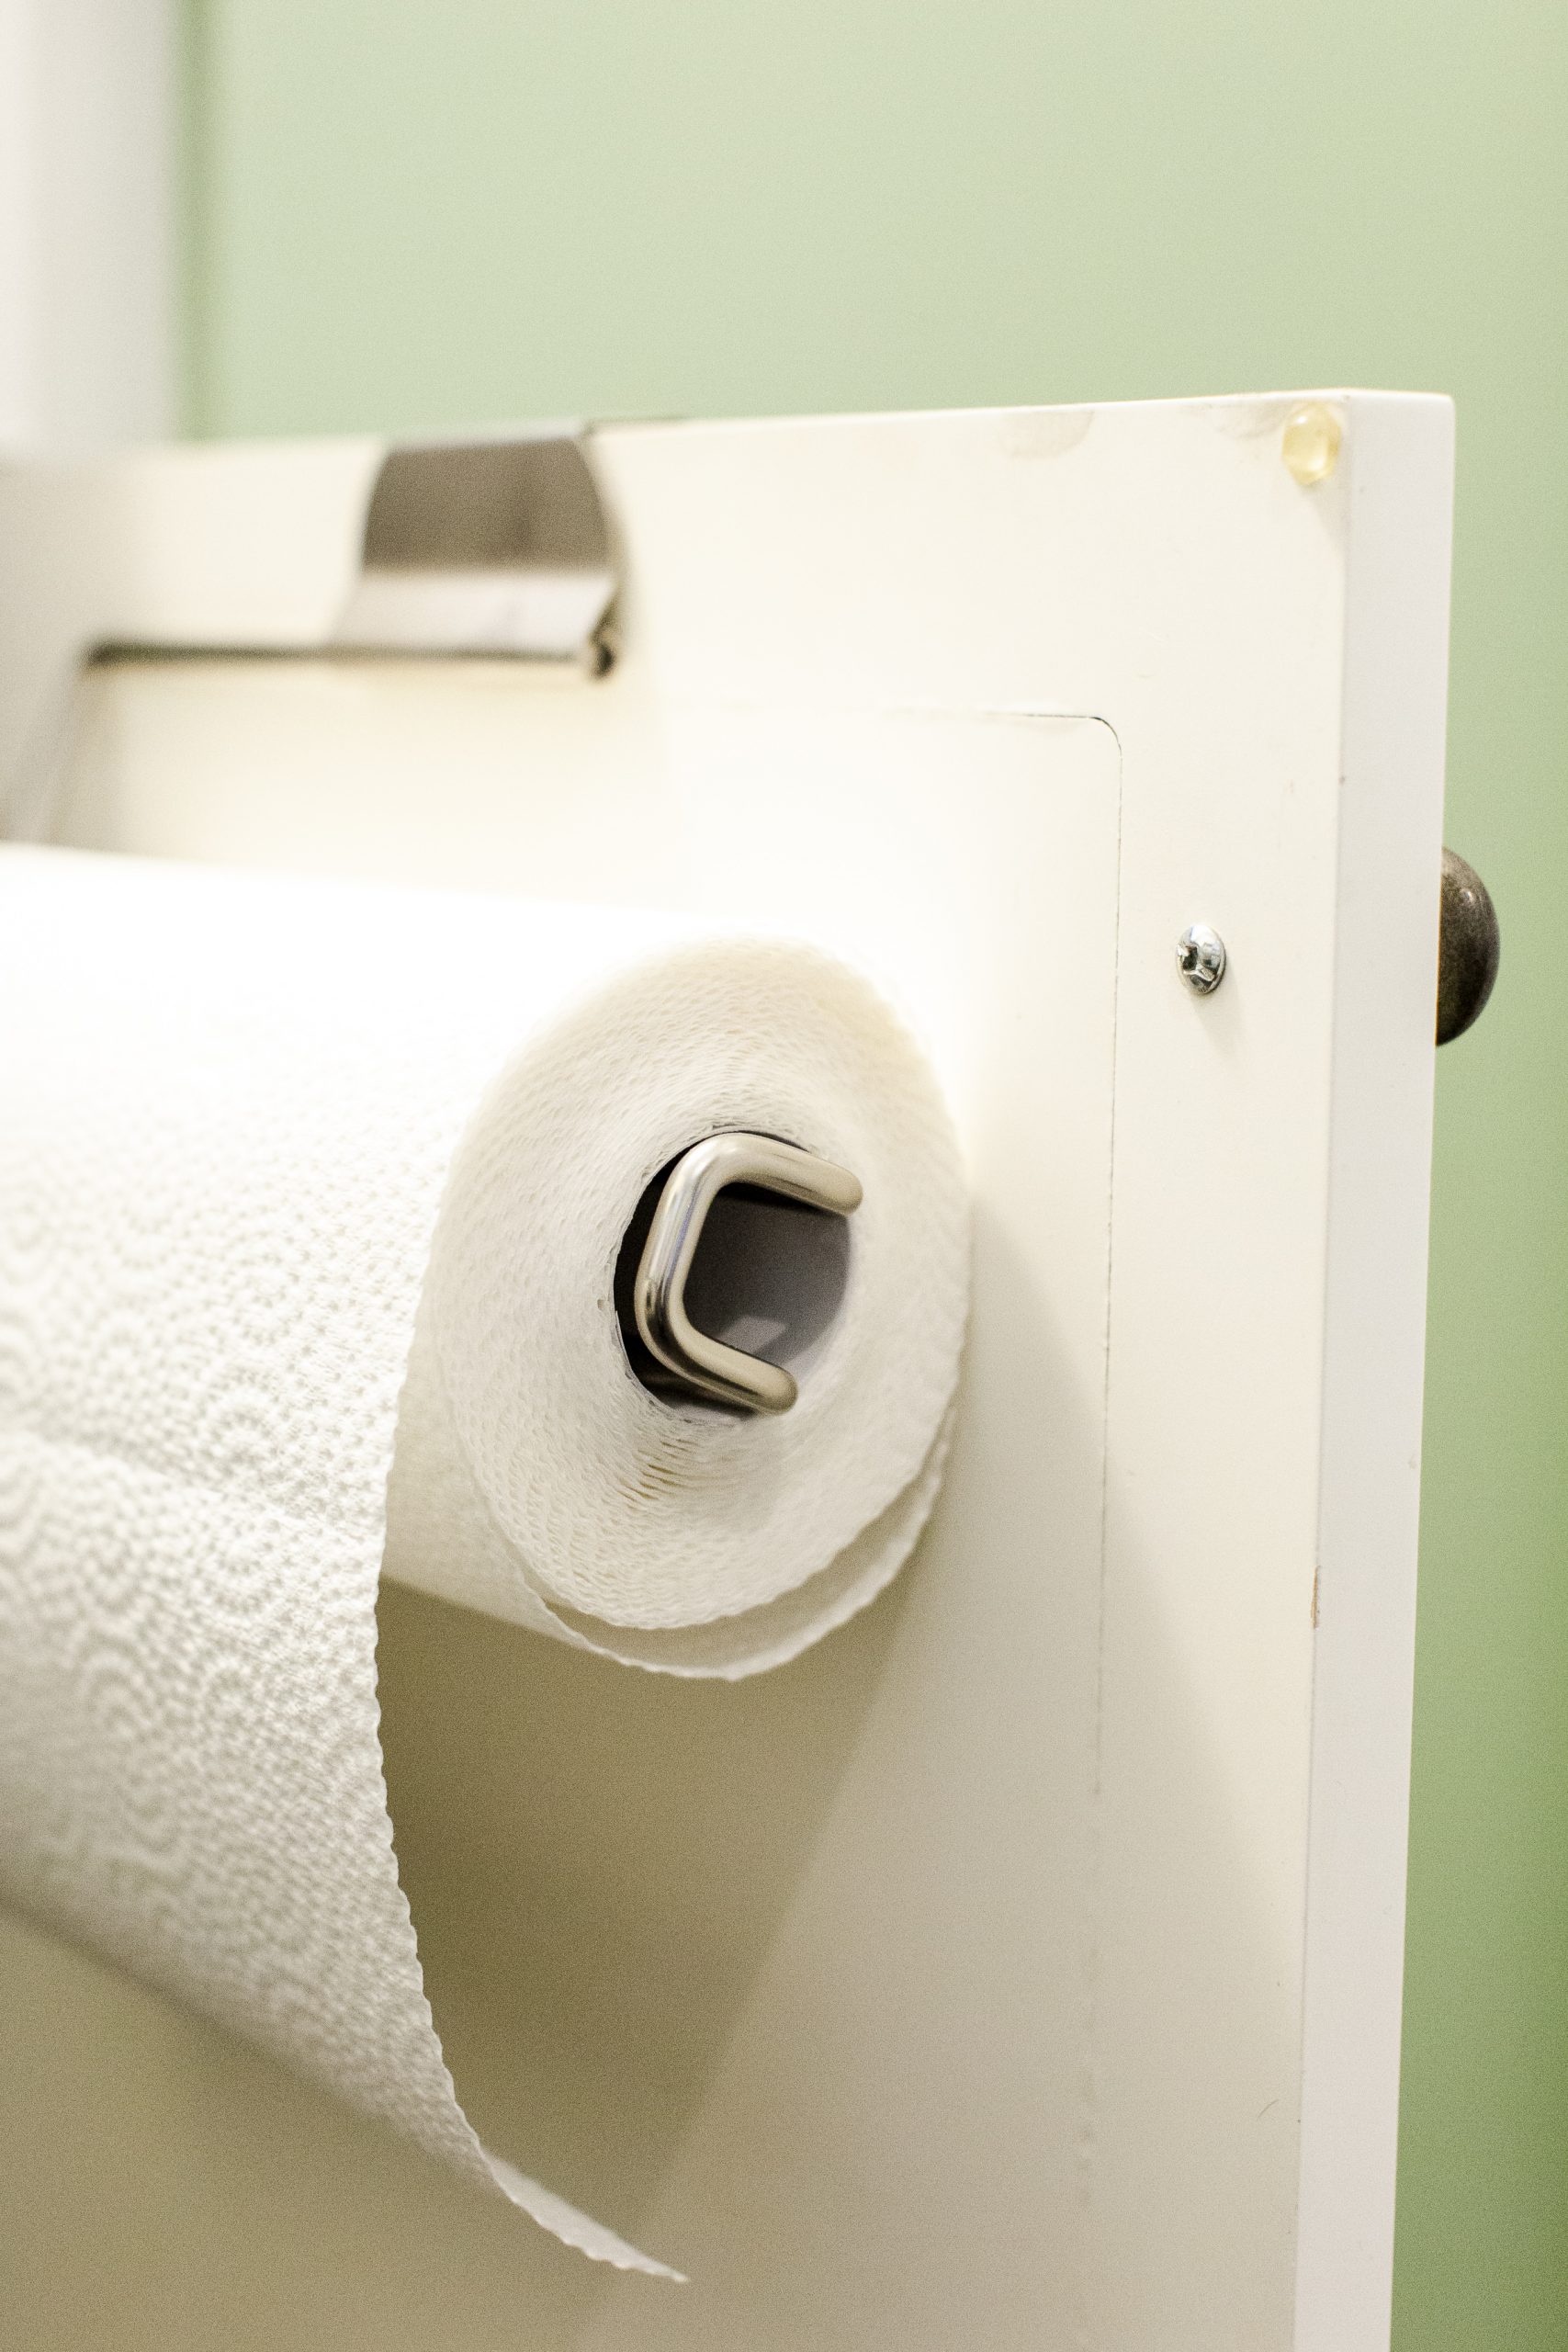
Use the actual doors under your kitchen sink as another great storage space. Try these nice metal hooks to hang things like rubber dish gloves and long scrub brushes. This over-the-door paper towel holder is perfect for the other side, and a great option for tucking away paper towel (yet still making it accessible for little ones). Ours used to be on a stand on the counter, but this frees up more counter space – always a goal when you’re working with a small kitchen!
For more inspiration and pin your photos to my Organize: Under the Kitchen Sink board on Pinterest!
 Source List
- Two-Tiered Rack
- Small Canister
- Medium Canister
- Large Canister
- Stackable Wire Baskets
- Yellow Metal Bin: HomeSense (this one is similar)
- Glass Spray Bottles
- Paper Towel Holder
- Labels
- Hooks
Ask me any questions in the comments below. Watch for more organizing, home decor, and DIY posts in the coming weeks!
photos: Dallas Curow
Pin this to your Home Organization boards and Follow me on Pinterest here!
Other Posts You’ll Love:
The Best Way To Do a Toy Purge
Grocery Shopping Time Management
The Best Damn Chicken Noodle Soup
xx

Leave a Reply