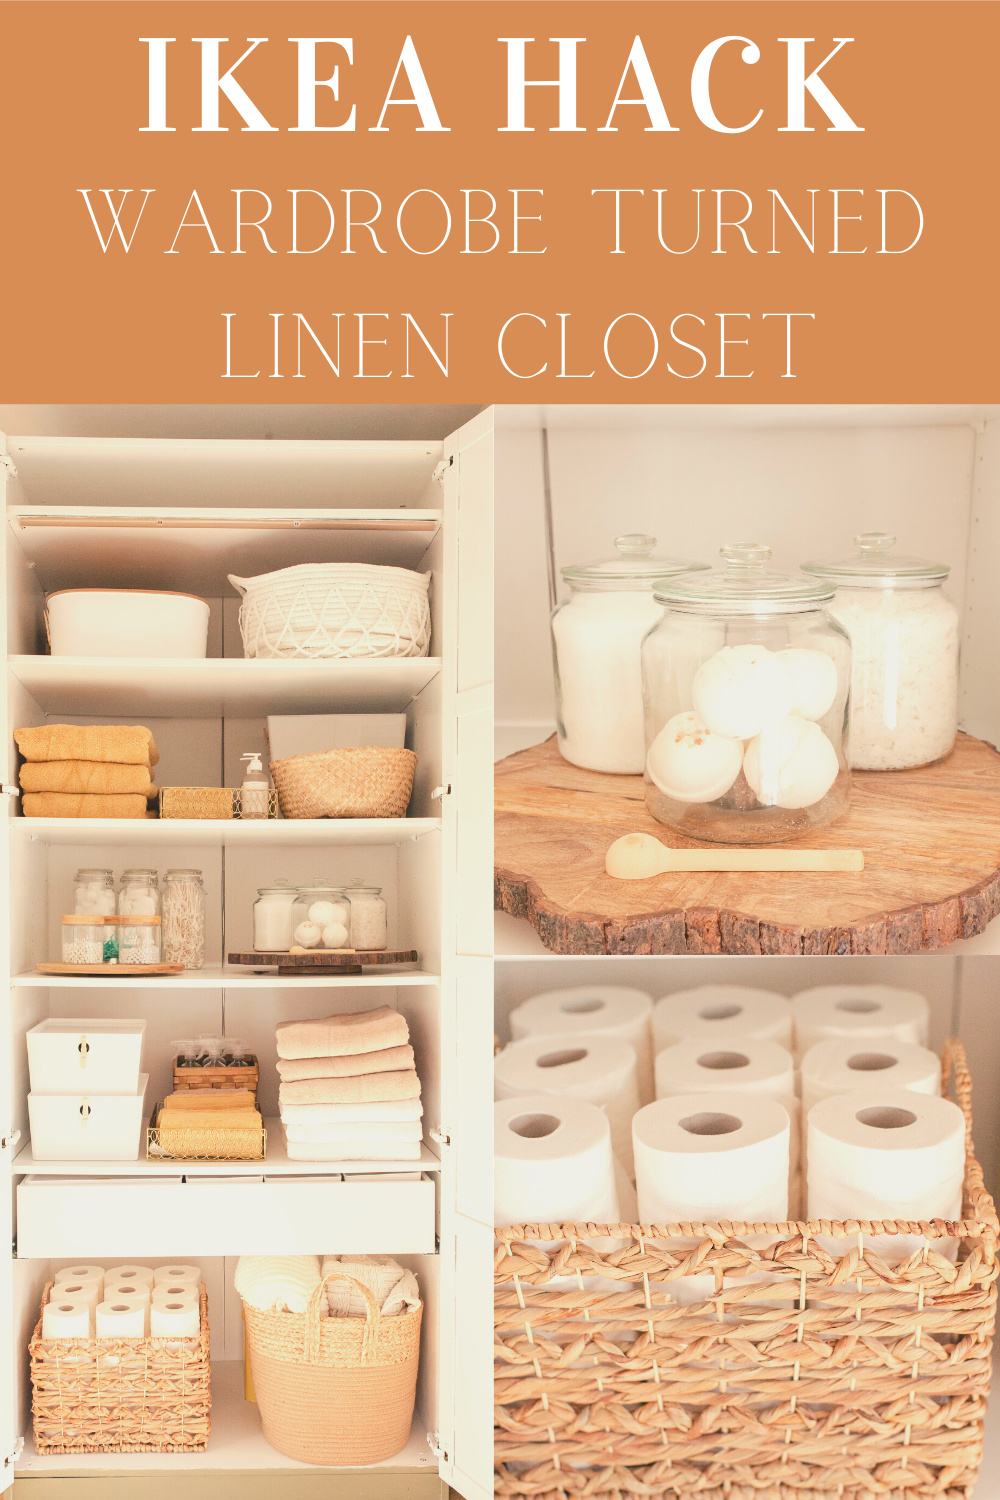
Here’s a fun Ikea hack: wardrobe turned linen closet! What I used to makeover this old Ikea wardrobe, along with linen closet styling and organization tips, the best sites to shop for home organization and labels and folding techniques.
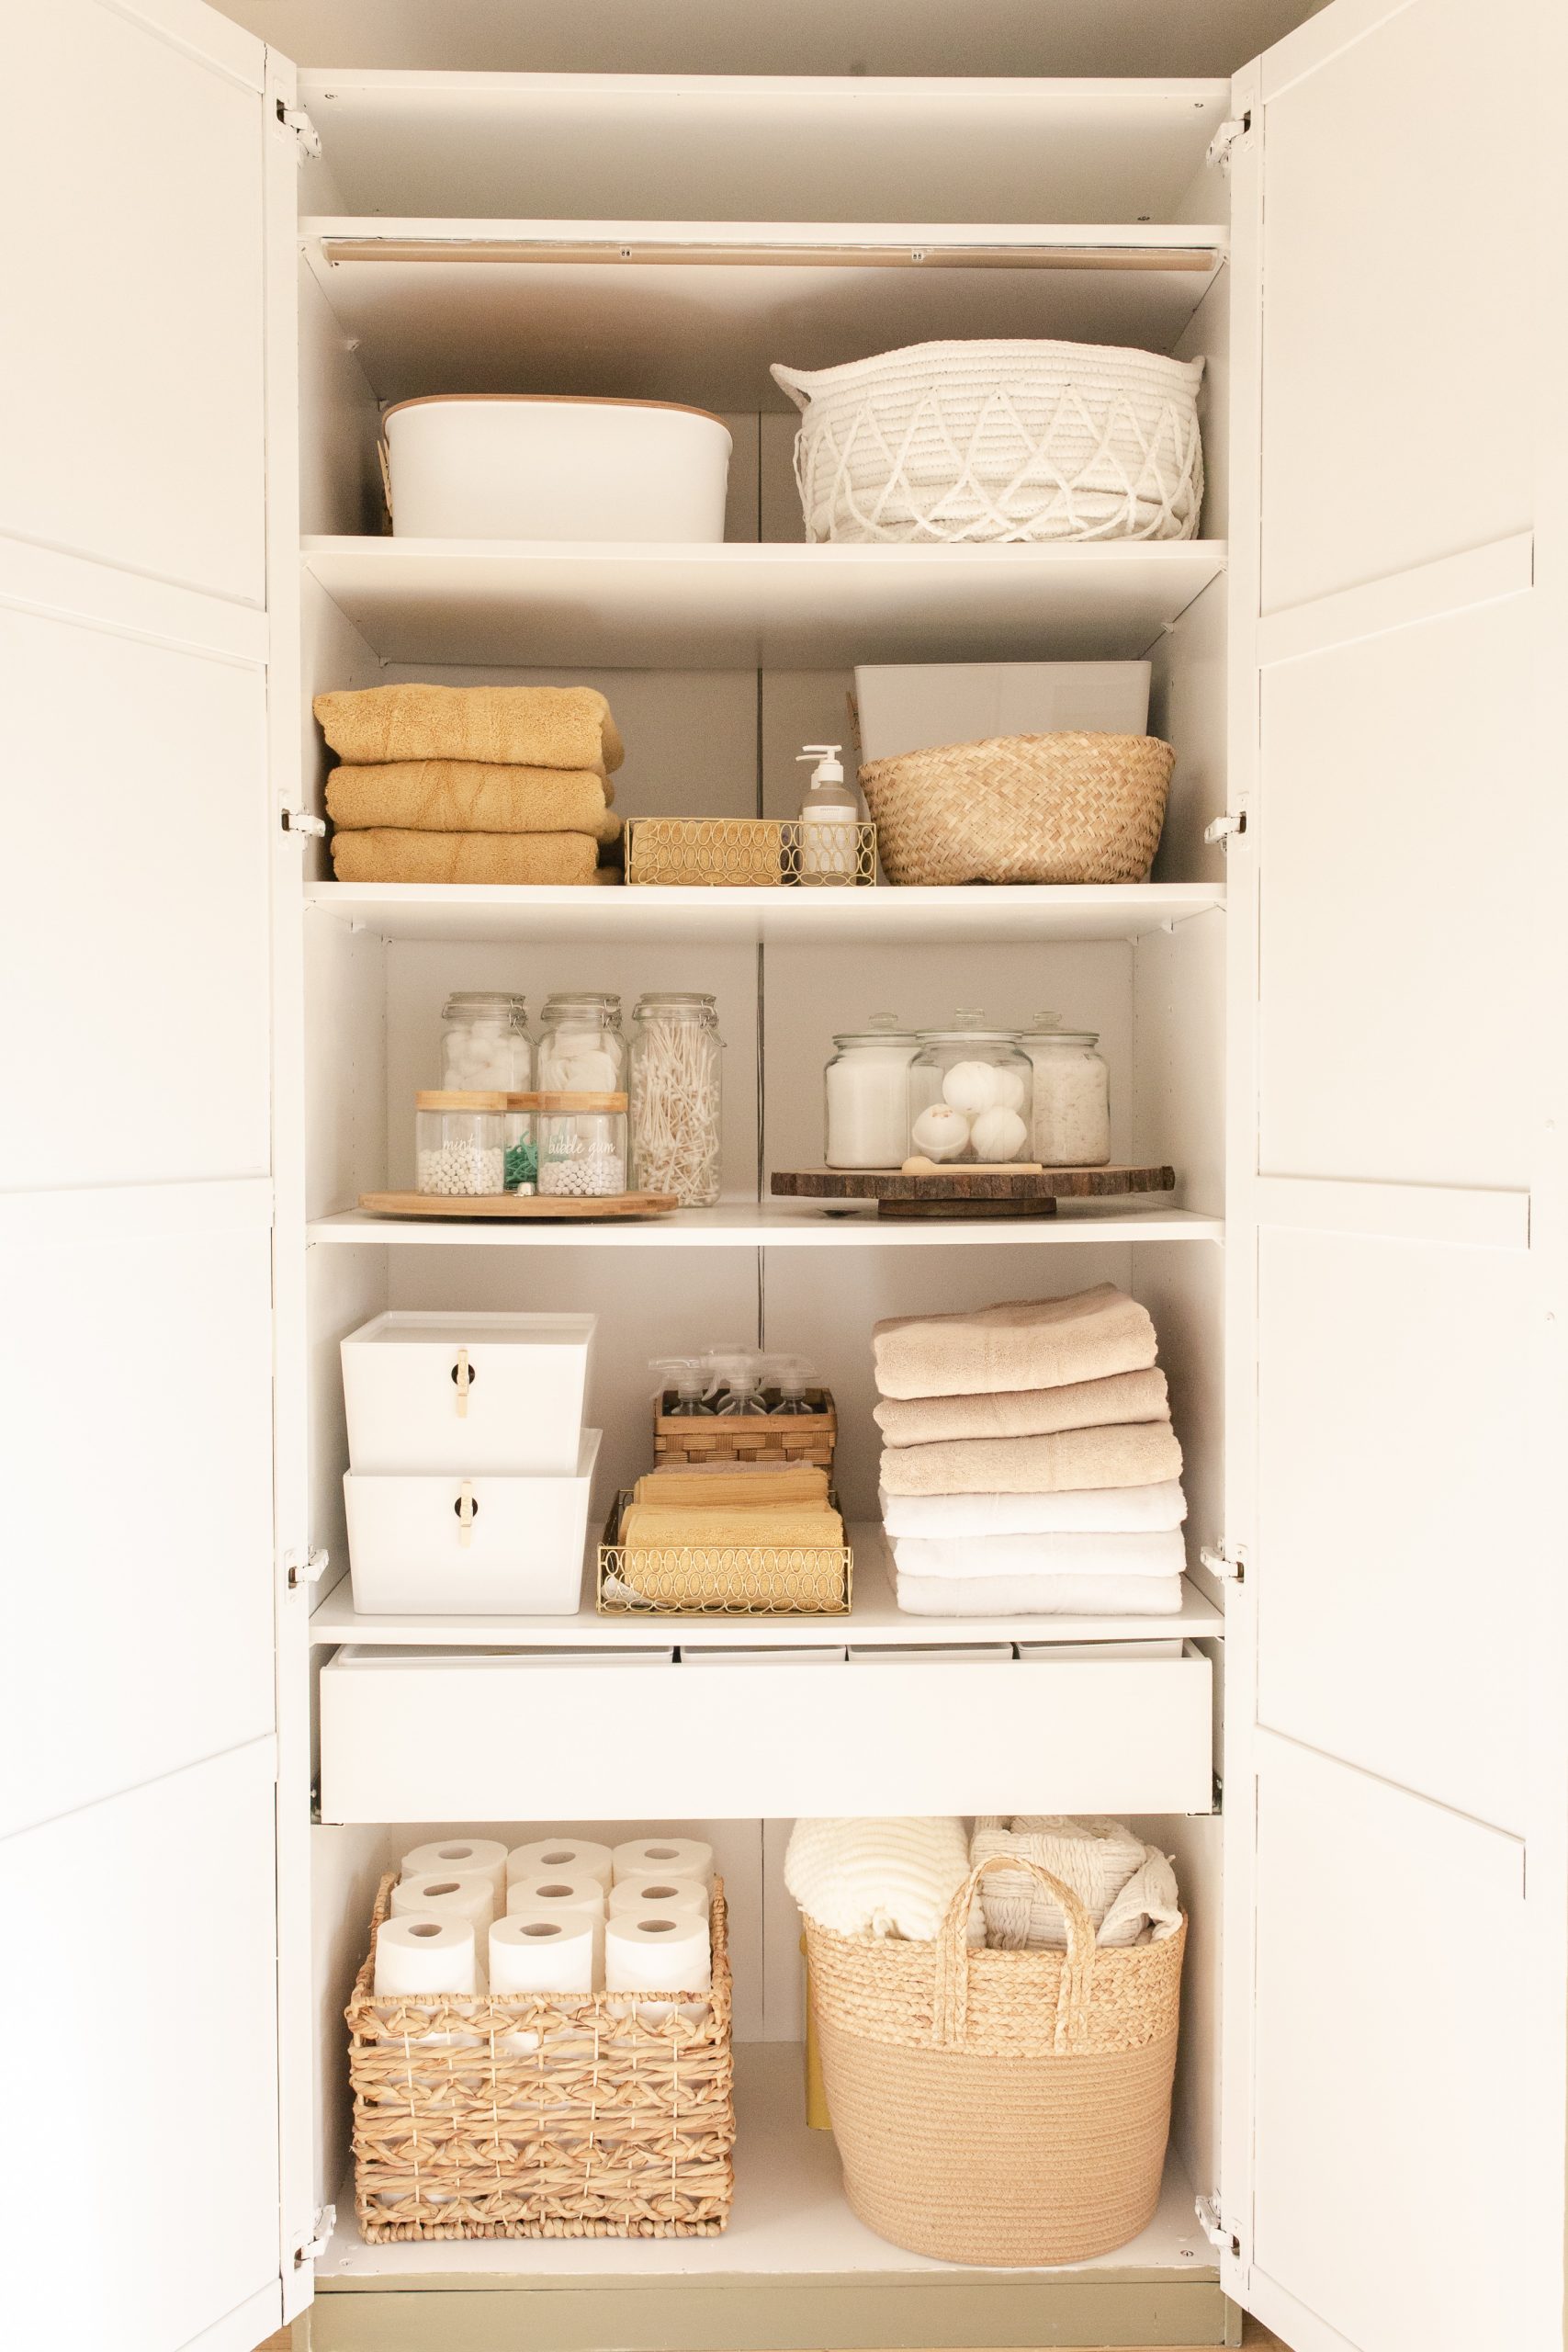 It’s finally done!! Will you take a moment to celebrate this one with me?! Cheers! If you’ve been following the journey of our Guest Room Makeover you know this Ikea hack: wardrobe turned linen closet was the final piece of the puzzle and I couldn’t be happier it’s finished and looks fabulous!
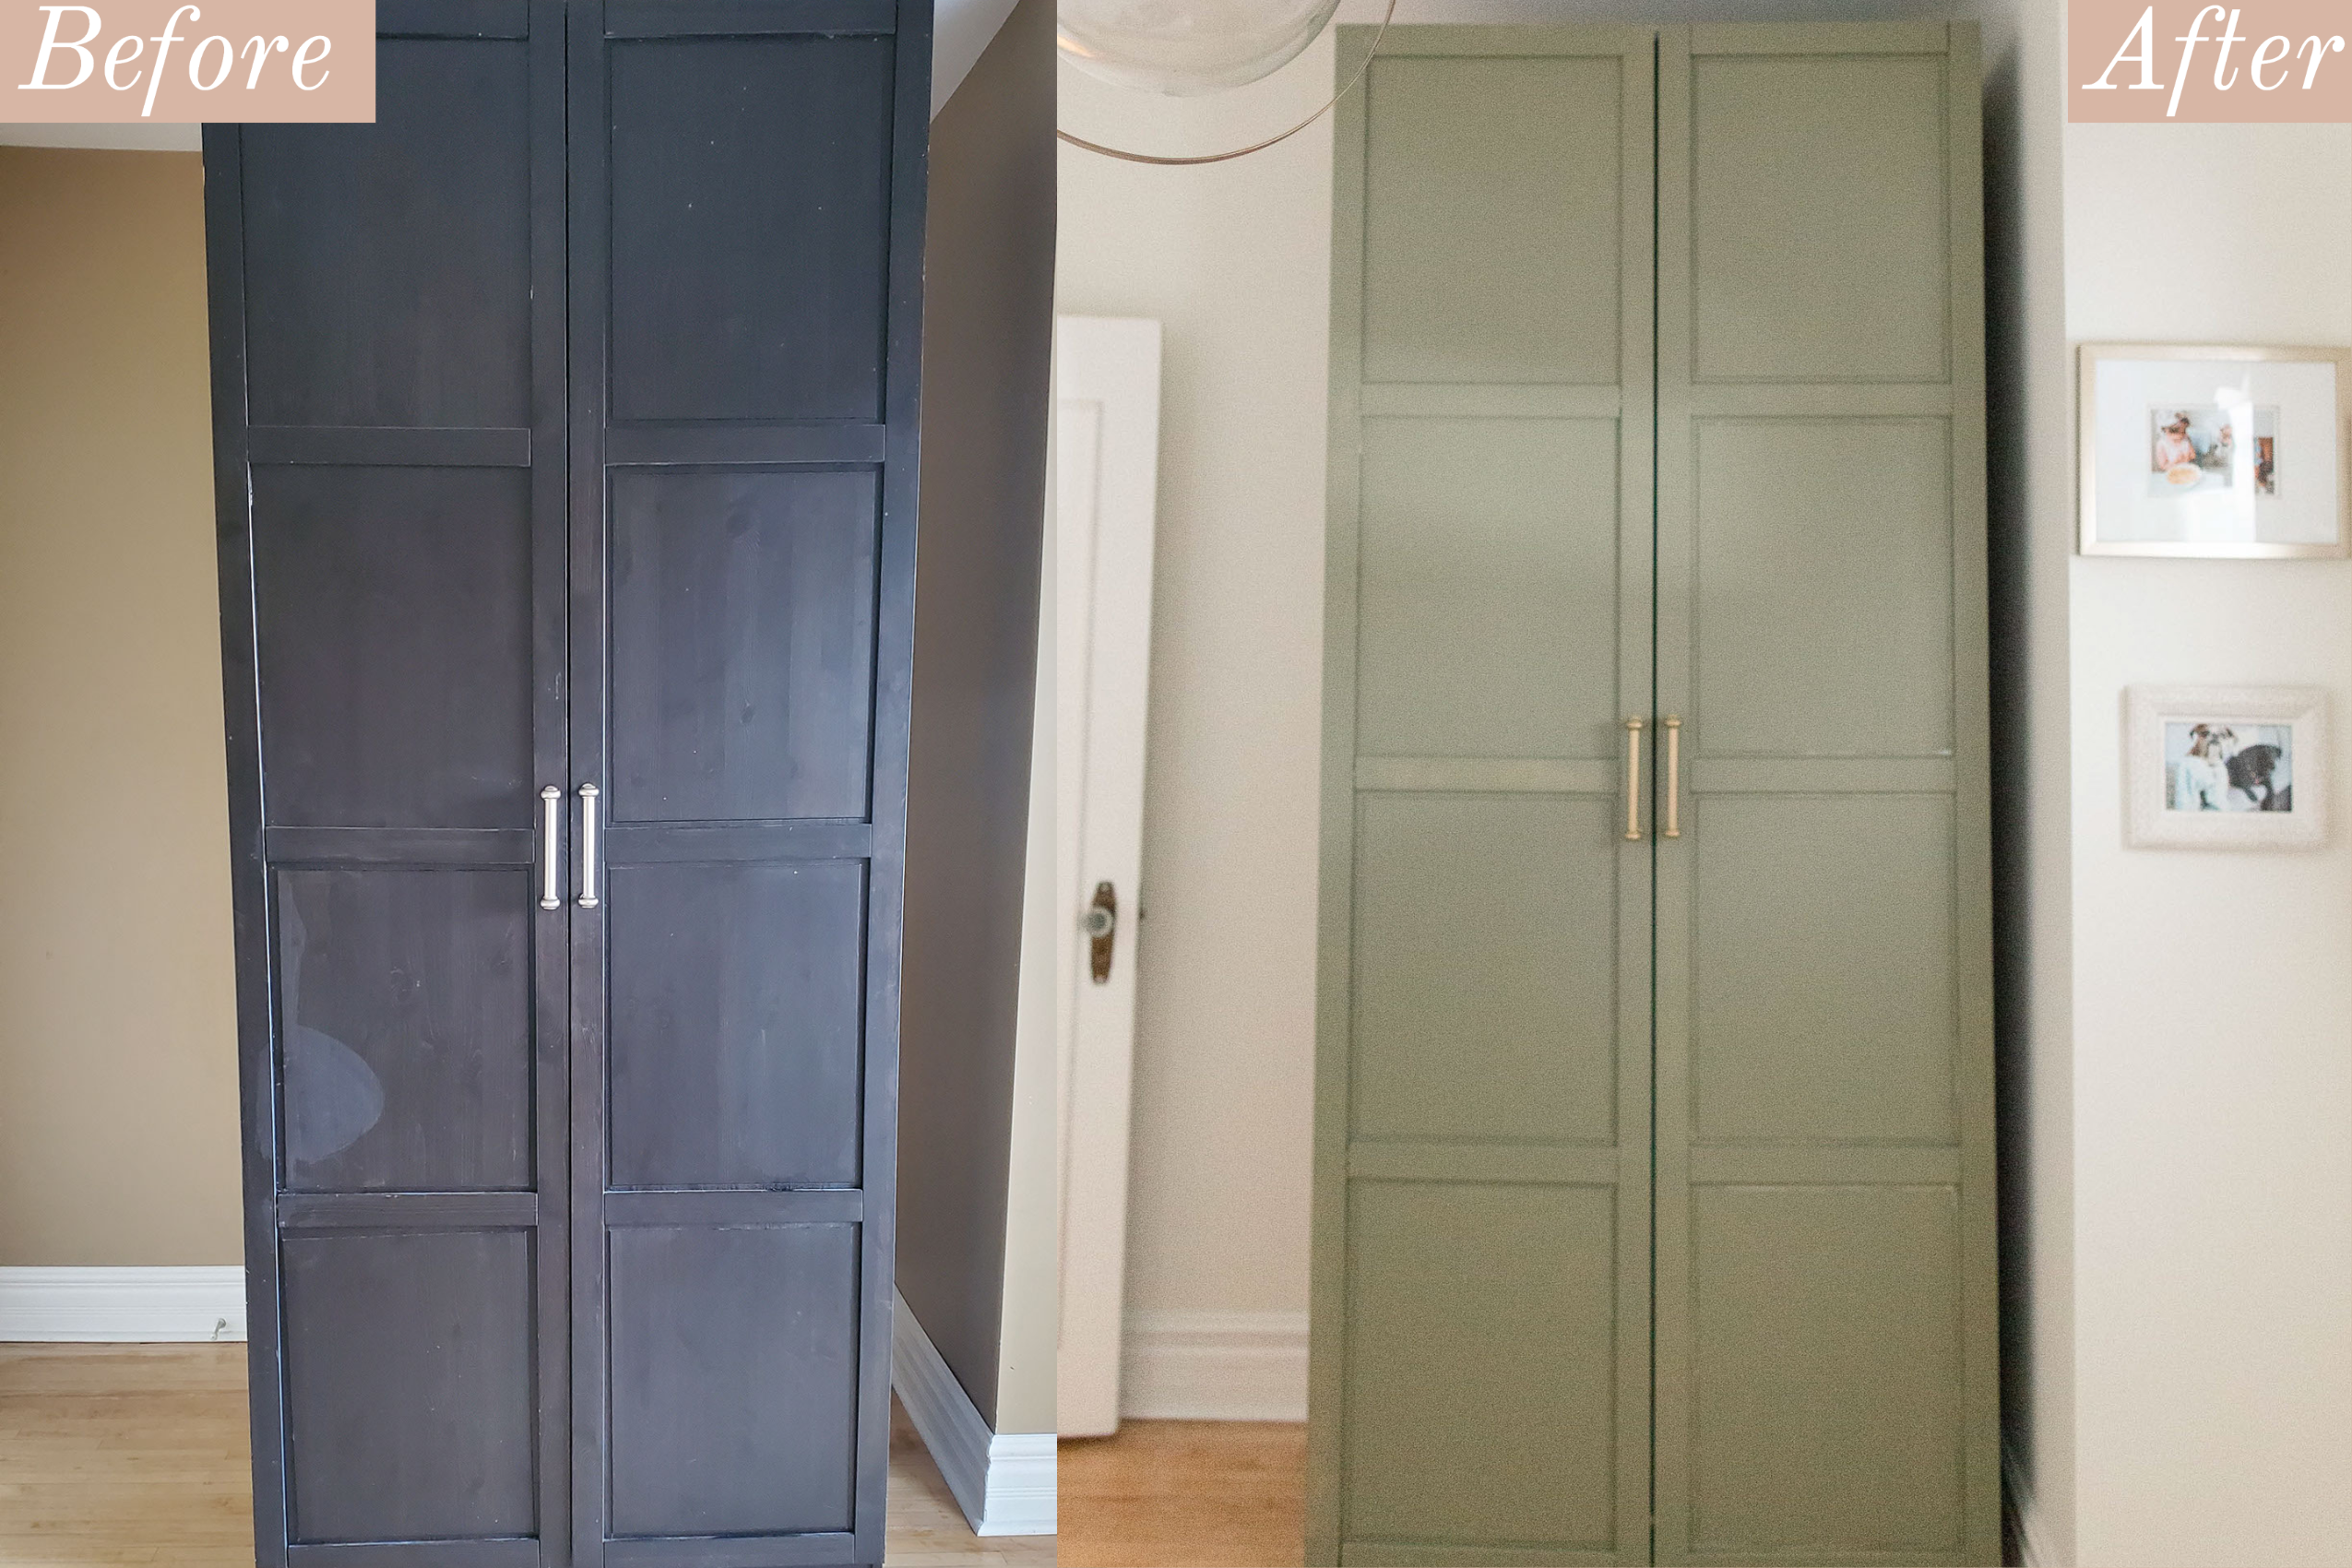
After Leanne and Heather from Simone + Ivy came in and worked their magic with designing and decorating our guest room, it was my job to DIY this piece to fit into the space. They made the call on the colour of the outside of the unit (so it would vibe with their vision for the room), but the rest was up to me!
Our 1913 heritage home has no linen closet so for years we’ve been basically moving around the spot where our towels and toiletries go. We eventually used this wardrobe from Ikea that used to be on Ryan’s side of the room before we had California Closets installed in our master. When the guest room was getting a makeover we knew it was time to freshen this piece up too. Here’s how I did it.
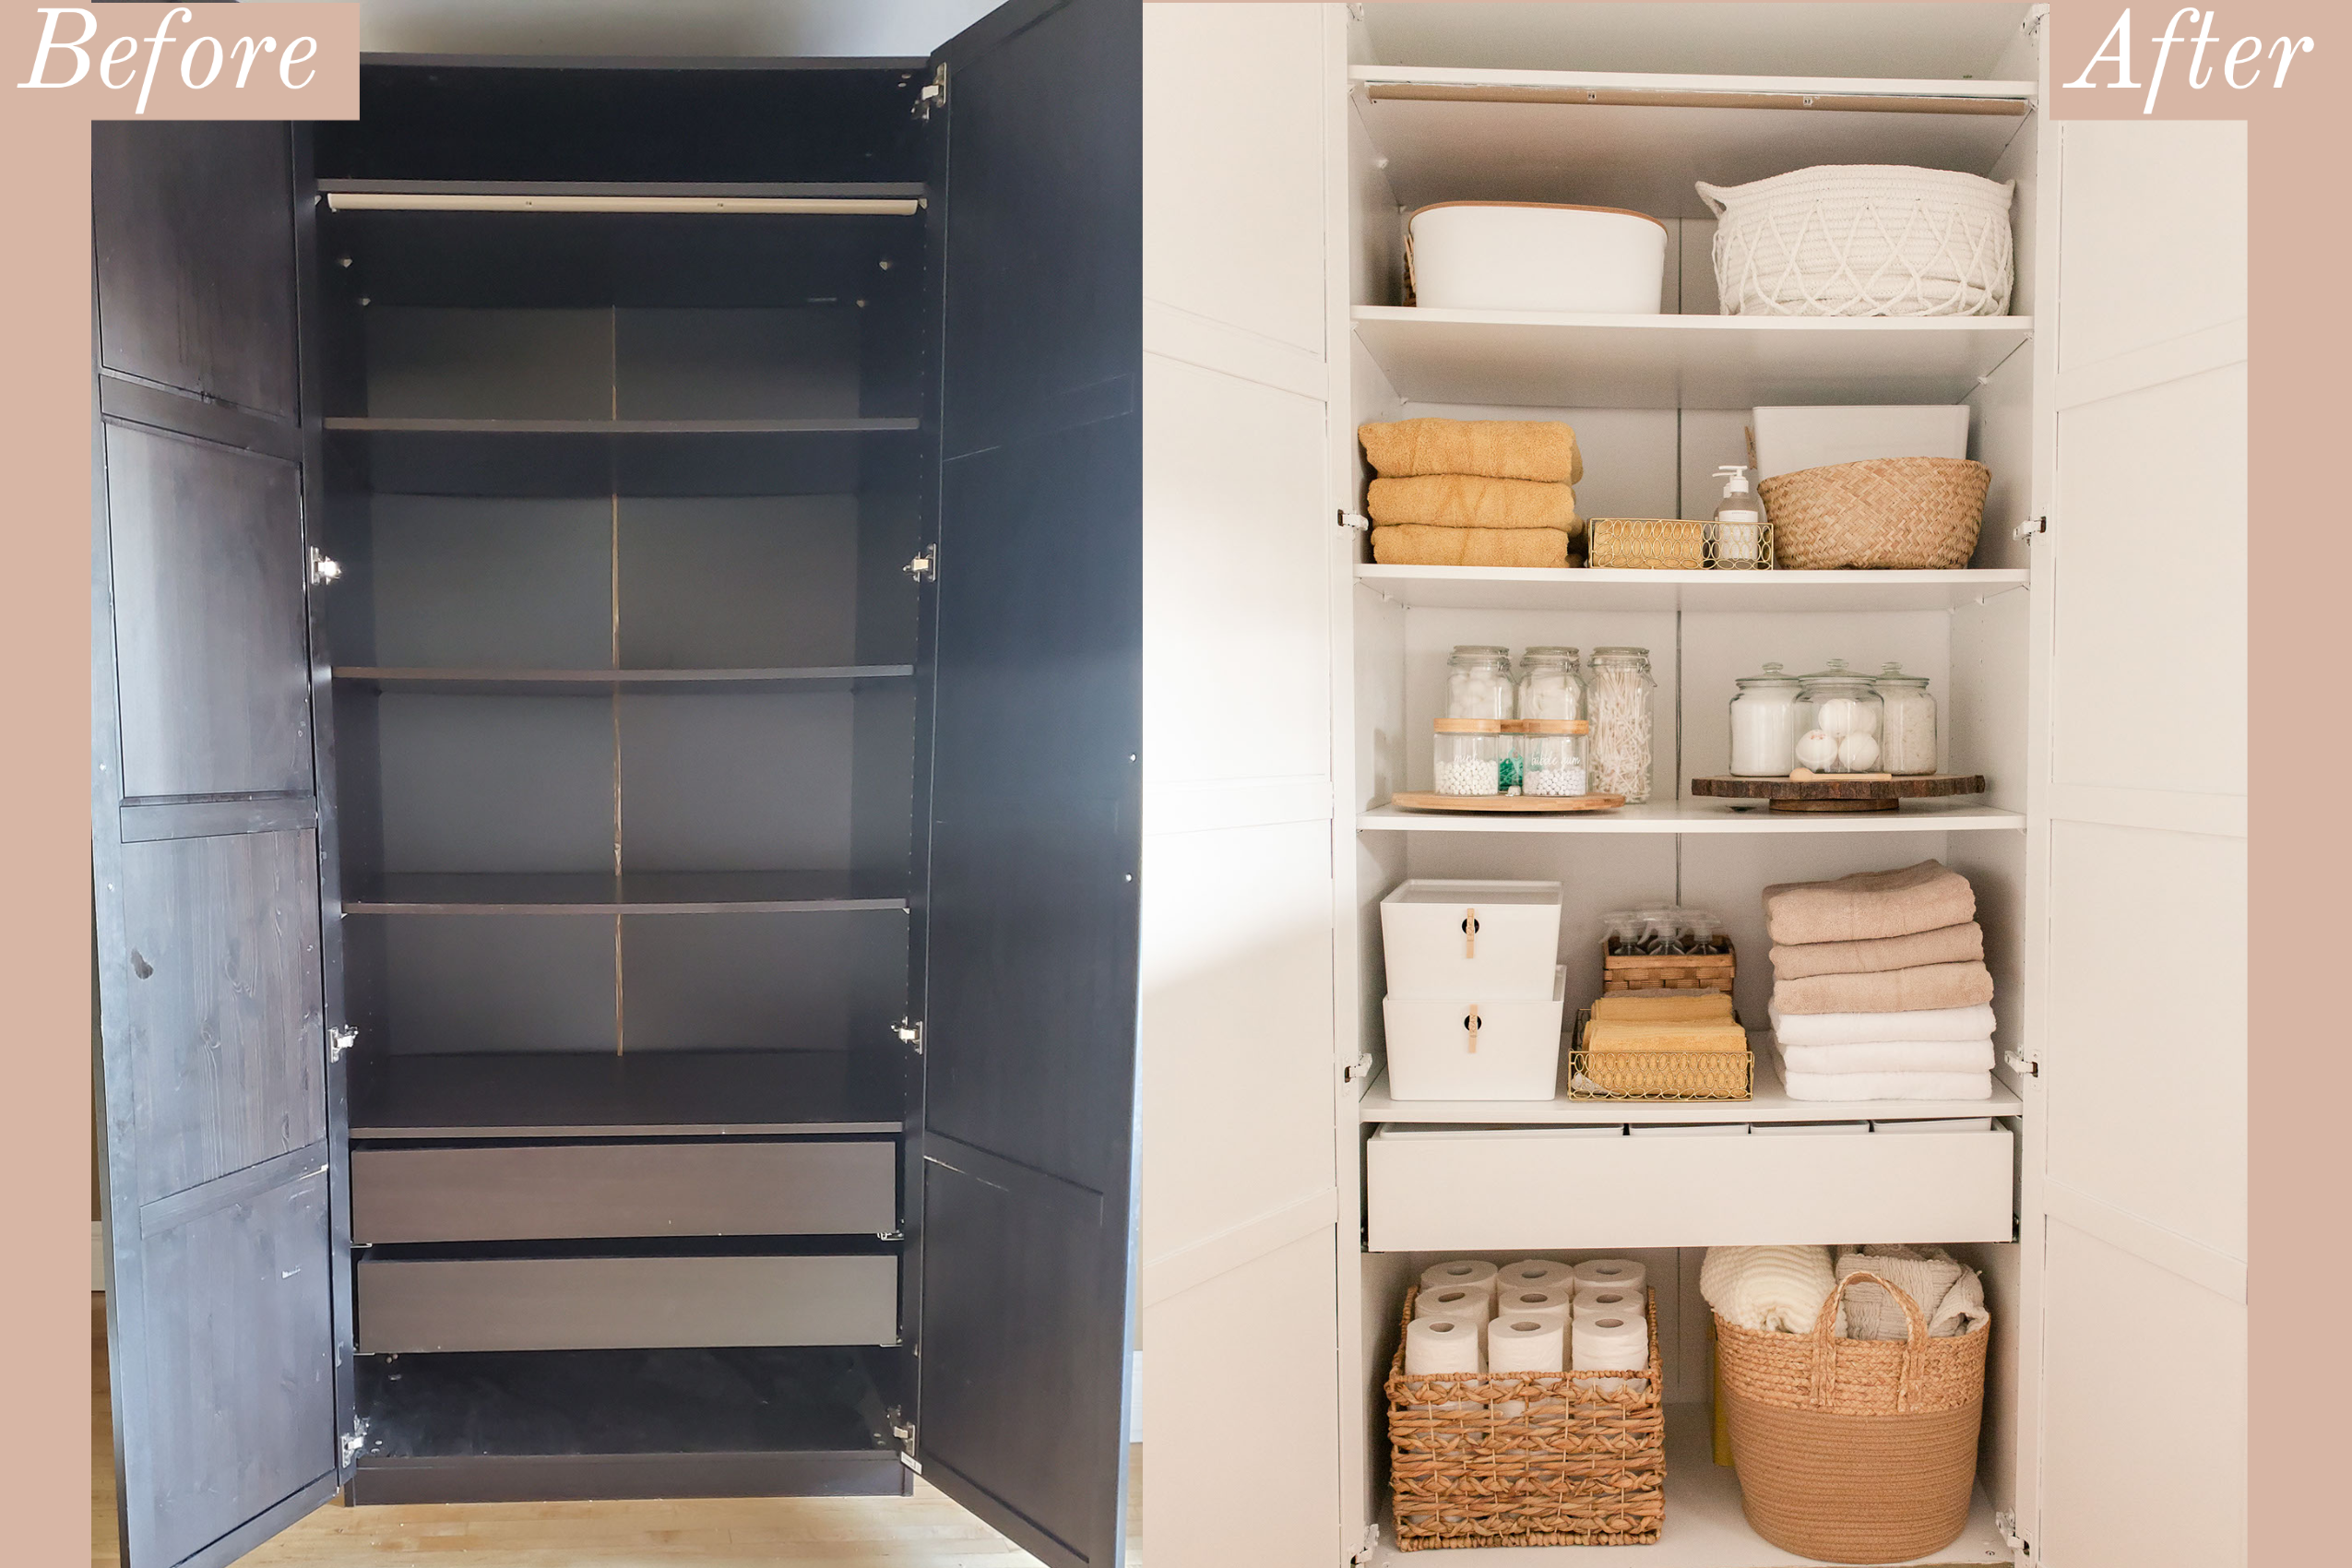
 The Makeover
I’m definitely new to the DIY game and certainly learned quite a bit with this project. Leanne and Heather picked the colour Tate Olive by Benjamin Moore for the outside of the unit. I used the Advanced option which takes longer to set (16 hours) but comes highly recommended for cabinets and cupboards. For some contrast (and to keep things light and bright), I painted the interior of the unit white and spray painted the handles gold.
Here’s the step-by-step process:
- Remove all hardware and lightly sand the entire unit.
- Wipe down with a dry cloth.
- Paint on one layer of primer. I used Stix.
- Paint two coats of Tate Olive on the outside.
- Paint two coats of white on the inside.
 Styling Tips
Of course, you want your linen closet to look pretty but it also needs to be functional and realistic for your day-to-day. Here are a few tips to help:
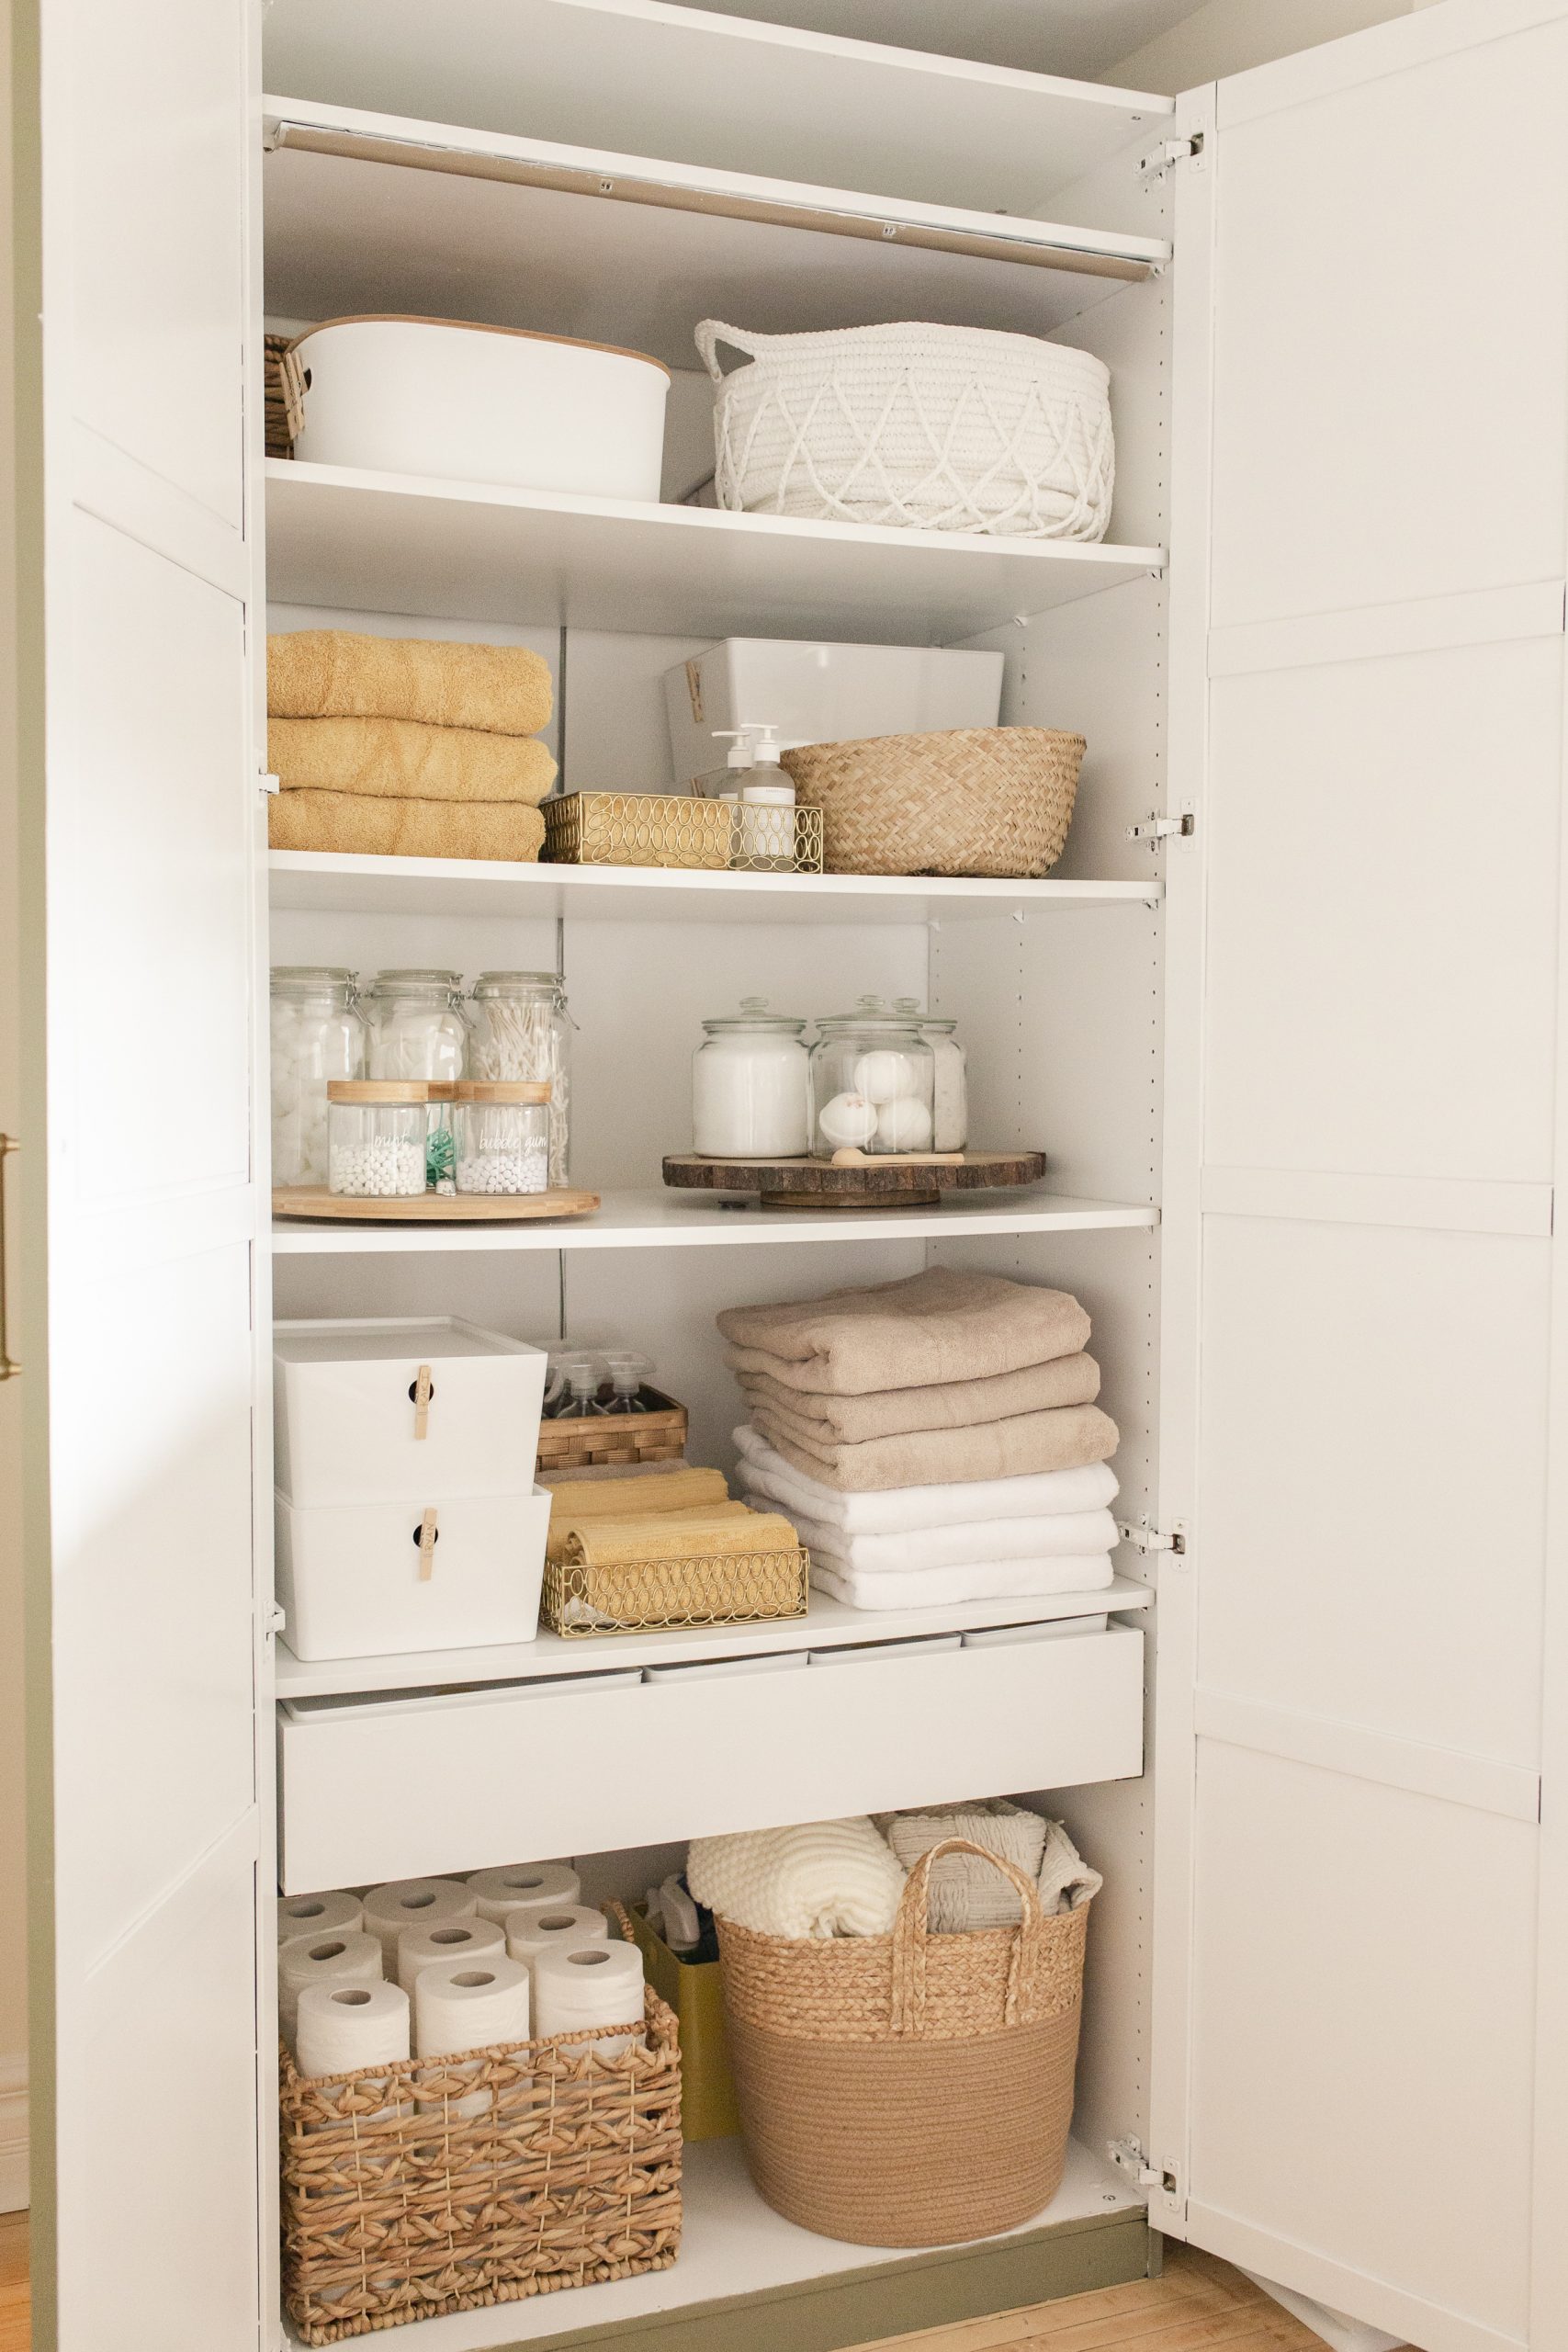
- Display the pretty stuff and tuck the rest away in nice bins, jars, or boxes.
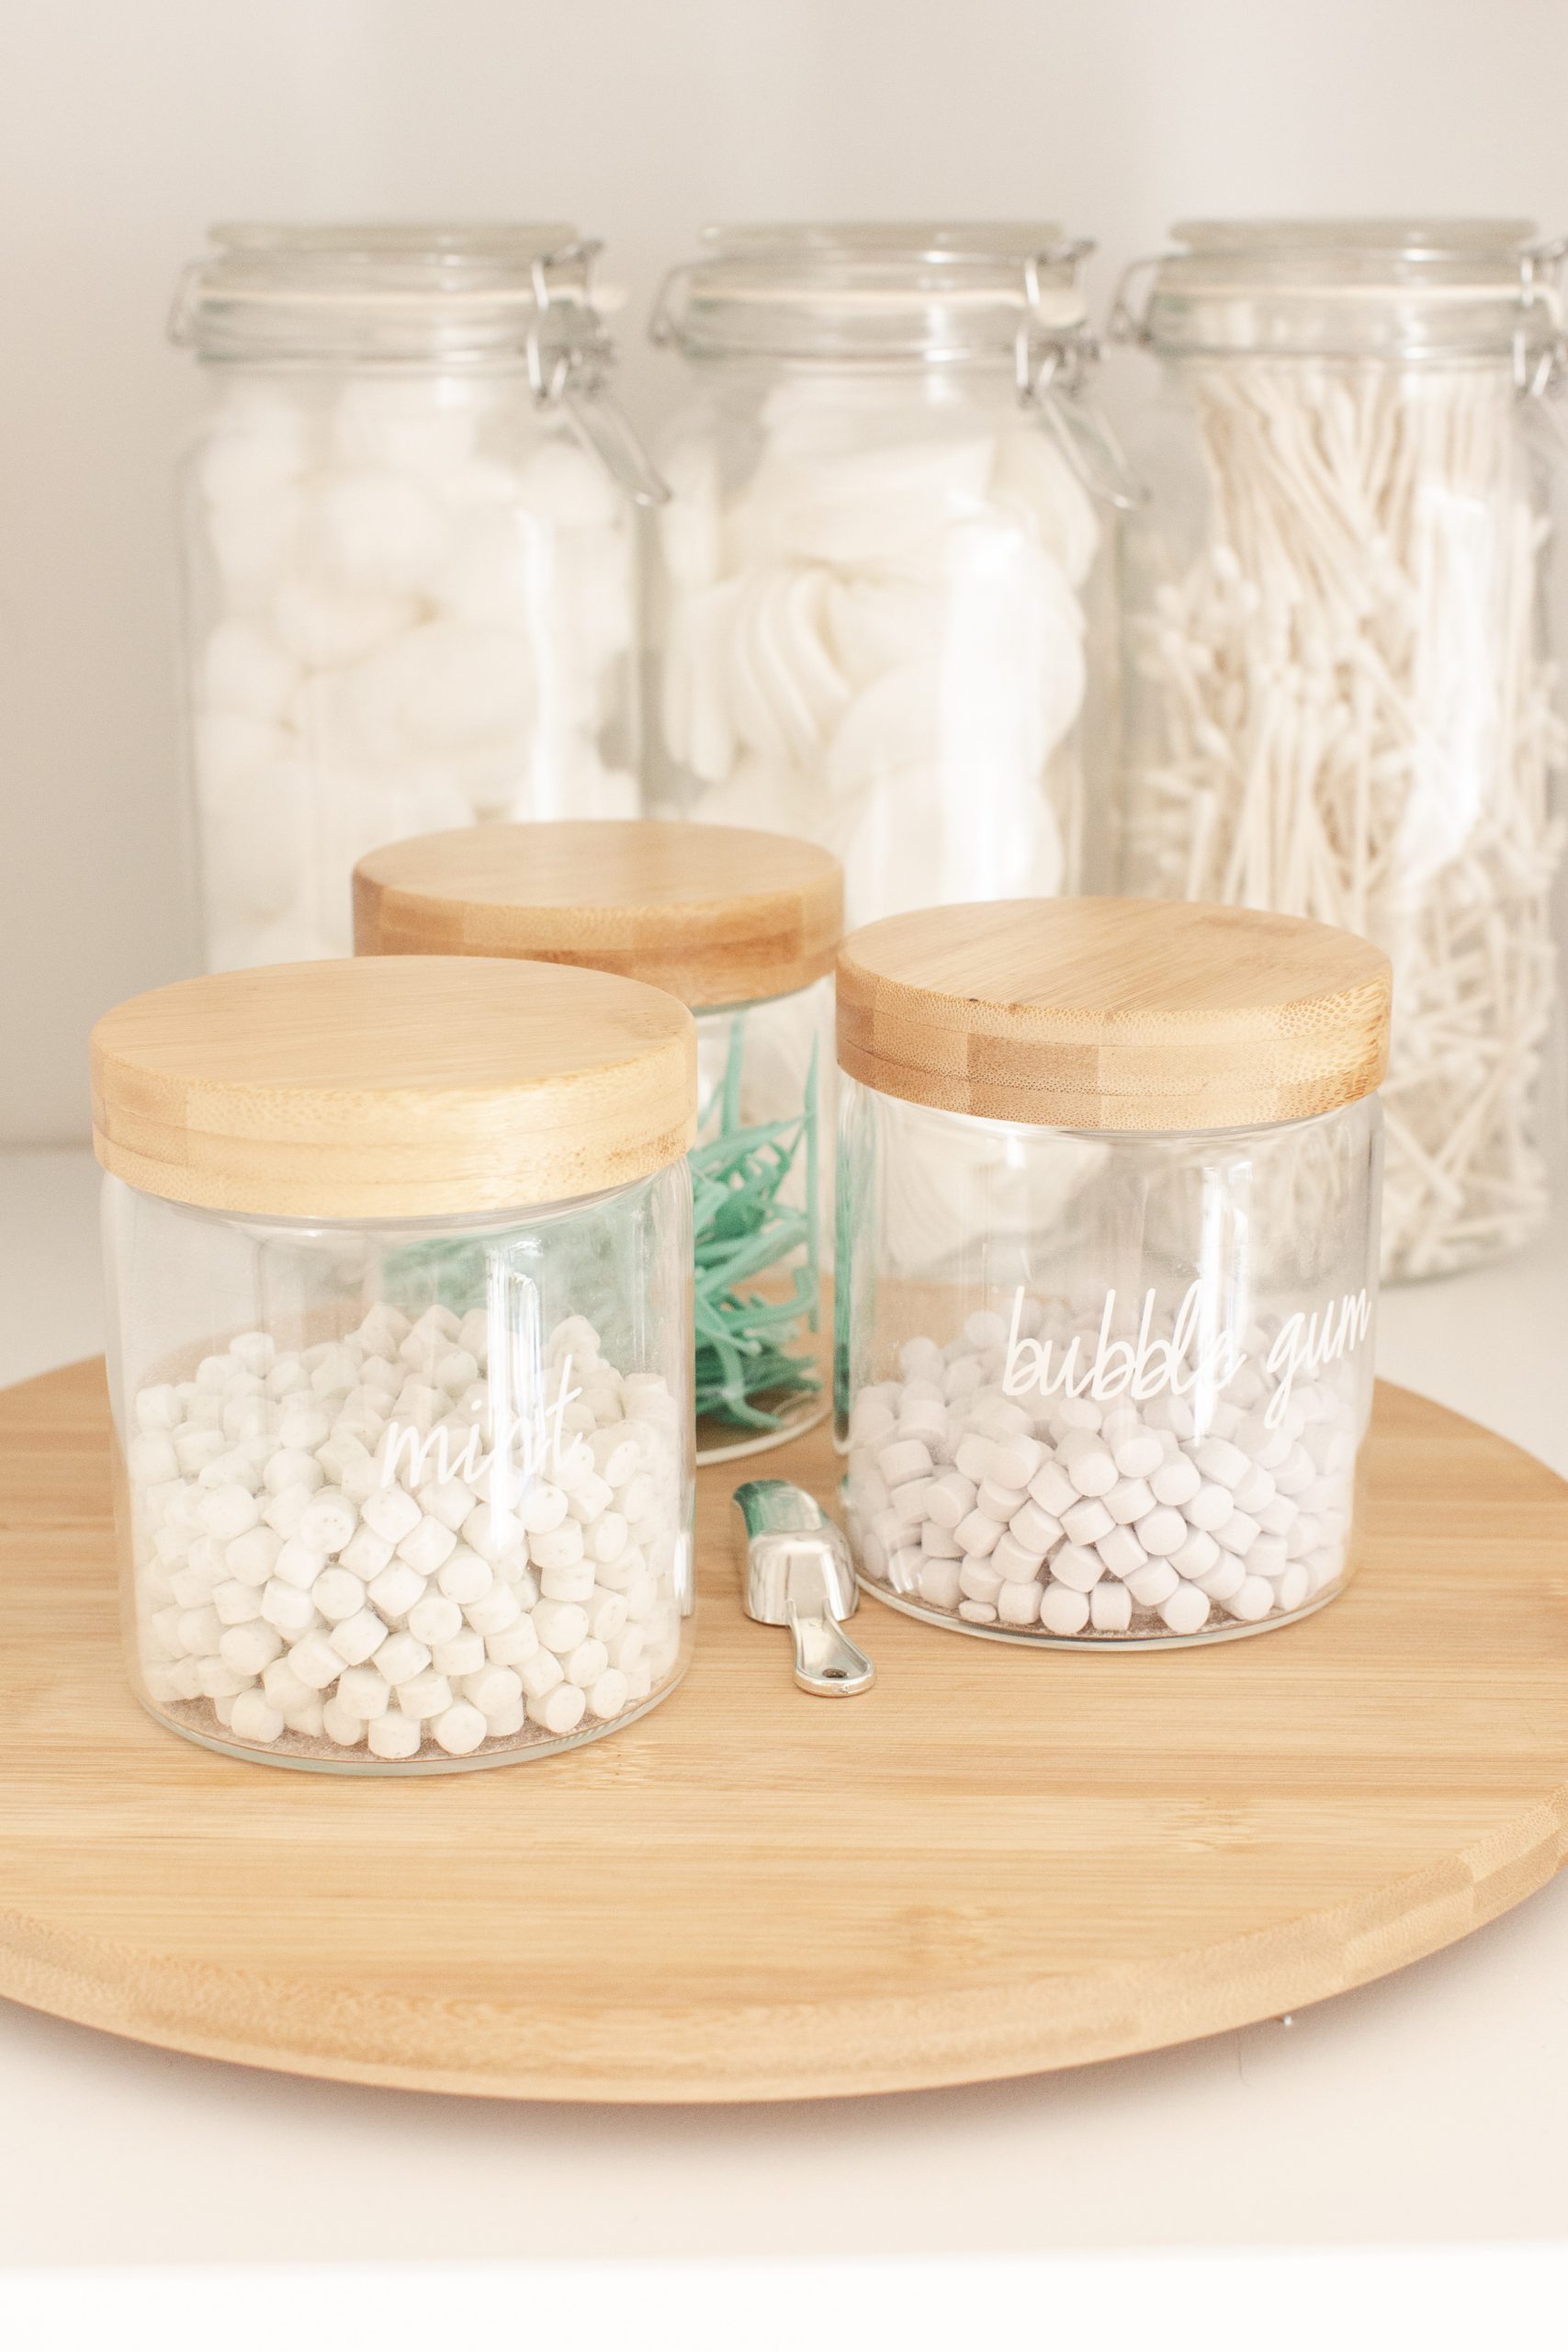
- Ditch the tacky product containers and use clear glass jars to display things like Q-Tips and cotton balls.
- Use a lazy susan to elevate items and maximize space. (Plus, it just looks cool).
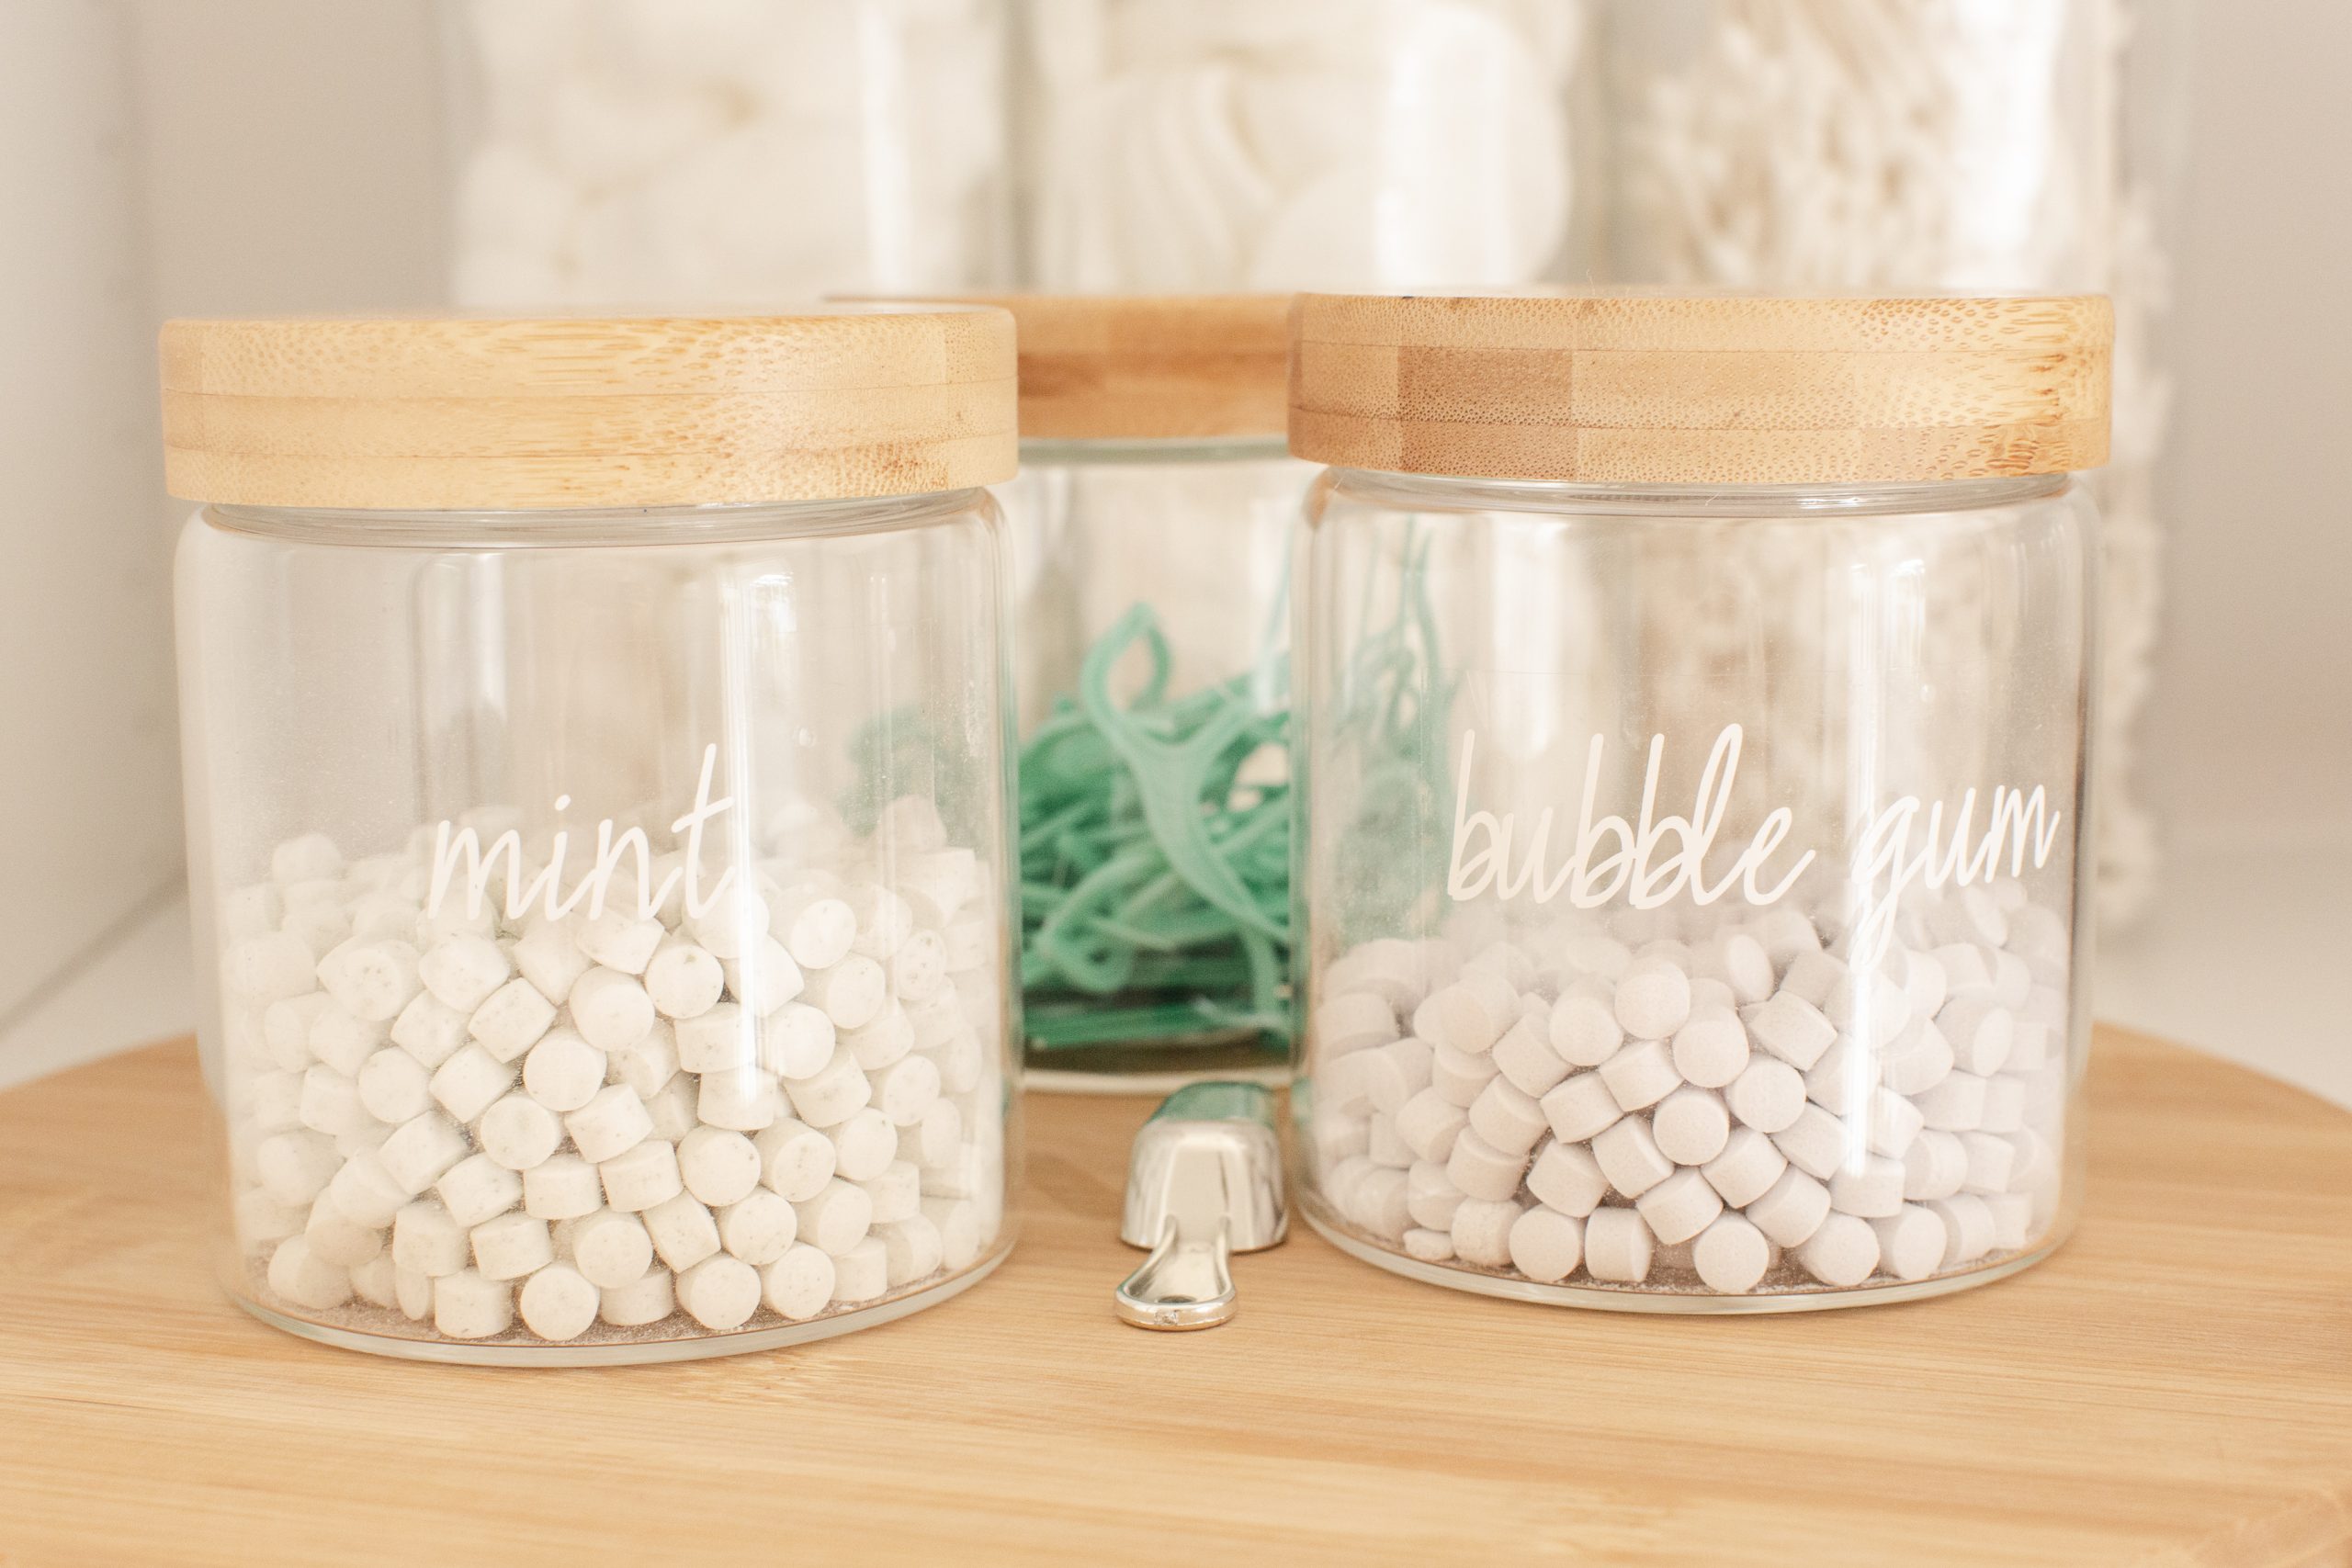 I love these glass jars with bamboo lids for holding our Change Toothpaste tabs. This is an example of something that looks pretty and should be on display.
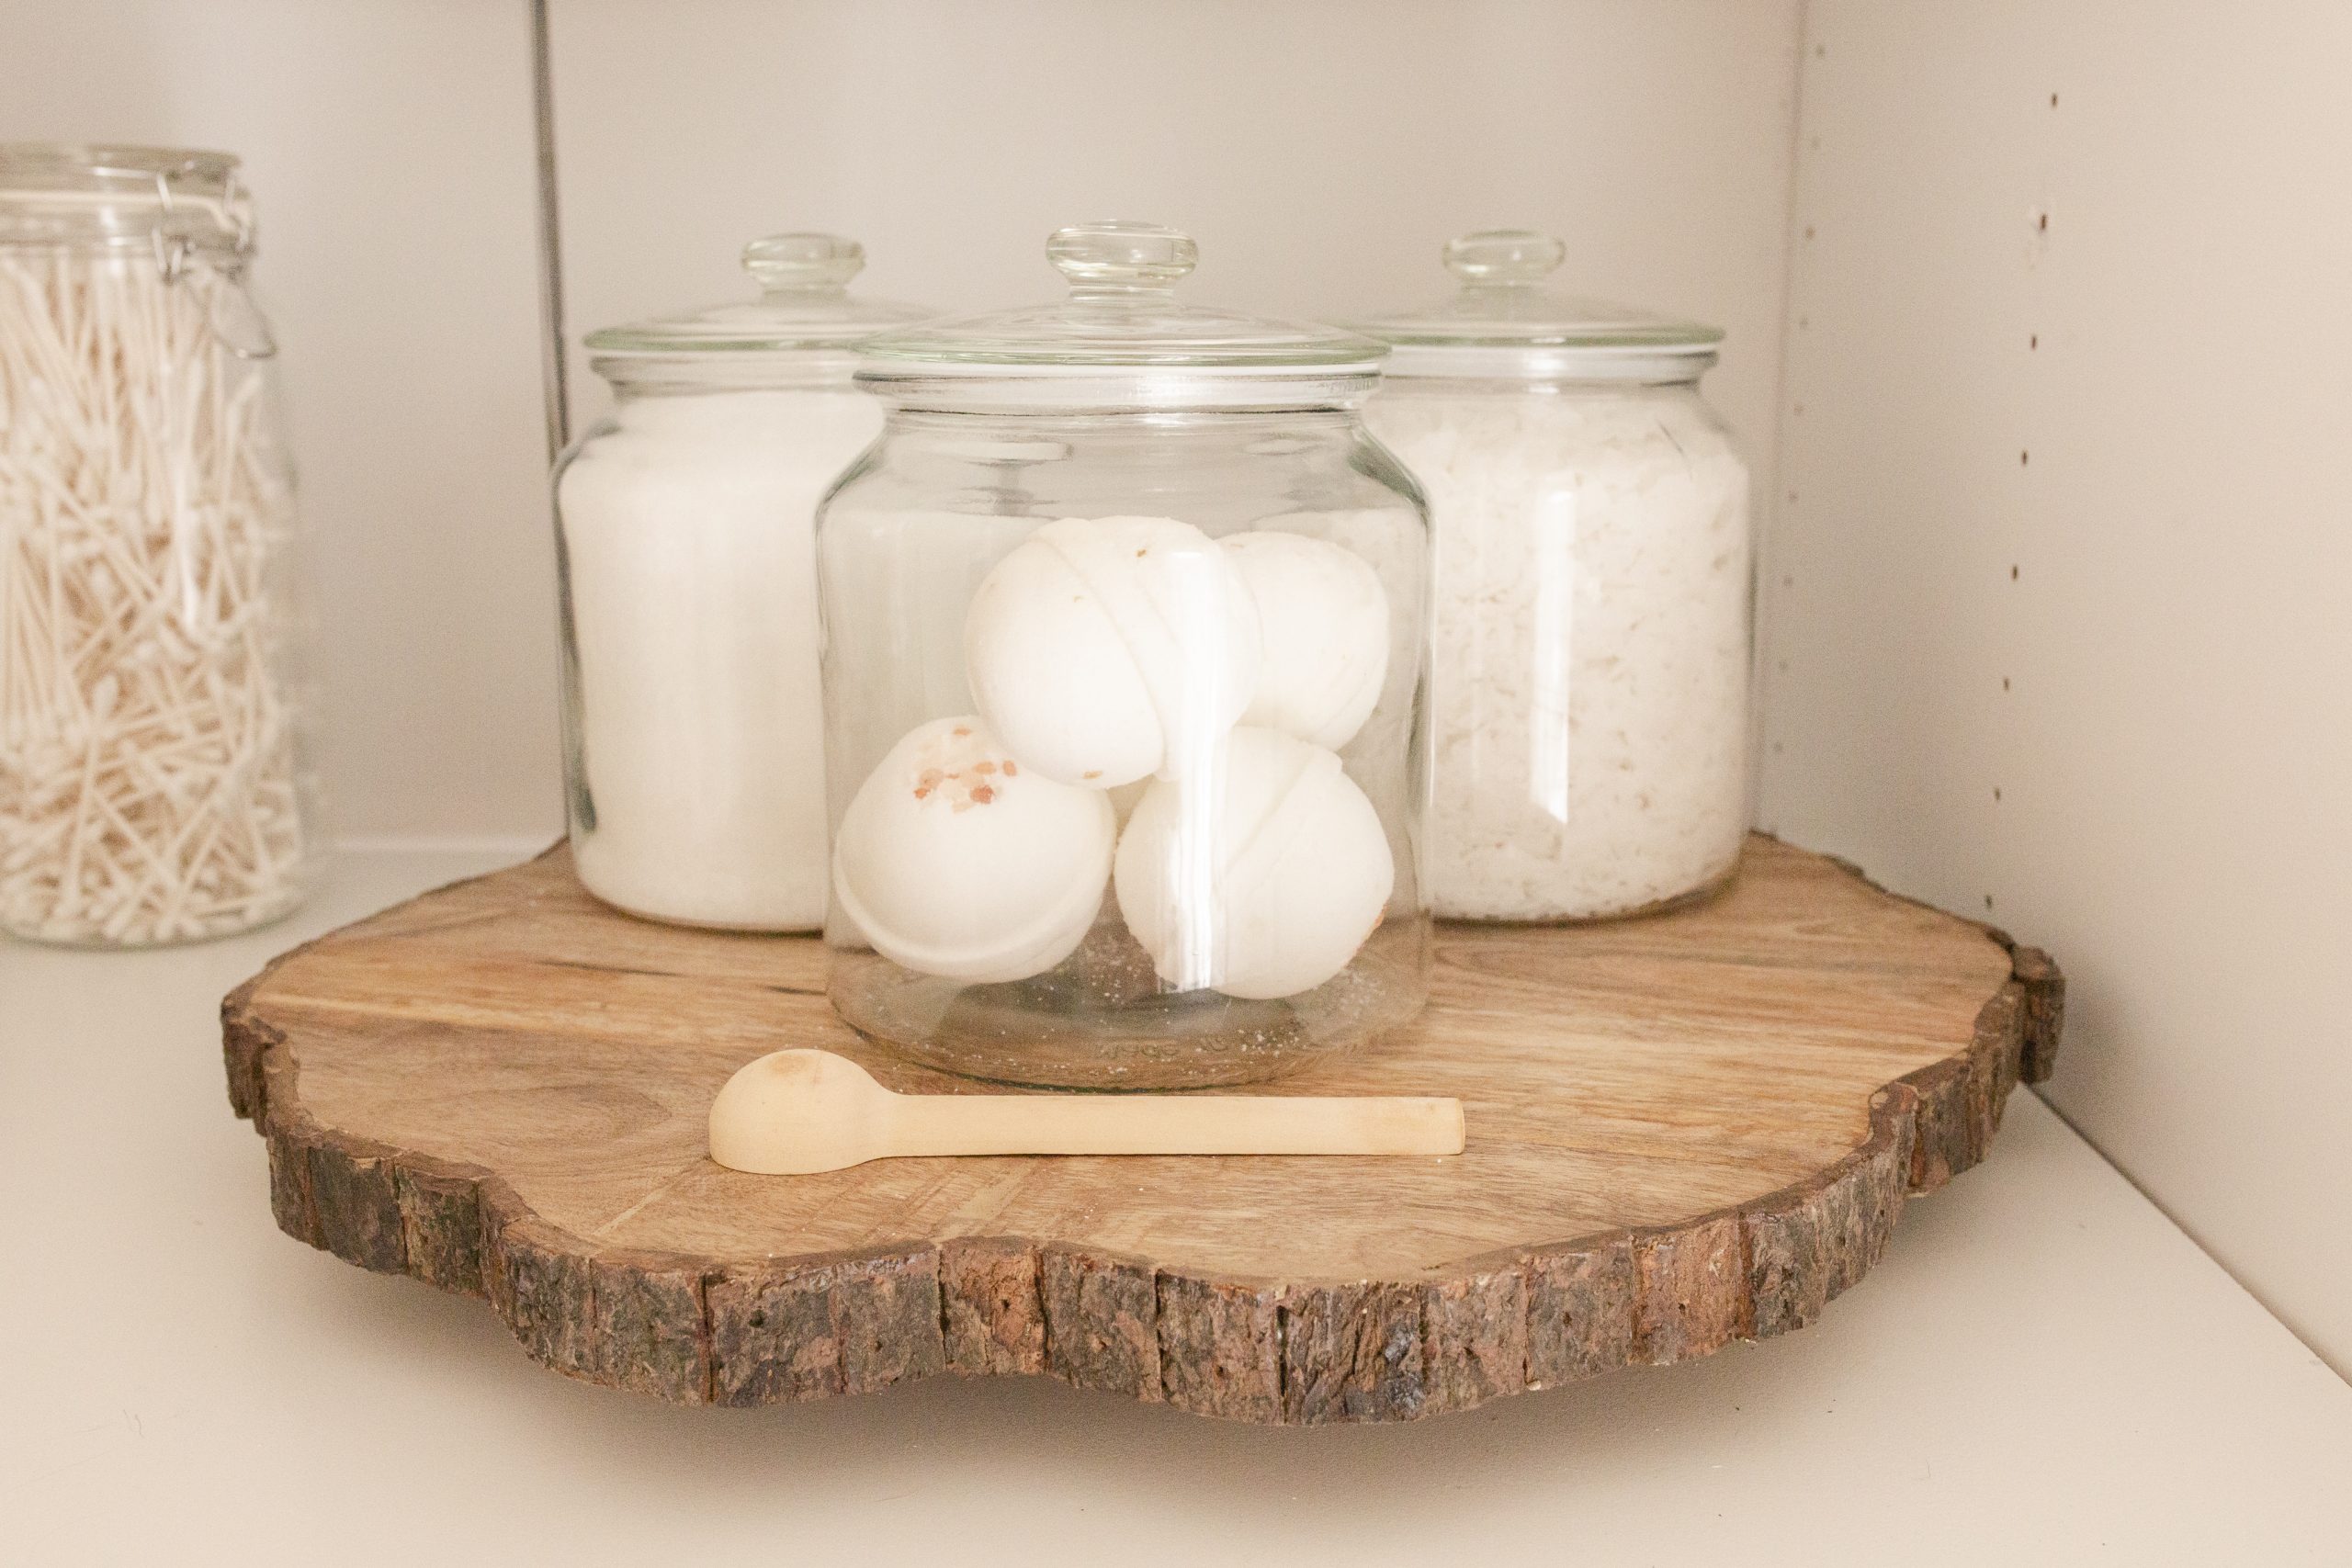
The big glass jars below hold two different types of Epsom salts and bath bombs, with a nice wooden scoop for bath time. Displaying beautiful products without all the labels gives a spa-like feel to your space.
 4. Choose a colour palette similar to the room or area of the house where your linen closet is. In our case, our linen closet is in our guest room so I made sure the style matched that room and complimented our bathroom as well.
5. Search for different textures of styling items for interest but stick to one colour palette.
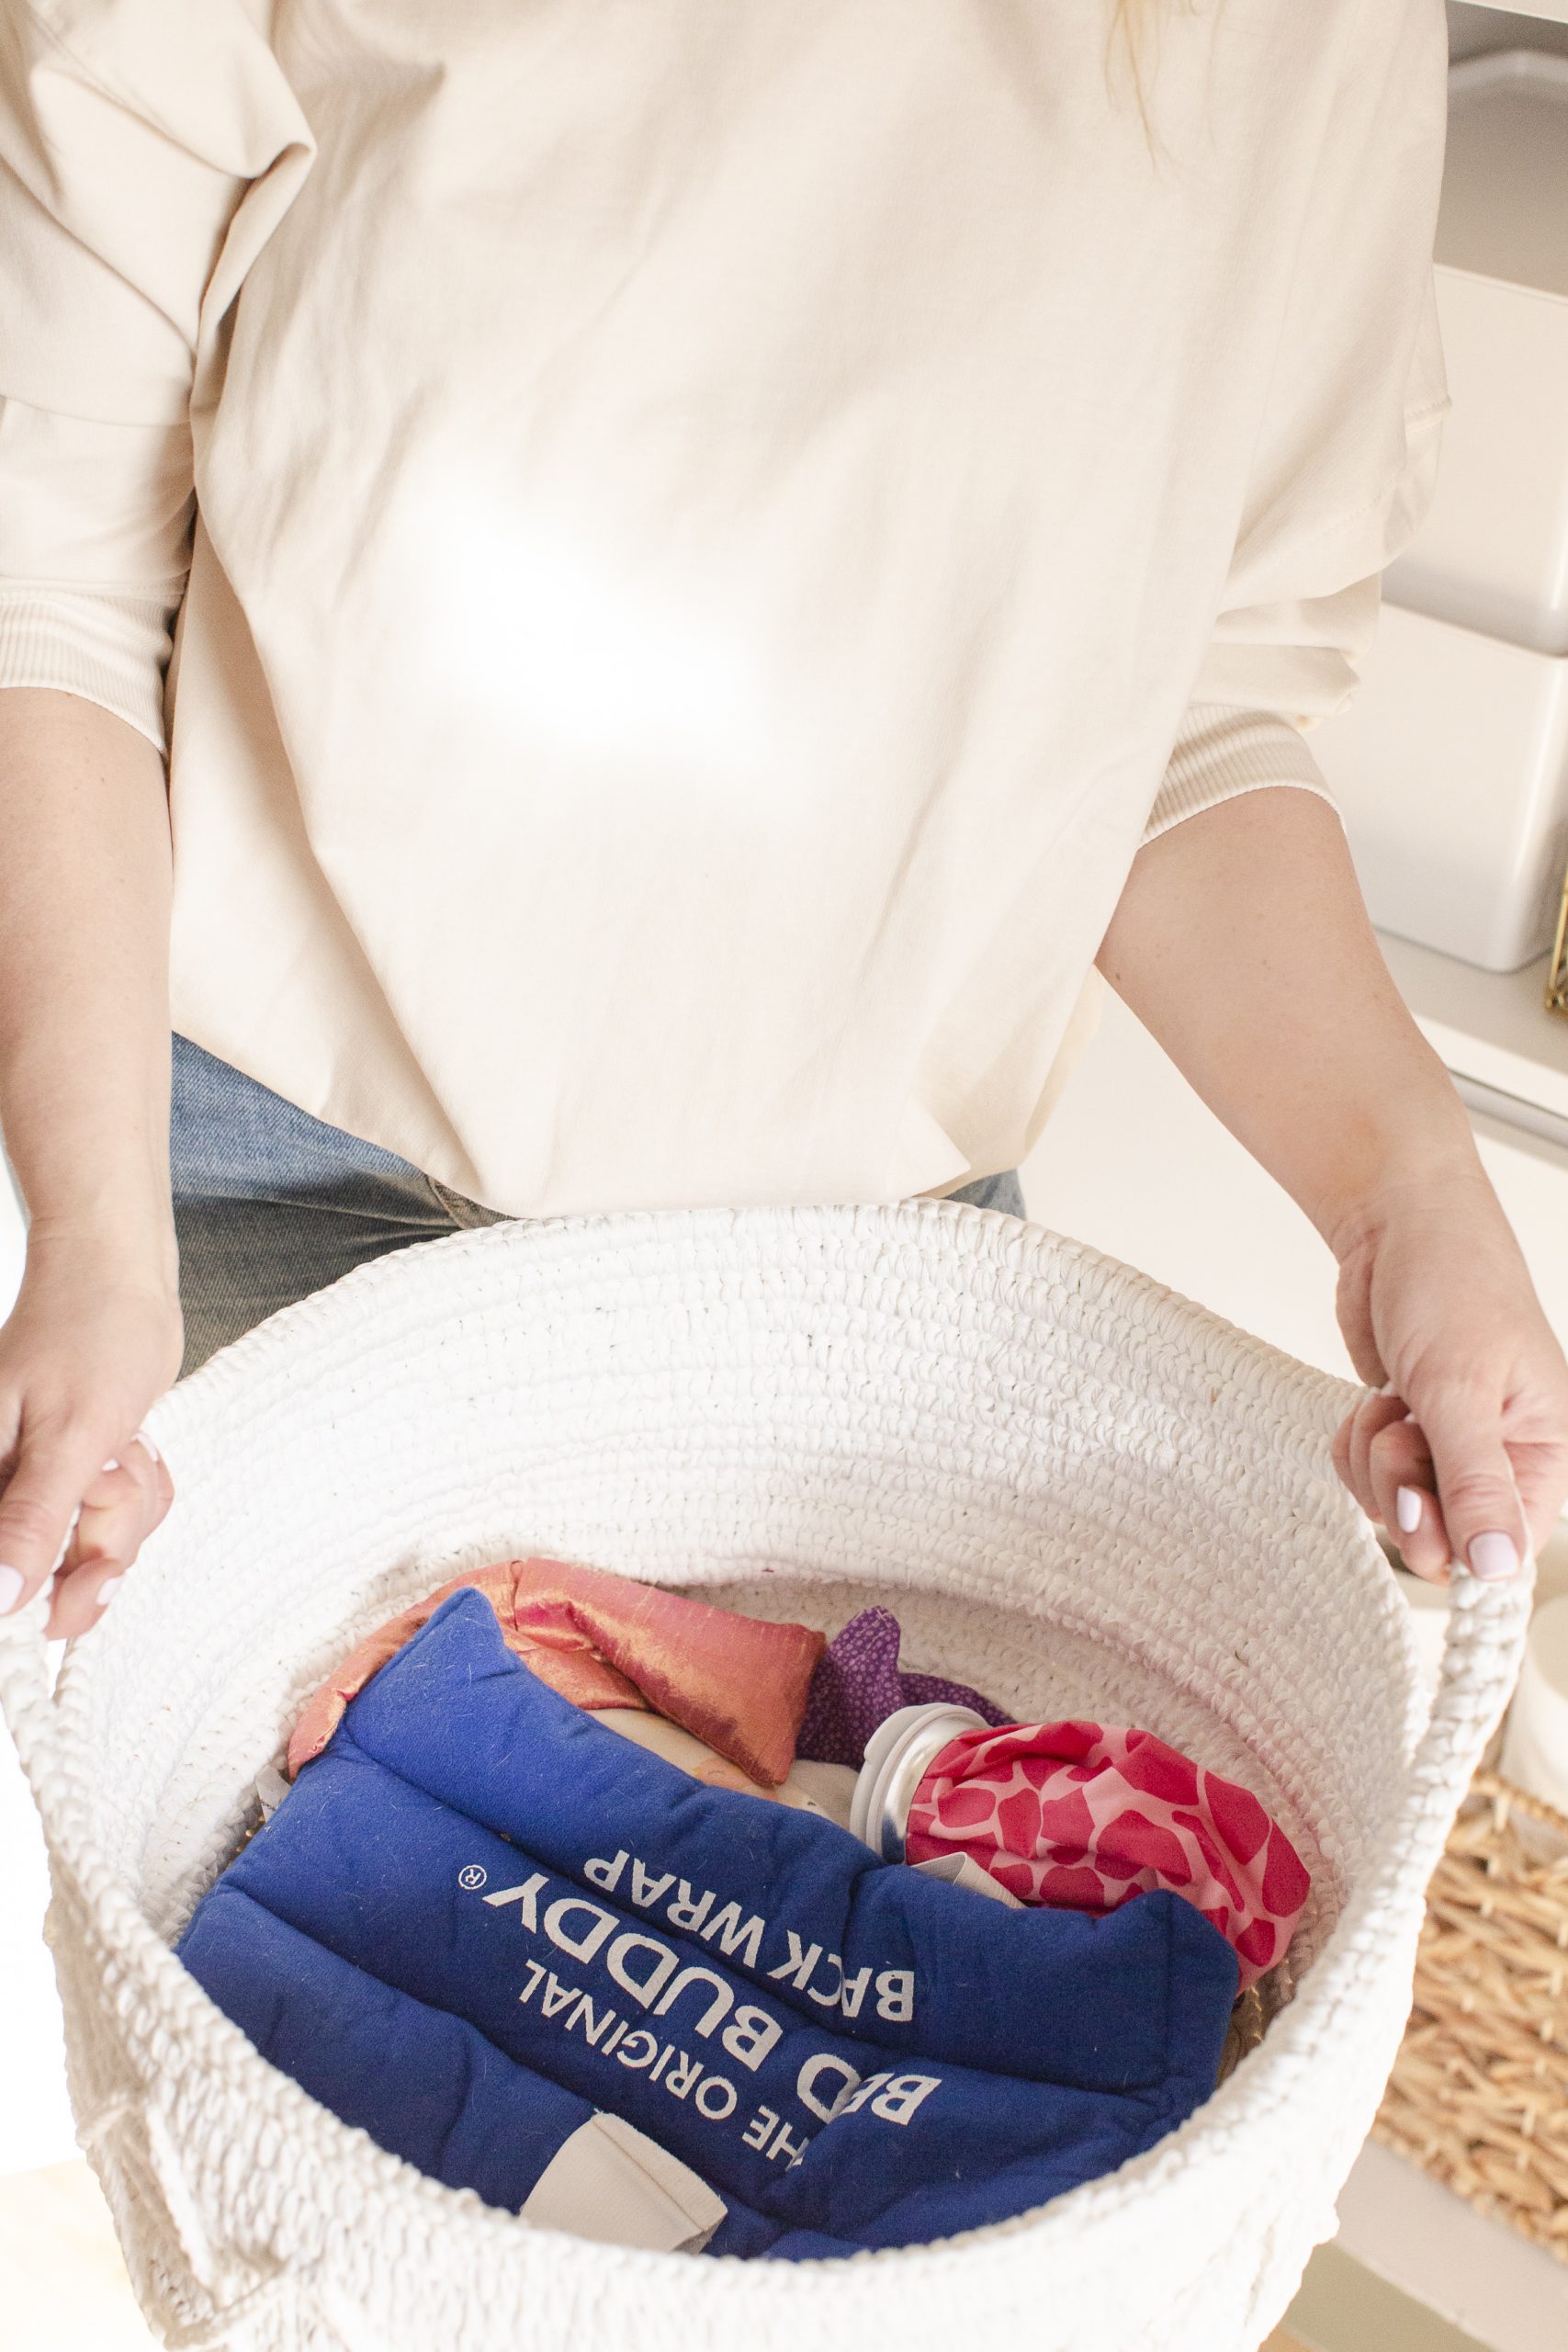
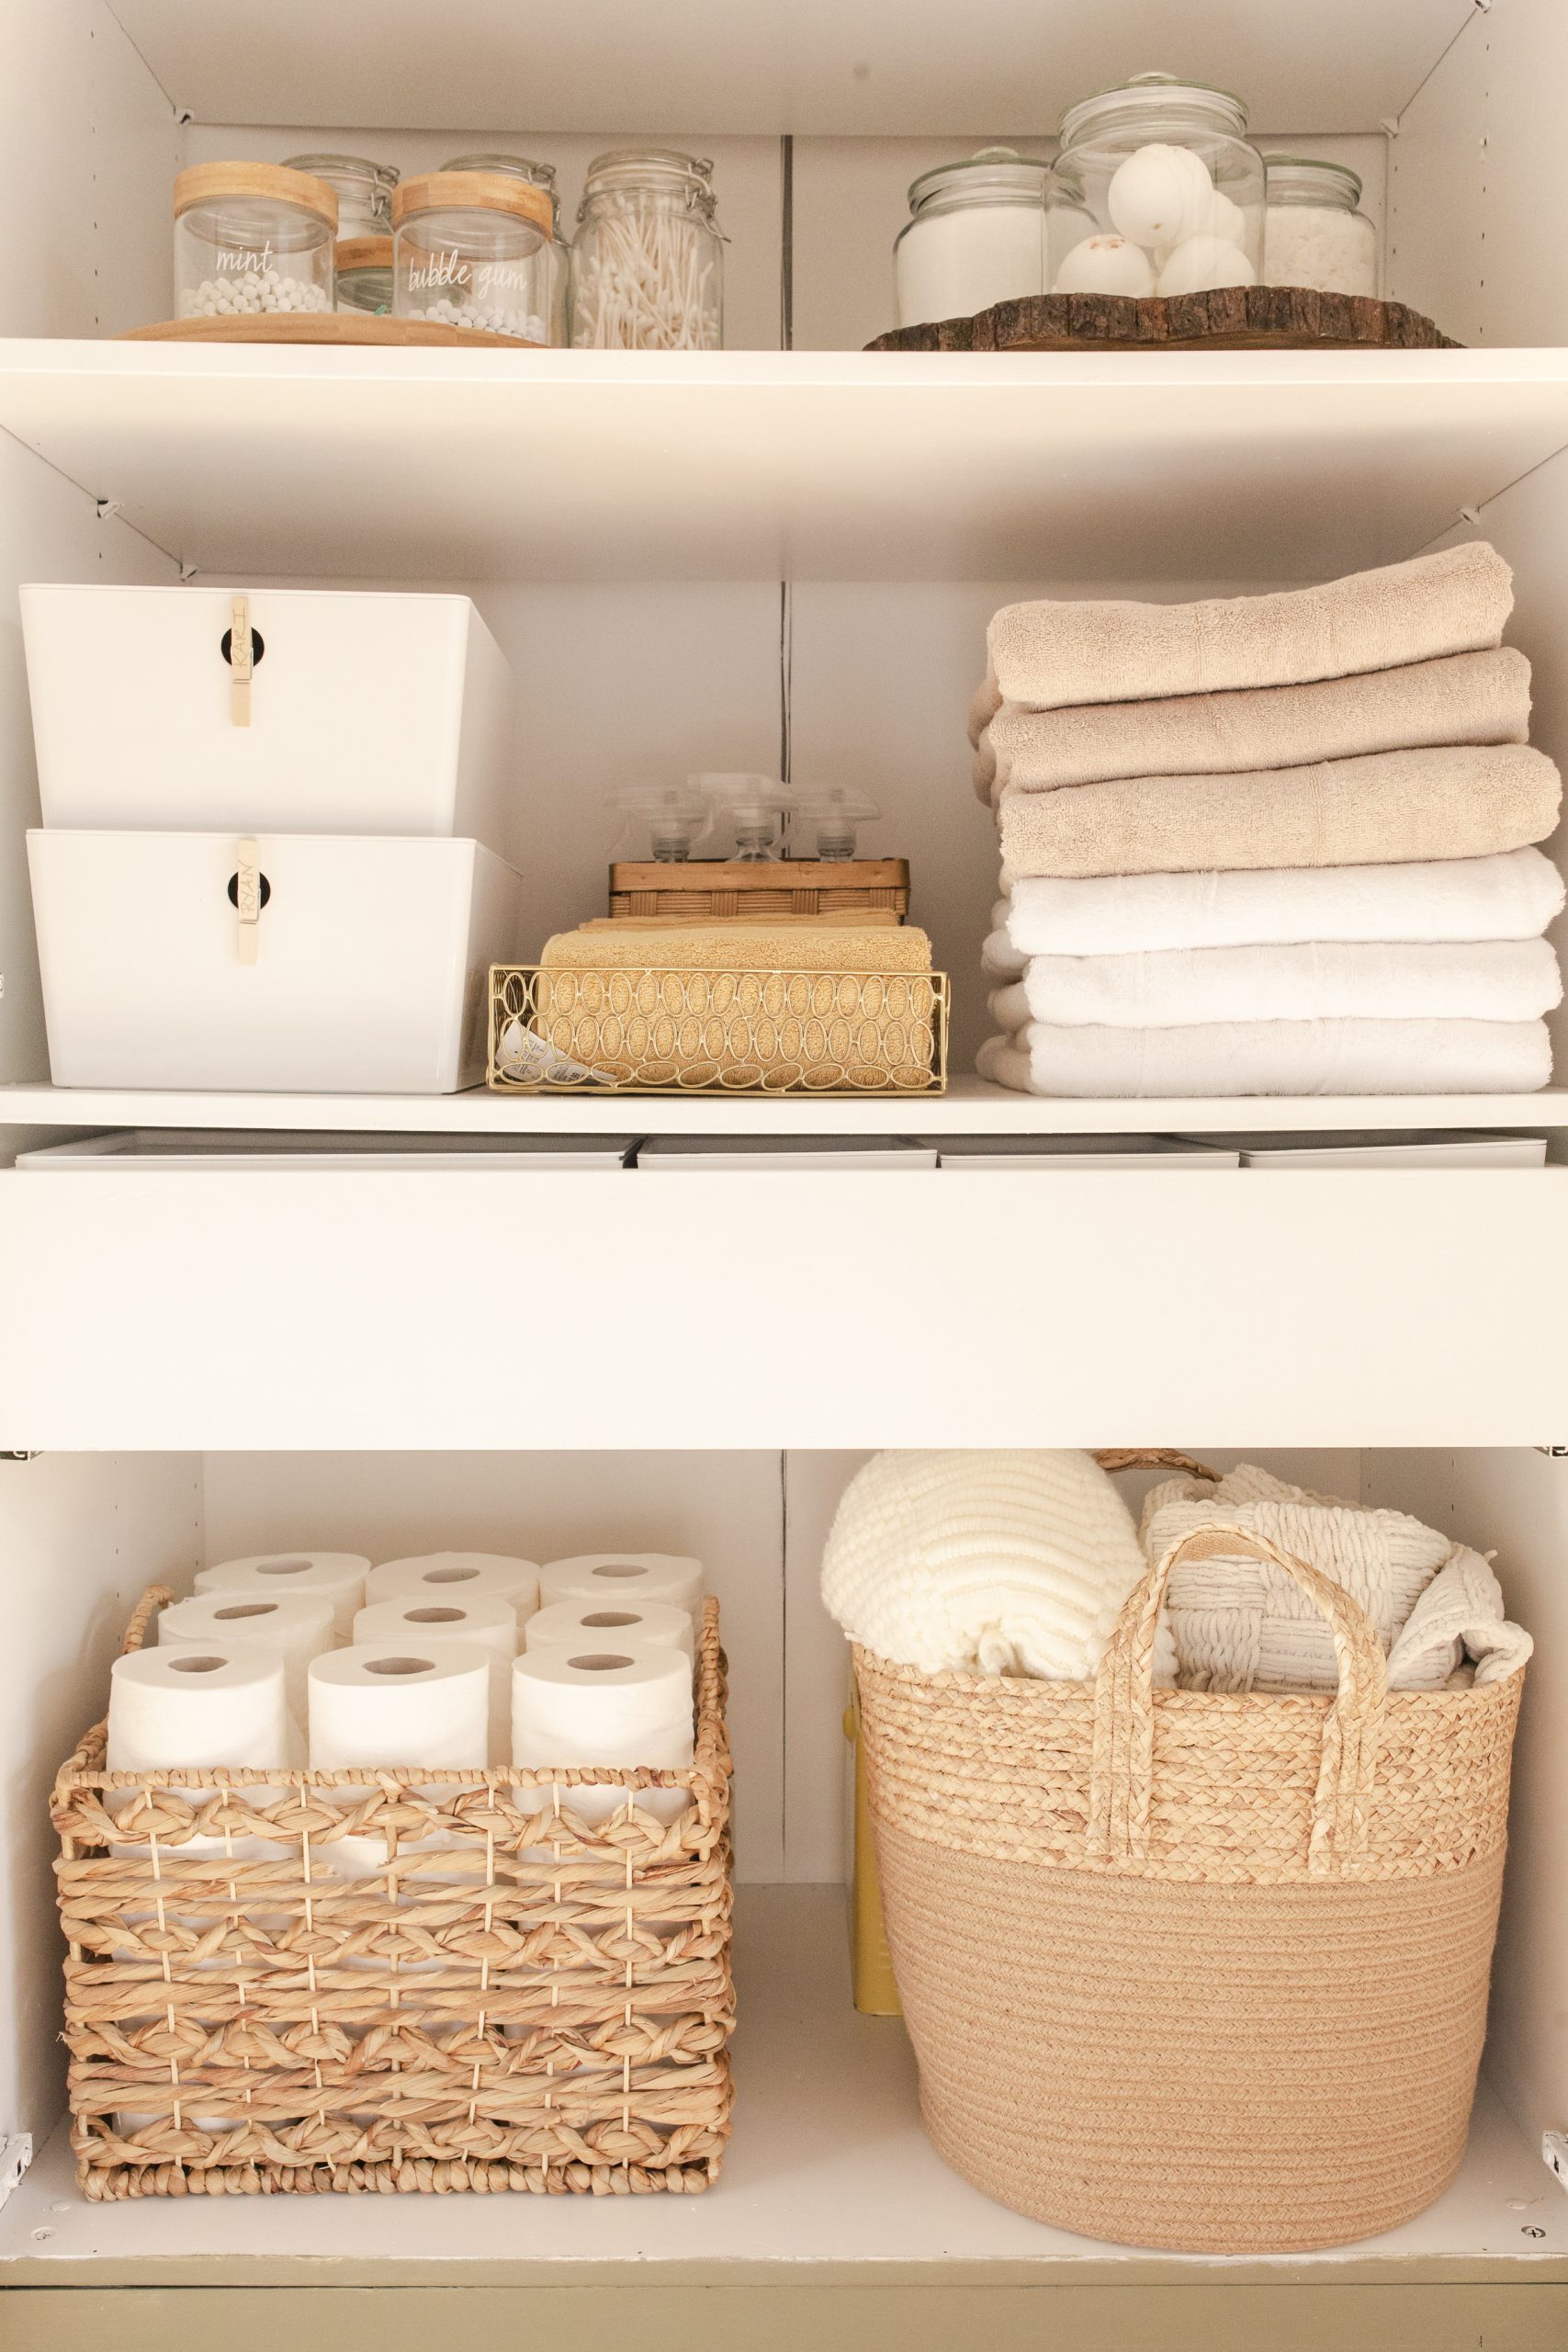 This beautiful white basket on the top shelf holds our heating pads which look out of place on display. Tuck away the eyesores or items outside your style palette.
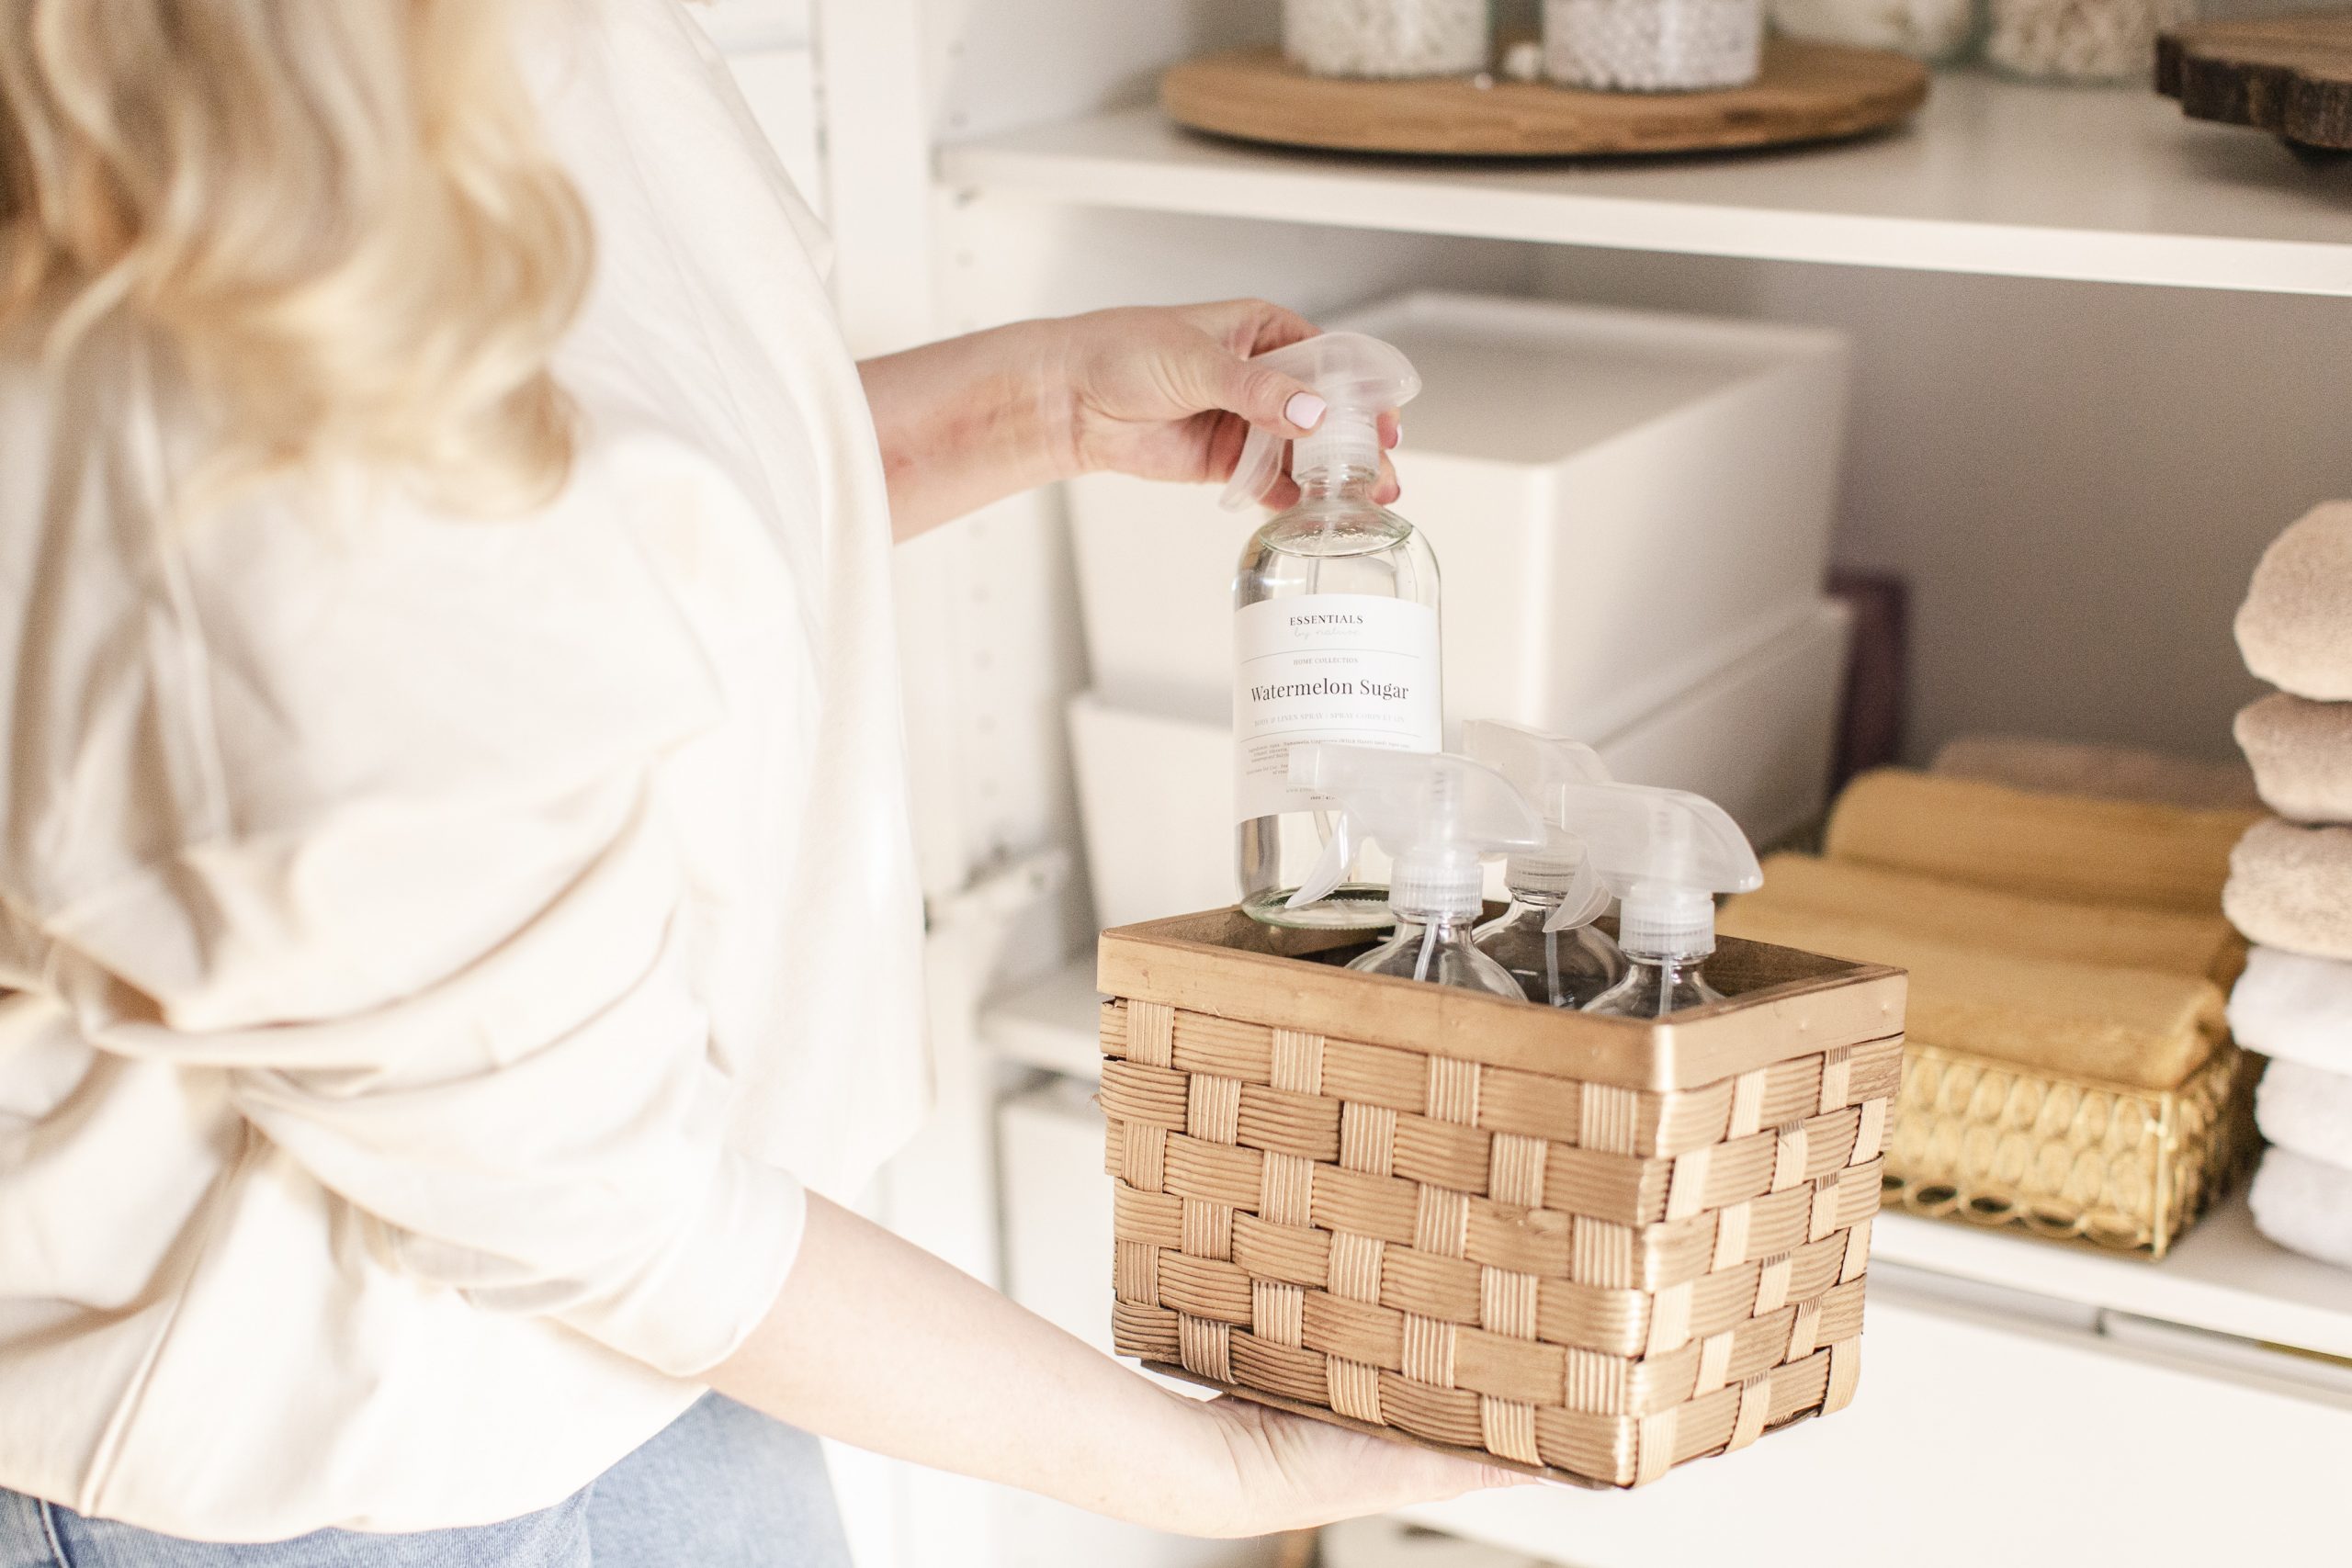
 Don’t be afraid to take some spray paint to baskets you already have but just arent’ the right colour! I sprayed this small basket gold to hold our linen and room sprays.
Check here for the Simple Rose Gold Storage Box DIY I did for my closet.
Organization Tips
- Purge! Go through everything and ditch what you don’t need and/or is expired, donate what you don’t use (unopened and not expired).
- Set up a staging area (in my case I use the floor of the guest room) and separate everything into groups. Example: oral care, bath stuff, hair tools, linen spray, headache meds, etc.
- Wipe down everything. I know this seems tedious but it will feel so good. If you’re taking the time to make the space pretty, make sure stuff going back in is crusty-free!
- Take a look at your space and decide what storage items you’ll need. I typically buy a bunch of options and return the ones I don’t use. Even if you measure, you never really know how something is going to look or fit into a space until you actually put it there.
- Decide what kind of labels you want and make or order.
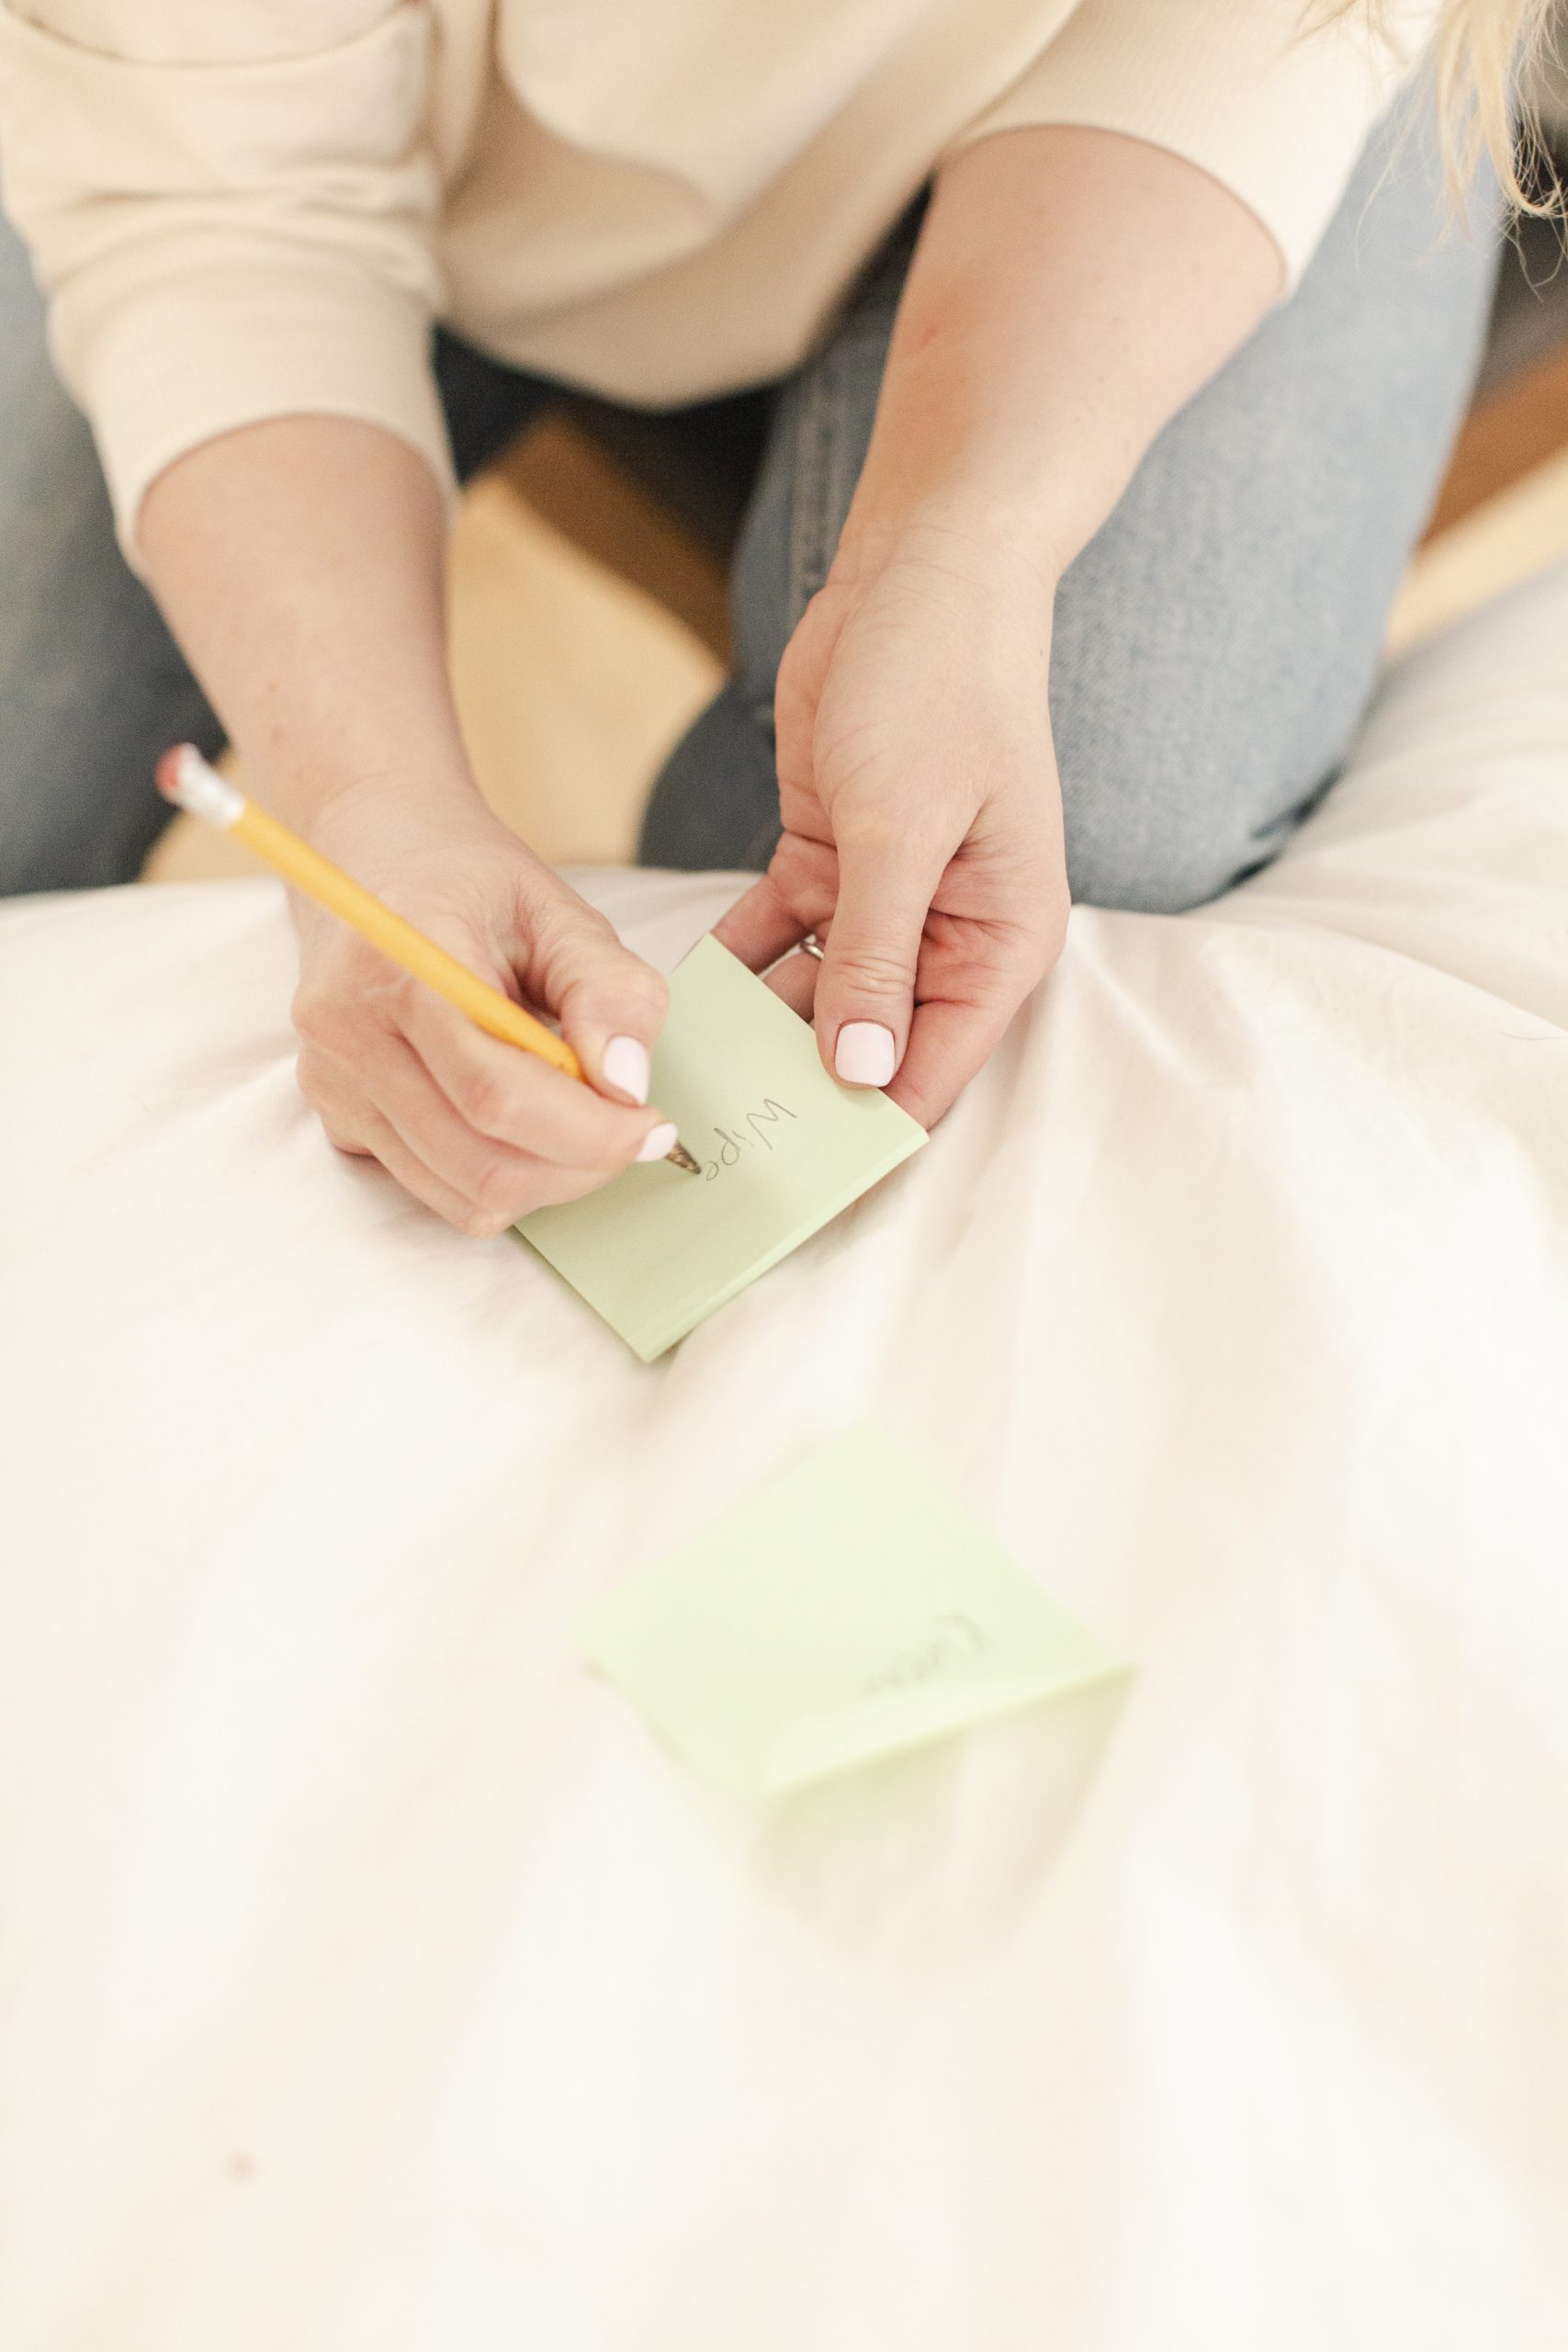 Once you have all of your storage and organization supplies, use sticky notes to map out where everything is going to go. Place the notes in the spot where the items could potentially go and take a step back and decide if that spot makes sense. The best part about the sticky notes is you can move and rearrange easier than moving the actual items and bins. Saves a whole bunch of time!
Consider which things will be accessed on a more regular basis and which items are only once in a while and can go higher up.
 The Drawer
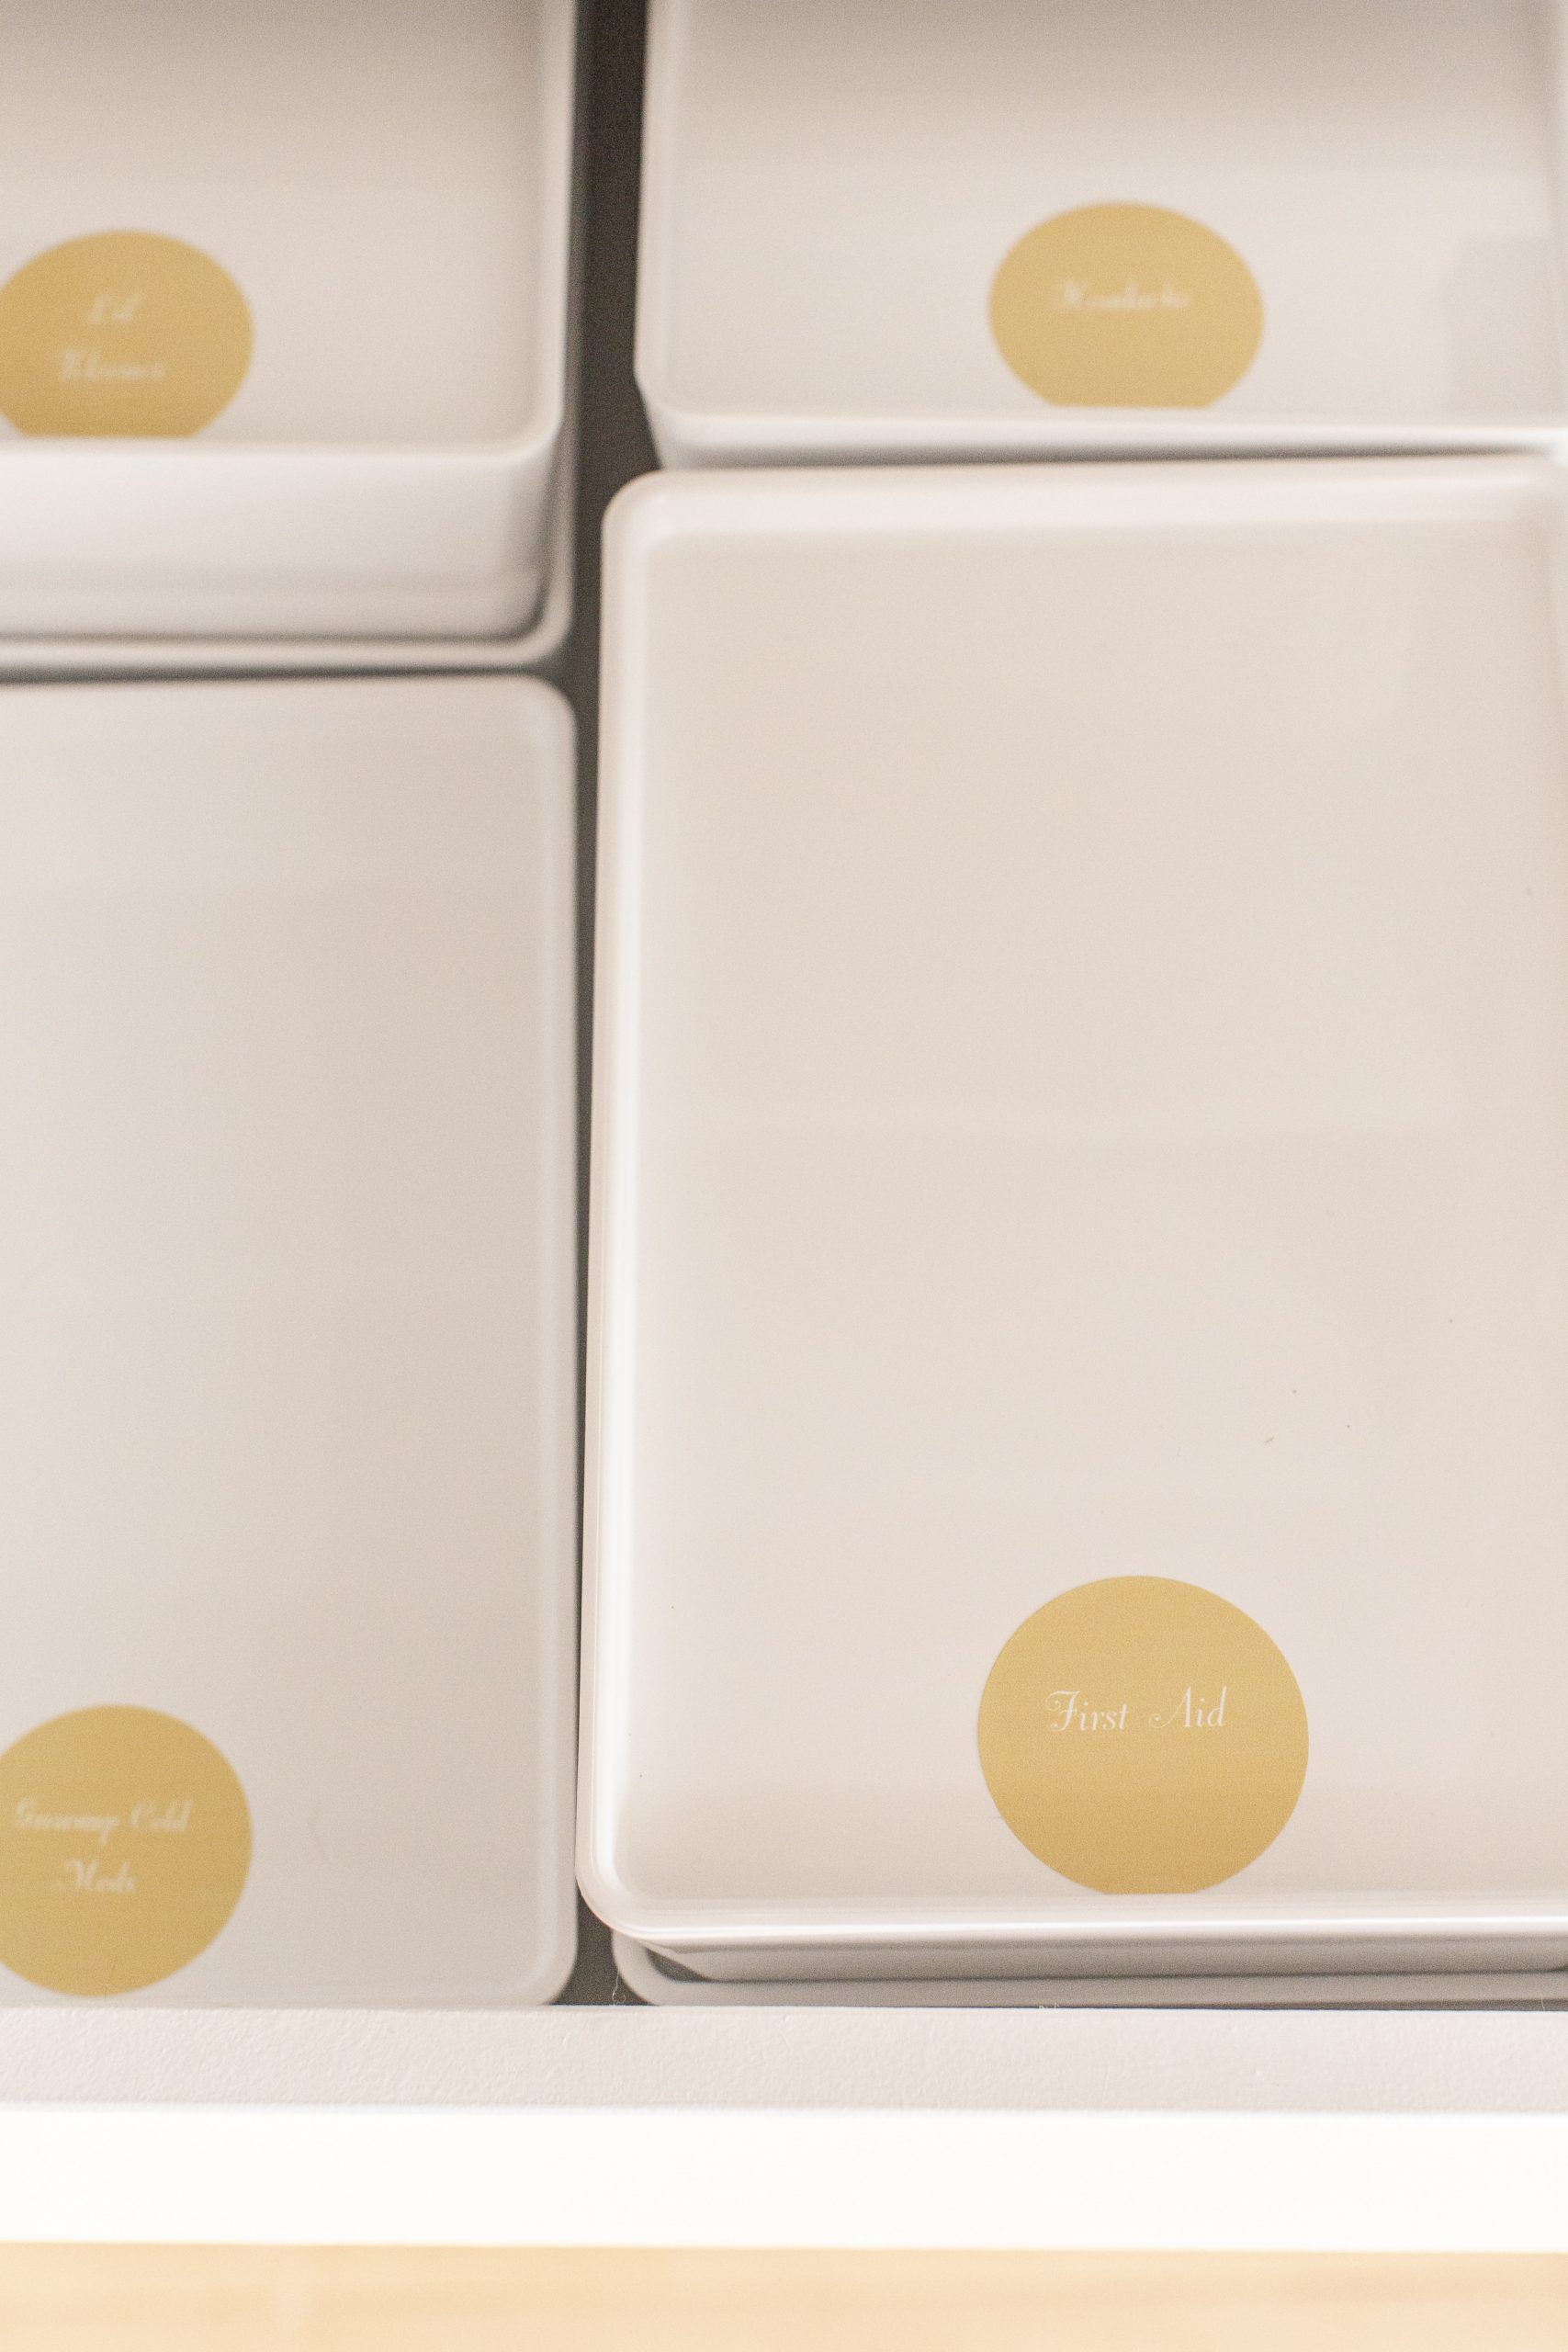
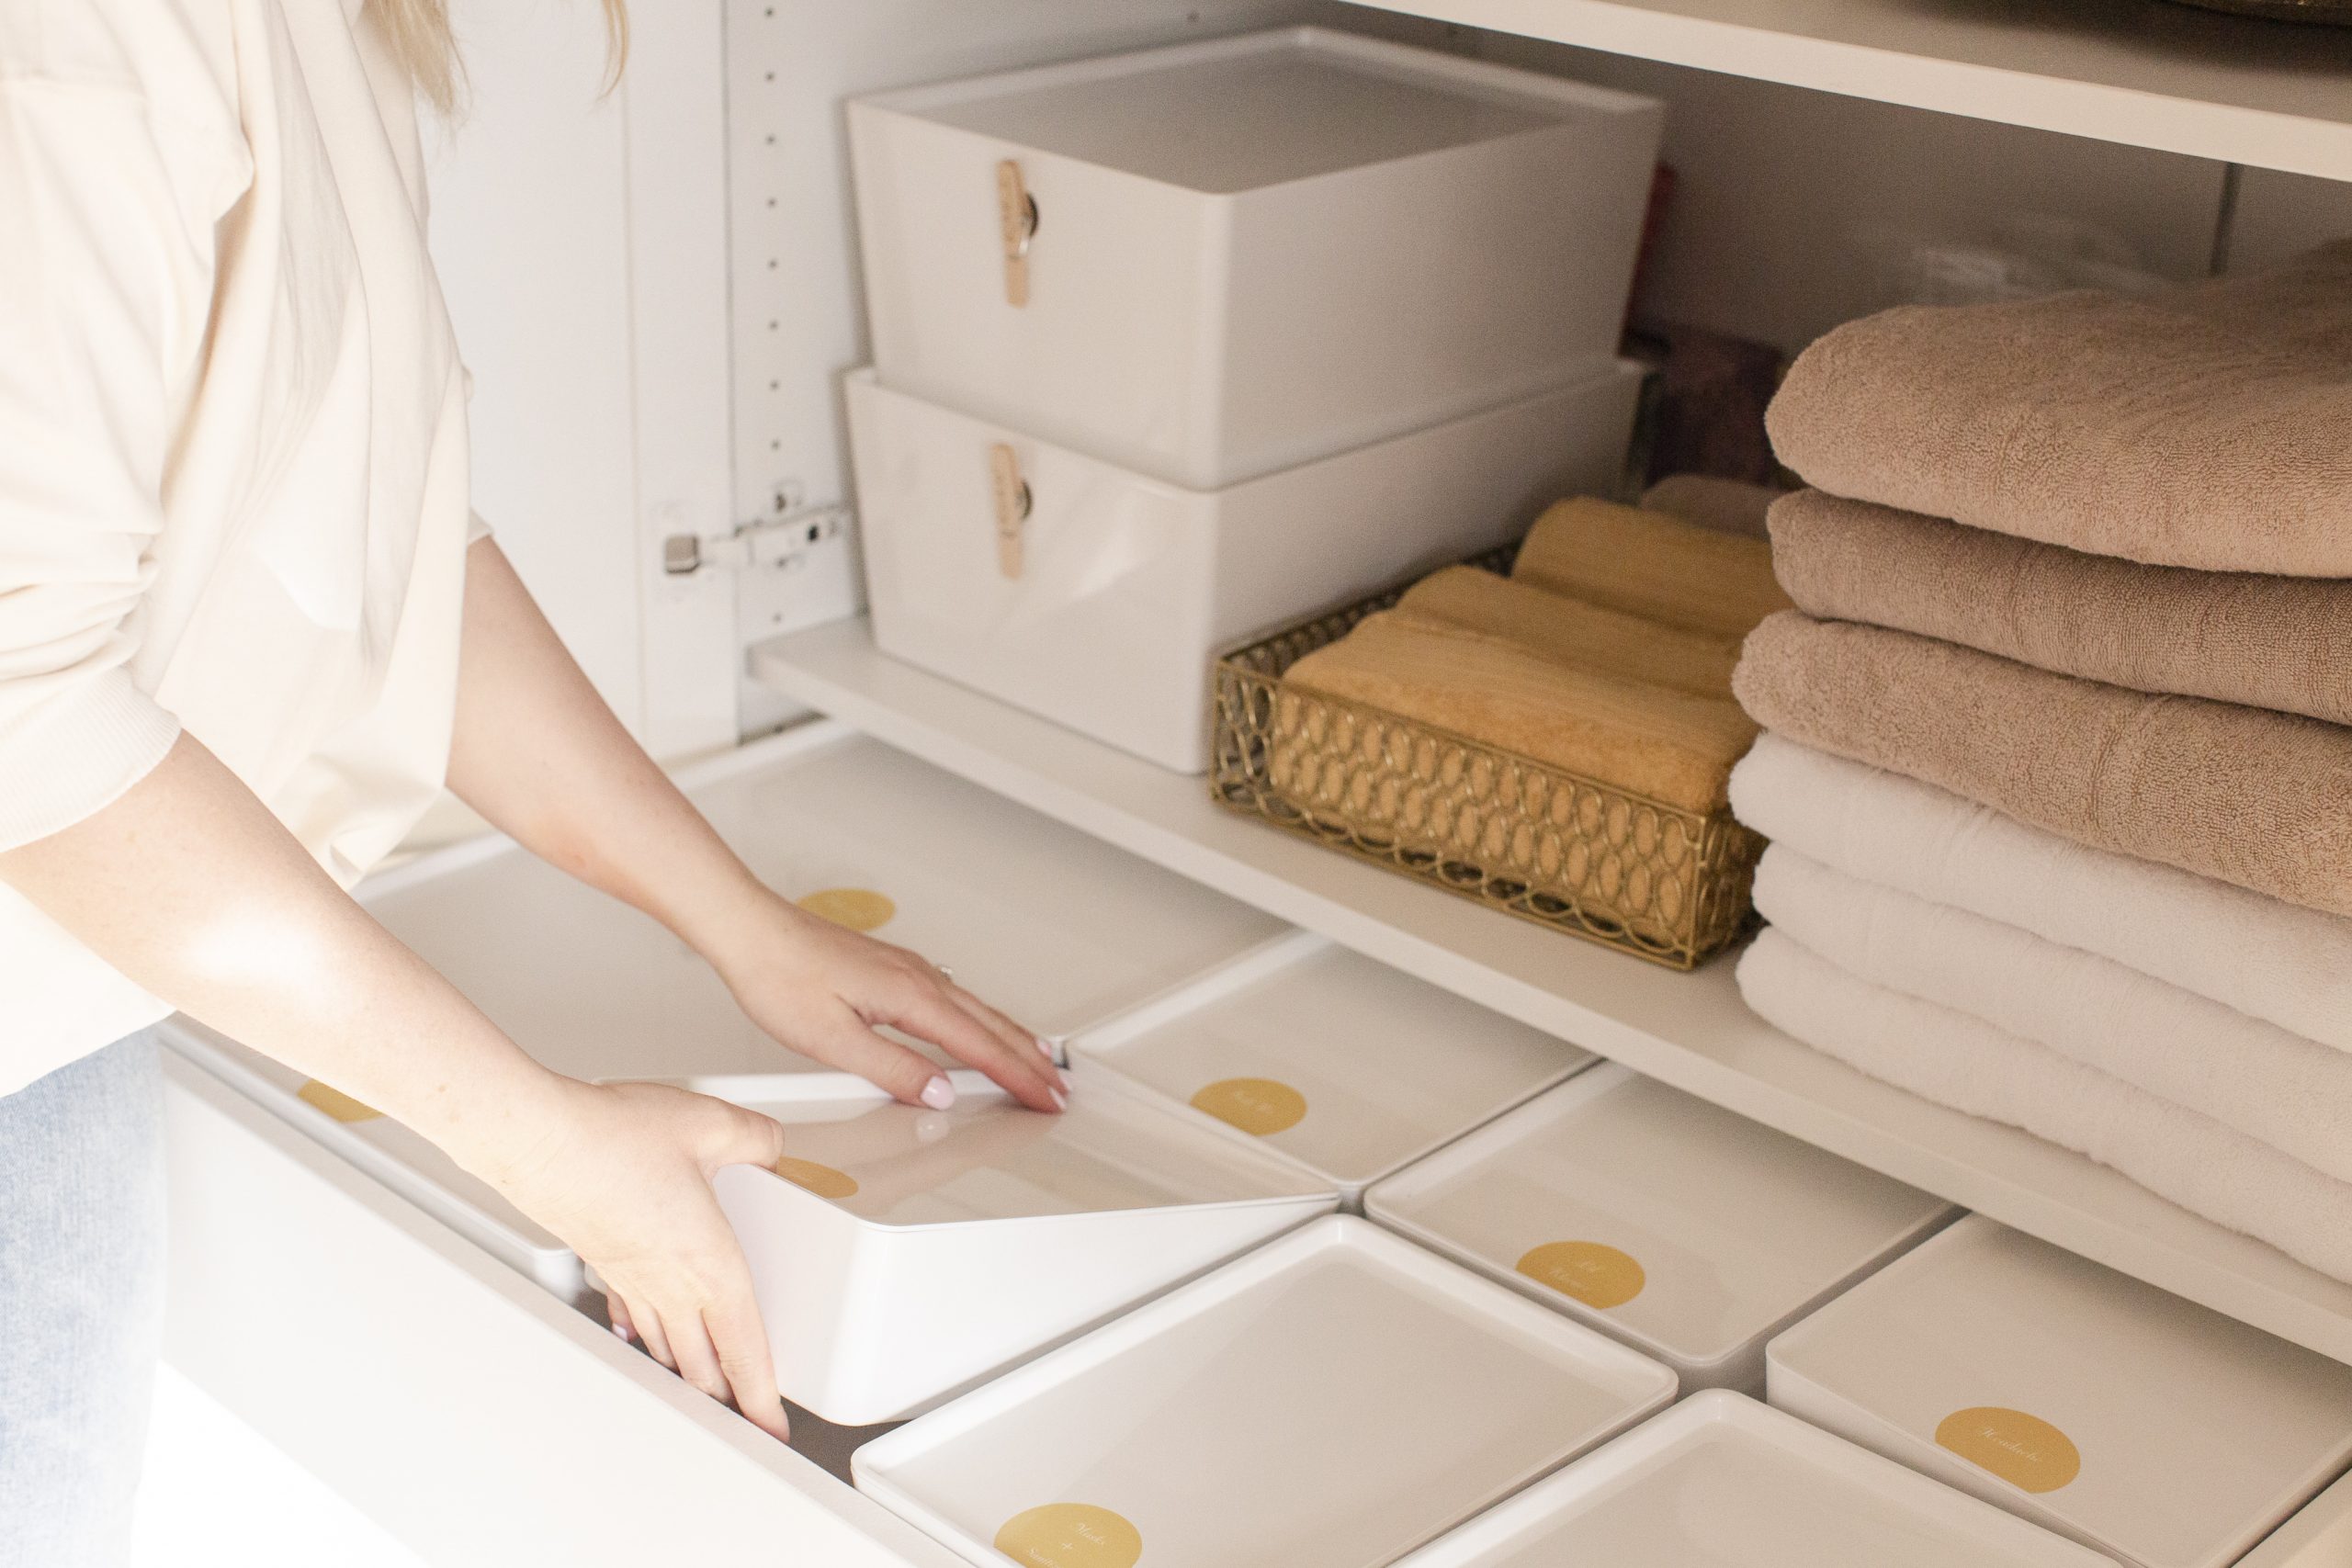
This may be the most satisfying organization project I’ve ever done! 🙂 I was lucky to find these awesome containers from Ikea that fit perfectly in every way to store extra bath supplies, toiletries, and medications. I used two of the larger containers on the left side and a double layer (for a total of 16 small containers) for the rest of it.
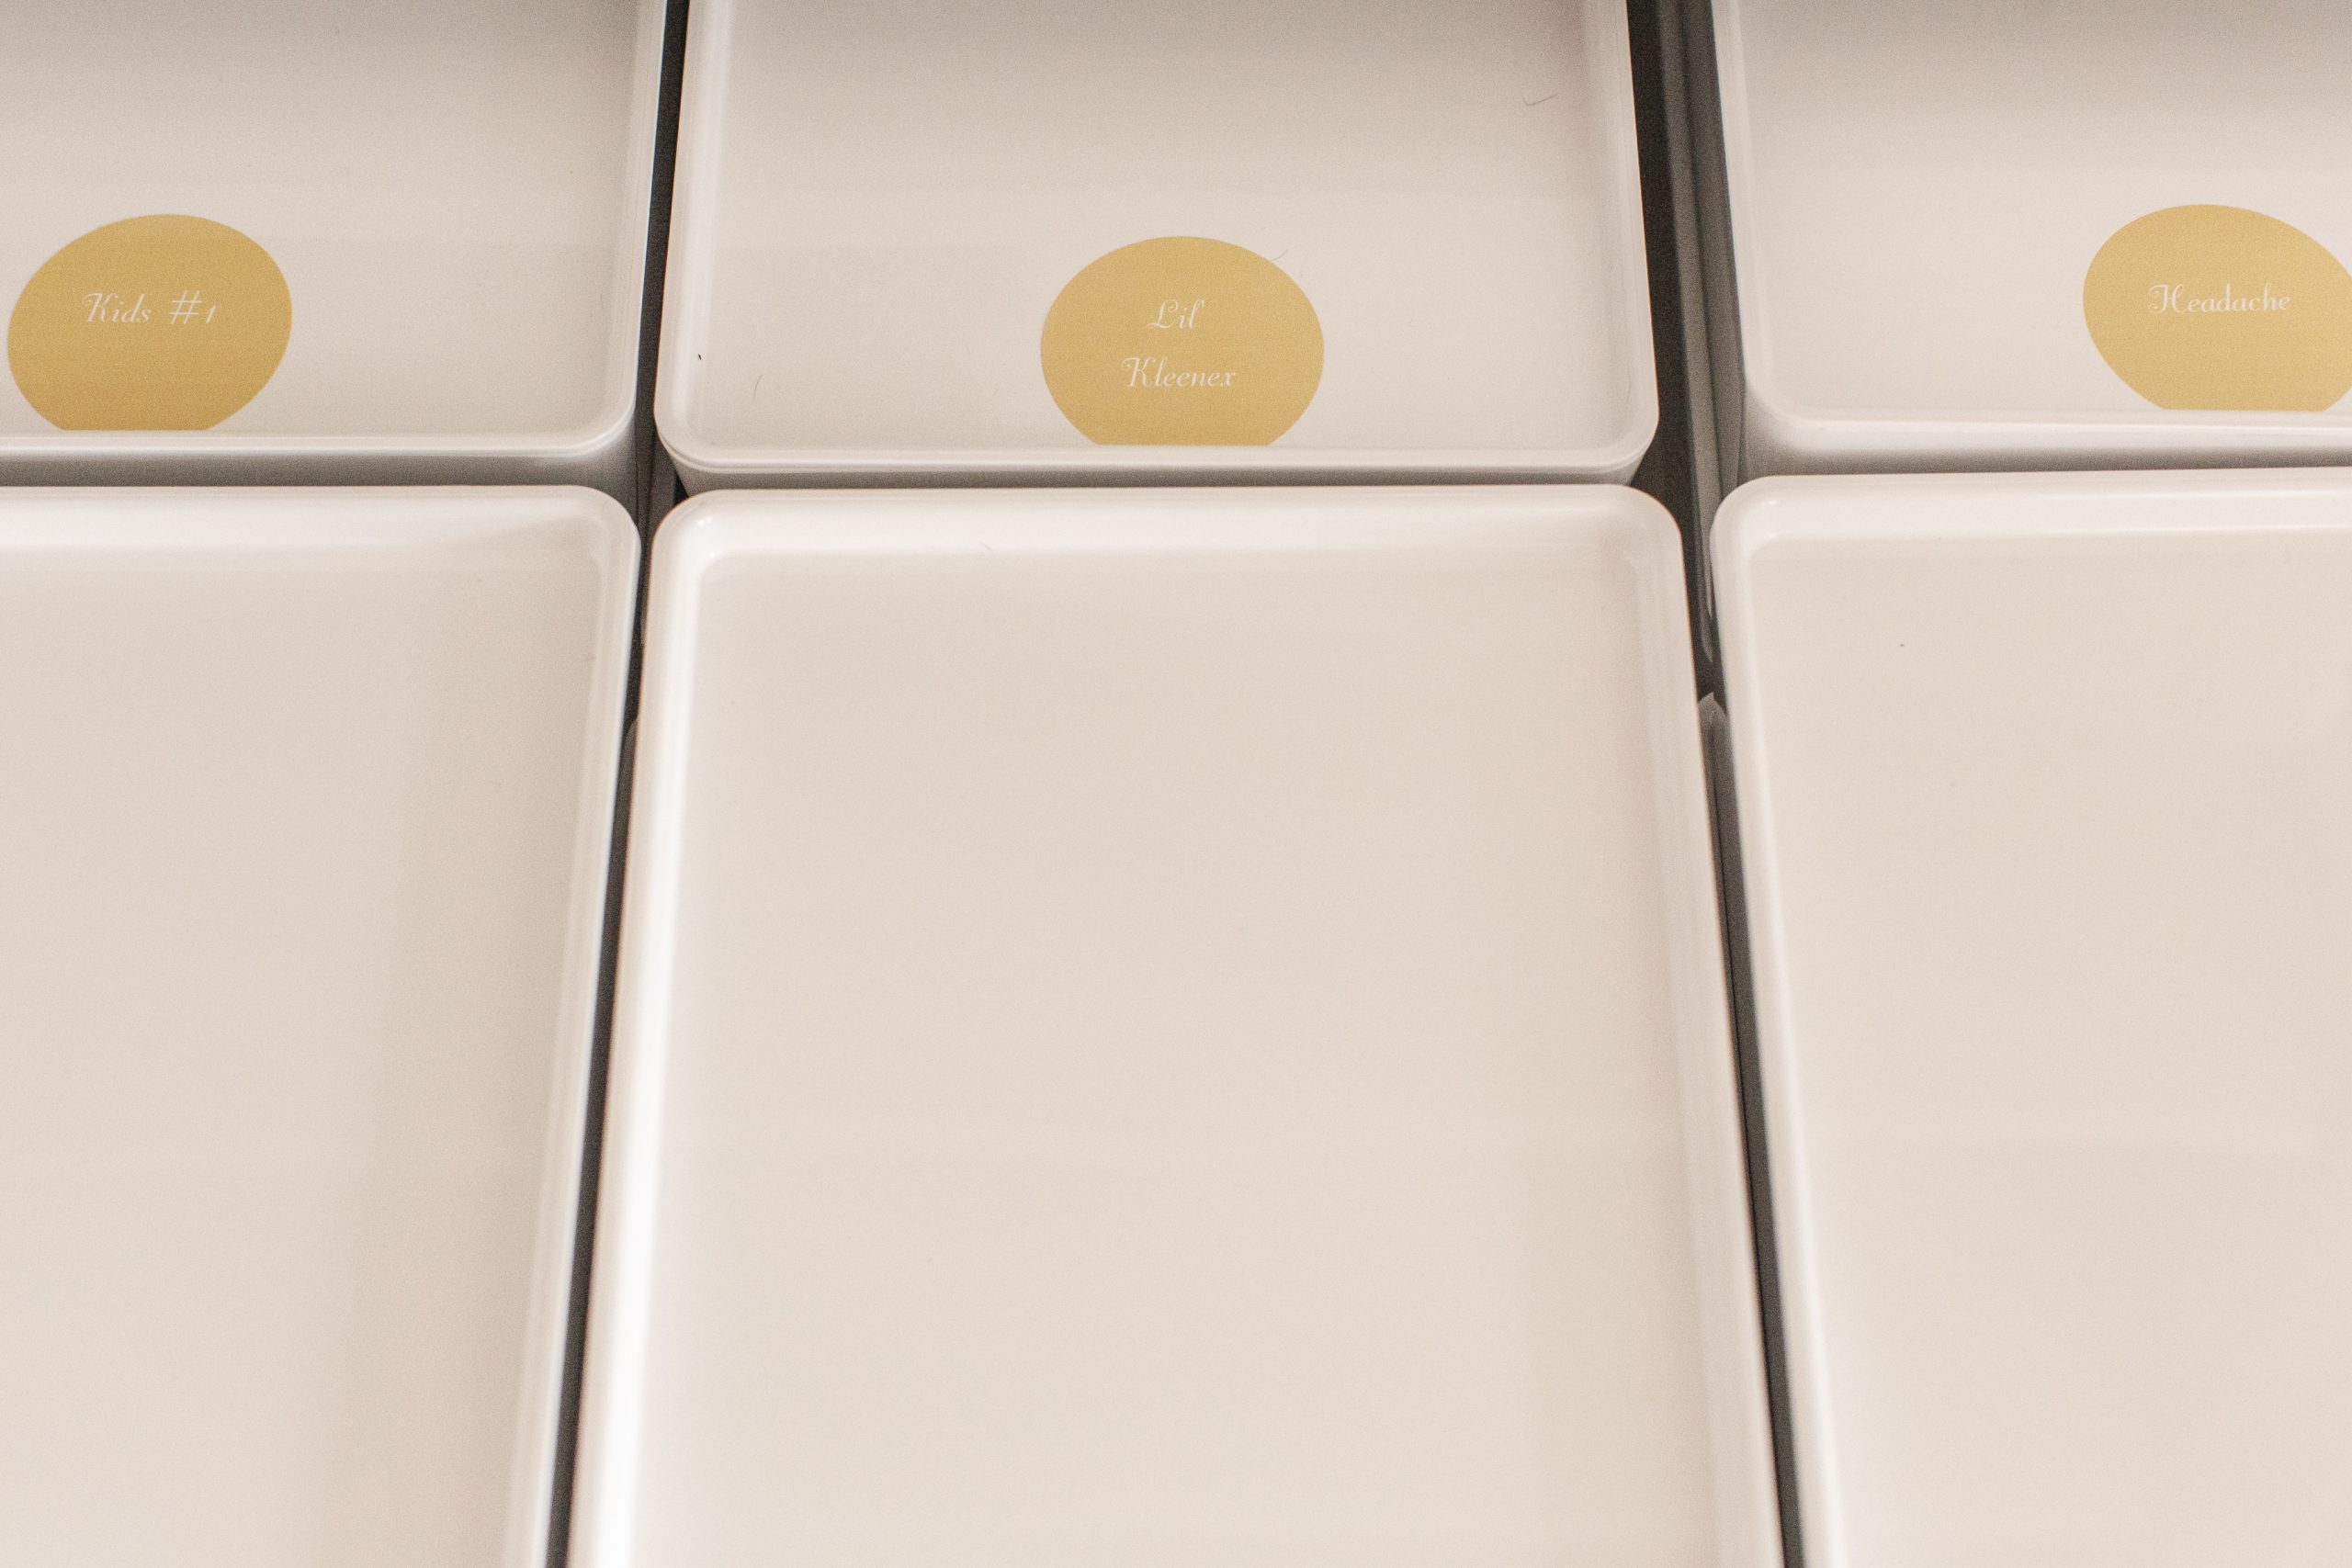
It’s so helpful to organize your medications into areas of concern: headache, tummy trouble, first aid, etc. So when you need something in the moment, it’s simple to find. Take it one step further and separate the grownup meds from the kid’s meds, as I did.
The Labels
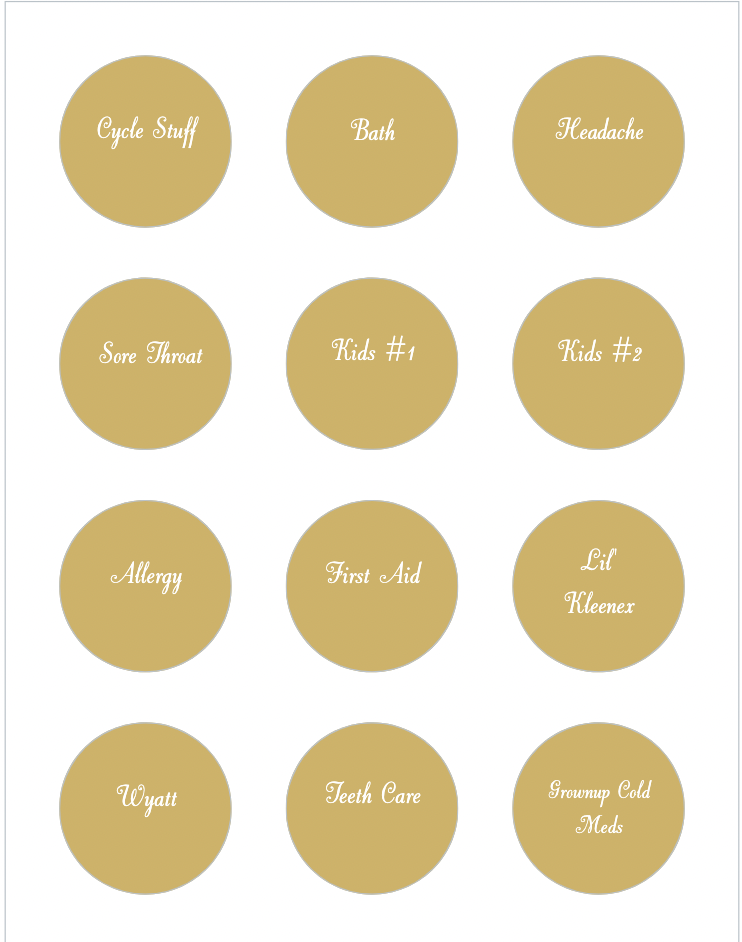
Have some fun and mix and match your labels! For the containers in the drawer, I wanted everything to have that nice, cohesive feel so I use round Avery sticker labels and designed them using a template on at Avery.ca.
If you want to make the same ones order Glossy White Round Labels (22807) and search for the ‘Print To The Edge Round Labels’ template.
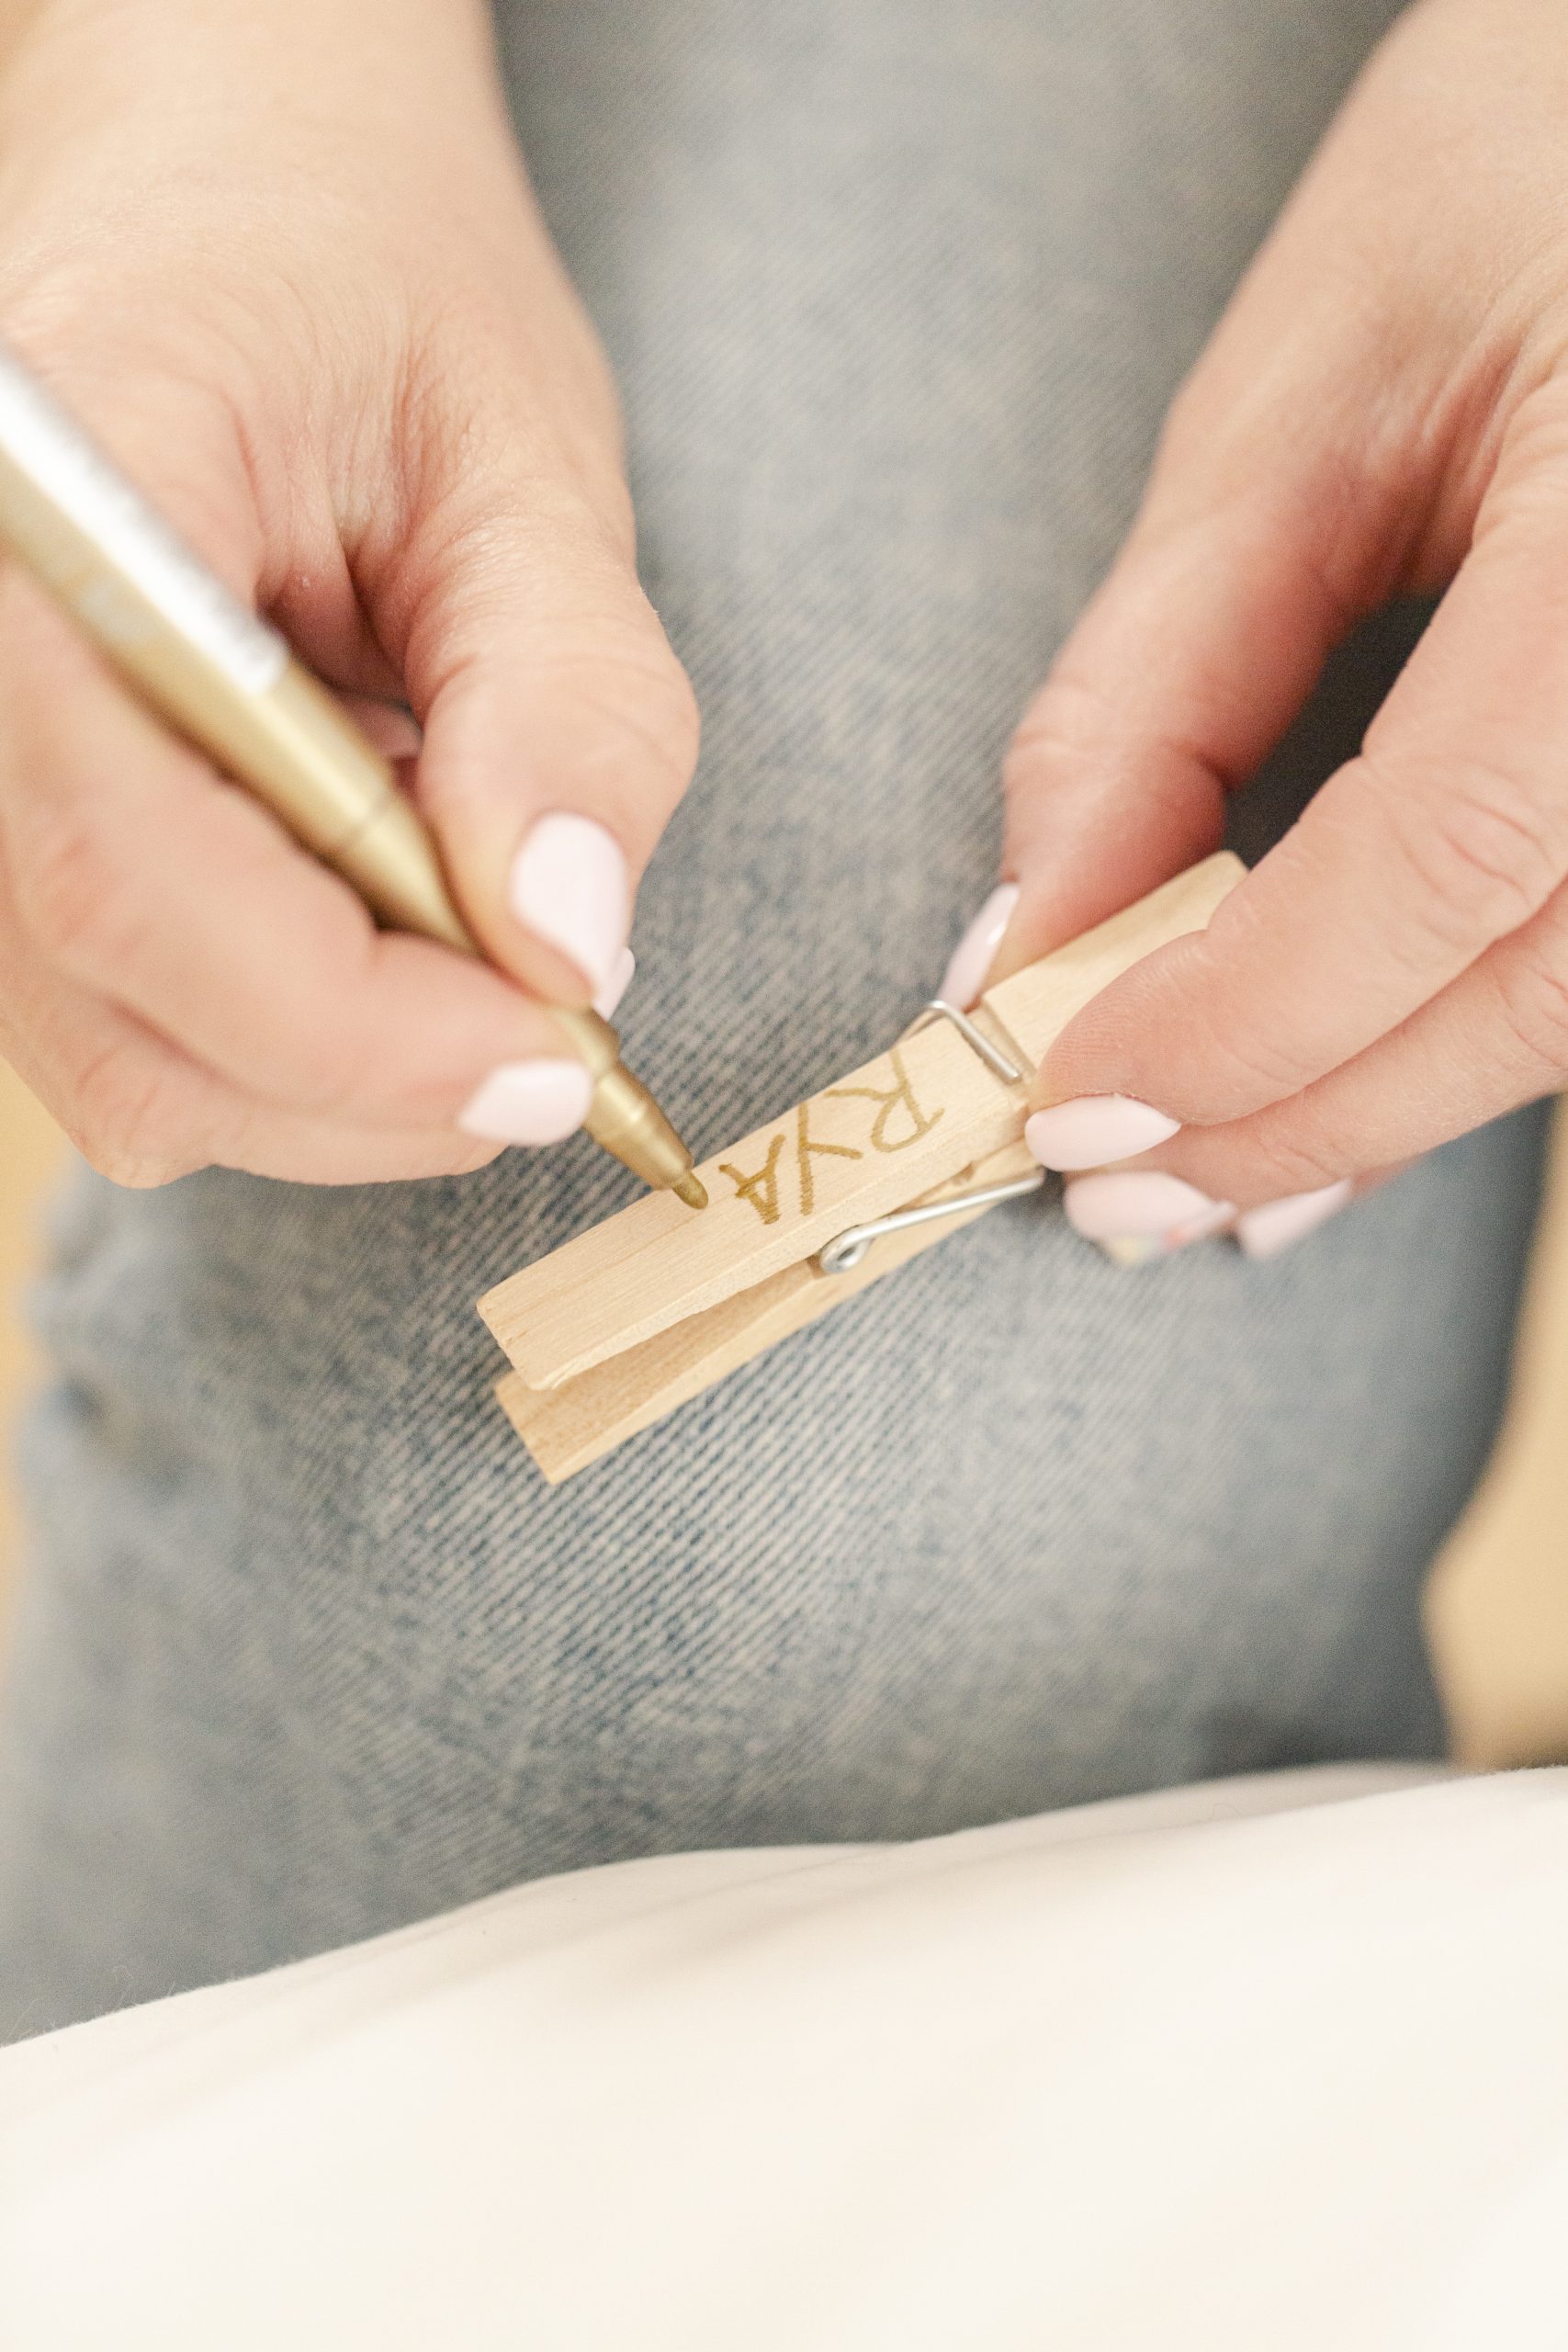
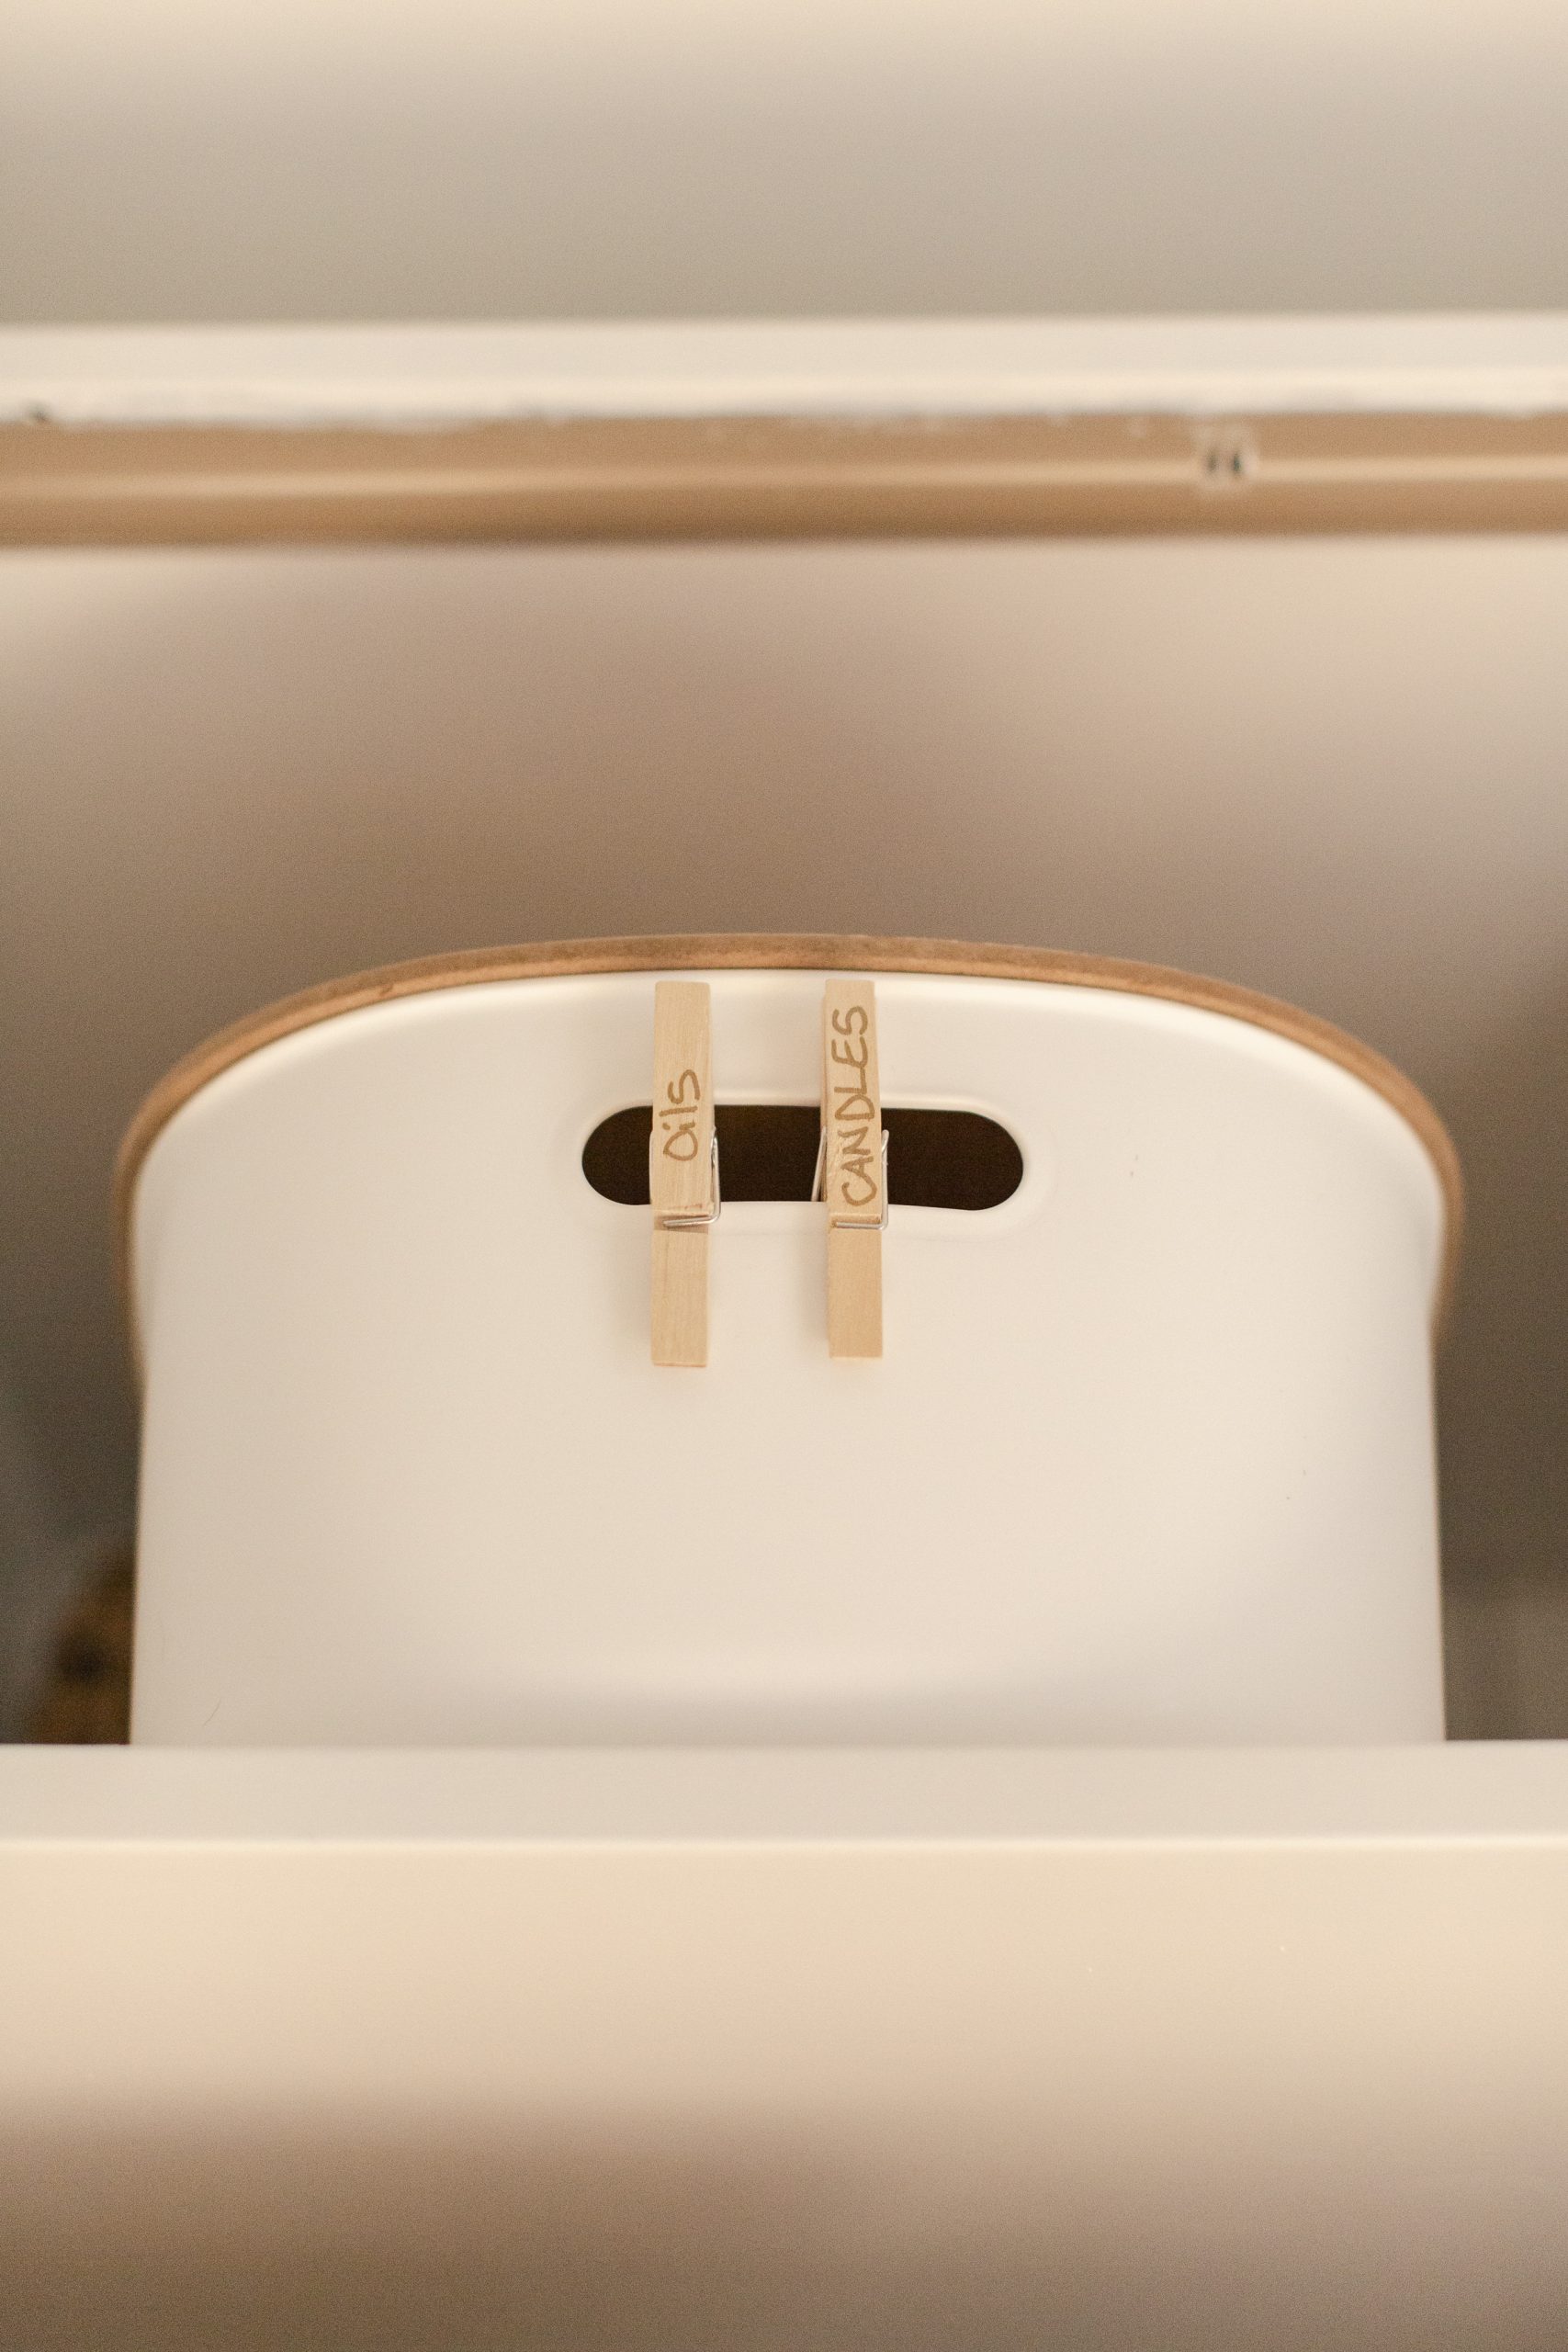
 Clothespins are a great and inexpensive way to label! Pick up a package and use a fine tip gold marker for the lettering.
For the glass jars, I splurged on custom labels from The Home Edit. Or, you can simply make labels almost exactly like The Home Edit ones! Here’s my simple how-to.
Personal Bins
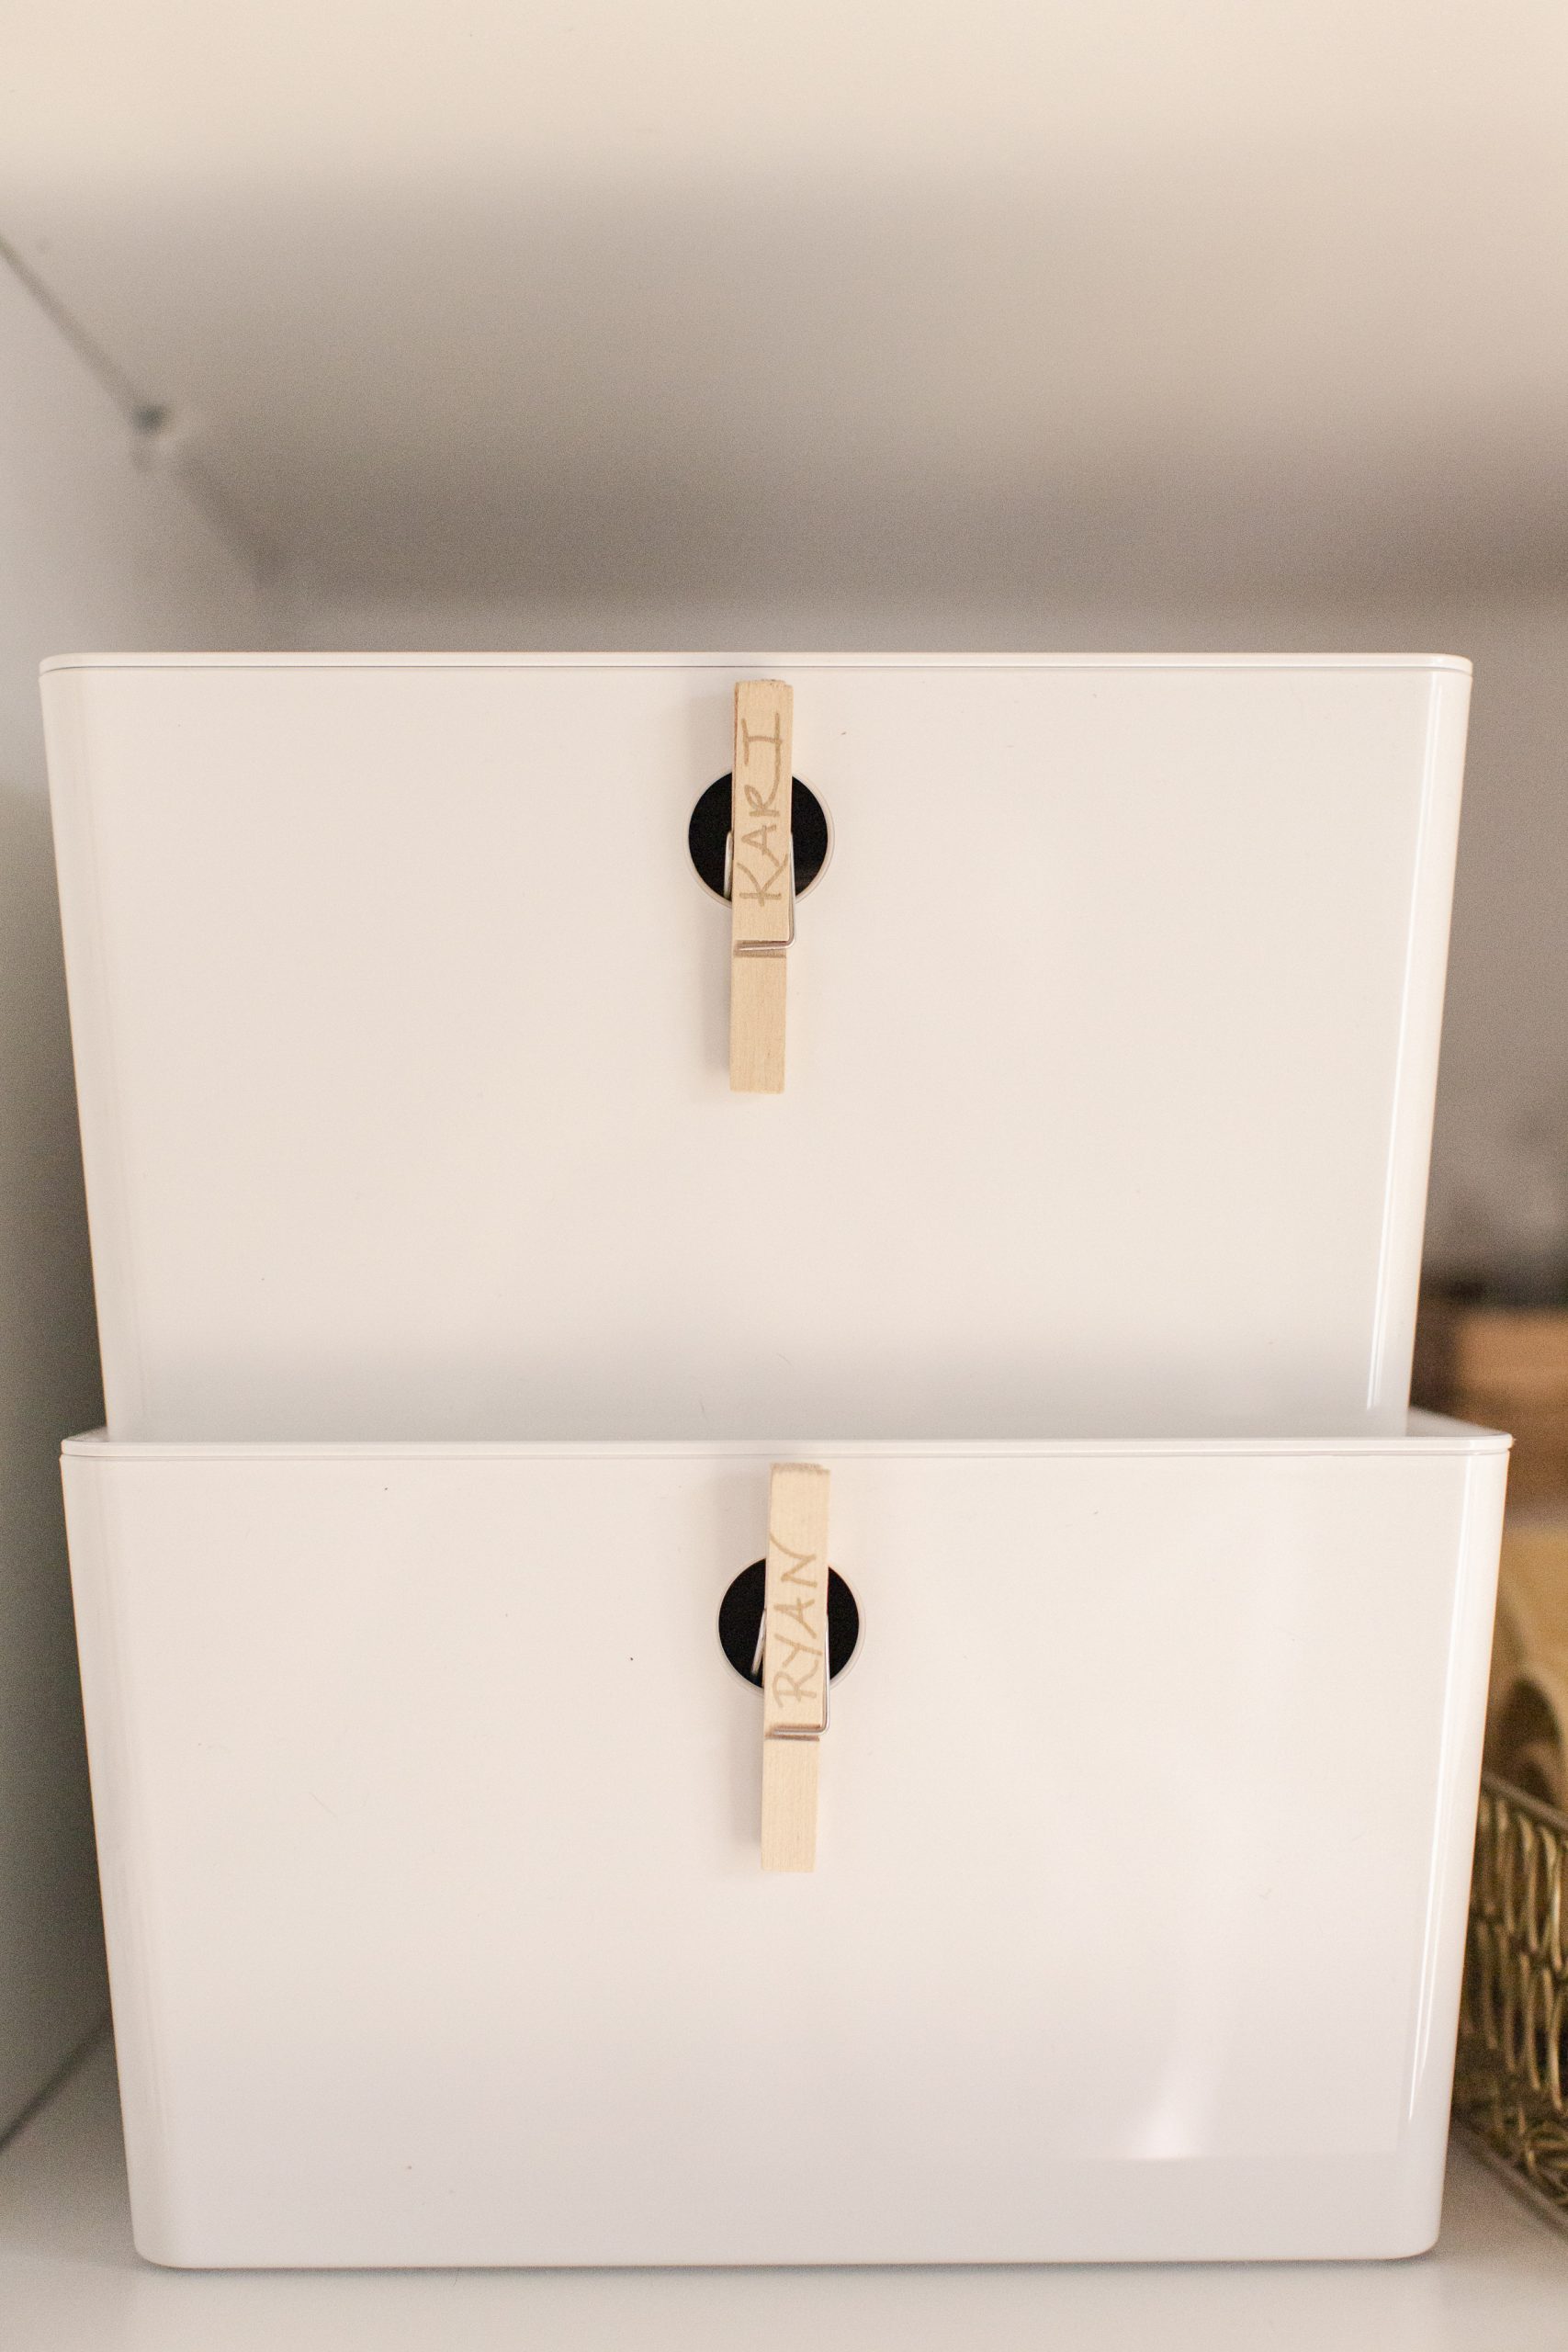
If you’re dealing with limited storage space like we are, designate a bin or caddy for each family member to be stored and clearly labelled in the linen closet. This is a great way to (hopefully) avoid everyone’s stuff left all over the bathroom.
Folding Towels
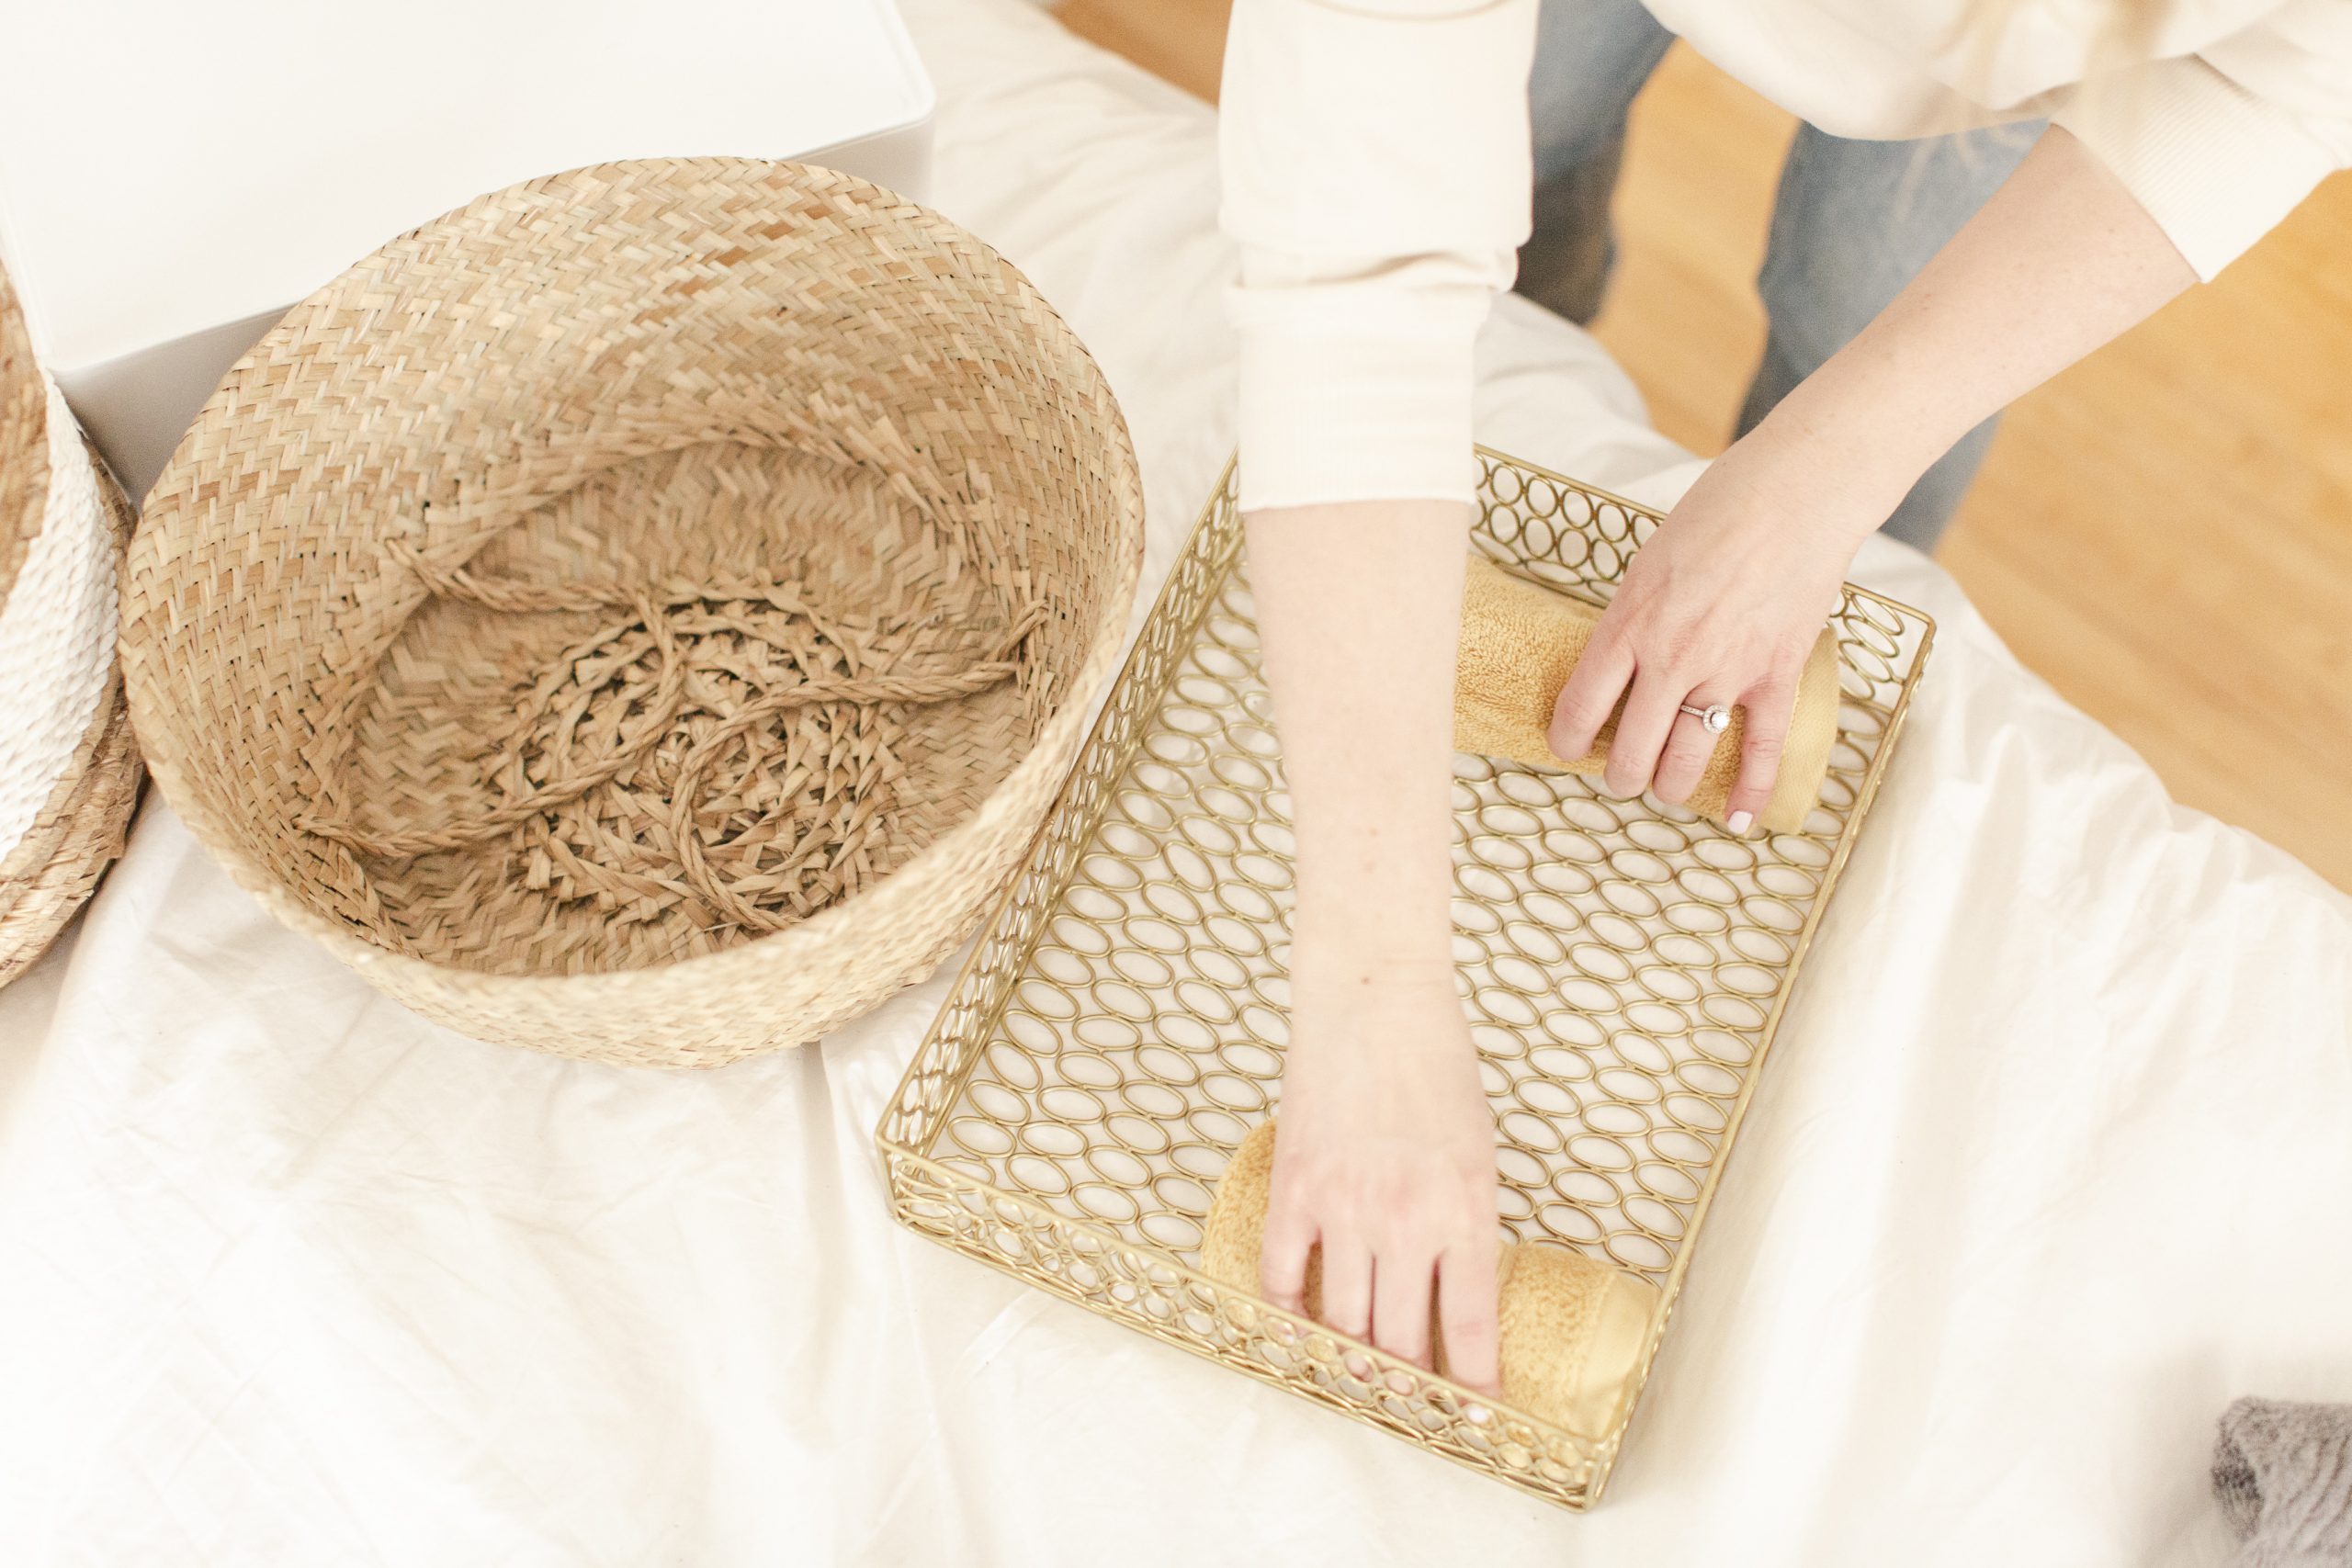
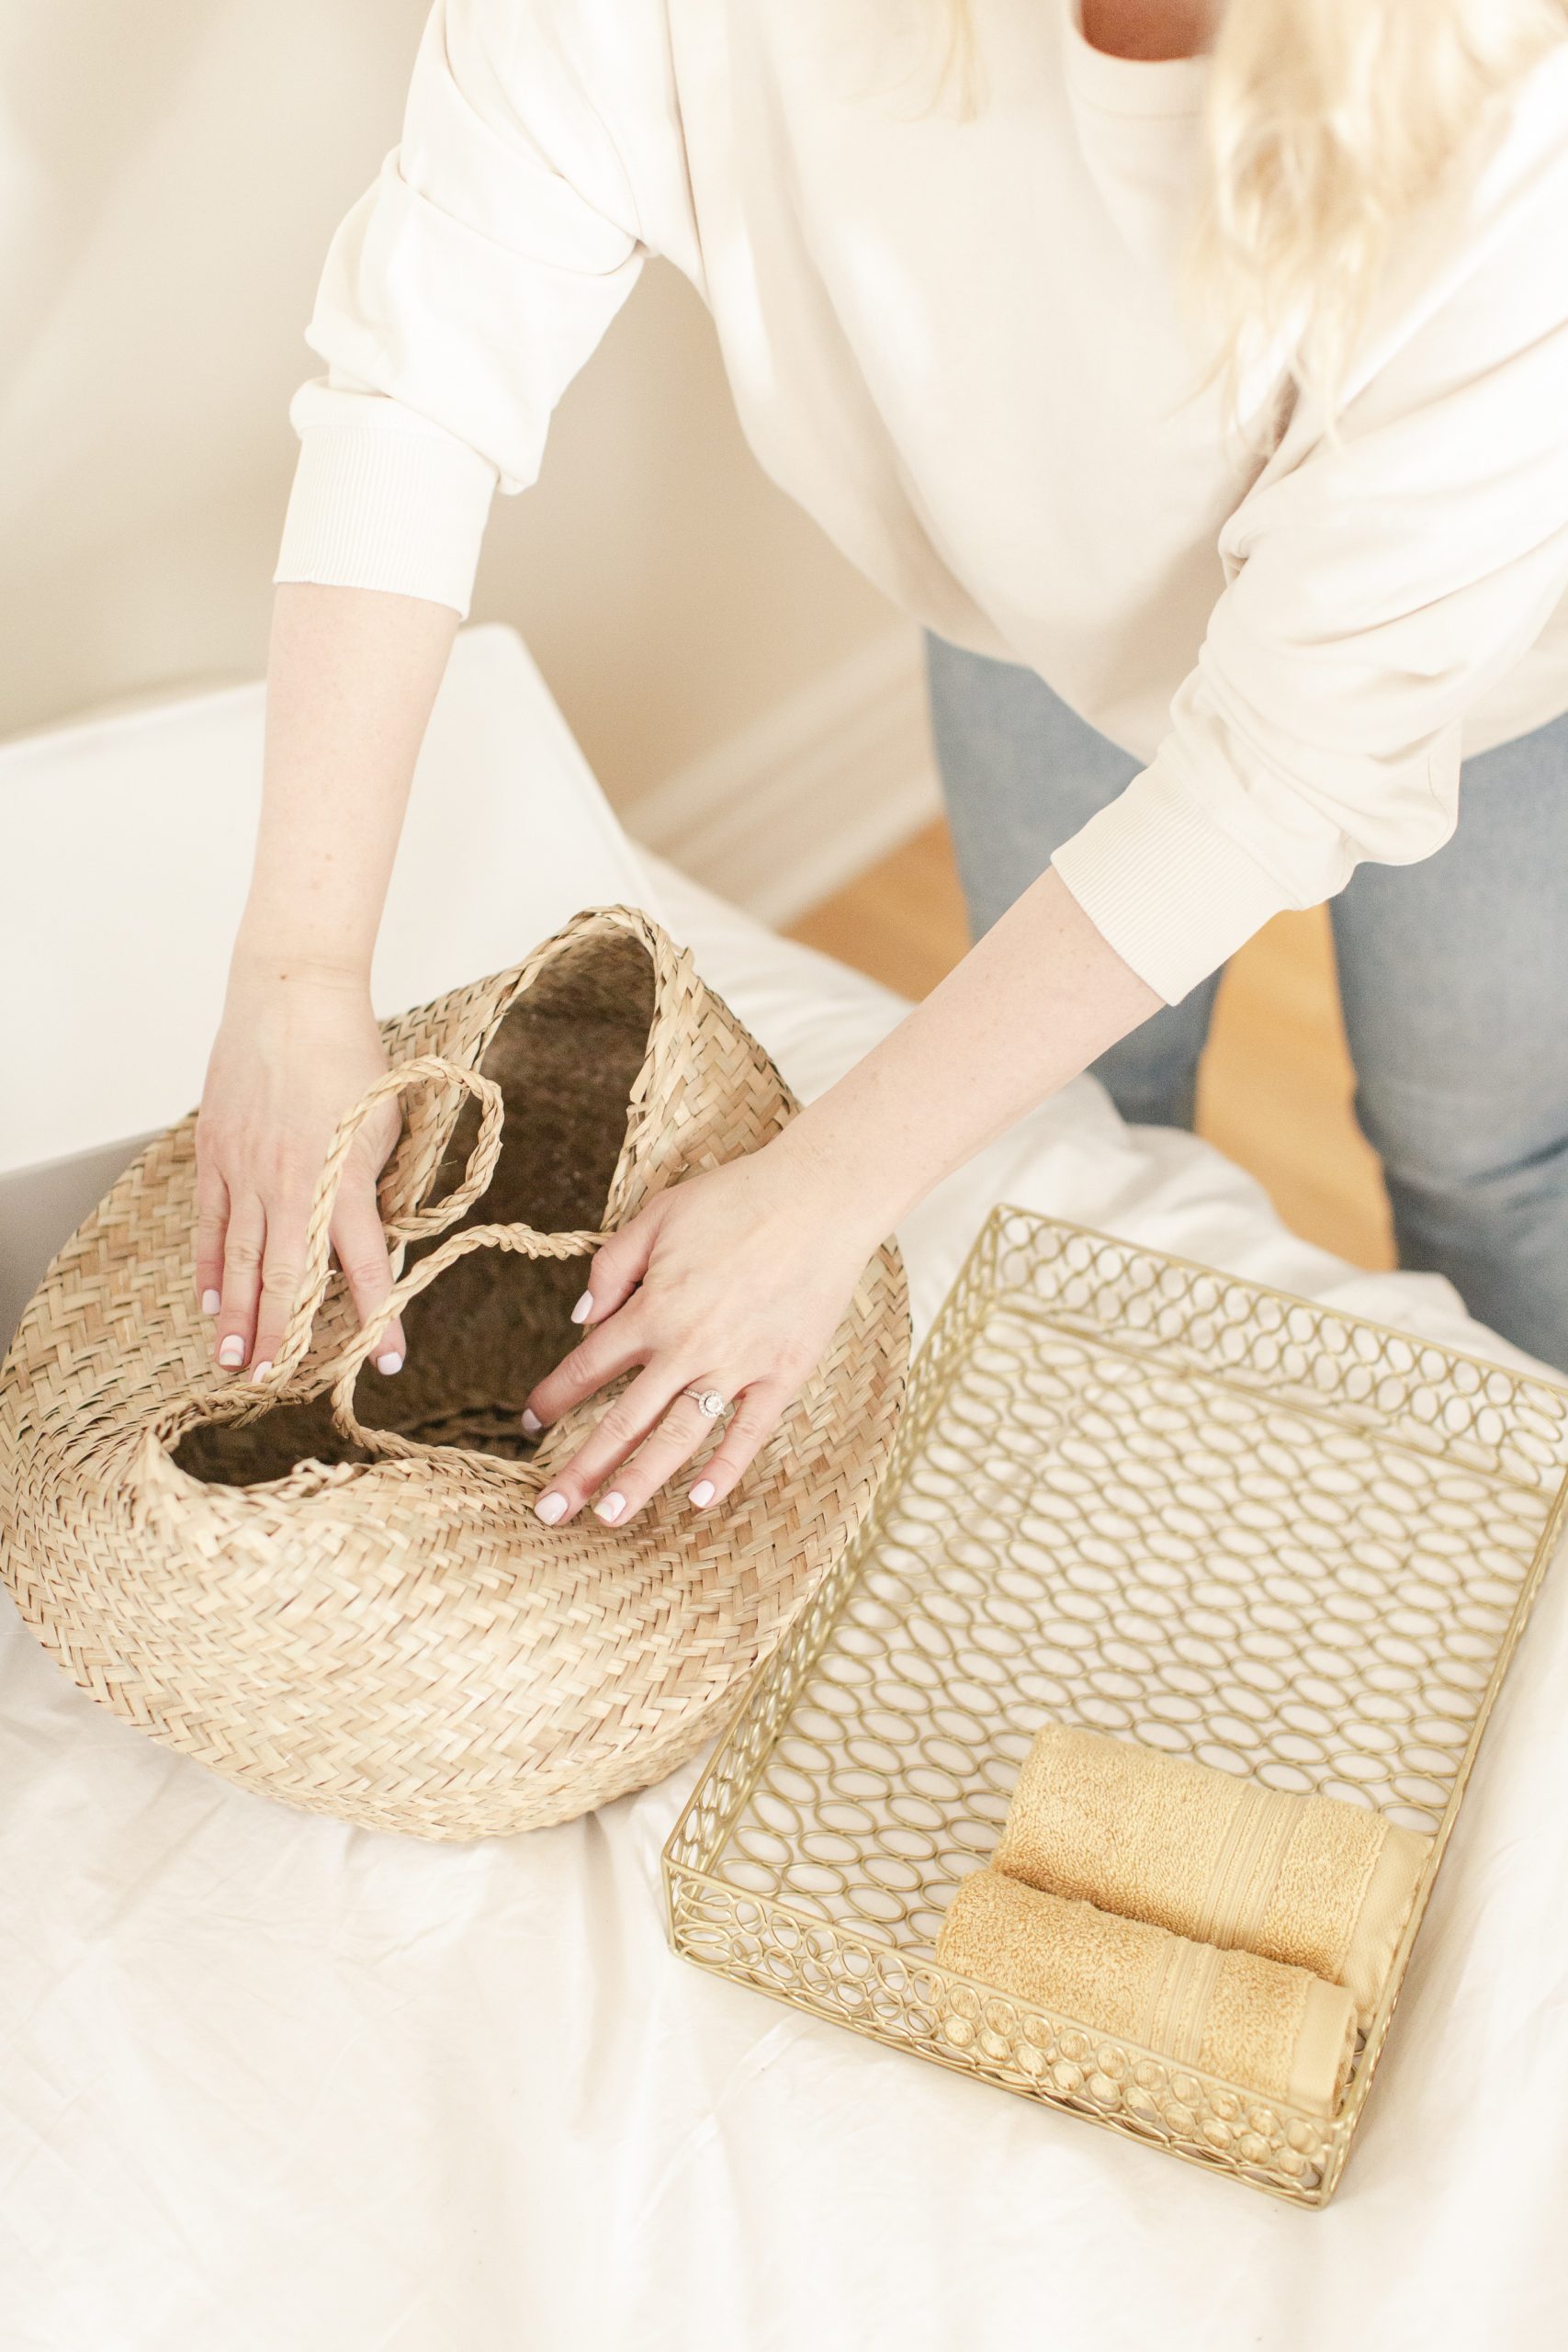
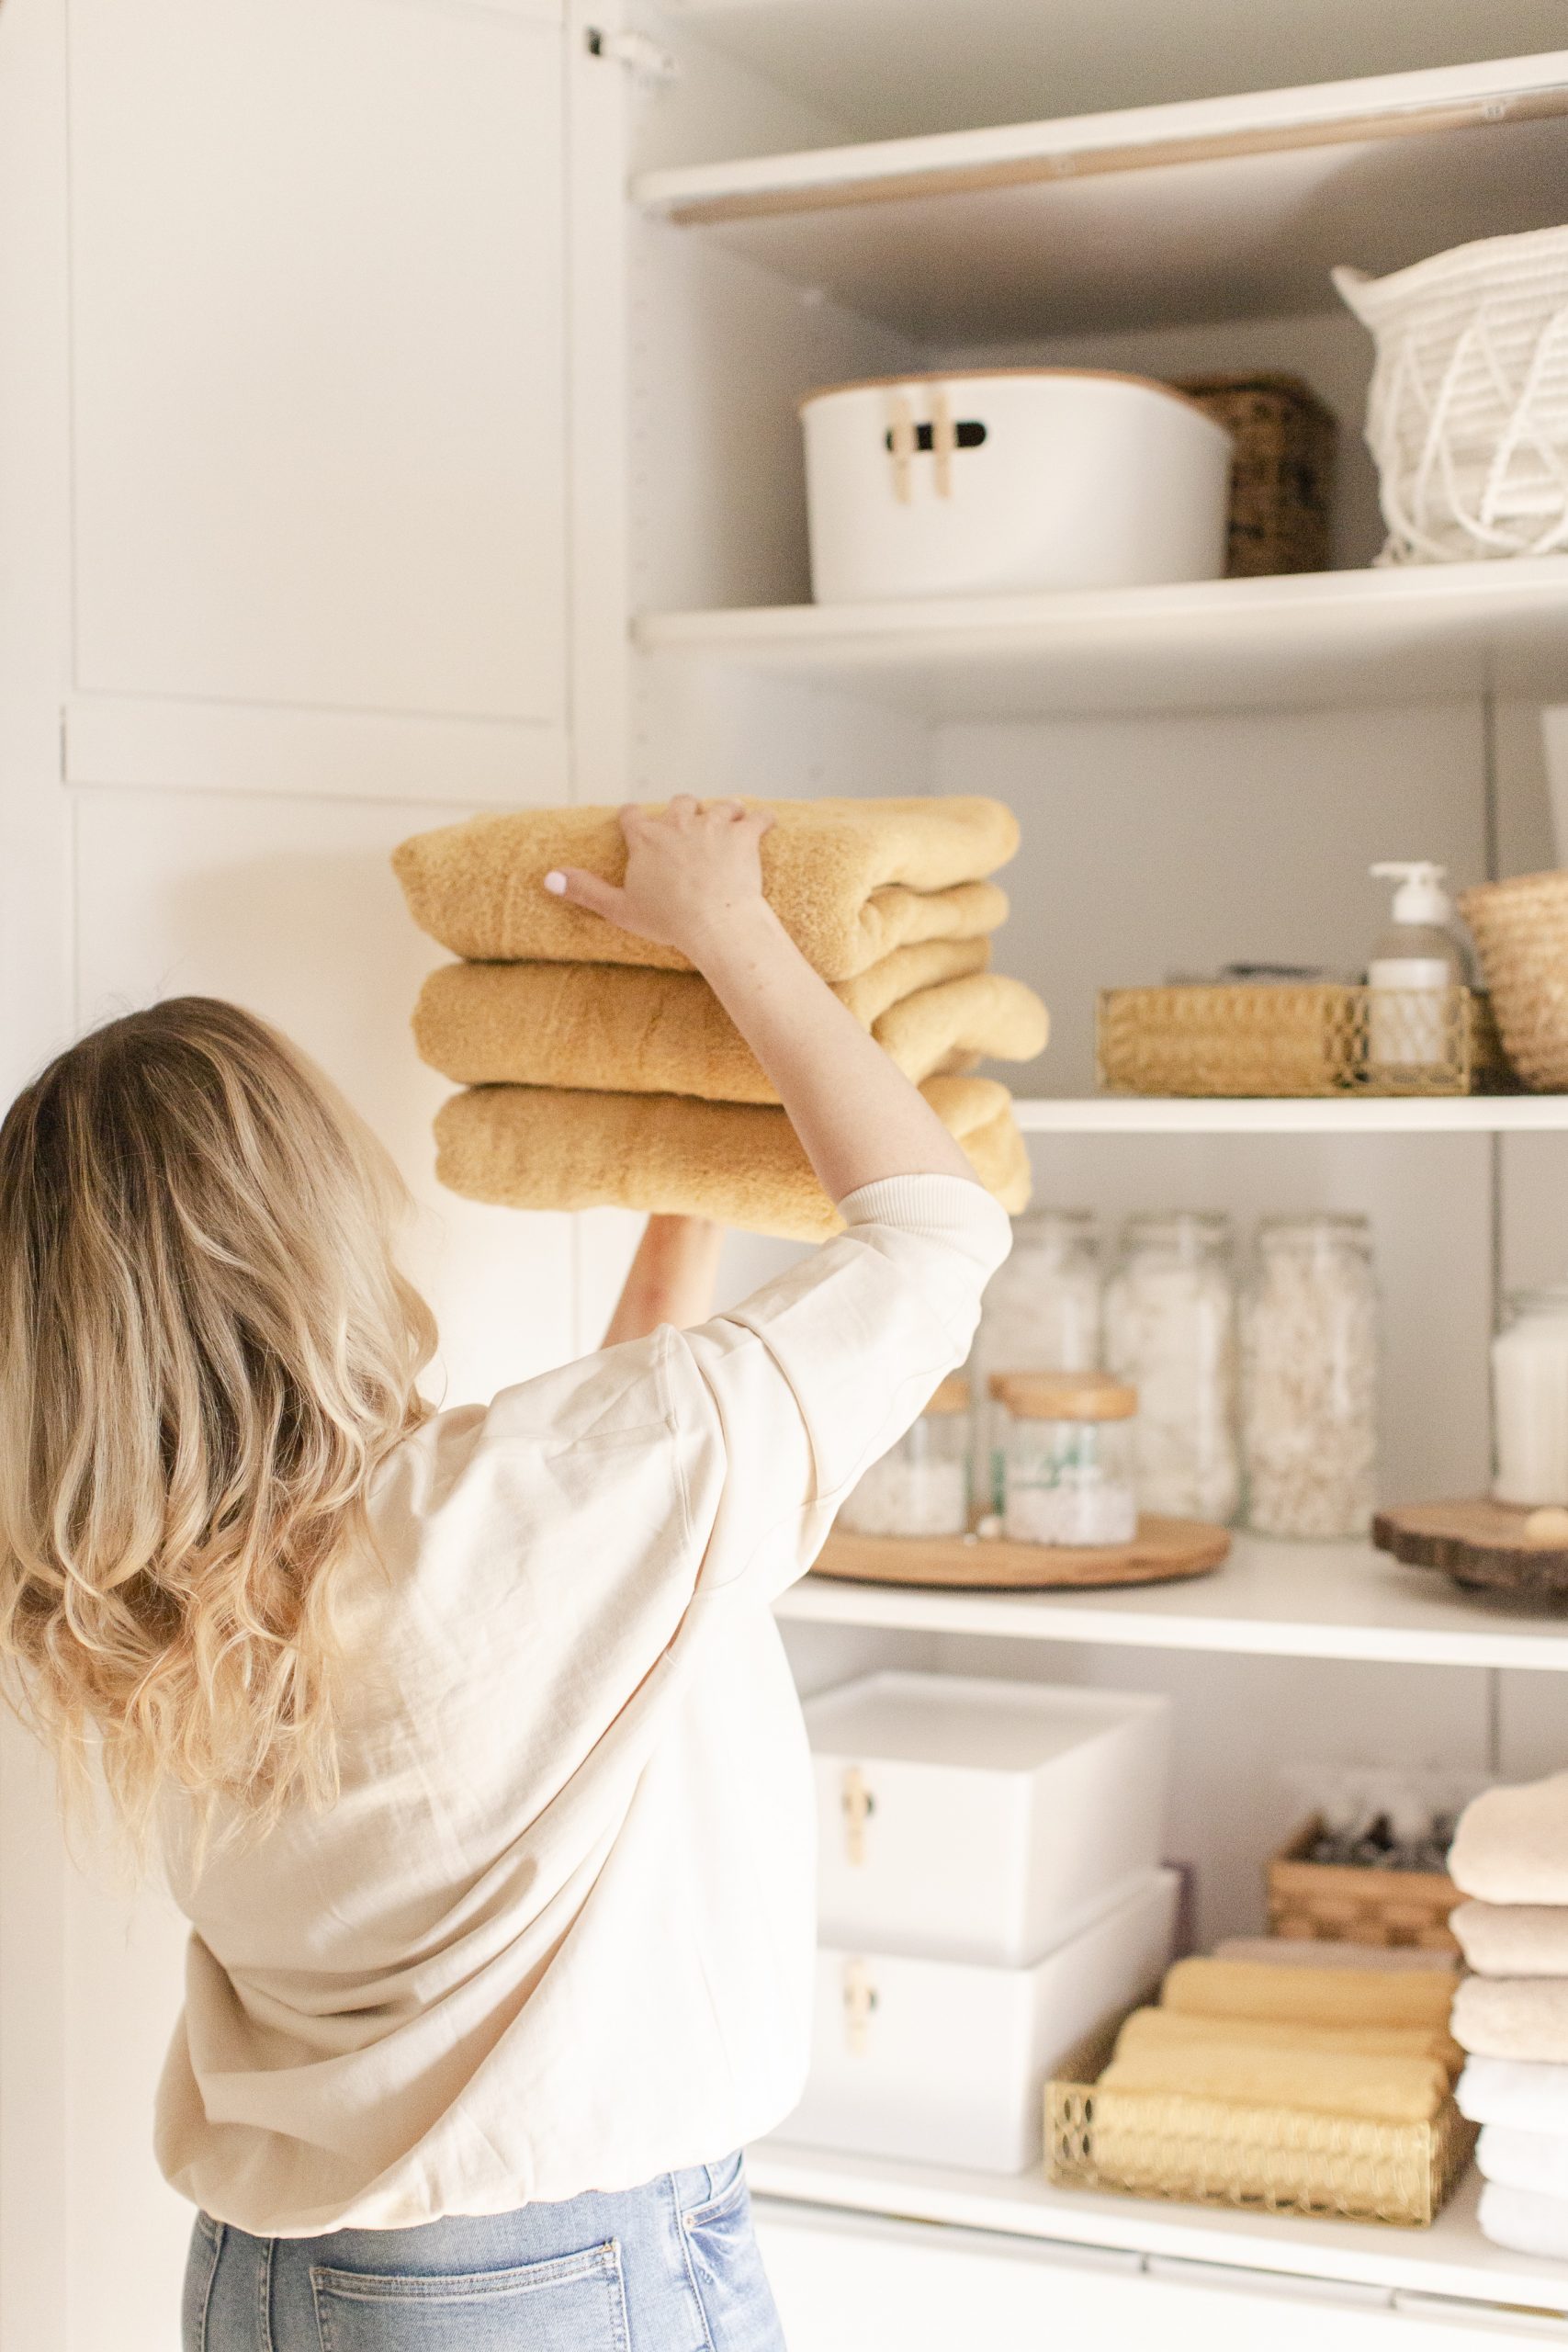
Depending on where your towels are going will depend on how you’re going to fold them. I spent some time on Youtube looking for a folding strategy I love. I used the first technique in this video for our big bath towels and bath sheets and for the hand towels and facecloths it worked best to roll them and store in a gold office desk tray I found at HomeSense. We also have a few Turkish towels that we roll up for display or hang on a hook in the bathroom.
…But, Where Are the Sheets?
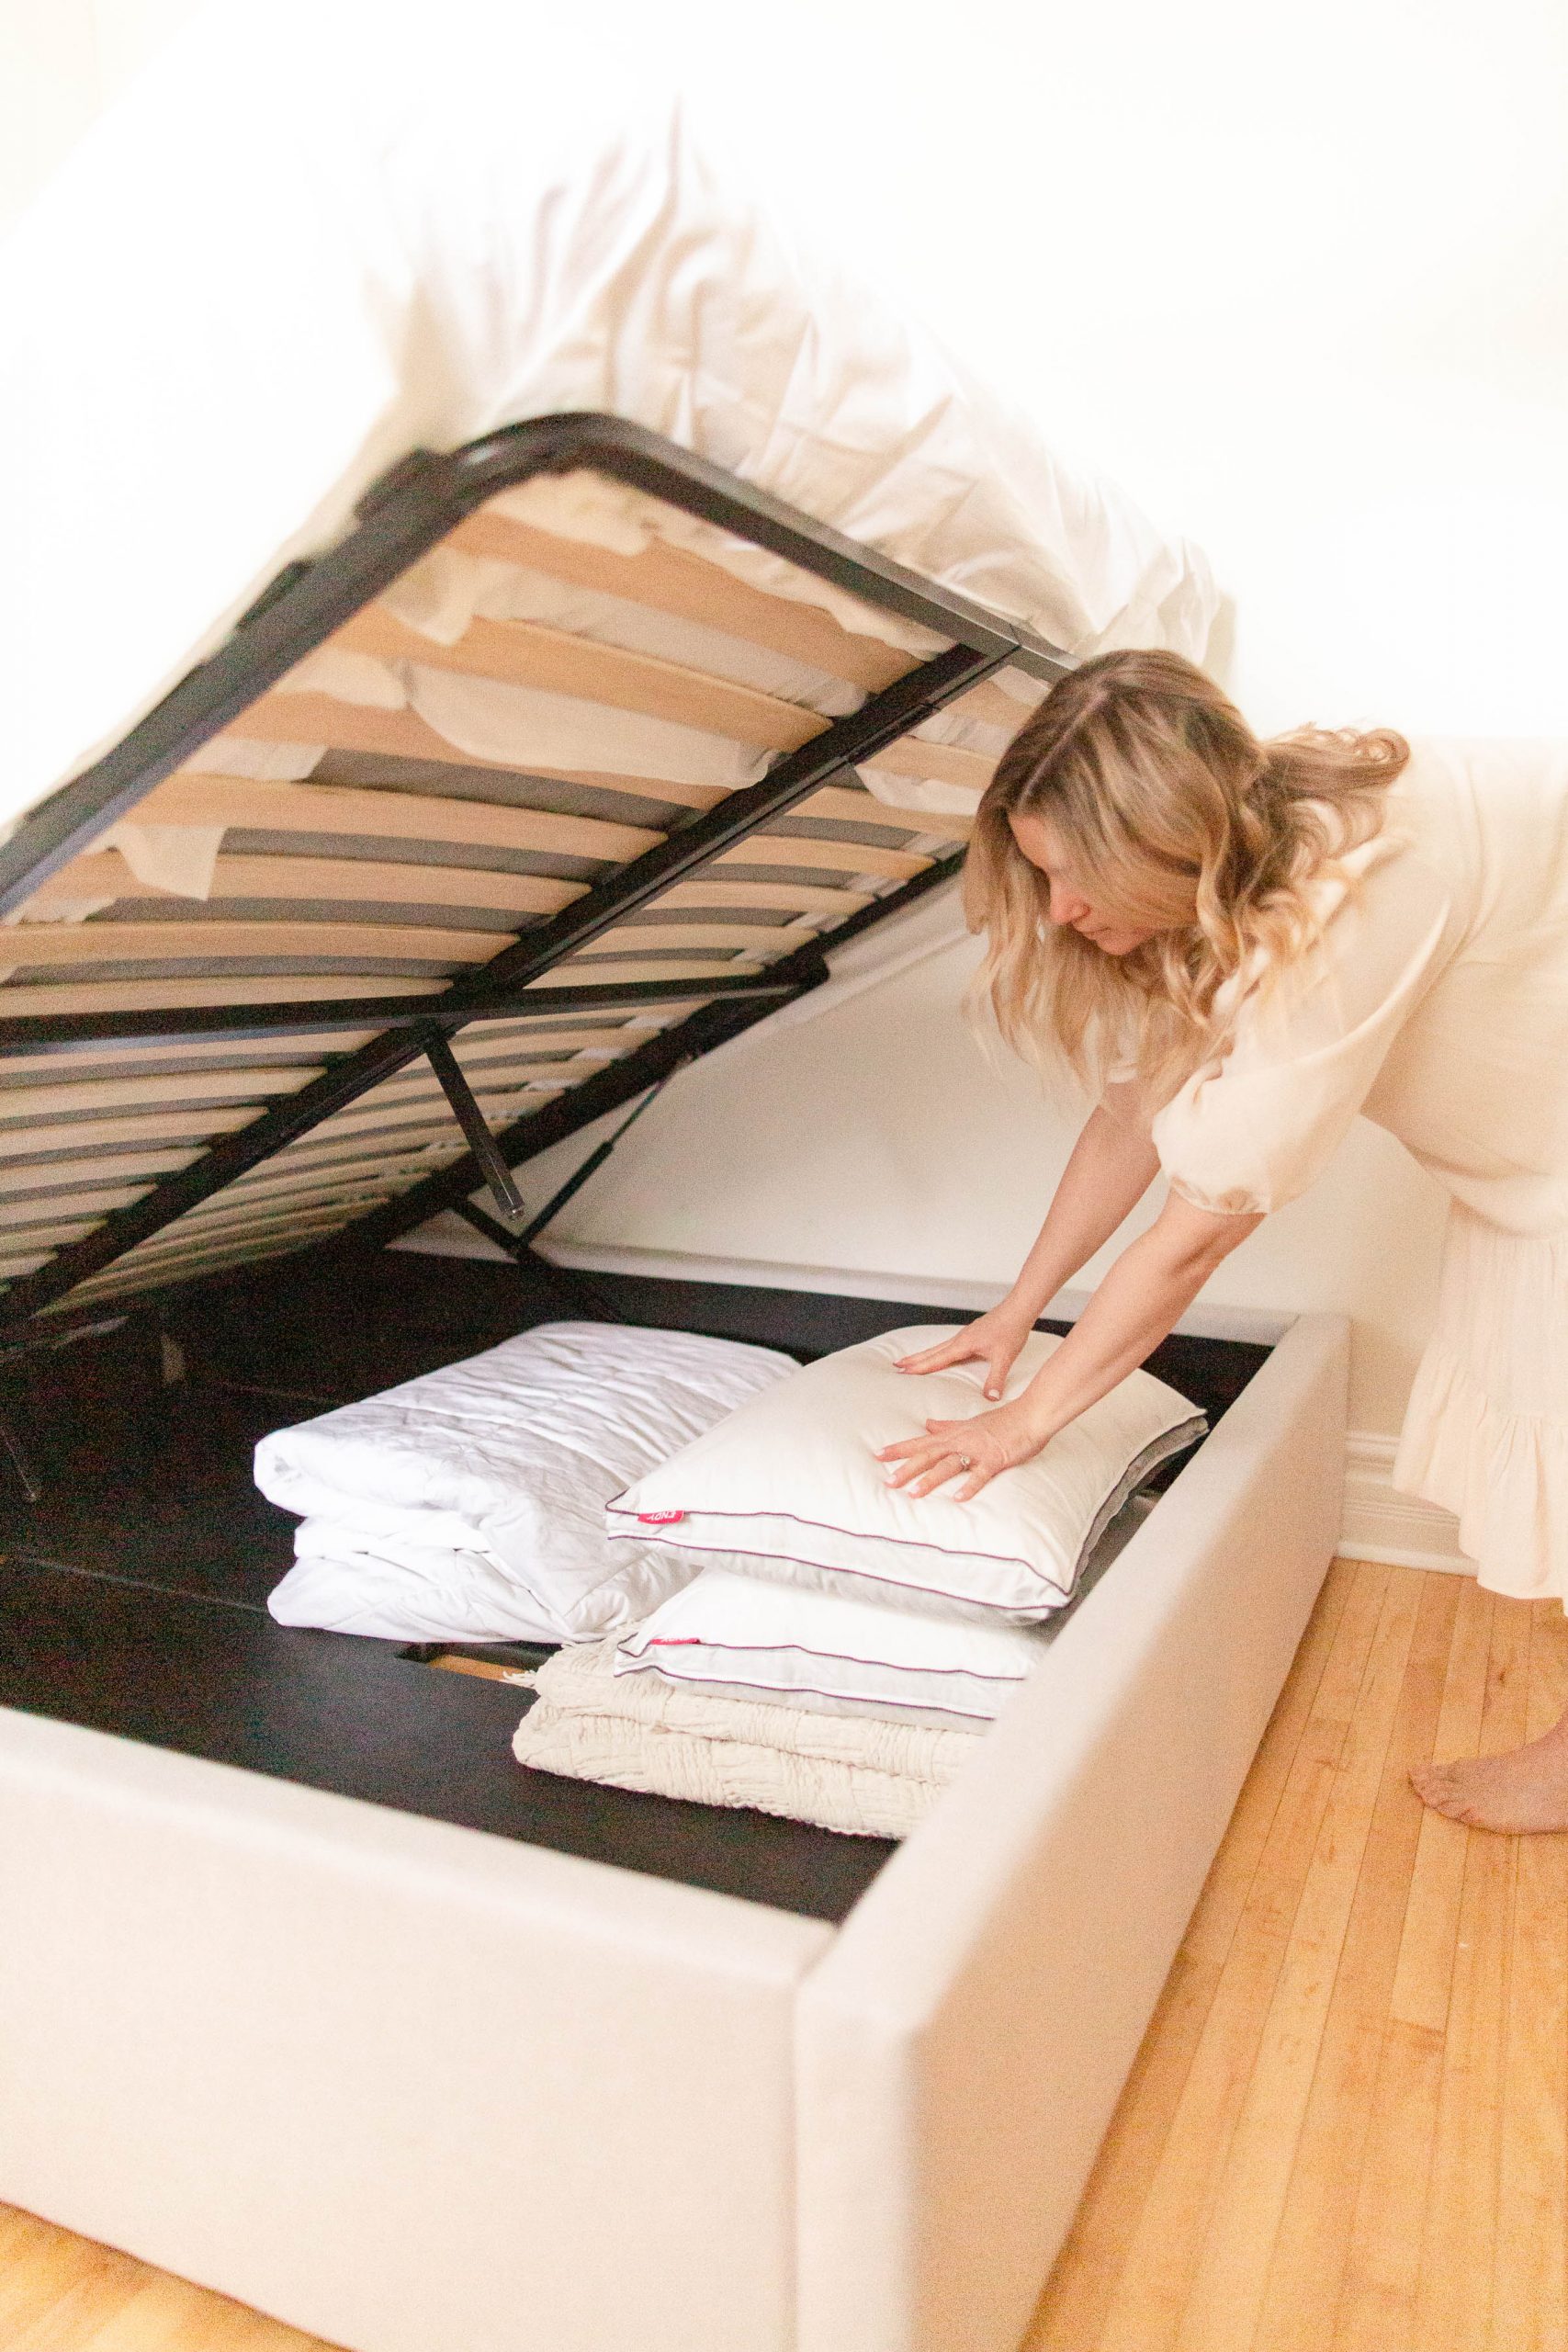
In the greatest bed ever! The June Queen Storage Bed is such a perfect option if you’re living in a smaller space and are in need of some more storage. Just use the handle and the hydraulic lift kicks in to reveal a massive storage space under the mattress. We chose this spot for our sheets, beach towels, blankets, and extra pillows. All tucked away!
Where To Shop For Organization Supplies
These are my go-to stores for the best in home organization products! Please share where you love to shop in the comment section at the bottom of this post.
- Simons: Always has gorgeous baskets and sometimes unique smaller storage bins.
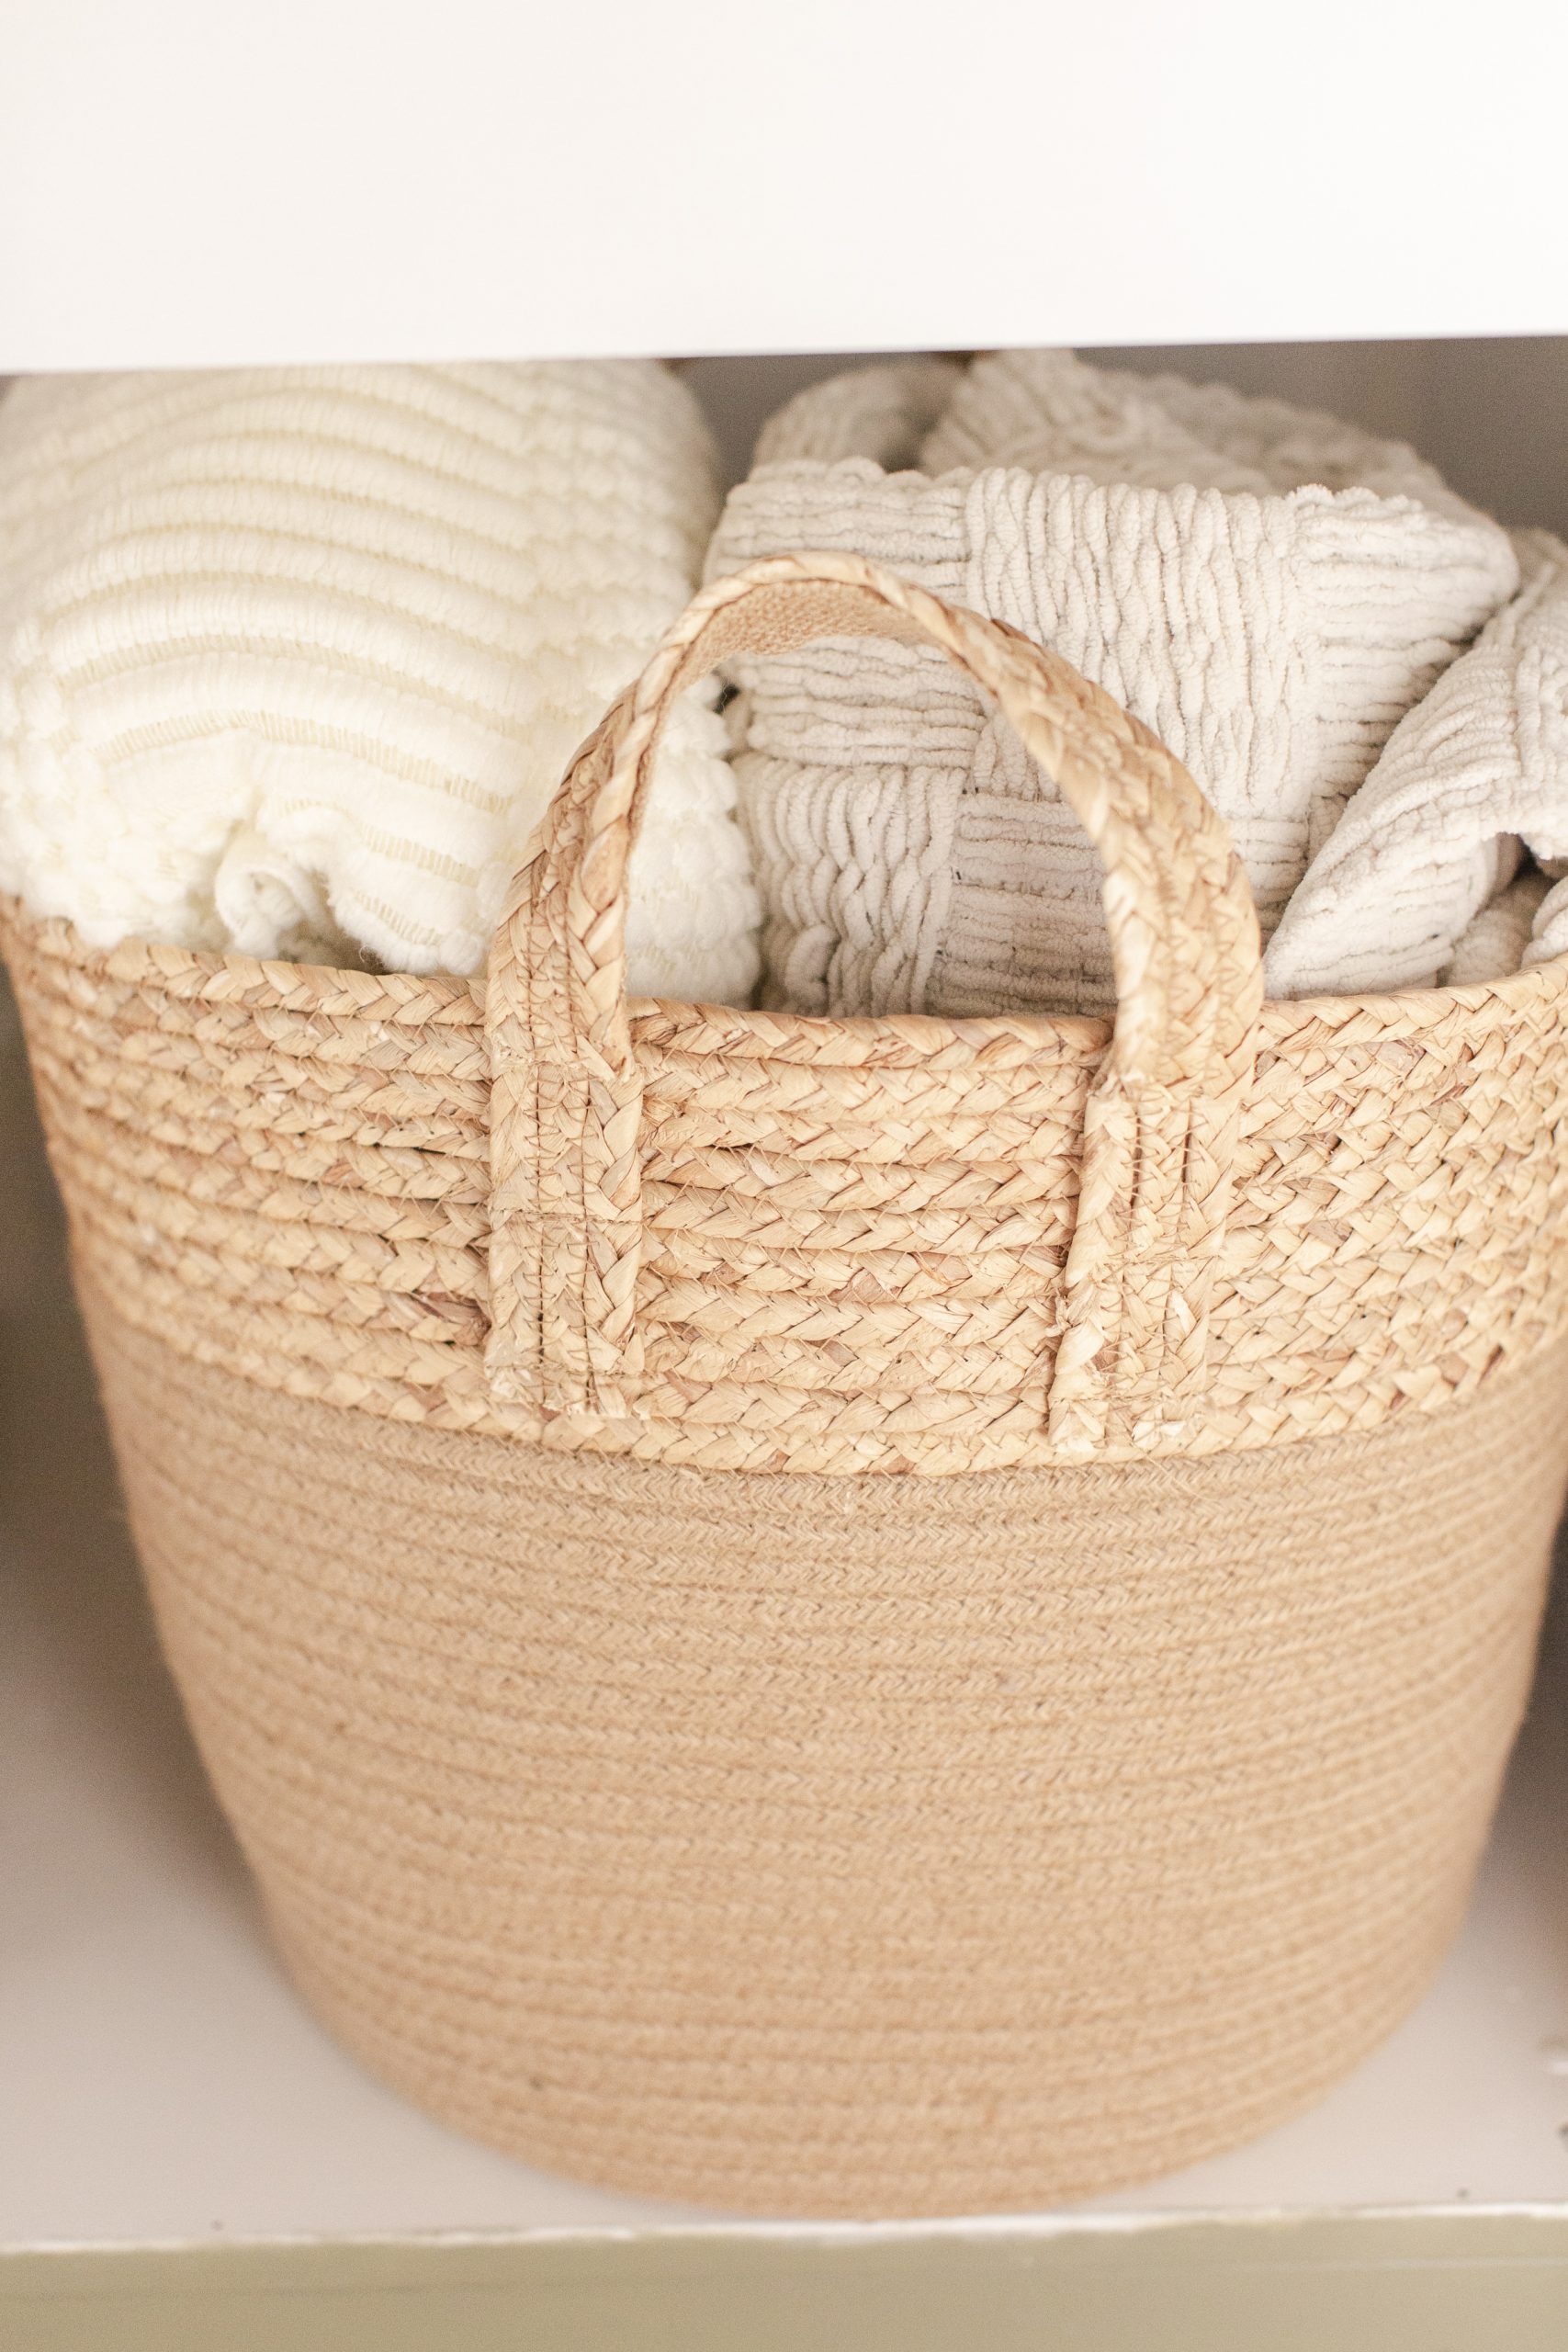
- Ikea: Excellent quality and reasonably priced. The white plastic boxes in the drawer and a few on the shelves are made of partially recycled plastic, are very durable, and super easy to clean. The small ones are $6 and the larger $12. Also where I scored this turn-up or turn down seagrass basket pictured below.
- Freson Bros: they often carry the Kilner line of beautiful glass jars, typically used for canning.
- HomeSense: Always filled with fun, inexpensive options. Be sure to check the not-so-obvious aisles where you’ll likely find some creative storage options.
- Canadian Tire: Of course, check here for The Home Edit collection but also browse the other aisles and score good-quality bins, boxes, and the wooden lazy susan from my centre shelf.
- Amazon: Most of my Under The Kitchen Sink Organization was from Amazon.
 Source List
- Bamboo Lazy Susan
- Wooden Lazy Susan (HomeSense)
- Big White Bins
- Little White Bins
- Seagrass Basket
- Wicket Baskets on the bottom shelf (HomeSense)
- Bath Towels
- Turkish Towels
- Turkish Cotton Bath Sheets
- Hand Towels
- Face cloths
- Wyatt’s Toothpaste Tabs
- My Toothpaste Tabs
- Watermelon Sugar Linen & Room Spray
- Big Glass Jars
- Glass Jars With Bamboo Lids
- Glass Kilner Jars (Freson Bros.) Shop them here too.
 Photos: DallasCurow
Ask any questions and share your Ikea hacks in the comment section below!
Pin this to your Ikea Hacks and DIY Linen Closet Inspo boards. Follow me on Pinterest here!
Other Posts You’ll Love:
xx

How did you do the shelving for this? I was under the impression that the Rakkestad doesn’t come with shelves.
It does come with shelving! You pick the configuration. We chose shelves and a few drawers.
Where did you get the drawer? I see shelves but not drawers on the ikea website, thanks 🙂
How did you add the drawer? Thanks in advance 🙂
We purchased this wardrobe about 13 years ago and the add-in options included drawers. I believe this is the exact unit and if you scroll down you’ll see drawer options. I hope that helps! https://www.ikea.com/ca/en/p/pax-wardrobe-frame-black-brown-90121583/
This is really creative! Finished linen closet looks great by the photos included. Very nice job!
Thank you!